How to Calculate the Optimal Gap Size for Root Welds (Fix)
I stood over a heavy excavator bucket arm five years ago, watching a crack spider-web across a seam I had welded just months prior. On the surface, the bead looked like a row of perfect dimes. But when we cut it open for a forensic look, the truth was ugly. The weld had only sat on top of the metal, never actually biting into the core. This failure happened because I had ignored the most critical part of the fit-up: the physical space between the two plates.
In my 14 years of fabrication and mechanical engineering, I have learned that a project’s strength is decided before the arc even strikes. For those of us working in home shops or small garages, the stakes are high. We don’t have a team of inspectors checking our work. If a trailer hitch or a shop crane fails, the consequences are physical and financial. Understanding how to set the right distance between metal edges ensures that your weld reaches the bottom of the joint, creating a single, solid piece of steel rather than a decorated surface crack.

The Physics of Joint Spacing and Structural Integrity
The distance between two metal parts, often called the root opening, determines how well the molten filler metal blends with the base material. This gap allows the arc to reach the bottom edges, ensuring the heat is distributed through the entire thickness of the plate. Without this space, the weld often results in a “cold” joint where the metal only bonds at the top.
When I analyze a failure, I look at the “load path.” This is the route that force takes as it moves through a structure. If a weld has “lack of penetration”—meaning the weld didn’t go all the way through—the load path is interrupted. This creates a stress riser, a point where the metal is much more likely to snap under pressure. I once saw a custom-built car rotisserie collapse because the builder didn’t leave enough space between the heavy-wall tubing. The weld looked thick, but it was only 20% as strong as it needed to be.
To prevent this, you must treat the fit-up as a deliberate engineering choice. The goal is to balance the need for deep heat with the risk of the metal melting away entirely. If the gap is too tight, the arc stays on the surface. If it is too wide, you end up with a hole that is impossible to fill. Finding that middle ground is what separates a hobbyist from a professional fabricator.
Material Selection and Stress Thresholds
Choosing the right metal for a project involves more than just picking a piece of scrap from the bin. Every alloy has a yield strength, which is the amount of stress it can take before it permanently deforms. When you prepare a joint, you are essentially creating a temporary weakness that you must then reinforce with the welding process.
| Metal Thickness | Yield Strength (Approx. PSI) | Recommended Spacing | Risk of Failure |
|---|---|---|---|
| 1/8 inch (3.2mm) | 36,000 – 50,000 | 1/16 inch | Low (Easy to penetrate) |
| 1/4 inch (6.4mm) | 36,000 – 50,000 | 3/32 inch | Medium (Requires beveling) |
| 3/8 inch (9.5mm) | 36,000 – 50,000 | 1/8 inch | High (Risk of cold lap) |
| 1/2 inch (12.7mm) | 36,000 – 50,000 | 5/32 to 3/16 inch | Very High (Requires multiple passes) |
I always tell my students to look at the “Heat Affected Zone” or HAZ. This is the area around the weld that gets hot enough to change its internal structure but doesn’t actually melt. If you have to use excessive heat because your joint spacing is too tight, you expand this zone. A large HAZ often becomes the “brittle point” where a structure will fail, even if the weld itself is strong. Keeping your gap consistent allows you to use a lower, more controlled heat setting, which protects the integrity of the surrounding steel.
Determining the Correct Opening for Specific Thicknesses
Setting the right gap size is a calculation based on the thickness of your material and the diameter of the welding rod or wire you are using. Generally, the opening should be large enough for the arc to “see” the bottom of the joint but small enough that the molten puddle can bridge the distance without falling through.
For most garage fabrication projects using mild steel, I follow a simple set of benchmarks. If you are working with 1/8-inch plate, a gap about the width of a nickel (1/16 inch) is usually sufficient. As you move up to 1/4-inch material, you need to increase that to about 3/32 of an inch. When you reach 1/2-inch plate, the gap should be between 5/32 and 3/16 of an inch. These measurements aren’t just suggestions; they are the physical requirements for the liquid metal to flow where it is needed.
- 1/8″ Plate: Use a 1/16″ gap. This ensures the weld fuses both sides without excessive buildup.
- 1/4″ Plate: Use a 3/32″ gap and a 30-degree bevel on each edge. This creates a “V” shape that the weld can fill easily.
- 3/8″ Plate: Use a 1/8″ gap. At this thickness, heat sink becomes a major issue, and the gap helps maintain the temperature at the root.
- 1/2″ Plate: Use a 3/16″ gap. This is where structural failure is most common if the root pass is not executed perfectly.
One trick I use is to find a “spacer.” Instead of guessing, I use a drill bit or a piece of TIG filler wire of the correct diameter and slide it between the plates while I tack them together. This ensures the distance remains uniform across the entire length of the seam. If the gap narrows at one end, the weld will become shallower as you progress, leading to hidden weak spots.
Managing Heat and Distortion During the First Pass
Distortion is the enemy of any precise fabrication project. When metal is heated, it expands; as it cools, it contracts. If your joint spacing is uneven, the cooling metal will pull harder on one side than the other. This results in parts that are warped, twisted, or completely out of alignment.
I remember building a heavy-duty workbench frame where I didn’t account for this “draw.” I tacked the legs on, but because I hadn’t left a consistent gap for the root, the welds pulled the legs inward by nearly half an inch. I had to cut the whole thing apart and start over. To avoid this, I now use a technique called “back-stepping” or simply placing more tacks than I think I need.
- Clean the edges: Use a flap disc to remove all mill scale and rust at least one inch back from the gap.
- Set the gap: Use your spacers to lock in the distance.
- Tack frequently: For a 12-inch seam, I place a tack every 2 to 3 inches.
- Check alignment: Use a square or a level after tacking to ensure the heat hasn’t already pulled the metal out of place.
- Weld in sections: Don’t run the whole bead at once. Move around to different parts of the project to let the heat dissipate.
By managing the heat this way, you prevent the gap from closing up as you weld. If the metal gets too hot, it will expand and pinch the gap shut, leaving you with no penetration for the second half of the joint.
Troubleshooting Common Root Failures
Even with a perfect gap, things can go wrong. The most common issues I see are “burn-through” and “lack of fusion.” Burn-through happens when the gap is too wide or your amperage is too high, and the metal literally drops out of the bottom of the joint. Lack of fusion is the opposite; the metal melts but doesn’t actually stick to the side walls of the plate.
- Burn-through: If you see a hole opening up, stop immediately. Lower your amperage or increase your travel speed. You may need to let the metal cool before continuing.
- Lack of Fusion: This usually looks like a “lumpy” weld that sits high on the surface. It’s often caused by a gap that is too tight or moving the torch too fast.
- Porosity: These are tiny holes in the weld that look like a sponge. This is usually caused by poor shielding gas coverage or dirty metal. In a garage, even a small breeze can blow your gas away.
- Slag Inclusions: If you are using a stick welder or flux-core, bits of the coating can get trapped in the root. A proper gap gives you enough room to clean the slag out between passes.
I once worked on a trailer frame where the builder had tried to “bridge” a 1/4-inch gap on thin tubing. The weld looked okay on the outside, but inside, it was full of air pockets and slag. A simple “hammer test” caused the joint to shatter. This is why a workshop safety checklist should always include a visual inspection of the back side of a weld whenever possible. If you can’t see the metal poking through the other side slightly (called “reinforcement”), you probably haven’t achieved full penetration.
Workshop Safety and PPE for High-Heat Operations
Welding requires more than just a steady hand; it requires a deep respect for the energy you are handling. When you are focusing on getting deep penetration in a root gap, you are often using higher heat than usual. This increases the intensity of the UV light and the amount of fumes produced.
In my shop, I never strike an arc without a properly rated helmet. For most structural work, a Shade 10 to 13 filter is necessary to prevent “arc eye,” which feels like having hot sand rubbed into your sockets. I also pay close attention to my welding gas flow rate. For MIG or TIG welding in a standard garage, 15 to 20 cubic feet per hour (CFH) is the sweet spot. Any lower and you risk porosity; any higher and you actually create turbulence that pulls oxygen into the weld.
- Eye Protection: Use an auto-darkening helmet with a fast reaction time (1/25,000 of a second).
- Skin Protection: Leather gloves and a flame-resistant jacket are mandatory. UV rays can cause “welder’s sunburn” in minutes.
- Respiratory Safety: Ensure your garage has active ventilation. A simple fan blowing across the workspace can move toxic fumes away from your face.
- Fire Safety: Keep a fire extinguisher within arm’s reach and clear all sawdust or oily rags from the area.
I have seen “near-miss” workshop incidents where a spark landed in a pile of grinding dust and smoldered for hours before catching fire. When you are pushing the limits of your machine to get a good root weld, the sparks fly further and stay hot longer. Always do a “fire watch” for 30 minutes after you finish welding.
Inspection and Testing Your Joint Integrity
How do you know if your joint spacing worked? In an industrial setting, we use X-rays or ultrasound. In a home shop, we have to be more creative. The most basic test is the “Visual Inspection.” Look at the back side of the joint. You should see a consistent bead of metal that has pushed through. If the back side looks like two separate pieces of metal, the joint has failed.
Another method is the “Bend Test.” If you are unsure about your technique, weld a sample piece of scrap using the same gap and settings. Put it in a vise and hit it with a sledgehammer until it bends 90 degrees. If the weld cracks or snaps, you didn’t get enough penetration. If the metal around the weld bends but the weld stays intact, you’ve done your job well.
- Visual Check: Look for “cold lap” where the weld is just sitting on the surface.
- Root Reinforcement: Ensure the weld is visible on the underside.
- Grind and Inspect: Sometimes grinding the top of the weld flat will reveal “pinholes” that indicate internal problems.
- Dye Penetrant: You can buy cheap kits that use a red dye and a white developer to show cracks that are invisible to the naked eye.
I use these checks on every critical project. It takes an extra ten minutes, but it saves the hours of frustration that come with a structural failure. There is a certain peace of mind that comes from knowing the inside of your weld is just as clean as the outside.
Actionable Framework for Joint Preparation
To ensure your projects are built to last, I recommend following this checklist every time you prepare a structural joint. This systematic approach removes the guesswork and reduces the chance of making a costly mistake.
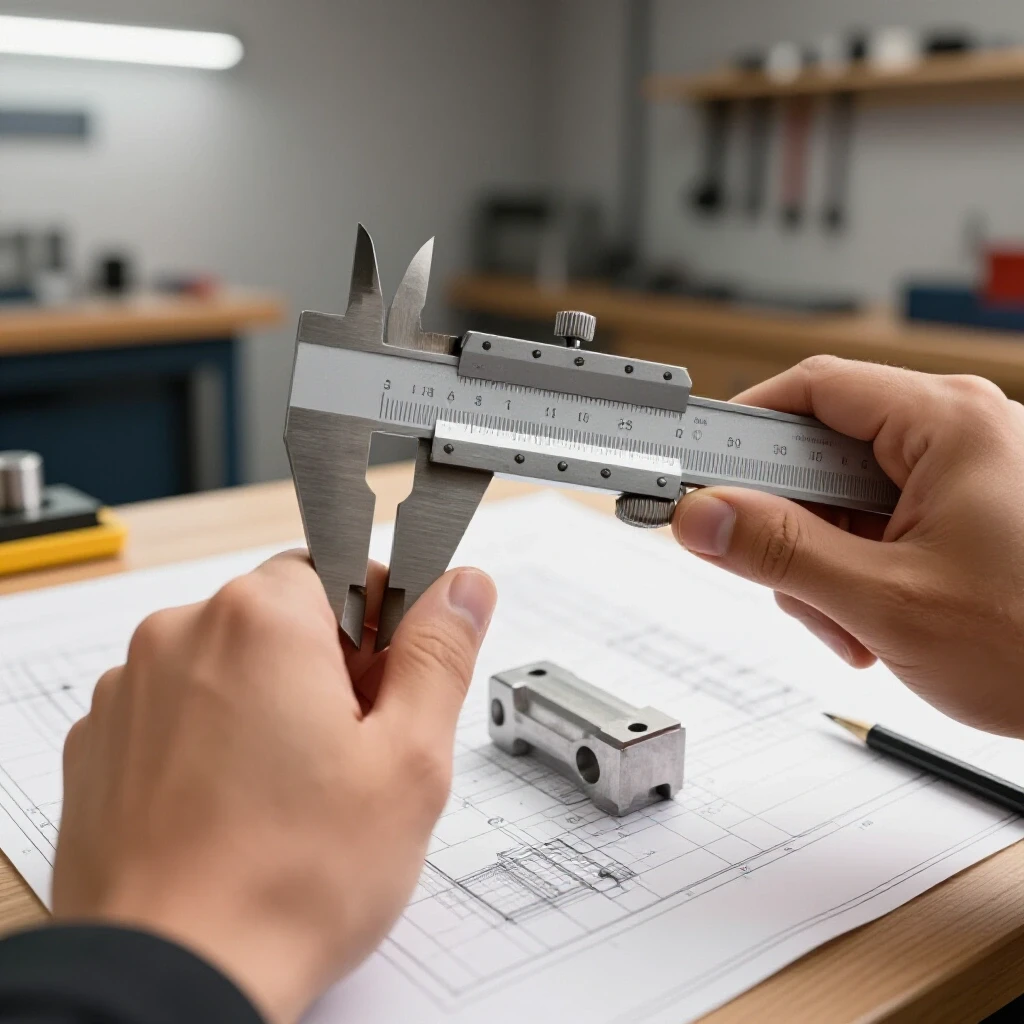
- Step 1: Measure Thickness. Use calipers to find the exact gauge of your metal.
- Step 2: Select Gap Tool. Choose a spacer (drill bit, wire, or shim) based on the thickness.
- Step 3: Bevel Edges. For anything over 3/16 inch, grind a 30-to-37-degree angle on the edges.
- Step 4: Clean to Bright Metal. Remove all oil, paint, and mill scale.
- Step 5: Secure with Spacers. Place your spacers in the gap and clamp the workpieces to a flat table.
- Step 6: Tack and Re-measure. Put small tacks every few inches and check that the gap hasn’t moved.
- Step 7: Execute the Root Pass. Focus the arc at the very bottom of the “V” or the gap.
- Step 8: Final Inspection. Check the back of the weld for full penetration.
By sticking to this routine, you create a “standard” for your shop. You stop wondering if the weld will hold and start knowing that it will. This data-driven approach is what keeps my shop safe and my projects standing.
Frequently Asked Questions
What happens if my root gap is too small? If the gap is too small, the welding arc cannot reach the bottom of the joint. This results in “lack of penetration,” where the two pieces of metal are only joined at the top surface. Under stress, the bottom of the joint will act like a hinge and eventually crack.
Can I weld a thick plate without a gap if I turn up the heat? While increasing amperage helps, it usually isn’t enough for plates thicker than 1/8 inch. High heat without a gap often leads to “undercutting,” where the weld eats away the base metal without filling it back in, or it creates a massive heat-affected zone that weakens the entire structure.
How do I keep the gap from closing as I weld? Metal shrinks as it cools, which pulls the joint shut. To prevent this, use heavy-duty clamps and place frequent tack welds. You can also use “bridge tacks” or leave your spacers in place until you have enough tacks to hold the metal’s position.
Is it better to have a gap that is too wide or too tight? A slightly wider gap is generally safer for structural integrity because you can at least ensure penetration. However, a gap that is too wide is very difficult to weld and often leads to burn-through or excessive distortion. Aim for the specific measurements based on your material thickness.
What is the best way to clean the root before welding? I always use a dedicated stainless steel wire brush or a clean flap disc. You must remove the “mill scale”—the dark, flaky coating on hot-rolled steel—because it has a higher melting point than the steel itself and will trap impurities in your weld.
Does the welding position affect the gap size? Yes. If you are welding vertically or overhead, you might want a slightly tighter gap to help control the molten metal. In a flat position, you can handle a wider gap because gravity helps the metal stay in the joint.
How do I know if I’ve achieved full penetration? The most reliable way is to look at the back side of the joint. You should see a small, consistent bead of metal that has pushed through the gap. This is called “root reinforcement.” If the back side looks untouched, you didn’t get deep enough.
What tool should I use to measure the gap? While you can use a ruler, I prefer using “feeler gauges” or simply using known diameters of drill bits or welding wire. For example, a 3/32-inch welding rod with the flux knocked off makes an excellent spacer for a medium-thickness joint.
Why does my weld have tiny holes in the root? This is called porosity. It is usually caused by wind blowing away your shielding gas or by moisture and oil on the metal. When welding a root gap, the arc is deep in the joint, and any turbulence can easily pull in air, creating those bubbles.
Should I bevel both sides of the metal? For very thick material (over 1/2 inch), a “double-V” bevel—where you grind both the top and bottom edges—is often used. This allows you to weld from both sides, which reduces the amount of filler metal needed and helps balance the heat to prevent warping.
(This article was written by one of our staff writers, James Harlan. Visit our Meet the Team page to learn more about the author and their expertise.)