Avoid These Costly Mistakes When Upgrading Mill Motors (Fix)
I remember standing in my first shop, staring at a stalled 1-horsepower motor on my vertical mill. I was halfway through a batch of brackets for a local contractor, and the motor was smoking. I had underbid the job, and now my primary machine was down. That moment taught me that a machine upgrade isn’t just a technical task; it is a cold, hard financial decision. If you are transitioning from a hobbyist to a side-hustler, your equipment’s reliability directly dictates your hourly take-home pay.
When we talk about swapping out a mill motor, we are really talking about protecting your shop’s throughput. A motor that lacks the torque for your specific material or a mounting setup that vibrates will destroy your finish quality and your drill bits. In this guide, I will break down how to handle these mechanical transitions without draining your bank account or ruining your project timelines. We will look at the math behind the machine and the reality of workshop economics.
Establishing a True Shop Rate for Equipment Upgrades
A shop hourly rate is the total dollar amount you must charge per hour to cover all expenses and generate a profit. It includes your rent, power, insurance, and the wear and tear on your tools. For most small fabrication shops, this rate typically falls between $65 and $120 per hour.
Before you buy a new motor, you have to know if your shop can actually afford it. If you spend $500 on a high-torque motor and it saves you five minutes per hour of machining time, how long does it take to pay for itself? This is called the payback period. In my experience, many side-hustlers ignore this. They see a “better” motor and buy it without realizing that their current shop rate doesn’t support the investment.
To find your rate, add your monthly overhead (utilities, rent, software) and your desired take-home pay, then divide by the billable hours you actually work. If you work 20 hours a week on your side-hustle, but only 10 of those are “spindle-turning” hours, your rate must be higher to compensate for the admin time.
- Fixed Overhead: Rent, insurance, and basic electricity.
- Variable Costs: Consumables like end mills, belts, and cutting fluid.
- Labor: Your time spent cutting, measuring, and quoting.
- Profit Margin: The extra 10-20% you keep to grow the business.
Why Machine Amortization Matters for Small Shops
Amortization is the process of spreading the cost of a tool over its expected lifespan to understand its daily cost. If a new motor costs $400 and is expected to last five years of part-time use, it costs you roughly $80 per year, or about $1.50 per week.
When I evaluate a motor swap, I don’t just look at the sticker price. I look at the “cost per hole” or “cost per inch” of milling. If a more powerful motor allows you to use larger diameter cutters or take deeper passes, you are reducing the time spent on each part. In the world of side-hustle metalworking, time is the only resource you cannot replenish.
| Expense Category | Typical Annual Cost (Side-Hustle) | Monthly Impact |
|---|---|---|
| Basic Shop Utilities | $1,200 | $100 |
| Consumable Burden (15%) | $1,800 | $150 |
| Tool Depreciation | $2,000 | $166 |
| Total Fixed Overhead | $5,000 | $416 |
Selecting the Right Motor: Torque vs. Horsepower
Torque is the rotational force that allows a cutter to push through metal, while horsepower is the rate at which work is done. For mill owners, torque at low RPM is often more valuable than high-speed horsepower, especially when drilling large holes or using face mills.
One of the biggest errors I see is shop owners buying a motor based on horsepower alone. A high-RPM motor might have 2 HP, but if it loses all its strength when you slow it down for a stainless steel project, it is useless. You need to match the motor’s torque curve to the materials you most frequently fabricate. If you are doing fabrication job costing for heavy steel parts, you need a motor that won’t stall under load.
Understanding NEMA Frame Sizes and Mounting Interfaces
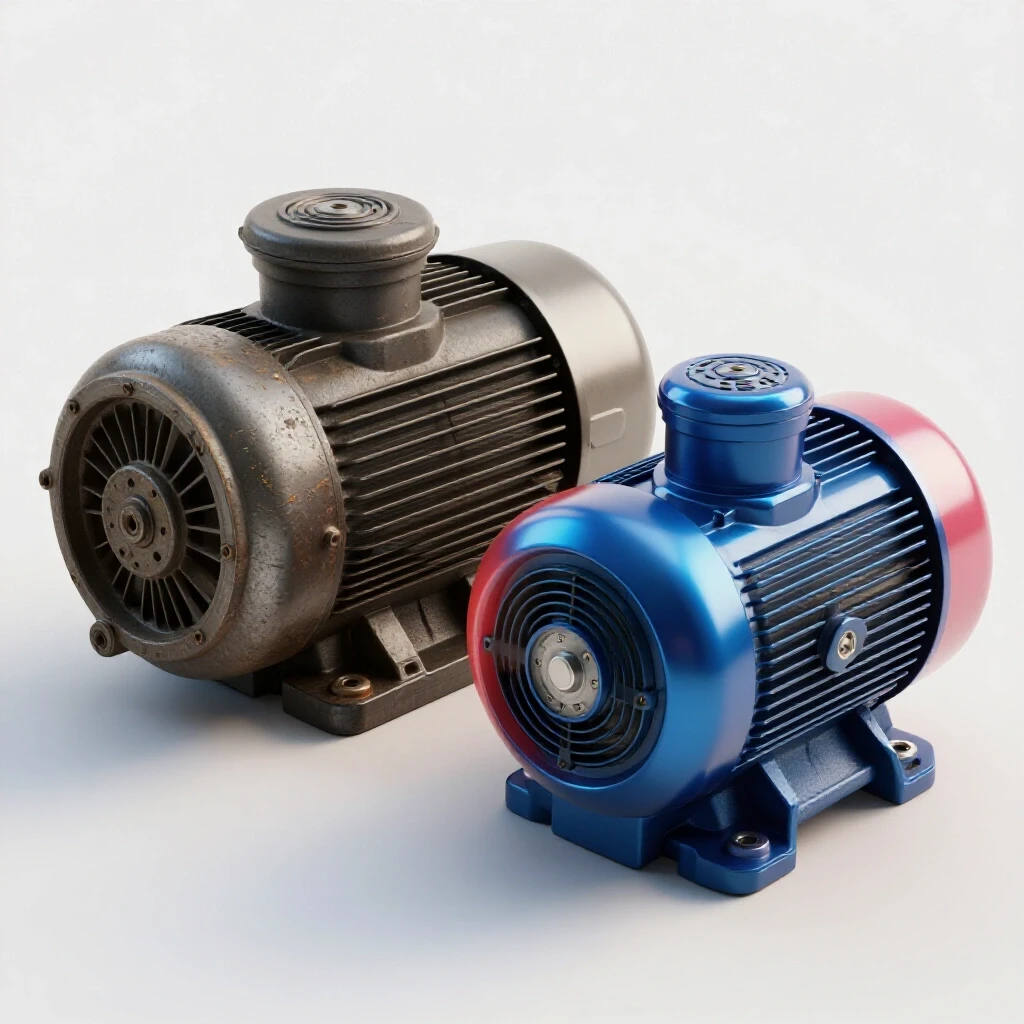
A NEMA frame size is a standardized set of dimensions for motor footprints, shaft heights, and bolt patterns. Common sizes for small mills include NEMA 56 and NEMA 145T. Knowing your frame size is the difference between a one-hour swap and a three-day fabrication nightmare.
If you buy a motor with a different frame size than your current one, you will have to fabricate an adapter plate. I’ve done this many times, and while it seems simple, it introduces a new variable: alignment. If your adapter plate is off by even a fraction of an inch, your pulleys won’t line up. This leads to premature belt failure, which adds to your welding consumable tracking and maintenance costs.
- NEMA 56: Very common for 1/2 to 1.5 HP motors; has a 5/8″ shaft.
- NEMA 145T: Often used for heavier-duty 2 HP motors; usually has a 7/8″ shaft.
- Base Mount vs. C-Face: Base mounts bolt to a flat surface; C-face motors bolt directly to the machine head.
Power Delivery and Thermal Management Realities
Power delivery refers to how efficiently the electrical energy from your wall outlet is converted into mechanical force at the spindle. Thermal management is the method used to dissipate the heat generated during this process, usually via internal fans or external fins.
In a small shop, heat is the silent killer of profitability. When a motor gets too hot, its internal resistance increases, and it draws more current. This can trip breakers and, more importantly, shorten the life of the motor windings. If you are running long cycles on a side-hustle metalworking project, you cannot afford a motor that needs a “cool down” period every twenty minutes.
The True Cost of Poor Mechanical Alignment
Mechanical alignment is the process of ensuring the motor shaft is perfectly parallel and in plane with the mill’s drive pulley. Even a slight tilt or offset creates friction, which turns into heat and wasted energy.
I once worked with a shop owner who was going through drive belts every two weeks. He thought he had “bad batches” of belts. After we checked his motor alignment with a simple straightedge, we found the motor was tilted three degrees. That small error was costing him $30 a month in belts and an hour of downtime. In a small metal shop pricing model, that $30 comes directly out of your profit, not the customer’s pocket.
- Check Pulley Parallelism: Use a precision ground bar or a laser to ensure pulleys are in line.
- Verify Shaft Runout: Use a dial indicator to make sure the new motor shaft isn’t bent from the factory.
- Tension Properly: Over-tightening belts puts excessive load on motor bearings, leading to early failure.
Why Hidden Consumables Bleed Small Shop Profits
Consumables are items used up during the fabrication process, such as drill bits, belts, lubricants, and electricity. A “consumable burden” is the percentage of a job’s cost that goes toward replacing these items, typically ranging from 5% to 15%.
When you upgrade your mill’s power, you often change your consumable usage. A stronger motor might allow you to push a drill bit harder, which increases heat and wear. If you don’t adjust your fabrication job costing to account for this faster wear, you are effectively paying the customer to let you work. I track every belt and every bottle of way oil in a simple spreadsheet to ensure my material markup is accurate.
Formulating a Real Material Markup
Material markup is the percentage you add to the raw cost of metal and hardware to cover the time spent sourcing, transporting, and storing those items. A standard markup for small shops is 20% to 50%, depending on the complexity of the sourcing.
If I have to drive 45 minutes to a steel yard because a client needs a specific alloy, that time and fuel must be reflected in the quote. Many side-hustlers just charge the “web price” for metal. This is a mistake. You should charge for the material, the tax, the shipping, and a “handling fee” that covers your overhead.
- Raw Material Cost: $100
- Shipping/Fuel: $15
- Markup (30%): $34.50
- Total Charged to Client: $149.50
Building a Custom Job Quote After an Upgrade
A job quote is a formal document given to a client that outlines the scope of work and the total estimated cost. It should be based on your calculated shop rate, material costs, and a buffer for unexpected issues.
After you upgrade your mill motor, your quoting process should change. You are now faster and more capable. However, don’t just lower your prices because the work is easier. Use that increased efficiency to either take on more jobs or to increase your effective hourly rate. If a job used to take four hours and now takes three, keep the price the same and enjoy the higher margin. This is how you generate a positive metal business ROI.
Tracking Post-Job Profits to Refine Estimates
Post-job profit analysis is the act of looking back at a completed project to see if your estimated costs matched the reality. This is where you find out if your new motor is actually saving you money.
I keep a “Job Variance” log. If I estimated a job would take five hours and it took seven, I write down why. Was it a dull cutter? Did the motor overheat? By tracking these variables, my future quotes become much more accurate. For a side-hustler, accuracy in bidding is the difference between a thriving business and an expensive hobby.
| Project Phase | Estimated Time | Actual Time | Variance |
|---|---|---|---|
| Material Prep | 1.0 hr | 1.2 hr | +0.2 hr |
| Milling / Drilling | 3.0 hr | 2.5 hr | -0.5 hr |
| Finishing / Deburr | 1.0 hr | 1.5 hr | +0.5 hr |
| Total | 5.0 hr | 5.2 hr | +0.2 hr |
Bulk Metal Sourcing and Inventory Management
Sourcing is the strategic process of finding and purchasing raw materials at the best possible price. Bulk sourcing involves buying larger quantities of common materials (like 1018 steel or 6061 aluminum) to lower the price per inch.
If you’ve upgraded your mill to handle larger stock, you should look into buying “remnants” or full bars from local suppliers. Buying a 12-foot bar of aluminum is often 40% cheaper per foot than buying four 3-foot sections online. However, you must factor in the “carrying cost”—the money tied up in material sitting on your shelf. Only bulk-buy materials you know you will use within 90 days.
- Inventory Log: Use a simple notebook or app to track what you have.
- Standardize Sizes: Try to design projects around common stock sizes to reduce waste.
- Scrap Management: Separate your chips and offcuts by alloy; clean scrap has value at the recycler.
Digital Tools for Managing Shop Economics
In the modern shop, pen and paper are often not enough to keep track of complex fabrication job costing. Digital tools can automate your math and ensure you aren’t forgetting hidden costs like credit card processing fees or software subscriptions.
I recommend using a combination of a simple accounting app and a custom spreadsheet. You don’t need expensive industrial software. A well-built spreadsheet can track your motor’s depreciation, your hourly rate fluctuations, and your consumable usage.
- QuickBooks or FreshBooks: Excellent for professional invoicing and tracking tax-deductible shop expenses.
- Google Sheets: The best tool for building a custom “Metal Business ROI Calculator.”
- Evernote or Notion: Useful for keeping photos of material receipts and motor nameplates for future reference.
Practical Steps for Your Next Motor Swap
If you are currently planning to replace or upsize your mill’s power source, do not rush the process. Start by documenting your current machine’s limitations. Are you stalling out on 1/2″ end mills? Is the motor too hot to touch after 30 minutes? Once you have a clear “why,” follow these steps to ensure a profitable transition.
First, measure your existing motor’s shaft diameter and frame mounting holes. If they don’t match the new motor, calculate the cost of the materials and the time it will take you to make an adapter. Second, check your shop’s electrical capacity. A larger motor might require a dedicated circuit to prevent voltage drops that can damage the electronics. Finally, update your shop rate. If the new setup increases your capability, your price should reflect that new value to the customer.
- Verify Voltage: Ensure your shop outlet matches the motor’s requirements (usually 115V or 230V single-phase).
- Check Rotation: Make sure the new motor can be wired for the correct direction of rotation for your mill.
- Test Alignment: Use the “string method” or a straightedge to align pulleys before the first power-up.
- Monitor Temperature: Run the motor under a light load for 20 minutes and check for excessive heat.
Summary of Financial Benchmarks
To keep your shop profitable, aim for these targets: – Shop Rate: $65–$120/hour depending on your local market. – Material Markup: Minimum 30% for standard items; 50%+ for specialty alloys. – Consumable Burden: 10% of the total job cost. – Payback Period: Aim for any major tool upgrade to pay for itself within 12–18 months of side-hustle work.
Frequently Asked Questions
How do I know if a motor upgrade will actually improve my ROI?
You must calculate your “time savings per part.” If a more powerful motor allows you to finish a $100 job in 2 hours instead of 3, you’ve increased your hourly earnings significantly. If the motor costs $300, it pays for itself in just 10 of those jobs.
What is the most common mechanical error when swapping mill motors?
Mismatched shaft sizes and pulley bore diameters. Many hobbyists buy a “great deal” on a motor only to find out it has a 7/8″ shaft while their mill pulleys are 5/8″. Boring out a pulley or buying a new one adds cost and potential runout issues.
Can I use a standard motor if my shop is very dusty?
You should look for a TEFC (Totally Enclosed, Fan Cooled) motor. These prevent metal chips and conductive dust from entering the motor windings, which is a common cause of short circuits in fabrication environments.
How do I factor electricity costs into my fabrication job costing?
For most small shops, electricity is a small fraction of the cost, usually less than $1 per hour. However, a larger motor does draw more current. A good rule of thumb is to add a 2-3% “utility burden” to your hourly shop rate to cover power and heating/cooling.
Should I buy a new or used motor for my side-hustle mill?
For a business, I always recommend new. A used motor might have worn bearings or degraded insulation. The $100 you save on a used motor is lost the moment it fails during a “rush” job for a high-paying client.
How does motor alignment affect my consumable tracking?
Poor alignment causes the drive belt to rub against the pulley flanges, creating heat and dust. This wears the belt down rapidly. If you are replacing belts more than once a year in a part-time shop, your alignment is likely the culprit.
What is a “service factor” on a motor nameplate?
The service factor (SF) indicates how much a motor can be overloaded beyond its rated horsepower for short periods. A motor with a 1.15 SF can handle a 15% overload. For milling, a higher service factor is better as it provides a safety margin during heavy cuts.
Why is my new motor getting hotter than the old one?
It could be “voltage drop.” If your shop wiring is too thin for the new motor’s amperage draw, the voltage will drop, causing the motor to pull more current and generate excess heat. Always check your wire gauge and circuit breaker ratings.
Does a higher RPM motor always mean faster production?
Not necessarily. In metalworking, “surface feet per minute” (SFM) is key. If you have a high-speed motor but no way to gear it down, you will burn up your drill bits and end mills on steel. Torque at the spindle is more important than raw motor RPM.
How do I calculate the depreciation of a new mill motor for taxes?
In the US, small business owners can often use Section 179 to deduct the full cost of equipment in the year it was purchased. Otherwise, you typically spread the cost over 5 to 7 years. Consult a tax professional to see how this applies to your specific side-hustle structure.
(This article was written by one of our staff writers, Michael Hargrove. Visit our Meet the Team page to learn more about the author and their expertise.)