Easy Workshop Preventative Maintenance Tips for Tools (Guide)
I’ve spent the last fifteen years in a 1,200-square-foot shop, surrounded by the hum of cooling fans and the smell of ozone. My journey started with a cheap, flux-core welder and a second-hand bandsaw that shook the floor every time the blade touched metal. Back then, I believed the glossy brochures. I thought “industrial strength” meant a tool would last a decade without me touching it. I was wrong. After three motor burnouts and a gearbox failure that cost me a week of production, I started keeping a journal. I began logging every hour of trigger time, every oil change, and every time a fence drifted out of square.
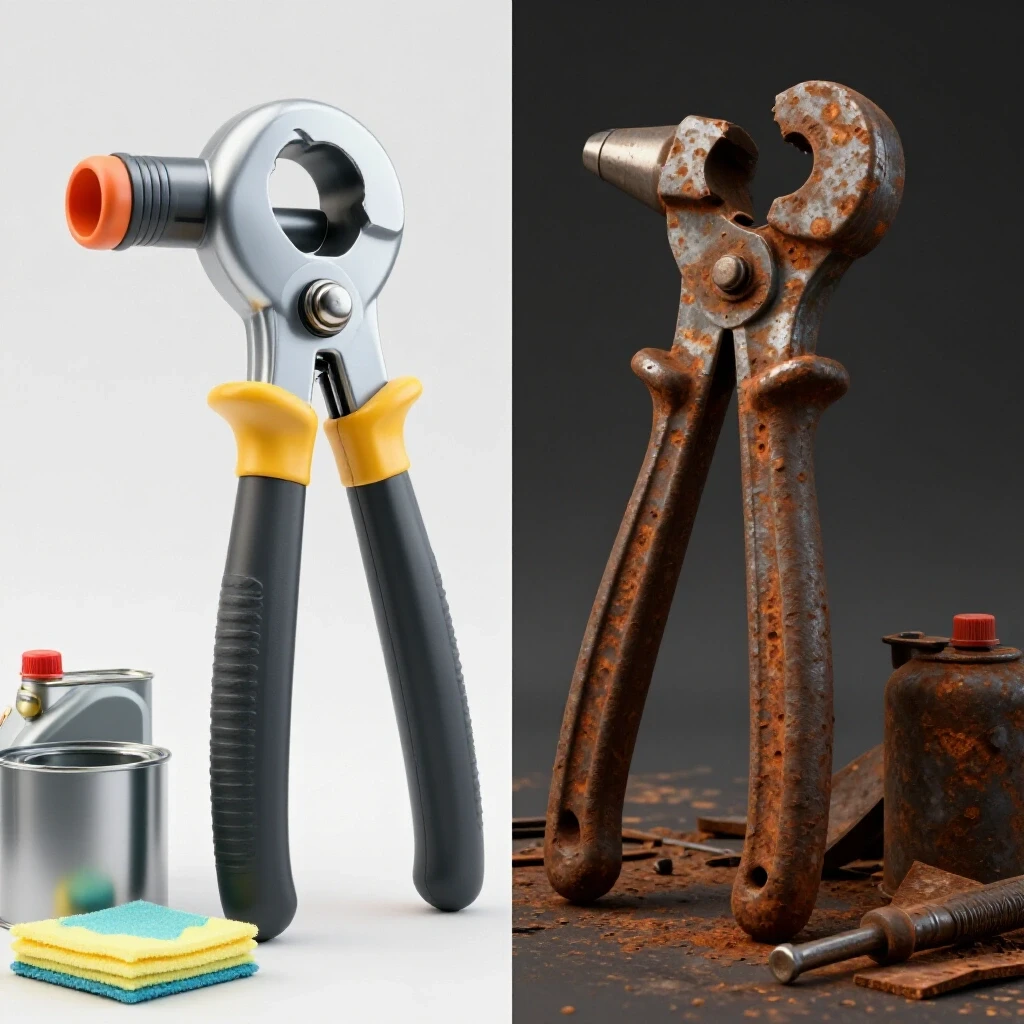
What I learned is that the gap between marketing claims and workshop reality is massive. A manufacturer might claim a 60% duty cycle, but my logs showed that in a 90-degree shop, that number dropped to 40% before the thermal overload kicked in. This guide isn’t about the latest “smart” features or shiny paint jobs. It is about the unglamorous, data-driven habits that keep your equipment running at peak efficiency for years. We are going to look at how to decode spec sheets, establish a rigorous care routine, and track performance metrics so you never have to guess if a tool is about to fail.
Decoding Manufacturer Specifications for Long-Term Reliability
Evaluating a tool starts long before you plug it in. It begins with understanding the engineering limits hidden in the fine print of the manual. Most buyers look at peak horsepower or maximum amperage, but those are often “burst” ratings that don’t reflect sustained use.
Understanding Duty Cycle and Thermal Management
A duty cycle is the percentage of a ten-minute period a machine can operate at a specific output before it must cool down. For example, a welder rated at 40% at 200A can run for four minutes but then requires six minutes of idling.
In my experience, running a machine at its absolute limit for the full duration of its duty cycle is a recipe for premature component aging. I generally follow the “80% Rule.” If a machine is rated for 200 amps, I try to keep my projects at 160 amps. This creates a buffer that protects the internal capacitors and transformers from heat soak. Heat is the primary enemy of electronics, especially in modern inverter-based tools. When you push a tool to its thermal limit, the internal varnish on the motor windings can begin to degrade, leading to a “soft” failure where the tool still runs but loses torque or output consistency.
Analyzing Motor Insulation Classes
Motor insulation classes tell you the maximum temperature the internal wiring can handle before the insulation fails. Most high-quality fabrication tools use Class F or Class H insulation.
- Class F: Rated for 155°C (311°F). This is standard for most professional-grade shop tools.
- Class H: Rated for 180°C (356°F). Usually found in heavy-duty industrial equipment meant for multi-shift operations.
When I’m researching a new cold saw or mill, I look for these ratings. If a manufacturer doesn’t list the insulation class, it’s usually because they are using cheaper Class B or Class A materials. In a hot garage during a July project, that difference is the gap between a tool that lasts fifteen years and one that smokes out in three.
| Tool Category | Entry-Level (Budget) | Mid-Range (Pro-sumer) | Premium (Industrial) |
|---|---|---|---|
| Welder Duty Cycle | 20% @ Max Output | 40-60% @ Max Output | 60-100% @ Max Output |
| Motor Insulation | Class A or B | Class F | Class H |
| Cooling System | Single Fan (Fixed) | Dual Fan (On-Demand) | High-Flow Liquid/Air |
| Typical Lifespan | 200 – 500 Hours | 1,500 – 3,000 Hours | 5,000+ Hours |
Establishing a Rigorous Inspection and Cleaning Routine
The most effective way to prevent a breakdown is to remove the debris that causes wear. In a metalworking environment, we deal with “conductive dust.” This is the fine spray of steel particles from grinders and saws that can settle on circuit boards and cause short circuits.
The Impact of Metallic Dust on Internal Electronics
Conductive dust acts like a bridge for electricity. If it builds up on an inverter board, it can jump across traces and fry a microprocessor. I make it a habit to use low-pressure compressed air (less than 30 PSI) to blow out the vents of my welders and plasma cutters every 50 hours of use.
Interestingly, using high-pressure air can actually be counterproductive. It can force metal shards deeper into the windings or damage delicate fan blades. I’ve found that a soft-bristled brush combined with a vacuum is often safer for the exterior vents. This simple five-minute task has prevented at least two major board failures in my shop over the last decade, based on the amount of grit I’ve extracted during routine checks.
Verifying Fastener Integrity and Structural Alignment
Vibration is a silent killer of precision. Every tool, from a drill press to a CNC table, has fasteners that will eventually vibrate loose. This leads to “stacking tolerances,” where a tiny bit of play in one bolt causes a larger misalignment elsewhere.
Every month, I perform a “wrench check” on my primary machines. I don’t just look at them; I physically check the tension on motor mounts, pulley set screws, and fence bolts. I once found a motor mount on my bandsaw that had backed off by three full turns. If I hadn’t caught it, the resulting belt misalignment would have chewed through a $40 drive belt and potentially damaged the motor shaft.
Lubrication Strategies for Precision Fabrication Machinery
Lubrication is about more than just reducing friction. It is about creating a seal against contaminants and preventing oxidation on machined surfaces. However, over-lubricating is just as dangerous as under-lubricating.
Managing Gearbox Oil and Slide Way Lubricants
Different parts of a machine require different types of protection. For instance, the ways on a lathe or mill need a “tacky” oil that won’t sling off when the carriage moves. Gearboxes, on the other hand, need a stable oil that can handle the heat of constant shearing.
- Way Oil (ISO 68): Designed to stay put on vertical and horizontal slides. It prevents “stiction,” which is that jerky movement you feel when a machine starts to move.
- Gear Oil (80W-90): Typically used in enclosed gearboxes. I check the level every 100 runtime hours and look for any signs of metallic “glitter” in the oil, which indicates internal gear wear.
- Lithium Grease: Best for sealed bearings or pivot points that don’t see high-speed rotation but require a heavy protective barrier.
In my workshop logs, I’ve noted that switching from a generic “all-purpose” spray to a dedicated way oil reduced the effort needed to move my mill table by nearly 30%. This doesn’t just make the work easier; it reduces the load on the lead screws, extending the life of the brass nuts that provide the machine’s accuracy.
Protecting Unfinished Surfaces from Corrosion
If you live in a humid climate, bare cast iron is a magnet for rust. Once a surface pits, it loses its flatness. I use a high-quality paste wax or a dedicated corrosion inhibitor on all my machine tables. I apply this after every major project. It creates a dry, non-greasy barrier that doesn’t attract metal chips or sawdust, which is a common problem with oil-based protectants.
Calibration and Alignment Checks for Operational Accuracy
A tool that runs but isn’t accurate is a liability. Preventative care must include a schedule for checking the “truth” of your equipment. This ensures that your 90-degree cuts stay at 90 degrees and your holes stay centered.
Squaring the Saw and Fence Systems
Over time, the hard stops on a miter saw or a cold saw can shift. I use a precision machinist square to check my saws every time I start a new project involving expensive materials. Building on this, I also check the “runout” of my drill press spindle using a dial indicator. Runout is the amount of wobble at the tip of the bit. If I see more than 0.003 inches of movement, I know the bearings are starting to seat poorly or the chuck needs reseating.
Tensioning and Tracking for Blade Longevity
On a bandsaw, the most common cause of blade failure isn’t the teeth wearing out; it’s the blade snapping due to improper tension or tracking. I use a tension gauge to ensure the blade is pulled to the manufacturer’s recommended PSI (usually around 25,000 to 30,000 PSI for carbon steel blades). If the tension is too low, the blade wanders, creating a curved cut. If it’s too high, you put unnecessary strain on the wheel bearings. Checking this once a week takes two minutes but can double the life of a $30 blade.
Creating a Maintenance Log and Tracking System
You cannot manage what you do not measure. I keep a digital spreadsheet, but a simple notebook tethered to each machine works just as well. The goal is to move from “reactive” fixes to “proactive” care.
My Personal Equipment Tracking Framework
I track four specific metrics for every major tool in my shop: 1. Runtime Hours: I use vibration-activated hour meters on my larger stationary tools. This gives me an objective measure of use. 2. Consumable Cost: How many blades, tips, or liners am I using? A sudden spike in consumable use often signals a mechanical issue. 3. Maintenance Date: What was done and what was found? 4. Performance Notes: Does the motor sound different? Is there a new vibration?
For example, my logs showed that my MIG welder’s wire feed liner consistently clogged every 100 pounds of wire. By scheduling a liner blow-out every 50 pounds, I reduced wire feeding issues by 80%. This saved me from the frustration of bird-nesting wire mid-weld, which used to happen at the worst possible moments.
Standard Machinery Maintenance Intervals
| Task | Frequency | Metric to Watch |
|---|---|---|
| Blow out internal dust | Every 50 Hours | Fan noise / Heat output |
| Check fastener torque | Every Month | Vibration levels |
| Lubricate slide ways | Before every use | Resistance to movement |
| Check blade/fence square | Every Project Start | Cut accuracy |
| Change gearbox oil | Every 500 Hours | Oil color/clarity |
| Inspect power cords | Every 3 Months | Cracked insulation/Heat at plug |
Why Cheap Motor Insulation Causes Mid-Project Tool Failure
It is tempting to save $200 on a tool that looks identical to a premium model. However, the internal components are where the cost cutting happens. I once bought a budget-brand bench grinder. On paper, it had the same horsepower as the industrial unit I replaced.
Within six months, the motor started losing power under load. When I opened it up, I found that the copper windings were significantly thinner than the premium version, and the “insulation” was a thin layer of cheap lacquer. As the motor heated up, the lacquer softened, and the windings eventually shorted out. This is why I stress checking the NEMA motor standards. A motor rated for “Continuous Duty” is a different beast than one rated for “Intermittent Duty.” If you plan on grinding for an hour straight, an intermittent motor will fail, regardless of how well you clean it.
Managing Warranties and Technical Documentation
When a tool does fail, having your documentation organized can save you hundreds of dollars in repair costs. I keep a digital folder for every tool that contains a PDF of the manual, a photo of the receipt, and my maintenance log.
Many manufacturers require proof of routine maintenance to honor a warranty claim. If your motor burns out and you can show a logbook documenting that you blew out the dust every 50 hours and checked the voltage of your shop’s power, you are in a much stronger position. I’ve had one manufacturer cover a replacement part outside of the warranty period simply because I could prove the machine had been meticulously cared for according to their own specifications.
High-Level Evaluation Principles for New Purchases
When you are ready to upgrade, use a data-driven approach. Don’t just look at the price tag; look at the “Total Cost of Ownership.”
- Parts Availability: Before buying, search for the replacement drive belts or switches. If you can’t find them easily online, that tool is a “disposable” item.
- Power Requirements: Does the tool require a dedicated 20A circuit? Running a high-draw tool on an undersized extension cord causes a voltage drop, which makes the motor run hotter and significantly shortens its life.
- Serviceability: Can you access the brushes on the motor? Can you drain the oil easily? If a tool is riveted shut or requires a specialized factory tool to open, it isn’t designed for long-term ownership.
Practical Benchmarks for the Active Fabricator
If you are balancing a budget and performance, aim for the “Mid-Range” category. These tools usually offer the best balance of Class F insulation, decent duty cycles, and replaceable parts without the massive price jump of true industrial machinery.
- Avoid: Tools with plastic gear housings or non-replaceable motor brushes.
- Prioritize: Tools with cast iron components, adjustable gibs on slides, and clear thermal overload protection indicators.
- Monitor: Use a non-contact infrared thermometer to check motor temperatures during heavy use. If you see the housing exceeding 140°F (60°C), it’s time to take a break, regardless of what the duty cycle says.
Summary of Actionable Next Steps
To move toward a more reliable workshop, start small. You don’t need a complex system overnight.
- Identify your three most critical tools. These are the ones that, if they broke today, would stop your projects completely.
- Create a one-page “Checklist” for each. Include cleaning, lubrication, and alignment steps.
- Buy an hour meter or start a logbook. Record the current state of each tool and any weird noises or behaviors.
- Perform a deep clean. Blow out the dust, wipe down the tables, and apply a fresh coat of protectant.
By treating your tools as investments rather than consumables, you change your relationship with your shop. You stop fighting your equipment and start trusting it. This leads to better work, lower costs, and a much more enjoyable fabrication experience.
FAQ: Maximizing Tool Longevity and Performance
How can I tell if my tool’s motor is overheating before it fails?
Listen for changes in the motor’s pitch and feel the housing. If the casing is too hot to touch for more than a second, you are likely exceeding the insulation’s thermal limits. You may also notice a distinct “sweet” smell, which is the motor varnish beginning to cook.
Is it really necessary to use specialized way oil?
Yes. Standard oils like WD-40 or 3-in-1 are too thin and will evaporate or run off quickly. Way oil contains “tackifiers” that help it cling to vertical surfaces and provide a consistent film that prevents metal-on-metal contact during slow movements.
What is the most common cause of inverter welder failure?
Conductive dust buildup is the primary killer. Because inverter welders use high-speed fans to pull air over heat sinks, they also suck in metal filings from your grinders. This dust eventually causes a high-voltage arc on the circuit board, which usually results in a non-repairable failure.
How often should I square my saw fences?
I recommend a quick check before any project where precision matters. For general shop use, a monthly calibration is usually sufficient. However, if you accidentally bump the fence with a heavy workpiece, you should re-verify the squareness immediately.
Do brushless motors require less maintenance?
Brushless motors are more efficient and have no brushes to replace, but they still require cooling. The electronics (controllers) that run brushless motors are sensitive to heat and dust, so the cleaning routines mentioned above are actually even more critical for brushless tools.
What should I look for in a tool warranty?
Look for “bumper-to-bumper” coverage rather than “limited” warranties. A good warranty should cover the motor and electronics for at least 3 years. Be wary of warranties that require you to pay for shipping a 100-pound tool back to the factory, as the shipping cost can often exceed the repair value.
Can I use an extension cord with my high-draw power tools?
Only if it is a heavy-gauge cord (12 AWG or 10 AWG) and kept as short as possible. Long, thin extension cords cause a voltage drop. When voltage drops, the amperage must increase to maintain the same power, which generates excessive heat in the motor windings.
Why does my bandsaw blade keep wandering even when it’s new?
This is usually a sign of low blade tension or misaligned blade guides. Check your tension with a gauge and ensure the ceramic or roller guides are positioned about 0.005 inches away from the blade. If the guides are too far away, the blade will twist under the pressure of the cut.
How do I store tools to prevent rust without making them greasy?
Use a high-quality paste wax or a dry-film rust inhibitor. These products provide a barrier against moisture but dry to a hard finish that doesn’t rub off on your workpieces or attract abrasive dust.
Is there a way to “recondition” a tool that has been neglected?
Start with a deep clean and a full lubrication cycle. Replace all consumables (brushes, belts, blades). Check for any play in the bearings. If the motor still runs smoothly and doesn’t smell, a thorough calibration can often bring a neglected tool back to 90% of its original performance.
(This article was written by one of our staff writers, David Reynolds. Visit our Meet the Team page to learn more about the author and their expertise.)