How to Build a Sag-Free Heavy Duty Solar Battery Rack (Fix)
I have spent over a decade in the shop, and if there is one thing I have learned, it is that steel has a mind of its own. I remember my first major custom fabrication project: a heavy-duty storage rack for a set of lead-acid blocks. I measured every piece to the sixteenth of an inch and cut them perfectly. But as soon as I finished welding the main shelf supports, the entire frame looked like a potato chip. The heat had pulled the corners up, and the center had sagged before I even put a single pound of weight on it.
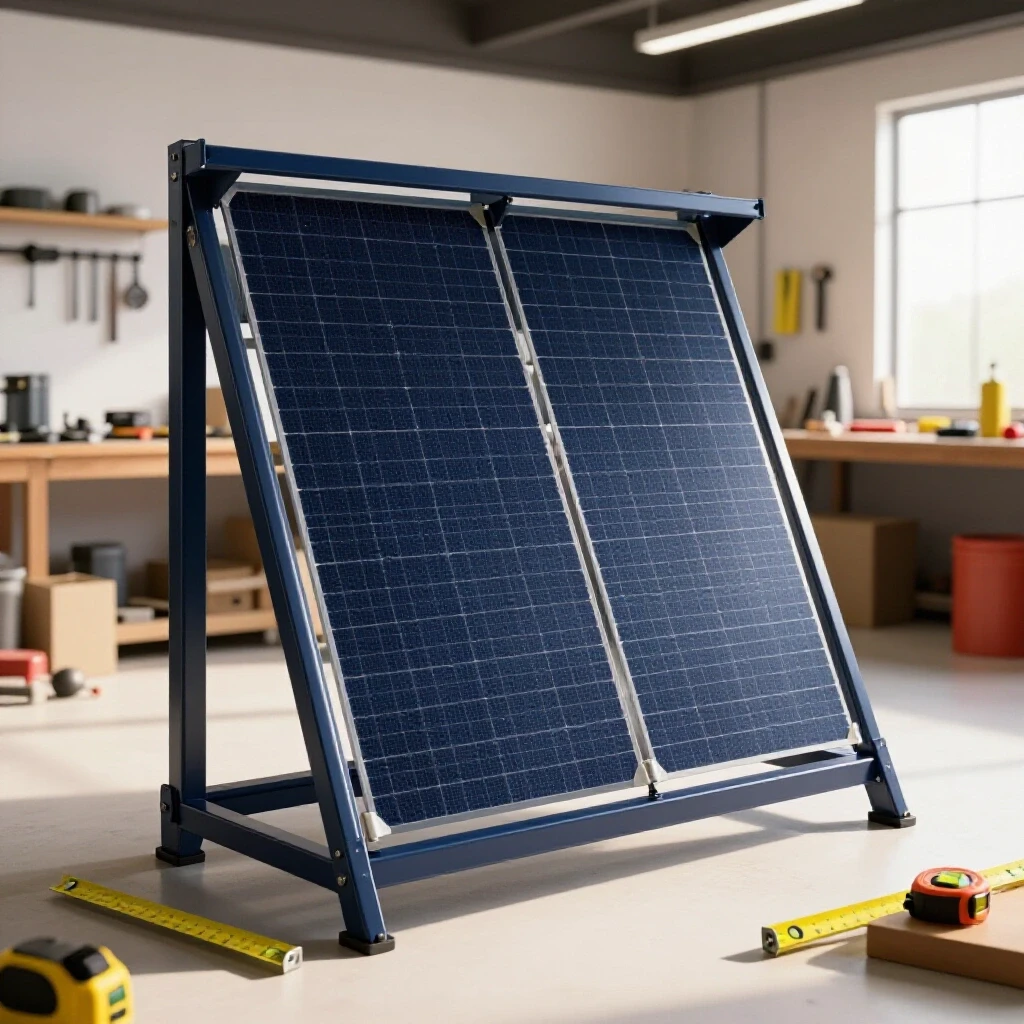
That failure taught me that building a rigid, heavy-duty frame is not just about having a good welder. It is about understanding how metal moves when it gets hot and how to use geometry to fight gravity. When you are building a structure meant to hold hundreds of pounds of dead weight, you cannot afford to have a frame that creeps or bows over time. You need a plan that accounts for material behavior from the very first cut.
In this guide, I am going to walk you through the process of building a structurally sound, sag-free frame. We will cover everything from selecting the right steel profiles to the exact order you should lay your welds to prevent warping. My goal is to help you avoid the mistakes I made early in my career so your project stays square, flat, and strong for years.
Designing for Rigidity: Metal Stock Selection and Load Planning
Selecting the right steel profile and thickness determines how much weight a frame can carry without bending. It involves calculating the expected load and selecting material like structural angle or square tubing that resists deflection over time.
When you are planning a heavy-duty storage solution, the most common mistake is choosing material that is too thin. While a 1/8-inch wall tube might feel strong in your hands, it can slowly “creep” or deform under a constant load. For a frame that will hold heavy units, I generally recommend at least 3/16-inch or 1/4-inch wall thickness for the primary load-bearing members.
Why Wall Thickness and Yield Strength Matter
Yield strength is the point where metal permanently deforms. For heavy storage, using a thicker wall prevents ‘creep,’ which is the slow sagging of metal under a constant heavy load.
If you exceed the yield strength of your steel, the rack will not just flex; it will stay bent. When I build these frames, I look for ASTM A36 structural steel. It is a common carbon steel that is easy to weld and has a predictable yield strength of about 36,000 psi. By using square or rectangular tubing instead of flat bar, you gain much more resistance to bending because the material is distributed further from the center of the beam.
Comparing Common Steel Profiles for Heavy Loads
| Profile Type | Pros | Cons | Best Use |
|---|---|---|---|
| Square Tubing | High torsional rigidity; easy to square up. | Harder to clean inside if left open. | Main vertical posts and outer frame. |
| Angle Iron | Very easy to weld; units sit inside the “L” shape. | Can twist under heavy eccentric loads. | Shelf supports and cross-bracing. |
| C-Channel | Extremely strong for long spans. | Heavy and can be overkill for small racks. | Main horizontal beams for wide spans. |
| Rectangular Tube | Best resistance to vertical sagging. | More expensive than square tubing. | Primary weight-bearing shelf rails. |
Precision Cutting and Kerf Allowances for Square Frames
Accurate cutting is the first step in preventing a warped build. Kerf is the width of material removed by the saw blade, and failing to account for it leads to gaps that pull the frame out of square during welding.
If your cuts are off by even a 1/32 of an inch, those gaps will cause problems. When you weld a joint with a gap, the cooling weld metal has to “bridge” that space. As it cools, it shrinks and pulls the longer piece toward the gap. This is how a frame that started square ends up looking like a trapezoid. I always measure twice and account for the thickness of the blade.
Calculating Kerf for Different Cutting Tools
Every tool, from a portaband to a cold saw, has a specific blade thickness. Measuring this ensures that your final pieces match your blueprint exactly.
To find your kerf, take a scrap piece of metal and make a partial cut. Measure the width of the slot left by the blade. When you mark your steel, you should always cut on the “waste” side of your line. If you cut directly down the middle of your mark, your finished piece will be shorter by exactly half of the kerf width.
- Abrasive Chop Saw: Kerf is usually 3/32″ to 1/8″. These produce a lot of heat and can leave a burr.
- Cold Saw: Kerf is roughly 1/16″ to 3/32″. These give the cleanest, most accurate cuts.
- Horizontal Bandsaw: Kerf is usually 0.035″ to 0.045″. Great for repeatable, square cuts.
- Plasma Cutter: Kerf varies by tip size but is often around 0.060″. Not recommended for precision frame joints without grinding.
Mastering Workshop Jigs and Fixtures for Alignment
Jigs are temporary structures used to hold workpieces in the exact position during the assembly process. They act as a second set of hands, ensuring every corner stays at a perfect 90-degree angle while you tack.
I have learned that you can never have too many clamps. In my shop, I use a thick steel plate as a welding table. If you are working on a garage floor, you are already at a disadvantage because concrete is rarely flat. I recommend building a simple “ladder jig” out of straight scrap steel to provide a flat reference surface for your frame.
The Role of Layout Tables in Heavy Fabrication
A flat, heavy welding table provides a reference plane for your project. By clamping your work to a known flat surface, you physically restrain the metal from moving as it heats up.
If you do not have a dedicated welding table, you can use heavy-duty sawhorses and a pair of straight C-channels. Lay the channels parallel to each other and level them across the span. This creates a “plane” that prevents your frame from twisting. When you clamp your square tubing down to these channels, the metal is forced to stay flat even as the heat tries to pull it.
Essential Tools for Metal Layout Tips
- Machinist Squares: Do not rely on a cheap carpenter’s square. A precision machinist square is vital for checking 90-degree joints.
- F-Clamps and C-Clamps: Use these to pull the steel tight against your jig or table.
- Corner Clamps: These hold two pieces at 90 degrees, but be careful—they can sometimes mask a bad cut.
- Scriber and Layout Dye: A pencil line is too thick for precision work. Use a carbide scriber for a line that is only a few thousandths of an inch wide.
Controlling Metal Warping with Strategic Weld Sequencing
Weld sequencing is the specific order in which you apply heat to a joint. By alternating sides and directions, you balance the shrinking forces of the cooling metal to keep the frame straight.
When you weld one side of a joint, the metal expands and then contracts as it cools. This contraction acts like a powerful winch, pulling the metal toward the weld. If you weld the entire front of a frame first, the whole thing will bow forward. The secret to metal warping solutions is to balance those forces by welding in short sections on opposite sides of the structure.
Understanding Angular Pull and Weld Shrinkage
As molten metal cools, it contracts and pulls the surrounding material toward the center of the weld. This ‘pull’ is the primary cause of distortion in custom fabrication projects.
Imagine a T-joint. If you weld a heavy bead on the right side, the vertical member will tilt to the right. To counter this, you must either pre-set the piece (tilt it slightly to the left before welding) or use a sequence that applies heat to the left side immediately after. In my experience, the best way to maintain a sag-free structure is to use the “back-stepping” technique, where you weld in the opposite direction of the overall bead progression.
Recommended Weld Sequencing for a Rectangular Frame
| Step | Action | Purpose |
|---|---|---|
| 1 | Tack all four corners on the outside. | Holds the basic shape without much heat. |
| 2 | Check squareness by measuring diagonals. | Diagonals must be within 1/16″ for a true square. |
| 3 | Tack the inside of all four corners. | Prevents the corners from pulling open. |
| 4 | Weld 1-inch sections on opposite corners. | Distributes heat evenly across the frame. |
| 5 | Flip the frame and repeat on the back side. | Balances the “pull” from the front-side welds. |
Structural Tacking and Bracing Techniques
Tacking involves making small, temporary welds to hold the structure together before the final pass. Proper tacking prevents the frame from shifting out of alignment as the main beads are laid down.
A tack weld should be small enough to be easily ground away if you make a mistake, but strong enough to resist the initial pull of the main weld. For 3/16-inch steel, I usually make tacks that are about 1/4-inch long. I place them at the corners of the joint where they can act as a pivot point if I need to make a final adjustment with a dead-blow hammer.
Why Cross-Bracing is Non-Negotiable
A simple four-sided frame is surprisingly weak against “racking,” which is when the rectangle leans over into a parallelogram. To ensure a sag-free heavy-duty structure, you must incorporate triangles.
I always add diagonal bracing to the back and sides of my racks. Even a small gusset in the corners can significantly increase the weight capacity. For the heaviest builds, I run a piece of flat bar or angle iron from the top corner to the opposite bottom corner. This turns the frame into two triangles, which are geometrically incapable of deforming without the metal itself stretching or compressing.
- Gusset Plates: 1/4″ thick triangular plates welded into the corners.
- Diagonal Bracing: Angle iron or flat bar running at a 45-degree angle.
- K-Bracing: Used for very tall racks to prevent the vertical posts from bowing outward.
Correcting Heat Distortion and Final Straightening
Even with the best planning, some movement may occur. Final straightening involves using heat or mechanical force to bring a slightly warped frame back into its intended dimensions.
If you finish your frame and find a slight bow, do not panic. You can often use “flame straightening” or mechanical pressure to fix it. If a beam has bowed upward, you can apply a small amount of heat to the top side with an oxy-acetylene torch. As that spot cools, it will shrink and pull the beam back down. However, this takes practice and should be used sparingly.
Actionable Benchmarks for Quality Control
- Dimensional Tolerance: Aim for +/- 1/16th inch across the entire width of the rack.
- Squareness Check: Measure from the top-left corner to the bottom-right, then top-right to bottom-left. These numbers must match.
- Flatness Test: Lay a straightedge across the shelf rails. There should be no light visible under the straightedge.
- Tack Weld Count: At least four tacks per joint on square tubing (one on each face).
Practical Build Log: The “No-Sag” Shelf Frame
When I built a rack for a 400lb battery bank last year, I followed a strict sequence to ensure the shelves stayed perfectly flat. I used 2″ x 2″ x 3/16″ square tubing for the uprights and 2″ x 2″ x 1/4″ angle iron for the shelf supports.
First, I cut all my pieces using a horizontal bandsaw. I accounted for a 0.045″ kerf, which meant my horizontal rails were exactly the same length. I laid the parts out on my welding table and used heavy F-clamps to secure the perimeter. I tacked the outside corners first, checked my diagonals, and found I was off by 1/8″. A quick tap with a sledgehammer brought it back into square.
I then used a “staggered” weld sequence. I welded the front-left corner, then the back-right, then the front-right, then the back-left. By the time I finished, the frame was dead square. To prevent the long shelf spans from sagging under the 400lb load, I added a center support rib made of the same 1/4″ angle iron. This reduced the unsupported span by half, which technically increases the stiffness by a factor of eight.
Summary of Key Takeaways
Building a heavy-duty, sag-free structure is a game of managing physics. You must start with a flat reference surface and use material thick enough to handle the stress. By accounting for kerf during your cuts, you ensure tight joints that require less filler metal and therefore generate less heat.
The most important lesson is to never rush the welding process. Use plenty of tacks, check your squareness constantly, and follow a weld sequence that balances the heat across the frame. If you take the time to clamp your work and use diagonal bracing, you will end up with a project that is professional, durable, and perfectly straight.
Frequently Asked Questions
How do I prevent my rack from sagging in the middle over time? To prevent long-term sagging, or “creep,” you must select a material with a high moment of inertia, such as rectangular tubing oriented vertically. Additionally, adding a center support leg or a middle cross-member effectively shortens the span, which significantly reduces deflection.
Is it better to use a MIG or TIG welder for a heavy rack? MIG welding is generally preferred for heavy structural frames because it is faster and provides excellent penetration on thicker materials. TIG is cleaner but puts more localized heat into the metal, which can actually increase warping if you are not careful with your sequence.
What is the best way to check if my frame is square? The most accurate way is to measure the diagonals. Measure from one corner to the opposite diagonal corner. Then measure the other two corners. If the two measurements are identical, your frame is perfectly square.
How thick should the steel be for a rack holding 1,000 lbs? For a 1,000 lb load distributed across multiple shelves, I recommend using at least 3/16″ wall thickness square tubing for the uprights and 1/4″ thick angle iron for the shelf supports. Always include diagonal bracing to handle the lateral load.
Why did my frame twist even though I clamped it to a table? You likely released the clamps before the welds had completely cooled. Metal continues to shrink until it reaches room temperature. If you unclamp too early, the residual stresses will pull the frame out of alignment.
Can I build a sag-free rack using aluminum? Yes, but aluminum has a lower modulus of elasticity than steel, meaning it will flex about three times as much under the same load. You will need to use much thicker profiles and be very careful with heat management, as aluminum conducts heat much faster than steel.
What size tack welds should I use? For most structural projects using 1/8″ to 1/4″ steel, a tack weld should be about 1/4″ to 3/8″ long. Ensure you get good penetration on the tack so it doesn’t “pop” when the main weld starts to pull on it.
Do I need to weld all the way around every joint? For maximum rigidity and to prevent moisture from entering the tubing (which causes rust), yes, you should weld all four sides. However, you must do this in a staggered sequence to prevent the heat from warping the joint.
How do I fix a beam that has already sagged? If a beam has a slight bow, you can use a hydraulic jack and a heavy weight to “over-bend” it back into position. For more precise fixes, flame straightening involves heating the side opposite the sag so that it shrinks and pulls the beam straight as it cools.
Should I paint or powder coat my rack? For a workshop environment, a high-quality primer and enamel paint are usually sufficient. However, if the rack will be in a high-moisture area, powder coating provides a more durable barrier against corrosion, which can weaken the steel over many years.
(This article was written by one of our staff writers, Robert Kline. Visit our Meet the Team page to learn more about the author and their expertise.)