How to Weld and Align a Sliding Metal Barn Door Frame (Fix)
I have spent thirteen years in fabrication shops, and I still remember the first time a large steel frame got the best of me. I had measured every piece of square tubing to the exact sixteenth of an inch. My cuts were clean, and my layout looked great on the table. But as soon as I finished the final weld and released the clamps, the entire structure popped up at the corners like a potato chip. It was no longer a flat door; it was a three-dimensional lesson in how heat can ruin a project.
Watching a carefully planned build warp out of square is one of the most frustrating experiences for a DIY builder. In my time as a prototype technician, I learned that metal is a living material that moves, breathes, and pulls whenever you introduce heat. Successfully building a large, flat sliding panel requires more than just a steady hand with a MIG gun. It demands a structured approach to layout, a rigid fixturing strategy, and a calculated welding sequence.
Designing the Cut List and Calculating Kerf
A cut list is your roadmap for the entire build, detailing every length of steel needed before you strike an arc. Calculating kerf involves accounting for the thickness of the blade or disc used to make the cut, which prevents the final frame from being shorter than intended.
When I start custom fabrication projects, I never just “eyeball” the measurements. If you are using a chop saw with a 1/8-inch thick abrasive blade, every cut removes 1/8 inch of material. If you have four vertical slats and don’t account for those four cuts, your finished frame could be a half-inch too narrow. I always mark my lines and then ensure the blade falls on the “waste” side of the mark.
Material selection is just as important as the measurements. For a standard sliding utility door, I typically recommend 2-inch square tubing with a 1/8-inch (11-gauge) wall thickness. This provides a high strength-to-weight ratio without being so heavy that it stresses the mounting hardware. Before cutting, check your stock for “mill scale,” which is the dark, flaky outer layer of the steel. This must be ground off at the weld sites to ensure a clean, structurally sound bond.
| Cutting Tool Type | Average Kerf Width | Best Use Case |
|---|---|---|
| Abrasive Chop Saw | 1/8″ to 5/32″ | Rough cuts, heavy wall tube |
| Cold Saw | 3/32″ to 1/8″ | Precise, burr-free cuts |
| Portable Band Saw | 1/32″ to 1/16″ | On-the-fly adjustments |
| Plasma Cutter | 1/16″ to 3/32″ | Complex shapes or thick plate |
Building Workshop Jigs and Layout Fixtures
A workshop jig is a temporary structure or setup designed to hold workpieces in the exact position required for assembly. These fixtures act as a second set of hands, ensuring that the metal stays aligned while you apply the heat of the weld.
You cannot expect a large frame to stay flat if you are welding it on a pair of uneven sawhorses. I learned this the hard way while building a utility trailer frame in my early twenties. The ground was slightly sloped, and the finished trailer tracked crookedly down the road. For a sliding panel, you need a flat reference surface. If you don’t have a professional welding table, you can create a temporary jig using a heavy-duty workbench or even a flat concrete floor with steel spacers.
Using “stops” is a great metal layout tip. These are small blocks of scrap steel clamped to your table that create a perimeter for your frame. Once you have one corner perfectly square, you clamp these stops into place. This allows you to drop your material into a pre-set “nest,” which maintains your outer dimensions and keeps the frame from shifting as you work.
- Use a minimum of two clamps per corner to prevent rotation.
- Space your supports every 24 to 36 inches to prevent the material from sagging under its own weight.
- Always check the “diagonals” by measuring from the top-left corner to the bottom-right, then vice versa.
- If the diagonal measurements are within 1/16 inch of each other, the frame is square.
The Physics of Weld Shrinkage and Distortion
Weld shrinkage is the physical contraction of metal as it cools from a molten state to room temperature. This contraction exerts thousands of pounds of force on your frame, which is the primary cause of warping and misalignment in steel projects.
When you lay a bead of weld, the metal expands rapidly. As it cools, it shrinks to a volume slightly smaller than its original state. This is called “longitudinal” and “transverse” shrinkage. If you weld only one side of a joint, that side will “pull” toward the weld. In a large frame, this results in a bowed rail or a corner that is no longer 90 degrees.
I often think of welding as a tug-of-war. Every weld you make is pulling on the steel. To keep things straight, you have to provide a counter-pull or use physical restraints to hold the metal in place until it has cooled completely. Understanding that the metal will move is the first step toward controlling it.
Strategic Tack Welding for Structural Integrity
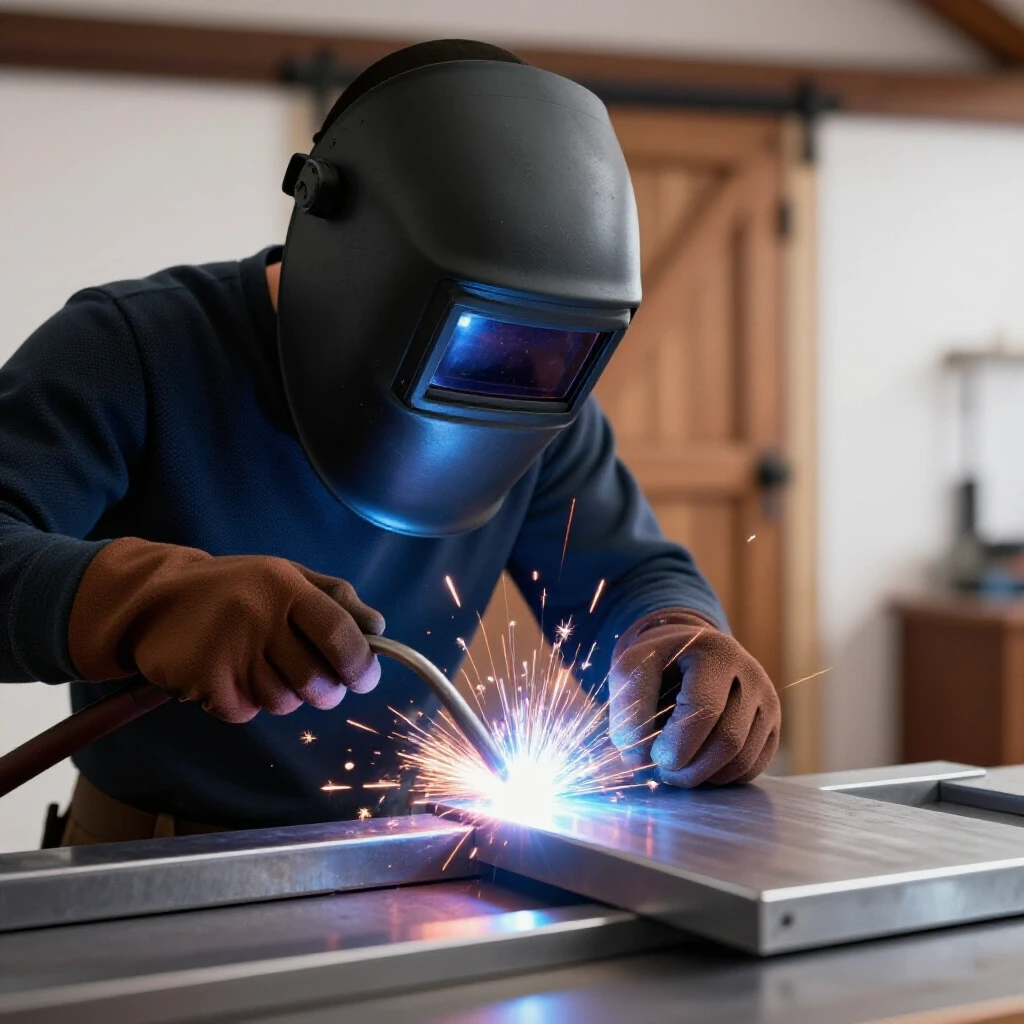
A tack weld is a small, temporary weld used to hold components in proper alignment before the final beads are applied. Tacking strategies involve placing these small welds in specific locations to resist the initial “pull” of the heat.
For a 2-inch square tube frame, I generally use four tacks per joint—one in the center of each face. I start with a tack on the inside corner, then move to the outside corner. This balances the tension. I avoid making my tacks too small; a “bird-dropping” tack will simply crack as the metal cools and moves. A solid tack should be about 1/4 inch to 3/8 inch long.
- Place your first tack on the inside of the corner.
- Re-check your squareness with a machinist square.
- Place the second tack on the outside of the corner.
- Check your diagonal measurements again.
- Place the final two tacks on the top and bottom faces.
If you find that the frame has pulled out of square after the first few tacks, you can often “cold-set” it. This involves using a dead-blow hammer to gently tap the frame back into alignment before the metal is fully locked in by the final welds.
Mastering the Weld Sequencing Layout
Weld sequencing is the specific order in which you apply your final welds to distribute heat evenly across the entire structure. A proper sequence prevents heat from building up in one area, which reduces the overall distortion of the frame.
The biggest mistake I see in garage shops is “running the bead.” This is when a builder starts at one corner and welds all the way around the frame in a circle. By the time they reach the starting point, the frame has absorbed so much heat that it is guaranteed to warp. Instead, I use a “staggered” or “back-step” approach.
Building on this, I always move from corner to corner in a cross-pattern, similar to how you tighten the lug nuts on a car tire. If I weld the top-left corner, my next weld is the bottom-right. This allows the first corner to cool down while I work on the opposite side, keeping the overall temperature of the frame lower and more consistent.
| Weld Stage | Location | Purpose |
|---|---|---|
| Initial Tacks | All Corners (Inside/Outside) | Establish basic geometry |
| Secondary Tacks | Mid-span Braces | Prevent bowing of long rails |
| Root Pass (Short) | Alternating Corners | Lock in the squareness |
| Final Fill | Opposite Sides | Complete the structural bond |
Correcting Heat Distortion and Bowed Rails
Heat distortion is the permanent deformation of metal caused by uneven cooling and residual stresses. Correcting this often requires the strategic application of more heat or mechanical force to “pull” the metal back into its desired shape.
Even with the best sequencing, a 7-foot or 8-foot door frame might still develop a slight bow. If a rail is bowed outward, I use a technique called “flame straightening.” This involves heating a small, triangular area on the outside of the bow with an oxy-acetylene torch. As that spot cools, it shrinks and pulls the rail back toward center.
Interestingly, you can also use “mechanical persuasion.” If a frame has a slight twist, I will sometimes clamp one end to my heavy table and use a long lever (like a 4-foot piece of pipe) to gently twist it back. You must be careful not to exceed the “elastic limit” of the steel, or you could cause a permanent kink. It is a game of millimeters, and it requires patience.
- Check for “propeller” twist by looking down the length of the frame from one end.
- Use a straightedge to identify high or low spots along the rails.
- Address twists before addressing bows; a twisted frame is harder to fix once fully welded.
- Always let the metal cool naturally; quenching with water can make the steel brittle and increase warping.
Standard Tolerances for Sliding Door Frames
In custom fabrication, “tolerance” refers to the allowable amount of variation in a measurement. For a functional sliding panel, maintaining tight dimensional tolerances ensures that the rollers move smoothly and the door sits flush against the wall.
For most of my projects, I aim for a tolerance of +/- 1/16 inch. If the frame is 1/8 inch out of square over an 8-foot span, the door might look fine to the naked eye, but it may not hang plumb. This can cause the door to “creep” or slide open on its own if the track isn’t perfectly level.
- Width/Height: +/- 1/16 inch.
- Squareness (Diagonals): Within 1/8 inch difference.
- Flatness: No more than 1/8 inch of “daylight” under a 4-foot straightedge.
- Tack Spacing: Tacks every 12-18 inches for long internal slats.
Final Finishing and Hardware Alignment
The finishing process involves grinding down welds and ensuring that the mounting points for rollers are perfectly aligned. This is the final step in ensuring the frame functions as a utility fixture rather than just a piece of metal art.
I prefer to leave my corner welds “proud” (meaning I don’t grind them completely flush) if the design allows, as this maintains maximum strength. However, for a sliding door, the top rail must be smooth so the roller brackets can sit flat. I use a 40-grit flap disc for material removal, followed by an 80-grit disc for a smoother finish.
When it comes time to mount the rollers, I use a center punch to mark my holes. If your drill bit “walks” even 1/8 inch off-center, the door will hang at an angle. I always drill a small pilot hole first to ensure the larger bit stays on target. This precision is what separates a professional-looking build from a weekend “hack job.”
Lessons from the Field: Avoiding Common Pitfalls
Over the years, I have seen many talented builders fail because they rushed the layout phase. One specific project comes to mind: a set of industrial doors for a local shop. I was in a hurry and didn’t check my table for flatness. The doors looked great in the shop, but once they were hung on the track, they had a 1/2-inch gap at the bottom because the frames were twisted.
As a result, I now spend 60% of my time on prep and only 40% on actual welding. If your cuts are square and your jig is solid, the welding becomes the easy part. Don’t be afraid to cut a tack and redo a joint if it doesn’t look right. It is much easier to fix a mistake at the tacking stage than it is to grind out a 3-inch full-penetration weld.
- Mistake: Welding too hot. High amperage increases the “heat-affected zone” and leads to more warping.
- Mistake: Forgetting to clean the steel. Rust and oil cause porosity, which weakens the joint.
- Mistake: Removing clamps too soon. Let the metal cool to the touch before releasing the pressure.
- Mistake: Ignoring the “pull.” Always assume the metal will move toward the weld.
Summary of the Fabrication Workflow
Building a durable, straight metal frame is a process of managing forces. By using a rigid jig, accounting for kerf, and following a strict weld sequence, you can produce a high-quality sliding panel that functions perfectly for years.
- Prep: Create a detailed cut list and clean all joinery surfaces.
- Layout: Set up a flat jig with stops and clamps.
- Tack: Place balanced tacks and verify squareness using diagonals.
- Weld: Use a staggered sequence to distribute heat and minimize pull.
- Straighten: Check for warps and use heat or mechanical force to correct them.
- Finish: Grind welds flush where necessary and mount hardware with precision.
Frequently Asked Questions
What is the best way to ensure my frame is perfectly square before welding? The most reliable method is measuring the diagonals. Measure from the top-left corner to the bottom-right, then from the top-right to the bottom-left. If the two numbers are identical, the frame is square. I also recommend using heavy-duty L-squares clamped directly to the corners during the tacking process.
Can I use a flux-core welder for this project, or do I need MIG with gas? You can use flux-core, but be aware that it produces more heat and more splatter. This can lead to increased warping if you aren’t careful with your sequencing. MIG with an Argon/CO2 mix is generally preferred for thinner-wall tubing because it allows for better heat control and cleaner welds.
How do I stop the “propeller” twist in a long door frame? Twists usually happen because the work surface wasn’t flat or the clamps weren’t tight enough. To prevent this, ensure your supports are level across the entire length of the frame. If a twist occurs, you can often fix it by clamping one end to a heavy table and using a long lever to “tweak” the other end back into alignment.
Should I weld the entire joint at once or do it in sections? Always weld in sections. For a 2-inch tube, I might weld one side, move to a different corner, weld a side there, and then come back. This “back-stepping” prevents the metal from getting too hot in one spot, which is the primary cause of severe warping.
What thickness of steel is best for a DIY sliding door? I recommend 11-gauge (1/8-inch) or 14-gauge (approx. 0.075-inch) square tubing. 11-gauge is easier to weld without burning through, while 14-gauge is lighter and easier to hang. Avoid using 1/4-inch wall tubing, as it adds unnecessary weight and requires much more heat to weld.
Why did my frame warp even though I used clamps? Clamps can only do so much. When the metal cools, the internal stresses are incredibly strong. If you release the clamps while the metal is still hot, it will “spring” into a warped shape. Always wait until the steel is cool enough to touch before removing your fixtures.
How do I account for the thickness of the paint or powder coating? If you are building a frame to fit a specific opening, subtract about 1/8 inch from your total width and height to allow for the thickness of the finish and a little bit of “wiggle room.” It is much easier to fill a small gap with a weatherstrip than it is to grind down a finished door that is too tight.
What is the “3-4-5 rule” and how does it help with alignment? The 3-4-5 rule is a geometry trick to find a 90-degree angle. Measure 3 inches (or feet) along one rail and 4 inches along the other. If the distance between those two points is exactly 5 inches, the corner is perfectly square. This is very helpful for large frames where a small square might not be accurate enough.
Do I need to weld the inside of the frame where the slats meet the outer rail? Yes, but you don’t need a continuous bead. Small 1-inch “stitch welds” spaced every 6 inches are usually enough to hold internal slats or decorative pieces. This provides plenty of strength while significantly reducing the amount of heat introduced to the frame.
How can I tell if I’ve used too much heat? If the area around the weld (the heat-affected zone) is a deep purple or blue and extends more than a half-inch from the bead, you are likely using too much heat or moving too slowly. A good weld on 1/8-inch steel should have a narrow, straw-colored or light blue heat-affected zone.
(This article was written by one of our staff writers, Robert Kline. Visit our Meet the Team page to learn more about the author and their expertise.)