How to Weld a Squeak-Free Steel Platform Bed Frame (DIY Plan)
I have spent thirteen years in fabrication shops and prototype labs, and if there is one thing I have learned, it is that steel has a mind of its own. You can measure three times and cut once with a precision cold saw, but the moment you strike an arc, the heat starts pulling your project out of alignment. I remember building my first utility trailer; I thought I had everything clamped down tight, but by the time I finished the perimeter welds, the entire tail section had bowed upward by nearly half an inch. It was a humbling lesson in thermal expansion and the raw power of weld shrinkage.
When you are building a custom steel foundation for a mattress, the stakes are different than a trailer. You are not just fighting for structural strength; you are fighting for silence and a perfectly flat plane. A bed frame that squeaks or wobbles is a failure of fabrication. To avoid these issues, you need to understand how to manage your heat, how to sequence your beads, and how to create a layout that accounts for the physical behavior of 14-gauge square tubing. This guide focuses on the technical precision required to turn raw steel into a silent, rigid structure that stays square from the first tack to the final grind.
Designing the Cut List and Calculating Kerf Allowances
A successful build starts with a precise roadmap that accounts for the physical space your tools occupy during the cutting process. This involves more than just listing lengths; it requires understanding how your saw blade removes material and how that affects your final dimensions.
Before you even touch a piece of steel, you need a detailed cut list. For a standard queen-size project, I prefer using 1 inch by 1 inch 14-gauge square tubing. It offers an ideal balance between weight and rigidity. However, you must account for the kerf, which is the width of the material removed by the saw blade. If you are using a standard abrasive chop saw, your kerf is likely 1/8 of an inch. If you ignore this across twenty cuts, your frame will end up significantly shorter than planned.
- Standard Kerf Values by Tool Type
- Abrasive Chop Saw: 0.125 inches (1/8″)
- Cold Saw (Carbide Tipped): 0.078 to 0.090 inches
- Portable Band Saw: 0.025 to 0.035 inches
- Angle Grinder Cut-off Wheel: 0.040 to 0.060 inches
I always mark my cuts with a fine-point scribe or a silver streak pencil rather than a fat carpenter’s pencil. A thick line can hide a 1/16-inch error, and those errors compound. When I plan my layout, I ensure that the long rails of the frame bypass the end rails. This “butt joint” configuration is easier to square than 45-degree miters, which are notorious for sliding out of alignment during the welding process.
Building Workshop Jigs for Frame Alignment
A jig is a temporary structure or tool used to hold parts in the correct position while they are being joined. In a home garage without a professional $5,000 welding table, creating a flat and square layout area is the most critical step in preventing a twisted frame.
You cannot trust a garage floor to be flat; most are sloped for drainage. To build a silent, stable frame, I recommend creating a “ladder jig” on top of your sawhorses. Use two long, known-straight pieces of heavy channel or larger tubing as your base. Level these perfectly using shims. This creates a “plane of reference.” If your base is twisted, your bed frame will be twisted, and that is where the dreaded “rocking” and squeaking begin.
- Layout Verification Steps
- Lay out your four perimeter tubes on your leveled base.
- Measure diagonally from corner to corner. The measurements must be within 1/16 of an inch.
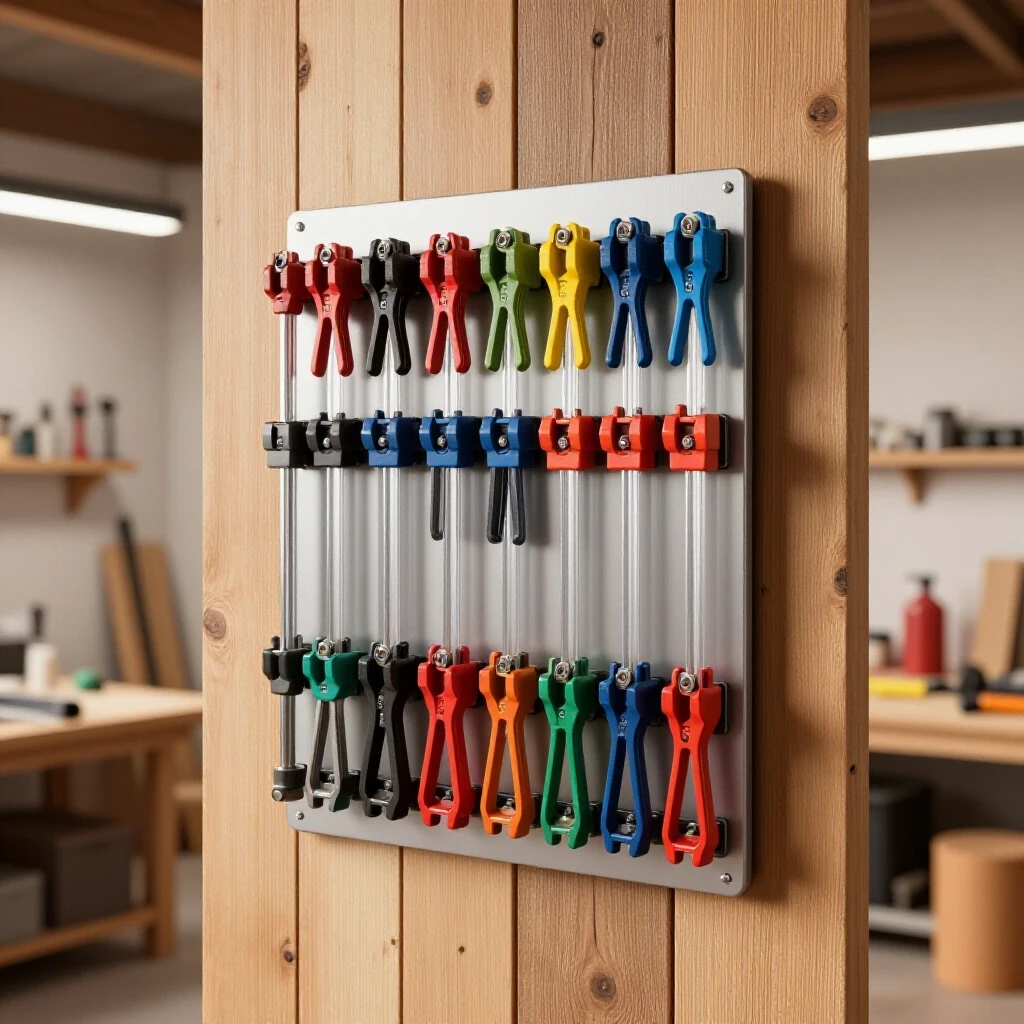
- Use heavy-duty F-clamps or C-clamps to lock the tubing against your reference base.
- Place a scrap piece of 14-gauge steel under the joints to allow for heat dissipation and to prevent the frame from welding itself to your jig.
I often use 3D-printed or shop-made corner blocks to hold my 90-degree angles. These blocks act as a second set of hands. They ensure that as I tighten my clamps, the tubing does not “walk” or shift. Remember, the goal of a fixture is to restrain the metal so that when the weld cools and tries to shrink, the physical barriers of the jig force it to stay put.
Managing Thermal Expansion and Weld Shrinkage
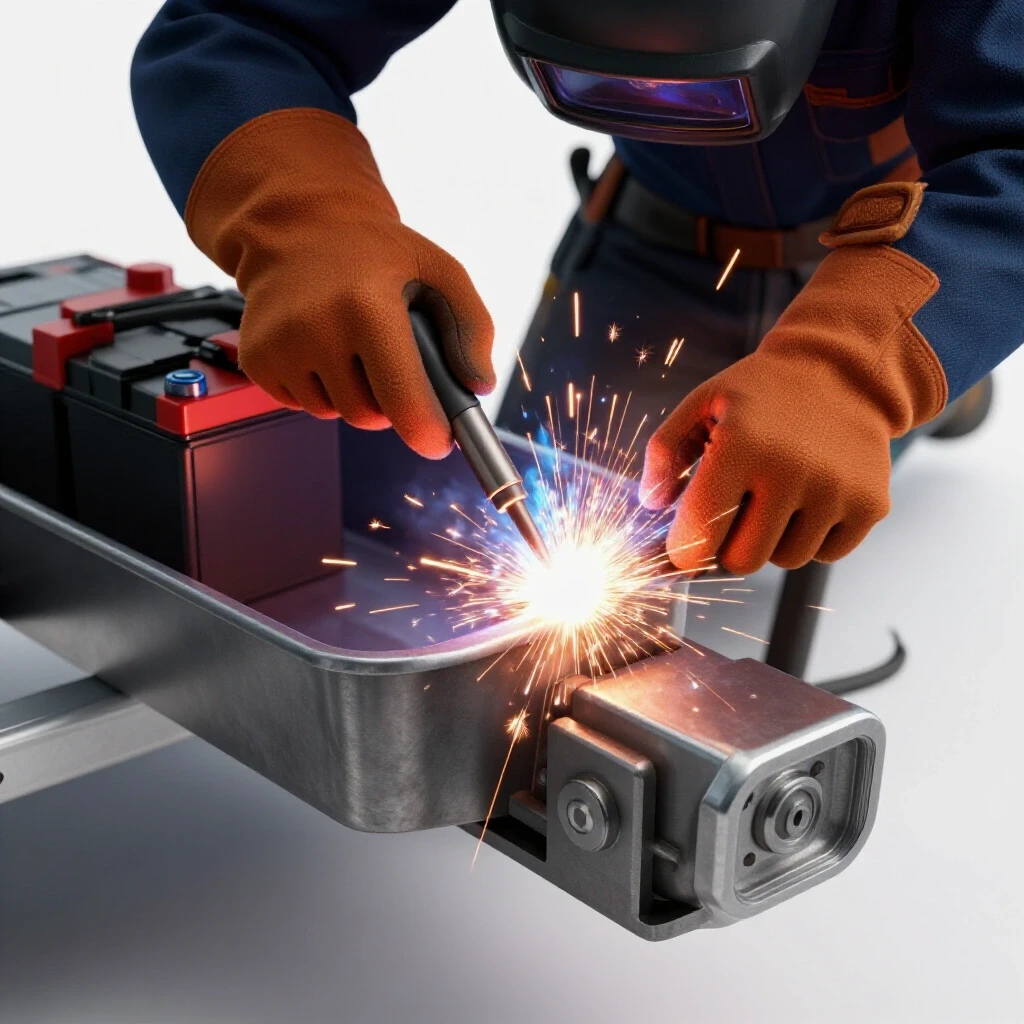
Weld shrinkage occurs because steel expands when it is heated to a liquid state and contracts as it cools. This contraction is incredibly powerful; it can bend thick steel plates and will easily warp 14-gauge tubing if you are not careful with your heat input.
When you weld a joint, the metal in the heat-affected zone (HAZ) wants to pull toward the center of the weld. If you weld only one side of a tube, that tube will “smile” or bow toward the weld. To combat this, you must think of welding as a game of tug-of-war. For every pull you create on one side, you must create an equal pull on the opposite side to keep the structure neutral.
| Factor | Impact on Distortion | Mitigation Strategy |
|---|---|---|
| Weld Size | Larger welds create more pull. | Keep beads small; use 1/2″ to 3/4″ stitch welds. |
| Heat Input | Excessive heat expands a larger area. | Use higher wire speed and move faster (MIG). |
| Travel Speed | Slow movement soaks the metal in heat. | Maintain a consistent, brisk pace. |
| Fit-up Gap | Large gaps require more filler and heat. | Ensure tight, “light-tight” joints before welding. |
In my early days, I would weld an entire joint in one go. Now, I know better. I use “stitch welding,” which involves laying short beads in different areas of the frame to allow the heat to dissipate. If the metal becomes too hot to touch with a gloved hand several inches away from the weld, it is time to move to a different corner.
The Tacking Strategy for Structural Integrity
A tack weld is a small, temporary weld used to hold components in place before the final beads are laid. In custom fabrication, your tacking sequence is just as important as your final welding sequence for maintaining squareness.
Do not just put one tack in the middle of a joint. For 1-inch square tubing, I place four small tacks, one in each corner of the joint. I start by tacking the “inside” corners of the frame first. Then, I re-check my diagonal measurements. If the frame has pulled out of square, a small tack is easy to break or grind away so you can reposition. If you have already laid a full bead, you are stuck with a crooked project.
- Tack Weld Benchmarks
- Tack Size: Approximately 1/8 inch in diameter.
- Placement: Corners of the tubing, never in the center of a flat side.
- Frequency: Every 6 to 10 inches for long internal slats.
- Inspection: Re-measure diagonals after every four tacks.
I once built a custom workbench where I rushed the tacking phase. I thought the clamps would hold it. As the tacks cooled, they pulled the legs inward by 1/8 of an inch. By the time the whole frame was tacked, the table was a trapezoid. Now, I always “cross-tack.” I tack the top-left and bottom-right corners, then the top-right and bottom-left. This balanced approach keeps the tension centered.
Sequencing Welds to Neutralize Pull
Weld sequencing is the specific order in which you apply your final beads to minimize overall distortion. By strategically jumping from one side of the project to the other, you allow the cooling forces to cancel each other out.
Once your frame is fully tacked and verified as square, do not start at one corner and work your way around. Instead, use a “star pattern” similar to tightening lug nuts on a car wheel. Weld a 1/2-inch bead on the top of the front-left joint, then move to the bottom of the back-right joint. This distributes the heat across the entire mass of the steel.
- Weld the outside vertical seams of all four corners first.
- Move to the inside vertical seams.
- Weld the top horizontal seams, jumping between opposite corners.
- Flip the entire frame and weld the bottom seams last.
This sequence ensures that the “pull” is always being countered by a weld on the opposite side of the structure. If you notice the tubing beginning to bow, stop. Let the metal cool naturally. Never quench a weld with water to speed up the process; this can make the steel brittle and actually increase the amount of warping. Patience is a fabricator’s best tool.
Mechanical Reinforcement for a Silent Frame
A squeak-free frame is achieved through extreme rigidity. Squeaks happen when two pieces of metal rub together or when a joint flexes under load. To eliminate this, we use gussets and internal bracing to reinforce the primary stress points.
For a platform bed, the corners and the center support rail are the primary areas where flex occurs. I like to weld small triangular gussets (cut from 1/8-inch flat bar) into the corners of the frame. These gussets prevent the “parallelogram” effect where the frame tries to shift side-to-side. Additionally, the center support rail should be welded with intermittent stitches rather than a continuous bead. This reduces the total heat applied to the long side-rails, preventing them from bowing inward.
- Reinforcement Techniques
- Corner Gussets: 2″ x 2″ triangles welded to the top or bottom face.
- Internal Sleeves: Inserting a smaller tube inside a joint for double wall thickness.
- Cross-Bracing: Using flat bar in an “X” pattern across the bottom for lateral stability.
- Plug Welds: Welding through a hole in one piece of metal into the one beneath it for extra grip.
Interestingly, the center rail is where most DIY builds fail. If the center rail is not perfectly flush with the side rails, the mattress will cause it to flex, creating a “clunk” or “squeak” every time you move. I use a straightedge to ensure the center rail is exactly level with the perimeter before I tack it into place.
Final Finishing and Post-Weld Checks
The final stage of fabrication is cleaning and verifying the work. This is where you remove the “evidence” of the welding process and ensure the frame is ready for use without damaging a mattress or catching on fabric.
After the frame has cooled completely, I use a 40-grit flap disc on an angle grinder to smooth out the welds. Be careful not to grind too deep; you want to level the weld bead to the tubing, not thin out the tubing itself. If you see a small pinhole in your weld (porosity), grind it out and re-weld it. Those holes are weak points that can eventually lead to a structural crack and a noisy frame.
- Post-Weld Checklist
- Check for Sharp Edges: Run a gloved hand over every inch of the frame.
- Verify Flatness: Lay a 4-foot level across the top in multiple directions.
- Stress Test: Apply weight to the center rail and listen for any “ticking” sounds.
- Clean for Paint: Use a degreaser or acetone to remove the mill scale and oils.
I always finish by checking the diagonals one last time. If the frame moved slightly during the final welding, you can sometimes “cold-straighten” it using a heavy-duty clamp and a bit of leverage, but if you followed a proper weld sequence, this should not be necessary. A clean, deburred, and square frame is the hallmark of a technician who respects the material.
Frequently Asked Questions
Why did my frame warp even though I clamped it to a table? Clamps can only hold so much force. When steel cools, the shrinkage force is often stronger than the clamp’s grip. This usually happens if you put too much heat into one area too quickly. Using smaller stitch welds and allowing the metal to cool between passes is the only way to truly manage this.
Can I use a 110v MIG welder for 14-gauge tubing? Yes, 110v welders are perfectly capable of welding 14-gauge (approx. 0.075″) steel. In fact, they are often easier to use for this thickness because they are less likely to “blow through” the metal than a high-powered 220v machine. Just ensure you are using the correct wire speed and voltage settings for 1/16″ to 1/8″ material.
How do I prevent the “clunking” sound where the center rail meets the frame? The clunking is caused by a tiny gap. Ensure your fit-up is tight enough that you have to tap the center rail into place with a mallet. If there is a gap, the weld will have to “bridge” it, which creates a weaker joint that is more prone to flexing and making noise.
What is the best way to ensure the frame stays square during the build? The “3-4-5 rule” is your best friend. If one side of a corner is 3 inches and the other is 4 inches, the diagonal between them must be 5 inches. Scale this up for a bed frame (e.g., 30″, 40″, 50″) to check your corners with high accuracy.
Should I use TIG or MIG for this project? MIG is faster and more than strong enough for a bed frame. TIG provides more control over heat and produces cleaner-looking welds, but it takes much longer. If you are a hobbyist in a garage, MIG is the practical choice for getting the job done efficiently.
How do I stop the “pop” sound when I first sit on the finished frame? That “pop” is usually a sign of “oil-canning” or a weld that was under high internal tension finally settling. It happens when the metal is warped slightly and then forced flat. Following a balanced weld sequence minimizes this internal stress so the frame stays quiet.
Is 14-gauge steel strong enough, or should I use 11-gauge? 14-gauge is standard for furniture. 11-gauge (1/8″) is much heavier and harder to move around. For a platform bed, 14-gauge square tubing provides plenty of structural integrity while keeping the weight manageable.
What happens if I make a mistake and the frame is crooked? If it is only slightly out of square (less than 1/4 inch), you can often hide it by how you place the mattress. If it is significantly warped, you may need to “kerf” the weld. This involves cutting halfway through the weld bead with a thin cut-off wheel to release the tension, repositioning the frame, and re-welding.
How do I prevent rust on the inside of the tubes? While you can’t easily paint the inside, you can seal the ends of the tubes. By welding “end caps” or using plastic inserts, you prevent moisture and oxygen from entering the tubing, which significantly slows down any internal oxidation.
Why shouldn’t I weld a continuous bead all the way around the joint? A continuous bead puts a massive amount of heat into a small area. For 14-gauge tubing, four 1/2-inch stitch welds (one on each side) provide more than enough strength to support a mattress and occupants while keeping the heat low enough to prevent the tubing from bowing.
By focusing on these technical details—kerf allowances, jig stability, and heat management—you can build a project that is as quiet and straight as a factory-made unit. Fabrication is about controlling the variables. When you respect the way steel reacts to heat, you stop fighting the metal and start making it work for you.
(This article was written by one of our staff writers, Robert Kline. Visit our Meet the Team page to learn more about the author and their expertise.)