How to Clean and Passivate Stainless Steel Welds (DIY Guide)
After fifteen years of running a small fabrication shop, I have learned that the most expensive mistake you can make isn’t buying a mid-range tool—it is failing to understand the long-term maintenance of the materials you work with. I remember finishing a set of custom stainless steel brackets for a local client. They looked beautiful when they left my shop. Three months later, the client called me back because the joints were bleeding rust. I had skipped the critical step of restoring the protective surface layer. That mistake cost me forty hours of rework and taught me that surface treatment is just as important as the build itself.
Many tool reviews focus on how fast a machine can cut or how smooth a bead looks. They rarely talk about what happens after the fabrication is done. If you are an active tool buyer, you know that the real value of a piece of equipment is found in its reliability and the quality of the final product it produces over hundreds of hours. Treating stainless steel joints correctly is a process that requires the right tools, a disciplined schedule, and an understanding of how chemicals and abrasives interact with the metal surface.
Analyzing the Real Costs of Post-Weld Surface Restoration
Surface restoration involves removing the heat-affected oxide layer and helping the metal regrow its natural protective shield. This prevents rust and ensures the project lasts for decades without failing.
When I look at my shop’s budget, I don’t just see the price of a bottle of acid or a pack of flap discs. I see the cost per linear foot of treated joint. For a hobbyist or small shop owner, the goal is to balance the speed of the process with the longevity of the finish. If you use cheap abrasives that leave carbon steel particles behind, you are setting yourself up for a structural failure down the road. I track every hour spent on finishing in my maintenance logs to ensure I am not overspending on consumables that don’t deliver results.
Selecting the Right Abrasives for Scale Removal
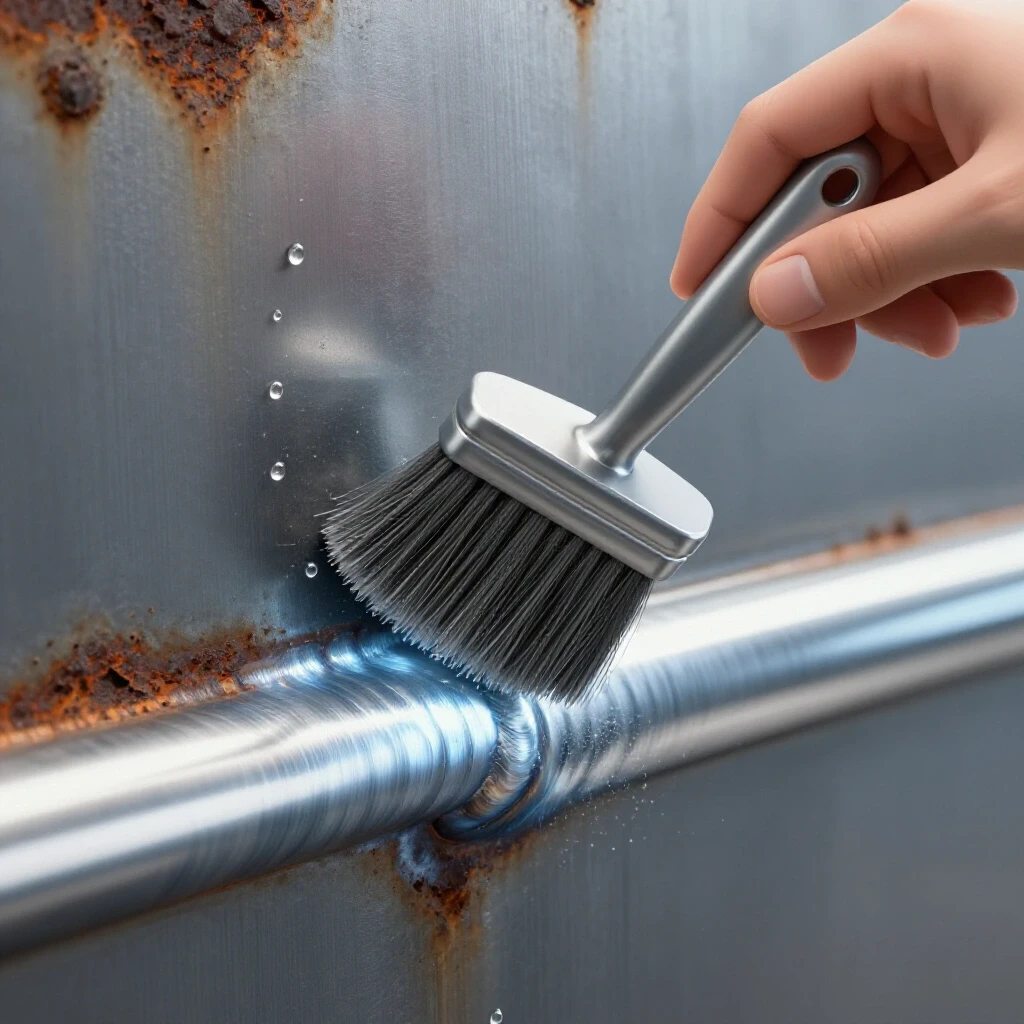
Mechanical cleaning uses physical force to strip away the “heat tint” or blue-purple discoloration found near a joint. This step is vital because that discoloration is actually a layer of depleted chromium that will rust if left alone.
In my experience, the tool you choose for this task is just as important as the technique. I prefer using dedicated stainless steel wire brushes or non-woven abrasive pads. A common mistake I see is using a brush that was previously used on mild steel. This transfers tiny particles of carbon steel into the stainless surface, which will cause “tea staining” or localized rusting almost immediately. I keep my stainless-only tools in a separate, labeled drawer to avoid this cross-contamination.
| Tool Type | Expected Lifespan (Hours) | Cost per Project | Best Use Case |
|---|---|---|---|
| Stainless Wire Brush | 15–20 | Low | Heavy scale removal in tight corners |
| Non-Woven Abrasive Pad | 5–8 | Medium | Blending and light surface cleaning |
| Flap Discs (Stainless Grade) | 2–4 | High | Removing heavy material or leveling joints |
| Specialized Finishing Drums | 40–60 | Very High | Large flat surfaces requiring a uniform look |
Chemical Cleaning and Oxide Removal Strategies
Chemical cleaning, often called pickling, uses acidic solutions to dissolve the heat-affected zone and any embedded contaminants. This is a more thorough method than mechanical cleaning because it reaches into the microscopic pores of the metal.
When managing a shop, you have to decide between paste-based chemicals and liquid baths. For most DIY fabricators, a paste is the safer and more controlled option. It stays where you put it and doesn’t require a large tank. However, these chemicals are aggressive. I have seen high-quality workbenches ruined because a drop of pickling paste was left to sit overnight. You must factor in the cost of safety gear—nitrile gloves, face shields, and proper ventilation—into your tool budget.
Restoring the Protective Chromium Oxide Layer
Passivation is the process of treating the cleaned metal with a mild oxidant to speed up the growth of the protective chromium oxide layer. While stainless steel does this naturally in the air, a chemical boost ensures the layer is thick and uniform.
I view this step as insurance for my reputation. It takes an extra thirty minutes, but it guarantees that the metal remains “passive” or non-reactive to the environment. In my shop, I use a citric acid-based solution for this. It is much safer to handle than older nitric acid methods and doesn’t require specialized disposal in many jurisdictions. If you are planning long-term equipment purchases, a dedicated “clean station” with a plastic tub and a supply of neutralizer is a smart investment.
Creating a Preventative Maintenance Schedule for Finishing Tools
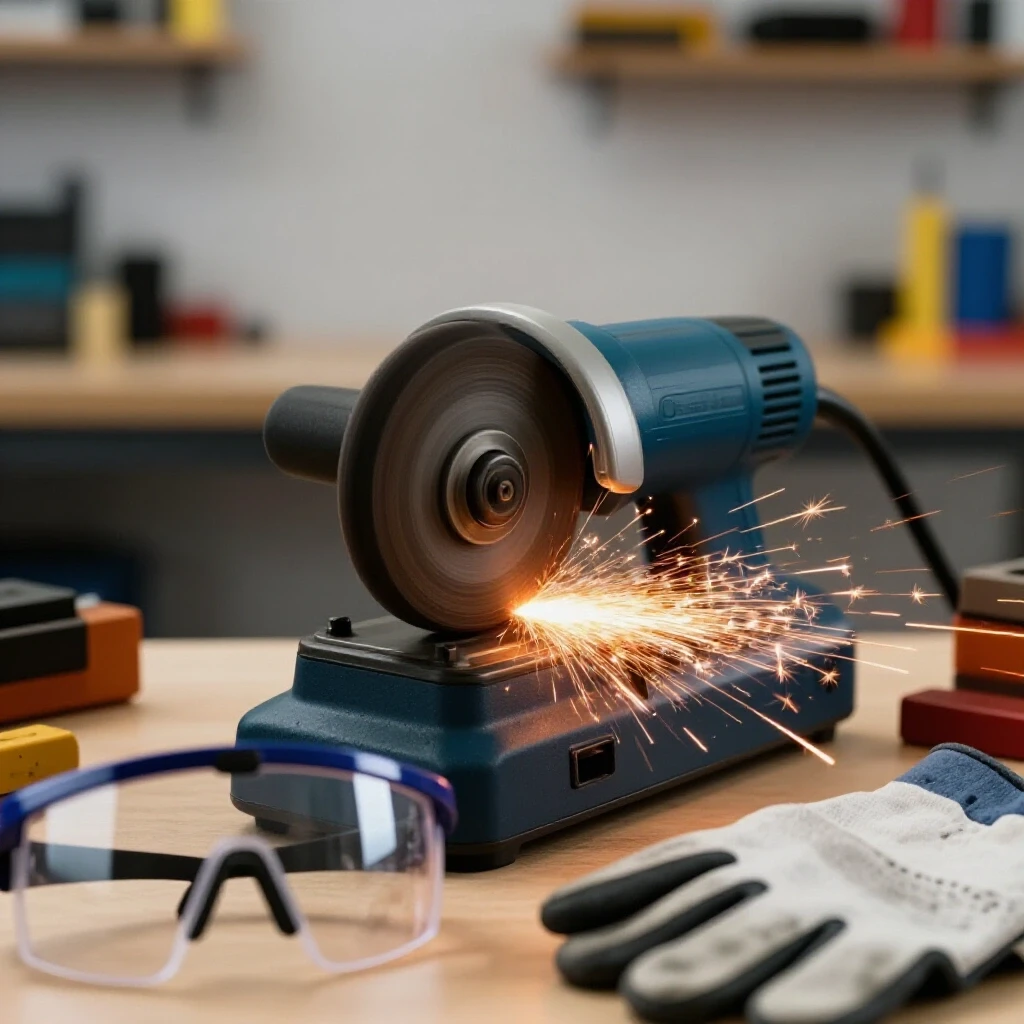
Your finishing tools need just as much attention as your primary machinery. If a grinder’s bearings are failing, it will vibrate and create an uneven finish that is harder to clean and treat.
I follow a strict 50-hour inspection cycle for all my handheld finishing tools. This includes checking the power cords for nicks, blowing out the motor housings with compressed air, and inspecting the mounting hardware for abrasives. A tool that runs hot or loud is a tool that is about to fail, and in the middle of a finishing job, that can lead to inconsistent surface marks that are nearly impossible to remove.
- Weekly: Clean all stainless-only brushes with a dedicated solvent to remove oils.
- Monthly: Inspect chemical storage containers for leaks or pressure buildup.
- Every 50 Hours: Check motor brushes on grinders and polishers.
- Annually: Recalibrate or replace any testing equipment used to check surface acidity.
Comparing Duty Cycles and Performance in Finishing Equipment
When buying a tool for surface restoration, the duty cycle—the amount of time a tool can run in a ten-minute period without overheating—is a critical metric.
For light cleaning, a 20% duty cycle might be enough. But if you are treating long runs of railing, you need a tool rated for at least 60% at its working load. I have burned out several “bargain” polishers because their motors weren’t insulated to handle the sustained low-RPM torque required for consistent finishing. Look for tools with “Class H” insulation or higher; these can handle the heat generated during long sessions of surface blending.
Tool Ownership Diary: The Lesson of the Overheated Polisher
Three years ago, I bought a cheap variable-speed polisher for a large project. The spec sheet said it had plenty of power, but it didn’t mention the duty cycle at low speeds. After four hours of continuous use, the motor housing was too hot to touch, and the RPM started to fluctuate. This caused “burn marks” on the stainless surface that required me to start the whole cleaning process over.
I eventually replaced it with a professional-grade unit that featured better thermal protection and a constant-speed electronic controller. The initial cost was double, but it has lasted over 400 hours without a single hiccup. In my maintenance log, the “cost per hour” for the expensive tool is now lower than the cheap one because I haven’t had to replace it or fix my work.
Step-by-Step Workflow for Restoring Stainless Surfaces
Following a consistent sequence ensures that you don’t miss a spot and that the chemical reactions have enough time to work.
- Step 1: Initial Degreasing. Use a solvent to remove any oils or fingerprints. Chemicals cannot reach the metal if an oil barrier exists.
- Step 2: Mechanical Scale Removal. Use a stainless wire brush to remove the thickest part of the oxide scale.
- Step 3: Chemical Application. Apply the pickling paste to the joint. Let it sit for the manufacturer-recommended time (usually 15–45 minutes).
- Step 4: Neutralization and Rinsing. Use a neutralizing spray to stop the acid’s action, then rinse thoroughly with deionized or distilled water.
- Step 5: Passivation Treatment. Apply the citric acid solution and let it sit for 20 minutes to ensure the chromium oxide layer reforms correctly.
- Step 6: Final Drying. Dry the surface with a clean microfiber cloth to prevent water spots.
Managing Warranties and Equipment Documentation
Keeping your manuals and warranty info organized is a hallmark of a professional shop. I use a digital folder system to store PDF versions of every tool manual and a spreadsheet to track purchase dates and serial numbers.
When a tool fails, having this data ready makes the warranty claim process much smoother. I once had a high-end abrasive tool fail due to a faulty switch. Because I had my logbook showing it was only used for 12 hours and had been maintained properly, the manufacturer sent a replacement overnight. Without those records, I would have been stuck paying for a repair or buying a new one.
Practical Benchmarks for Shop Efficiency
How do you know if your process is efficient? I use a few simple benchmarks to track my shop’s performance.
- Consumable Ratio: You should spend less than 5% of the total project cost on finishing abrasives and chemicals.
- Time Allocation: Surface treatment should take roughly 15-20% of the total fabrication time. If it takes longer, your tools may be underpowered.
- Success Rate: Zero rust spots should appear on a test piece left in a humid environment for 48 hours.
Common Mistakes to Avoid in Surface Treatment
Even experienced fabricators can fall into traps when they are trying to save time or money.
- Using Steel Wool: Never use standard steel wool. It leaves iron fragments that will rust and ruin the stainless steel.
- Rushing the Chemical Dwell Time: If you rinse the acid off too early, it won’t remove all the contaminants. If you leave it too long, it can “etch” or pit the metal.
- Ignoring Water Quality: Using “hard” tap water for the final rinse can leave mineral deposits that trap moisture and lead to corrosion.
- Mixing Tools: Using the same workbench for grinding carbon steel and cleaning stainless is a recipe for disaster. Always cover your bench with a clean plastic sheet.
Decision Pathway for Tool Upgrades
If you are looking to upgrade your shop’s finishing capabilities, follow this logical path to avoid overspending on features you don’t need.
- Identify the Bottleneck: Is it taking too long to remove scale, or is the final finish inconsistent?
- Evaluate Power Requirements: Do you have the 240V service needed for industrial-grade polishers, or do you need high-efficiency 120V inverter-based tools?
- Check Ergonomics: A tool that feels heavy or vibrates excessively will lead to fatigue and poor results after an hour of use.
- Verify Parts Availability: Can you buy replacement brushes or switches locally, or will a breakdown stop your shop for two weeks while you wait for a shipment?
Closing Thoughts for the Long-Term Shop Owner
Building a shop that produces high-quality, durable work is a marathon, not a sprint. Treating your metal surfaces with the same respect you give your welding or machining will set your work apart. By logging your tool performance, tracking your consumable costs, and sticking to a proven restoration process, you ensure that every project that leaves your bench is a testament to your skill and attention to detail.
Frequently Asked Questions
Why does my stainless steel rust even after I cleaned it with a wire brush? The most common reason is cross-contamination. If that brush was ever used on regular steel, or if you used a carbon steel brush by mistake, you have embedded iron particles into the surface. Another possibility is that you didn’t remove the entire “heat tint” layer, which is naturally lower in chromium and more prone to rusting.
Can I use a regular power drill for the cleaning process? While a drill can hold a wire brush, it usually lacks the RPM and the cooling capacity for long-term finishing work. Drills are designed for intermittent use. For surface restoration, a dedicated variable-speed grinder or polisher is a much better investment because it can handle the sustained load without the motor burning out.
How do I know if the pickling paste is still good? Most chemical treatments have a shelf life of one to two years. If the paste has separated into a watery liquid and a thick sludge that won’t mix back together, or if it has changed color significantly, it is likely losing its potency. I always write the “open date” on the bottle with a permanent marker.
Is citric acid really as good as nitric acid for passivation? For most DIY and small-shop applications, yes. Citric acid is highly effective at removing free iron from the surface without the safety risks and harsh fumes of nitric acid. It is also much easier to dispose of. However, it may take slightly longer to achieve the same results, so don’t rush the dwell time.
What is the best way to store my stainless-only tools? I recommend a dedicated plastic bin or a specific drawer lined with a non-porous material. Never store them in a drawer where they can roll around and touch carbon steel files or wrenches. Some fabricators even color-code their tools with blue tape to ensure they are only used on stainless projects.
How often should I replace my safety gear? Nitrile gloves should be replaced as soon as they show any signs of swelling or thinning from chemical exposure. Face shields should be replaced when they become scratched, as poor visibility leads to mistakes. I replace my chemical-rated respirator filters every six months, or sooner if I start to smell any chemical odors during use.
Do I need a special area in my shop for this? Ideally, yes. You want a well-ventilated area away from your main welding and grinding stations to avoid dust contamination. A simple plastic folding table and a nearby water source are usually enough for a DIY setup. Just ensure the floor can be easily rinsed if any chemicals spill.
How can I tell if the passivation was successful? There are chemical “test swabs” you can buy that change color if free iron is present on the surface. For a more low-tech version, you can perform a “water break” test. If water sheets off the surface evenly without breaking into beads around specific spots, the surface is generally clean and well-passivated.
What is the “heat-affected zone” and why does it matter? The heat-affected zone (HAZ) is the area of metal near the joint that was heated but not melted. This heat changes the structure of the metal and pulls chromium away from the surface to form the colored oxides you see. This leaves the metal underneath “starved” of chromium, which is why it must be cleaned and treated to prevent rust.
Does the finish of the metal (brushed vs. mirrored) affect the process? Yes. A mirrored finish is much more sensitive to scratches from mechanical cleaning. For high-polish work, you should rely more on chemical cleaning and very fine non-woven pads. For a brushed finish, you have more flexibility to use wire brushes as long as you follow the “grain” of the metal.
Is it worth buying an expensive electronic cleaning machine? For a hobbyist, probably not. Those machines are great for speed in a production environment, but they are a significant investment. A manual process using high-quality chemicals and abrasives will produce the same level of corrosion resistance if done correctly. Spend that money on a better grinder or a higher-quality safety system first.
(This article was written by one of our staff writers, David Reynolds. Visit our Meet the Team page to learn more about the author and their expertise.)