How to Build a Welding Table: Avoid Big Mistakes (Guide)
When I walked into my first empty garage in 2013, I had exactly $2,000 and a lot of ambition. I quickly realized that the biggest hurdle wasn’t just buying a welder; it was creating a surface to use it on. Building a sturdy steel workbench is often the first real test for a beginner, and it is where many people spend money they don’t have on mistakes they could have avoided. I remember my first attempt clearly. I didn’t account for the heat of the arc, and within an hour, my “flat” surface looked like a potato chip.
Many people enter this hobby with a fear of wasting their limited funds. They see professional setups online and think they need a massive, heavy-duty industrial table to start. In reality, a functional fabrication space is built on smart choices, not just thick steel. My goal is to help you navigate these early decisions so you can spend more time practicing your beads and less time fixing a wobbly, warped workspace.
Evaluating Your Starter Metal Workshop Layout
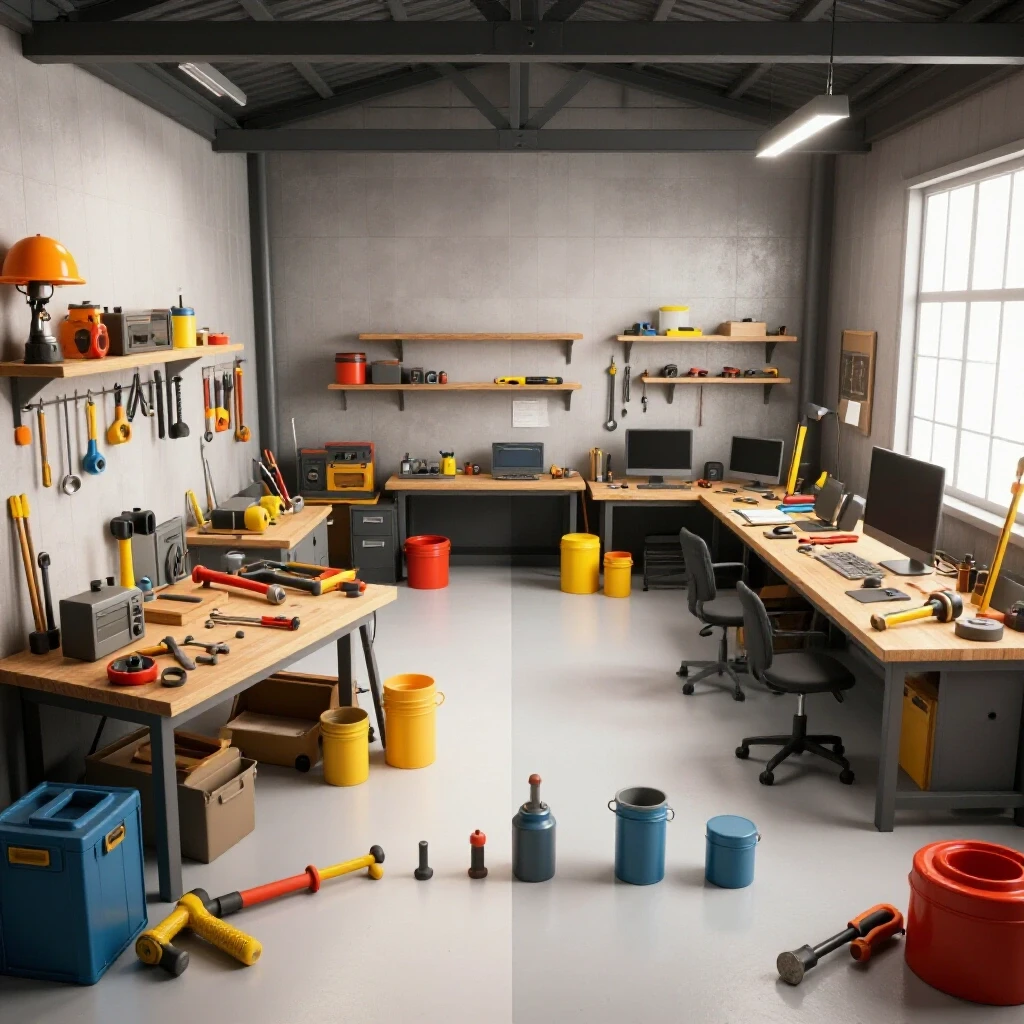
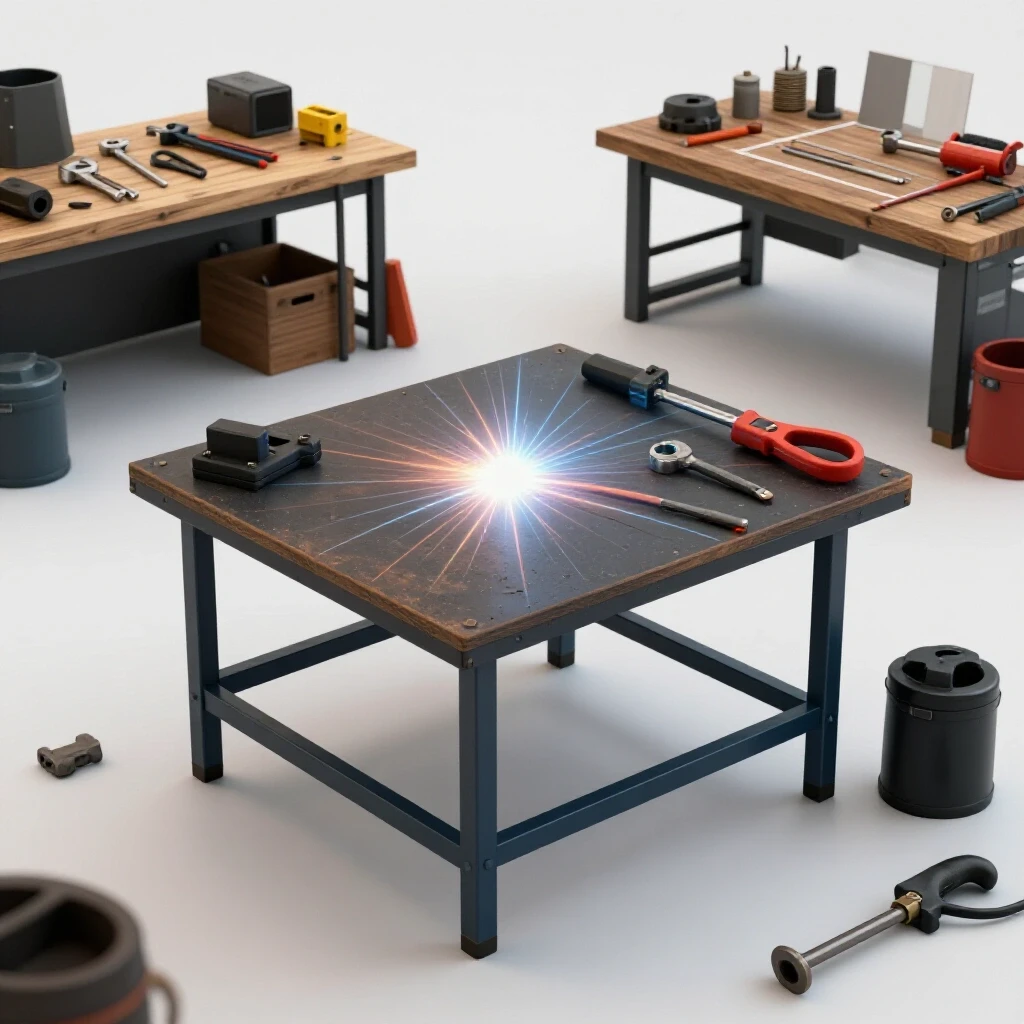
A starter metal workshop layout is the strategic arrangement of equipment and work zones within a limited footprint, such as a one-car garage. It focuses on maximizing workflow while ensuring safety and accessibility for all fabrication tasks.
Before you buy a single piece of steel, you have to look at your floor. Most garage floors are not flat; they are sloped for drainage. If you build a table that is perfectly square on a sloped floor, it will wobble every time you move it. I learned this the hard way when I set up my first station near the garage door. Every time I tried to clamp a project, the table would shift, throwing off my measurements.
You also need to consider your “clearance boundaries.” This is the space around your table where you can move freely with long pieces of metal. For a standard 24-inch by 36-inch table, I recommend at least three feet of clear space on all sides. This allows you to stand comfortably and prevents you from bumping into your walls with a hot piece of steel.
- Tool Footprint: A basic table takes up about 6 to 10 square feet.
- Safety Zone: Maintain a 36-inch radius of “dead space” around the table.
- Material Storage: Plan for a rack or bin nearby so you aren’t tripping over offcuts.
Building on this, your layout must account for where the sparks fly. You don’t want your grinding station right next to your wooden storage shelves or your lawnmower’s gas tank. I like to divide my shop into “hot” and “cold” zones. The hot zone is where the welding and grinding happen, and it should be kept clear of all flammable materials.
Understanding Beginner Welder Power Requirements
Beginner welder power requirements refer to the electrical capacity needed to run fabrication equipment safely without tripping breakers or damaging the machine’s internal components. Most home shops rely on standard residential circuits.
One of the most common mistakes I see is trying to run a welder on a standard 15-amp household circuit shared with a refrigerator or a vacuum. I remember the frustration of my lights flickering and the breaker popping every time I tried to lay a two-inch bead. To avoid this, you need to know what your garage can handle. Most modern garages have 20-amp circuits, but older homes might only have 15-amp lines.
If you are using a 110V or 120V welder, it will pull a significant amount of power. I suggest a dedicated 20-amp circuit for your welding station. This means nothing else is plugged into that specific line. It prevents the voltage drops that cause poor weld penetration and protects your household electronics from power surges.
| Tool Class | Typical Amp Draw (Start/Run) | Recommended Circuit |
|---|---|---|
| Entry-Level Welder | 15A – 20A | 20A Dedicated |
| 4.5″ Angle Grinder | 6A – 10A | 15A Standard |
| Bench Drill Press | 5A – 8A | 15A Standard |
| Shop Vacuum | 10A – 12A | 20A Standard |
Interestingly, the “duty cycle” of your machine also matters here. This is the amount of time a welder can operate within a 10-minute period before it needs to cool down. A 20% duty cycle means you can weld for two minutes and must rest for eight. Pushing your electrical system and your machine beyond these limits is a recipe for a very short-lived hobby.
Selecting Affordable Fabrication Tools for the Project
Affordable fabrication tools are entry-level pieces of equipment, such as angle grinders and basic squares, that provide necessary functionality without the high cost of industrial-grade machinery. Choosing these wisely prevents overspending on features you don’t need yet.
When you are starting out, your budget is your biggest constraint. I tell everyone to follow the “30% Rule.” Allocate 30% of your total startup budget to high-quality safety gear and measuring tools. A cheap welder can still stick metal together, but a cheap helmet or a bent square will make your life miserable.
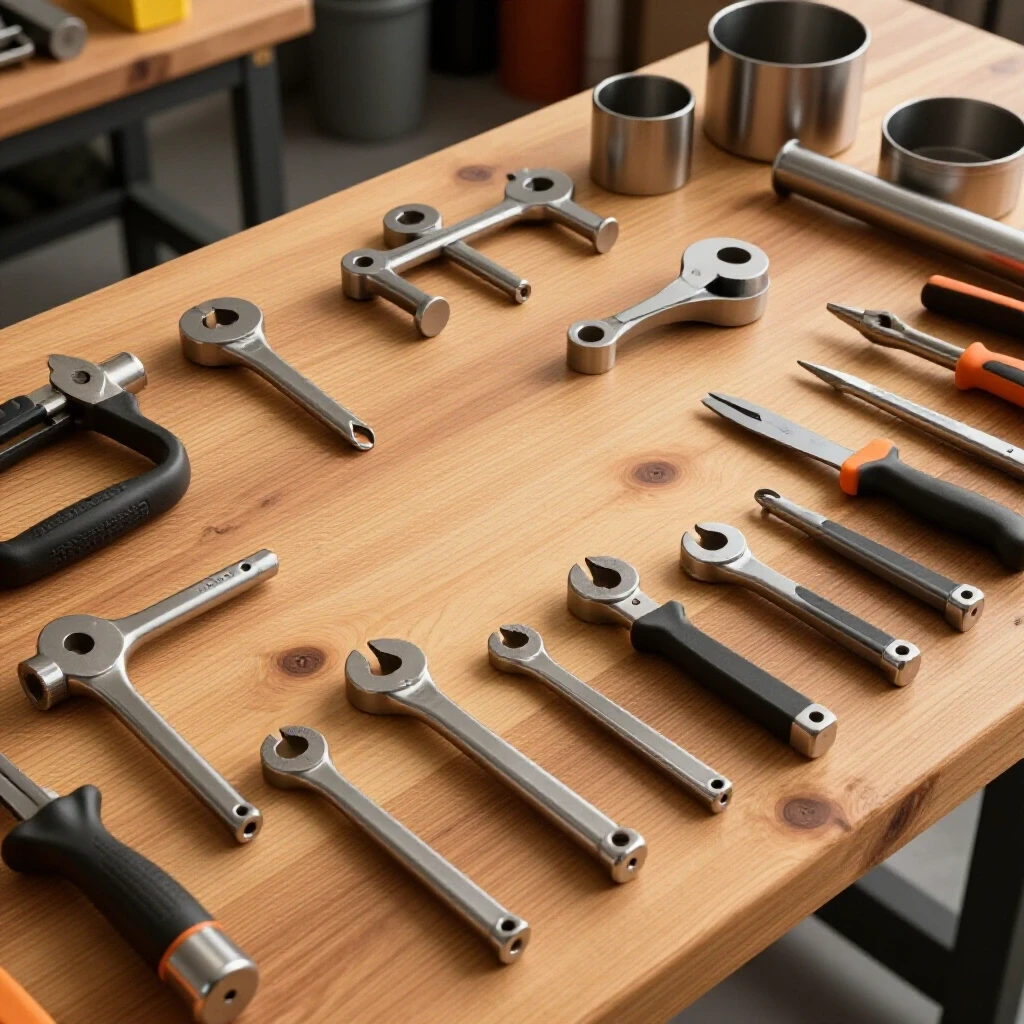
For constructing your first table, you don’t need a wall full of tools. You need a reliable angle grinder, a set of C-clamps, and a solid framing square. I prefer using a 4.5-inch grinder because it is light enough for long sessions but powerful enough to cut through 1/8-inch steel tubing. Avoid the temptation to buy the cheapest abrasive wheels you find. They wear down faster and can actually be more expensive in the long run because you use three times as many.
- Angle Grinder: Essential for cutting, grinding, and cleaning metal.
- C-Clamps or F-Clamps: You need at least four to hold your frame square during the build.
- Magnetic Squares: These are great for holding pieces in place, but don’t rely on them for final accuracy.
- Wire Brush: For cleaning the metal before you weld, which is a step many beginners skip.
As a result of my years in maintenance, I’ve seen how quickly “budget” tools can fail if they aren’t cared for. Keep a simple tool log. Note when you change a grinder brush or when a square gets dropped. This record-keeping helps you understand the lifespan of your equipment and plan for future upgrades.
Material Choice and Metal-Prep Clean Zones
Material choice involves selecting the right steel shapes, like square tubing or angle iron, to provide structural integrity to a project. A clean zone is a dedicated space where metal is stripped of oils and mill scale before assembly.
For a first-time build, 2-inch square tubing with a 1/8-inch wall thickness is the “sweet spot.” It is strong enough to hold a heavy tabletop but light enough to move around by yourself. I often see beginners try to use thin 16-gauge tubing because it is cheaper. The problem is that thin metal is very easy to burn through, especially when you are still learning to control your heat.
The top of the table should be a solid steel plate. For a hobby shop, 3/16-inch or 1/4-inch thickness is ideal. Anything thinner will warp under the heat of your welds. Anything thicker becomes nearly impossible to move without a forklift. When you buy your steel, it will come covered in “mill scale,” which is a dark, flaky layer of iron oxide. You must grind this off in your “clean zone” before you start.
- Tubing Size: 2″ x 2″ x 1/8″ (Square Tubing)
- Plate Thickness: 3/16″ to 1/4″ (A36 Steel Plate)
- Cleaning Method: Flapper discs (60 or 80 grit) are best for removing mill scale without gouging the metal.
Proper metal prep is the difference between a weld that holds and one that fails. If you weld over rust or oil, you get “porosity,” which looks like tiny bubbles in your weld. These bubbles are pockets of gas that weaken the joint. I always spend twice as much time cleaning the metal as I do actually welding it.
Critical Errors in Frame Assembly and Leveling
Assembly errors occur when parts are misaligned or warped during welding, leading to a finished product that is uneven or structurally weak. Leveling ensures the work surface is flat and stable on uneven shop floors.
The most common mistake I see is the “full-bead trap.” A beginner will line up two pieces of the frame and immediately run a long, beautiful weld down the entire joint. Because metal expands when heated and contracts when cooling, that single weld will pull the entire frame out of square. I’ve seen frames pull as much as half an inch out of alignment from a single uncontrolled weld.
To avoid this, you must use “tack welds.” These are tiny, temporary welds about the size of a pea that hold the pieces together. You should tack every corner of your frame and then re-measure your diagonal distances. If the distance from the top-left corner to the bottom-right corner is the same as the top-right to the bottom-left, your frame is square.
- Clamp everything: Never trust your hands to hold metal while welding.
- Tack in a sequence: Tack opposite corners to balance the heat.
- Check for level: Use a 4-foot level across the top of your frame.
- Adjustable feet: Use large bolts and nuts welded to the bottom of the legs to create leveling feet.
If your table does end up with a slight wobble, don’t panic. This is where those adjustable feet come in. By turning a bolt, you can compensate for the slope of your garage floor. This ensures that when you are building future projects on top of this table, you are starting with a truly level reference point.
Managing Garage Workshop Ventilation and Safety Standards
Garage workshop ventilation involves the movement of air to remove hazardous fumes and dust from the breathing zone. This is essential for maintaining a safe environment in confined residential spaces.
Welding produces fumes that you should not breathe. In a confined space like a garage, these fumes can build up quickly. I follow a simple rule: if you can see a cloud of smoke hanging in the air, your ventilation is insufficient. While I don’t suggest beginners install industrial-grade extractors, you do need a plan to move the air.
The American Welding Society (AWS) and OSHA provide guidelines for air quality, and while they are written for factories, the principles apply to your garage. You want to pull the air away from your face, not blow it across your work. A common mistake is putting a fan behind you, which actually pushes the fumes into your breathing zone. Instead, place an exhaust fan in a window or door to pull the air out of the shop.
| Ventilation Setup | Estimated CFM (Cubic Feet/Min) | Effectiveness |
|---|---|---|
| Open Garage Door | Variable | Low (Wind Dependent) |
| Standard 20″ Box Fan | 1,500 – 2,500 | Medium (If placed correctly) |
| High-Velocity Floor Fan | 4,000 – 6,000 | High (Good for clearing smoke) |
| Dedicated Exhaust Fan | 1,000 – 3,000 | Best (Consistent air exchange) |
Building on the safety theme, your eyes and skin need protection. An ANSI Z87.1 rating on your safety glasses and a proper welding helmet are non-negotiable. I spent years in industrial maintenance, and I’ve seen what happens when people take shortcuts with “flash burn” or “arc eye.” It feels like having sand in your eyes for three days, and it is entirely preventable with a $50 helmet.
Budget Metalworking Tools and Cost Tracking Strategies
Cost tracking is the methodical process of recording every expenditure, from major machinery to small consumables, to ensure a workshop project stays within a budget. This helps beginners avoid the “financial creep” of a new hobby.
When I built my first shop, I kept a simple spreadsheet of every penny I spent. I realized that I was spending almost as much on “consumables”—things like sandpaper, welding wire, and grinding wheels—as I was on the tools themselves. This is where many beginners get frustrated. They buy the welder but forget they need $200 worth of steel, $50 in wire, and $40 in gas or flux-core.
To keep your costs down, look for “remnant” steel at local metal yards. These are small offcuts from larger industrial jobs that are often sold by the pound at a fraction of the cost of new full-length sticks. For your first table, you can often find enough material in the remnant pile to save $100 or more.
- Total Budget Allocation:
- Main Machine (Welder): 40%
- Safety Gear (Helmet, Gloves, Jacket): 20%
- Material (Steel for Table): 25%
- Consumables (Wire, Discs): 15%
By tracking these costs, you can see where your money is going. If you find you are spending too much on grinding discs, it might mean you need to work on your welding technique so you have less “splatter” to clean up. This kind of data-driven approach turns a hobby into a skill.
Integrating Your Workbench into a Small Shop Layout
Integrating a workbench involves positioning it to optimize the “work triangle”—the path between storage, the work surface, and power outlets. This ensures a smooth workflow in a confined space.
Once your table is built, its location determines how efficient you will be. I like to keep my table on heavy-duty casters. This allows me to roll it to the center of the garage when I have a big project and tuck it against the wall when I need to park the car. However, if you use casters, make sure at least two of them lock securely. A rolling table is a safety hazard when you are trying to apply pressure with a wrench or a grinder.
Think about your “power reach.” Your welder’s lead (the cable) is usually only 8 to 10 feet long. If your table is too far from your 20-amp outlet, you’ll be tempted to use a thin extension cord. Never do this. A standard orange extension cord cannot handle the amperage of a welder and will overheat, potentially causing a fire. If you must use an extension, it needs to be a heavy-duty 10-gauge or 12-gauge cord designed for high-amperage tools.
- Casters: Use 3-inch or 4-inch wheels rated for at least 200 lbs each.
- Grounding: Always attach your welder’s ground clamp directly to the table or the workpiece.
- Lighting: Position a shop light directly over the table. You cannot weld what you cannot see.
As you refine your space, you’ll notice that your needs change. My first layout lasted about six months before I realized I needed more shelf space under the table. This is why I suggest a “modular” mindset. Don’t weld everything permanently if a few bolts will do. This allows you to redesign your shop as you learn what works for you.
Final Steps for a Functional Fabrication Space
Setting up your first fabrication area is a marathon, not a sprint. The most important thing is to start with a solid, level foundation—your table. By avoiding the common mistakes of over-welding, using thin materials, and neglecting your electrical limits, you create a space that is safe and productive.
I’ve found that the most successful beginners are the ones who treat their shop like a professional environment from day one. This means keeping a clean floor, tracking your tool costs, and never compromising on safety gear. Your first table might not be a masterpiece, but if it is flat, stable, and built within your budget, it is a massive success.
Next, I recommend doing a “dry run” of your workflow. Stand at your new table, reach for your grinder, check your power cord length, and see if your ventilation pulls the air the right way. These small adjustments before you start your next big project will save you hours of frustration later.
FAQ: Common Questions for First-Time Shop Builders
How thick should my welding table top be? For a budget-conscious beginner, a 3/16-inch or 1/4-inch steel plate is the best balance between cost and durability. Thinner plates (like 1/8-inch) will warp under the heat of welding, while thicker plates (1/2-inch or more) are often too expensive and heavy for a standard garage setup.
Do I really need a dedicated 20-amp circuit for my welder? Yes. Most entry-level welders pull between 15 and 20 amps at full power. If you share a circuit with other appliances, you will likely trip the breaker. A dedicated circuit also ensures a steady flow of power, which results in smoother, more consistent welds.
What is the best height for a metalworking workbench? A standard height is 36 inches, which is the same as most kitchen counters. However, if you are taller or shorter, you should adjust it so that your elbows are at a 90-degree angle when your hands are on the table. This reduces back strain during long grinding or welding sessions.
Should I paint my welding table to prevent rust? Never paint the top surface of the table. The table needs to be conductive so you can attach your ground clamp to it. You can paint the legs and the frame to prevent rust, but keep the top bare steel. To prevent rust on the top, wipe it down occasionally with a light coat of WD-40 or a specialized anti-spatter spray.
How do I know if my table is truly square? The most accurate way is the “Corner-to-Corner” method. Measure the distance from the top-left corner to the bottom-right corner, then measure from the top-right to the bottom-left. If the two measurements are identical, your table is square. If they differ by more than 1/8-inch, you need to adjust your tacks.
Can I use wood for my welding table frame? It is highly discouraged. Sparks and molten metal (slag) can easily land in a crack or corner of a wooden frame and smolder for hours before starting a fire. A steel frame is much safer and will not warp or loosen over time like wood will when exposed to heat.
What is “mill scale” and why must I remove it? Mill scale is a blue-black layer of iron oxide that forms on steel during the manufacturing process. It is a poor conductor of electricity and contains impurities that will make your welds brittle and porous. Use a flapper disc on an angle grinder to remove it until you see shiny “white” metal.
How many clamps do I need to start? You should have at least four C-clamps or F-clamps. These are used to hold your frame pieces tight against your squares while you tack weld. Without clamps, the heat of the weld will cause the metal to move, ruining your alignment.
What is a “clean zone” in a workshop? A clean zone is a specific area where you perform metal preparation, such as grinding and degreasing. By keeping this separate from your assembly area, you prevent grinding dust and oil from contaminating your final weld joints.
Is a 110V welder enough for building a table? Yes, a 110V/120V welder is perfectly capable of welding 1/8-inch and 3/16-inch steel, which are the standard thicknesses for a home workbench. Just ensure you are using the correct wire or electrode size and that you are plugged into a 20-amp circuit.
(This article was written by one of our staff writers, Michael Thompson. Visit our Meet the Team page to learn more about the author and their expertise.)