Avoid Financing Traps When Buying Shop Machinery (DIY Fix)
I remember standing in my first 400-square-foot shop, looking at a brand-new CNC plasma table in a glossy catalog. The price tag was $12,000. For a guy just starting to take on side jobs, that felt like a mountain of cash. The temptation to sign a few papers and walk away with a monthly payment was heavy. But I had seen too many talented fabricators lose their shops because they were “equipment rich and cash poor.” Instead of signing for a loan, I spent six months scouring local auctions and ended up buying a used, non-working unit for $1,500. I spent three weeks of late nights fixing the electronics and cleaning the rails. That machine didn’t just cut steel; it taught me that the most sustainable way to grow a workshop is through sweat equity and strategic cash flow management.
Transitioning from a hobbyist to a professional side-hustler is a massive financial shift. It is the moment where you stop spending money on a hobby and start investing capital into a business. This guide focuses on how to navigate that transition without falling into the debt cycles that often sink small fabrication businesses. We will look at how to build your shop’s capabilities through smart, cash-based acquisitions, DIY tool builds, and a deep understanding of your actual operating costs.
Building a Debt-Free Foundation for Your Metalworking Shop
Establishing a debt-free foundation means prioritizing cash flow and immediate utility over the prestige of owning brand-new equipment. It involves setting a strict budget based on current earnings rather than projected future profits that may not materialize. This approach ensures that every tool in your shop is an asset that pays for itself.
When I talk about a debt-free foundation, I am talking about the “pay-as-you-go” model. In my 16 years of metalworking, I have found that the shops that survive the lean months are the ones that don’t have a $2,000 monthly equipment bill hanging over their heads. If you are working a 9-to-5 job and fabrication is your side hustle, your shop should be a source of income, not a drain on your primary paycheck.
To do this, you must separate your personal finances from your shop finances from day one. Every dollar the shop earns should go into a dedicated “tool fund” after the material and utility costs are covered. This fund becomes your primary source for upgrades. By waiting until you have the cash in hand, you force yourself to evaluate if a tool is truly necessary or just a “nice-to-have” luxury.
- Set aside 20% of every job’s profit specifically for future equipment.
- Use a dedicated business checking account to track every penny.
- Avoid using personal credit cards for shop supplies.
- Only upgrade a tool when the current one is the primary bottleneck for a paying job.
Calculating Your True Shop Rate Without Monthly Payments
A true shop rate is the total cost of running your business for one hour, including labor, overhead, and profit. Calculating this accurately allows you to bid on jobs with confidence, knowing that you aren’t losing money on every weld. It is the most critical number in your fabrication business.
Most side-hustlers guess their shop rate. They think, “I want to make $50 an hour,” and they stop there. But $50 an hour doesn’t account for the electricity running your welder, the rent for your space, or the $400 you just spent on a new set of drill bits. To find your real rate, you need to add up your monthly overhead and divide it by the number of billable hours you actually work.
In a small shop, you might only have 20 billable hours a month because you spend the rest of the time quoting, cleaning, and sourcing material. If your overhead is $500 a month, that is $25 per hour just to keep the lights on. If you want to take home $50 an hour, your shop rate needs to be at least $75.
| Expense Category | Monthly Cost (Example) | Hourly Impact (20 hrs/mo) |
|---|---|---|
| Shop Rent/Space | $300 | $15.00 |
| Utilities (Power/Gas) | $80 | $4.00 |
| Insurance | $50 | $2.50 |
| Software/Subscriptions | $20 | $1.00 |
| Total Overhead | $450 | $22.50 |
Building on this, you must also factor in a “buffer” for the time you spend on non-billable tasks. If you spend three hours quoting a job that takes five hours to build, your total time investment is eight hours. If you only bill for five, your effective hourly rate drops significantly.
Strategic Equipment Acquisition: The Cash-First Approach
The cash-first approach to equipment acquisition involves buying tools only when you have the liquid capital available, often focusing on used or fixer-upper machinery. This method minimizes financial risk and allows for a more flexible business model that can adapt to market changes. It turns tool buying into a strategic game of value hunting.
I have a rule: I never buy a new machine unless the used market is non-existent for that specific model or the cost of repair exceeds 70% of the new price. For example, a new 50-ton ironworker can cost $15,000. I found one at a local factory closing for $3,500. It needed new seals and a fresh coat of paint. I spent $400 on parts and two weekends of work. That $11,100 I saved stayed in my bank account, providing a safety net for my business.
Evaluating the Used Market for Heavy Iron
Evaluating used machinery requires a keen eye for mechanical wear and an understanding of what can be fixed versus what is a total loss. It involves checking for bed wear on lathes, backlash in mills, and the condition of electrical transformers in older welders. A used machine is only a bargain if it can be brought back to precision.
When looking at used gear, I always bring a dial indicator and a set of feeler gauges. I check for “slop” in the handles and look for signs of “crash” marks on the tables. Interestingly, older American or European iron is often more robust than modern, entry-level imports. A 40-year-old Bridgeport mill, if well-maintained, will still out-perform a brand-new, light-duty benchtop mill for most fabrication tasks.
- Always ask to see the machine run under load.
- Check the availability of replacement parts before buying.
- Factor in the cost of moving heavy equipment (rigging).
- Look for “retired” machinists on local marketplaces who are downsizing.
Building Your Own Tools to Save Capital
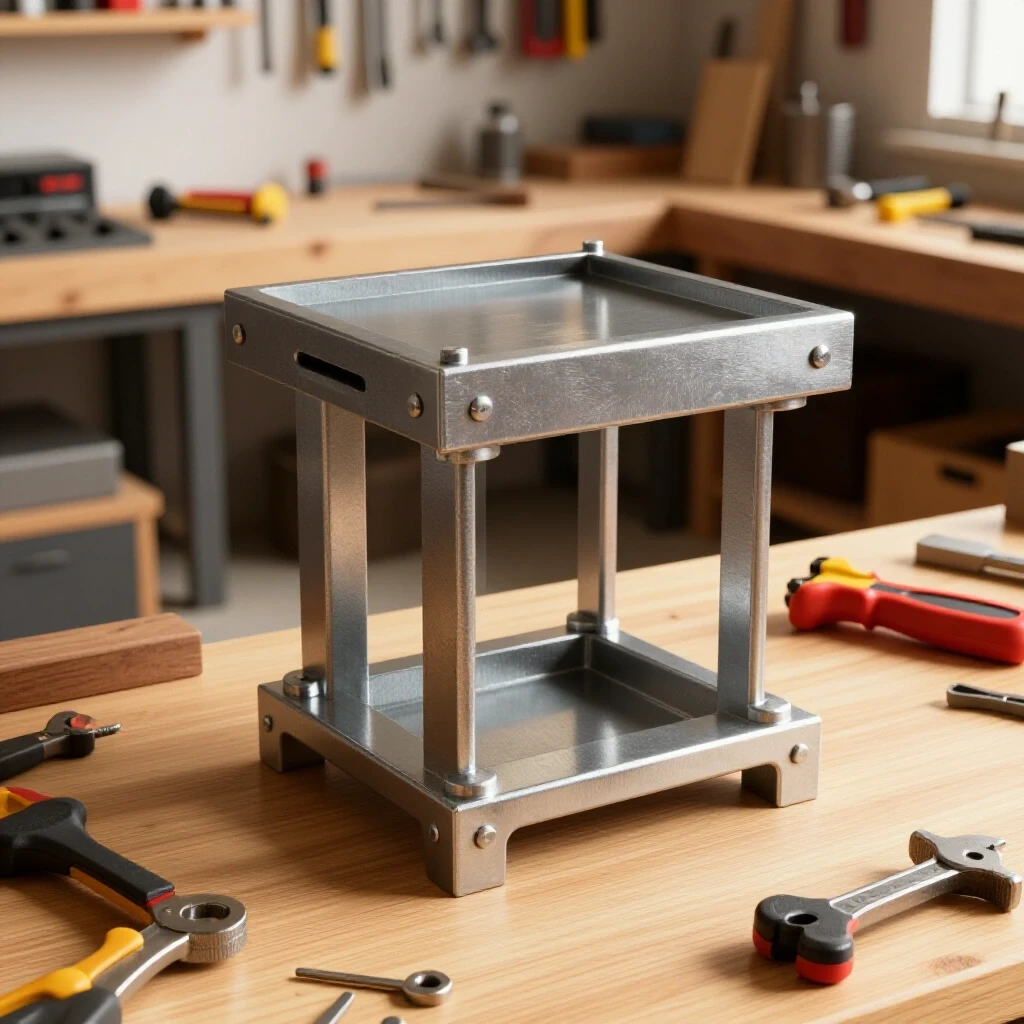
Building your own tools involves fabricating essential shop equipment like welding tables, hydraulic presses, or belt grinders using raw materials and components. This “sweat equity” approach reduces the initial capital outlay and allows you to customize the equipment to your specific workflow. It is the ultimate expression of a fabricator’s skill set.
One of the best ROI (Return on Investment) projects I ever did was building my own 2×72 belt grinder. A high-end commercial unit was nearly $3,000 at the time. I bought a kit of laser-cut parts for $400, sourced a used 2HP motor for $50, and spent a Saturday welding and painting. I ended up with a professional-grade tool for under $600. That is $2,400 that didn’t have to be financed or saved for months.
Why Hidden Consumables Bleed Small Shop Profits
Consumables are the items used up during the fabrication process, such as welding wire, shielding gas, grinding discs, and coolant. Because these costs are small per unit, they are often overlooked in job quotes, leading to a “death by a thousand cuts” for shop profitability. Tracking these expenses is vital for accurate pricing.
I once tracked every single grinding disc I used over a month. I was shocked to find I was spending nearly $120 a month just on abrasives. I hadn’t been including that in my quotes. I was essentially giving away $1,440 a year. To fix this, I implemented a “consumable burden factor.” For every hour of fabrication, I add a flat fee to the bill to cover these invisible costs.
- Welding Gas: Track how many hours a tank lasts.
- Abrasives: Note how many discs are used per project type.
- Drill Bits/End Mills: Factor in a replacement cost for every 10 hours of use.
- Electricity: High-amperage welding or plasma cutting can spike a residential bill.
Building a Profitable Bidding Model for Side-Hustlers
A profitable bidding model is a systematic way to estimate jobs that includes material costs, labor, overhead, and a healthy profit margin. It moves away from “gut-feeling” pricing and uses hard data to ensure every project contributes to the shop’s growth. A good model protects you from underquoting complex work.
When you are starting out, there is a fear that if you charge too much, you won’t get the work. But if you don’t charge enough, the work you get will eventually put you out of business. My bidding formula is simple: (Material Cost x 1.3) + (Estimated Hours x Shop Rate) + Consumable Fee. The 1.3 multiplier on materials covers the time spent sourcing, picking up, and storing the metal.
Small Metal Shop Pricing and Material Markups
Material markups are the additional percentages added to the raw cost of metal to cover handling and procurement. This ensures that the shop is compensated for the “hidden labor” of managing inventory and logistics. It also provides a buffer against sudden price fluctuations in the steel market.
If I spend two hours driving to the steel yard and loading my truck, that is two hours I am not welding. If I don’t mark up the material, I am working for free during those two hours. I typically use a tiered markup system:
- Small Jobs (under $100 in material): 50% markup.
- Medium Jobs ($100–$1,000): 30% markup.
- Large Jobs (over $1,000): 20% markup.
The ROI Timeline: When Does a Tool Actually Pay for Itself?
The ROI timeline is the period it takes for a new piece of equipment to generate enough additional profit to cover its initial purchase price. Calculating this helps a shop owner decide if an upgrade is a sound financial move or a risky distraction. It turns an emotional purchase into a logical business decision.
Let’s look at a real-world example. Suppose you are currently hand-filing notches in tubing, which takes 10 minutes per notch. You want to buy a $600 tube notcher that reduces that time to 2 minutes. You save 8 minutes per notch. If your shop rate is $75/hour ($1.25/minute), you are saving $10 per notch.
Calculation: $600 (Tool Cost) / $10 (Savings per notch) = 60 notches.
If you do 60 notches a month, the tool pays for itself in 30 days. If you only do 5 notches a year, that tool will take 12 years to pay for itself. In the second scenario, you are better off sticking with the hand file and keeping your $600 in the bank.
Analyzing Post-Job Profits to Refine Future Bids
Post-job profit analysis is the process of comparing your initial quote to the actual costs and time spent after a project is finished. This “post-mortem” reveals where your estimates were off and allows you to adjust your pricing for the next job. It is the only way to get truly accurate at fabrication job costing.
Every Friday, I spend 30 minutes looking at the jobs I finished that week. I look at my estimated hours versus my actual clocked hours. If I estimated 10 hours but it took 14, I need to know why. Was the material harder to work with than expected? Did I break a tool? Or did I just underestimate the complexity? This data is gold. It prevents you from making the same mistake twice.
- Use a simple spreadsheet to log “Estimated vs. Actual.”
- Don’t beat yourself up for a bad bid; use it as an education.
- Adjust your shop rate or markups if you consistently see low margins.
- Track “shop gremlins”—the small delays that add up over a week.
Modern Tools for Shop Management and Estimation
Modern shop management involves using digital tools and software to track time, manage quotes, and monitor inventory. These resources replace messy paper notes with organized, searchable data that can be accessed from a phone or tablet on the shop floor. They bring professional-level organization to the smallest side-hustle.
You don’t need expensive enterprise software. There are several low-cost or free tools that work perfectly for a one-man shop:
- Clockify: A free time-tracking app that lets you “clock in” to specific jobs on your phone.
- Wave Accounting: Excellent for sending professional invoices and tracking basic expenses.
- Google Sheets: Create a custom “Metal Business ROI Calculator” to run your bids.
- Evernote or Keep: For taking photos of material receipts so you don’t lose them.
Practical Benchmarks for Side-Hustle Metalworking
Benchmarks are industry-standard metrics that provide a target for your shop’s performance. They help you understand if your rates are competitive and if your operations are efficient compared to other small-scale fabricators. Knowing these numbers keeps you grounded in reality.
Based on my experience and surveys of small fab shops, here are some realistic targets to aim for:
- Average Shop Rate (Side-Hustle): $65–$95 per hour.
- Average Shop Rate (Full-Time Small Shop): $95–$140 per hour.
- Consumable Burden: 5% to 10% of the total labor cost.
- Profit Margin (after all costs): 15% to 25%.
- Material Markup: 20% minimum.
Building a successful workshop is about more than just being a good welder or machinist. It is about being a disciplined manager of your resources. By avoiding the trap of debt and focusing on cash-flow-driven growth, you create a business that can withstand market dips and provide a steady second income. Start small, buy used, track every penny, and let your shop’s profits buy your next upgrade.
Frequently Asked Questions
How do I determine if I should buy a tool or just pay another shop to do the work? Calculate the “break-even” point. If a local shop charges $200 for a service (like CNC cutting) and the machine to do it yourself costs $2,000, you need to use that service 10 times to justify the machine. However, also factor in your “wait time” and travel costs to the other shop. If outsourcing causes a two-week delay in your projects, the machine might be worth it sooner.
Is it always better to buy used machinery? Not always. If a tool is critical to your daily production and the used market only offers worn-out junk, buying new with cash is better. New tools come with warranties and parts support. The key is to avoid financing. If you can’t buy the new tool with cash, you aren’t ready for it yet.
How do I handle customers who think my shop rate is too high? Explain your value, not your costs. Don’t tell them you need $80 an hour to pay for your welder. Tell them that $80 an hour ensures they get a professional, safe, and precisely engineered product. If they still complain, they are likely “price shoppers” who will be your most difficult customers anyway.
Should I charge for the time I spend talking to customers? Yes, but indirectly. You shouldn’t send an invoice for “phone call time,” but your hourly shop rate should be high enough to cover the non-billable hours you spend on customer service and quoting. This is why your shop rate is always higher than what you want to “take home.”
How often should I update my shop rate? At least once a year. Material costs, electricity, and even the price of welding gas fluctuate. If you haven’t raised your rates in three years, you are effectively taking a pay cut every year as inflation rises.
What is the biggest mistake side-hustlers make when buying equipment? Buying for “potential” work instead of “actual” work. They buy a pipe bender because they hope to build roll cages one day, but they have no orders for them. Only buy equipment when you have a paying job (or a very high probability of one) that requires it.
How do I track consumables without it taking up all my time? Don’t track every individual screw. Instead, look at your total spending on consumables over three months and divide it by your total billable hours. This gives you a “burden rate” (e.g., $5.00/hour) that you can simply add to every quote. Re-check this math every quarter.
What should I do if a job takes much longer than I quoted? Eat the cost on the first one. It is a “tuition fee” for your business education. Honor your quote to the customer to maintain your reputation, but immediately update your bidding spreadsheet so you don’t repeat the mistake. If the customer changed the scope of the project mid-way, that is the only time you should renegotiate the price.
Can I really run a successful shop without ever taking a loan? Yes. It takes longer to grow, but the growth is solid. When you own your equipment outright, your “nut” (the minimum money you need to make to stay open) is very low. This allows you to survive economic downturns that would bankrupt a shop with heavy debt.
How much should I mark up my materials? A minimum of 20% is standard. This covers the time you spend ordering, the gas to go get it, and the space it takes up in your shop. For very small orders, a 50% markup is more appropriate because the “hassle factor” is higher relative to the cost.
(This article was written by one of our staff writers, Michael Hargrove. Visit our Meet the Team page to learn more about the author and their expertise.)