How to Reduce High Utility Bills in Machine Shops (DIY Guide)
When I first moved my fabrication work from a casual weekend hobby to a legitimate side business, I felt like I finally had a handle on my costs. I knew my material prices and I had a rough idea of how long a weldment took to finish. Then the first mid-summer utility bill arrived. The jump in my overhead was enough to turn a profitable month into a break-even struggle. It was a wake-up call that many small shop owners face: the “hidden” costs of running machinery can quietly erode your margins if you don’t track them with the same discipline you use for your material invoices.
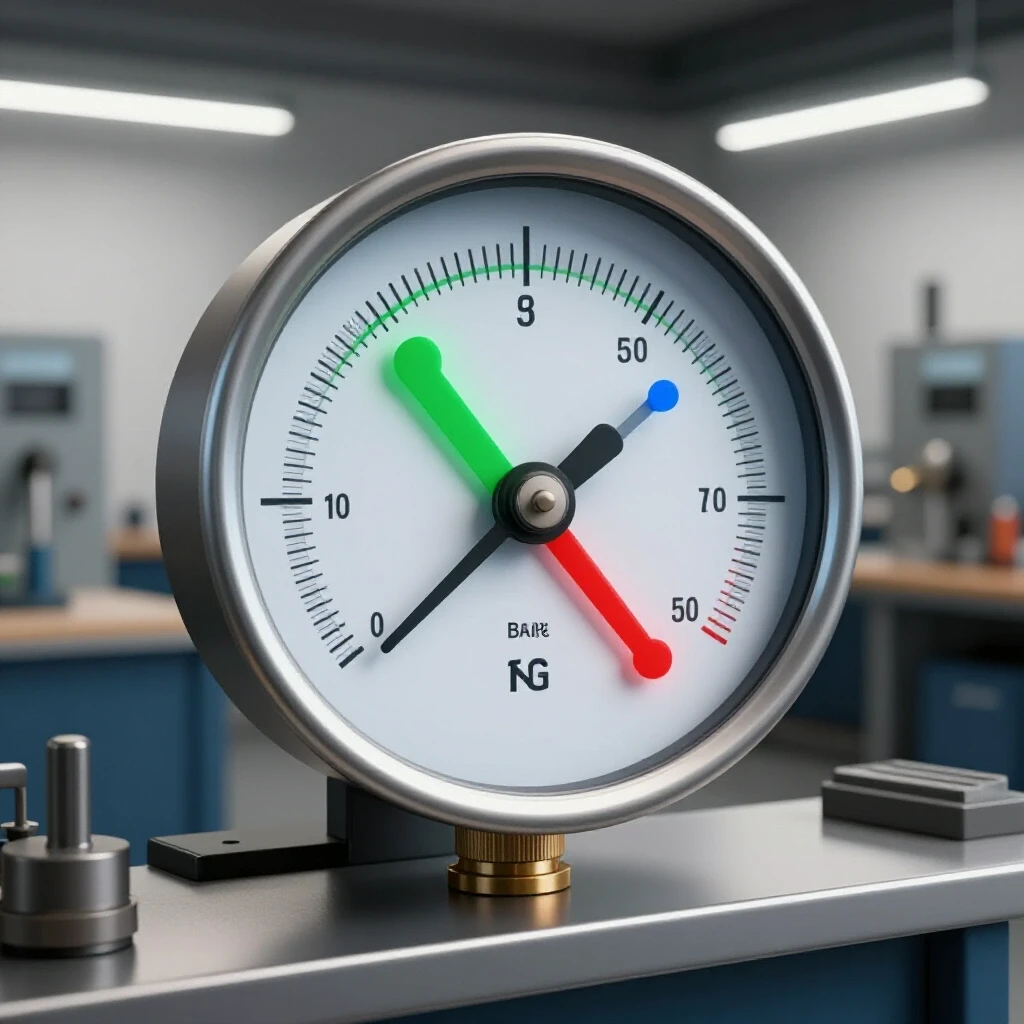
Managing a small-scale workshop requires a shift in mindset from “making things” to “managing a production environment.” You are no longer just a fabricator; you are a plant manager. Every time a compressor kicks on or a 5-horsepower motor idles, a meter is spinning. To keep your shop profitable, you have to understand where that energy is going and how to keep it from leaking out of your bottom line.
Establishing a Baseline for Workshop Energy Expenses
This involves tracking exactly how much electricity and fuel your machines consume during a production cycle. It allows you to move away from guessing and toward a precise hourly burden rate that ensures your side business covers its own operational costs without dipping into your personal savings.
In my experience, most side-hustlers treat utilities as a “fixed” cost that they just pay at the end of the month. This is a mistake. In a machine shop, utilities are a variable cost directly tied to your production hours. If you spend ten hours TIG welding aluminum, your power draw will be significantly higher than if you spent ten hours hand-filing parts.
To get a handle on this, I started by logging my meter readings before and after a heavy day of shop work. I compared those numbers to a day when the shop sat idle. The difference gave me a “production cost per hour” that I could finally use in my bids. Without this data, you are essentially subsidizing your customers’ projects with your own household budget.
Calculating Your True Hourly Shop Rate
Your shop rate is the total cost of running your business divided by billable hours. It must include fixed costs like rent and insurance, plus variable costs like electricity, to ensure every job pays for the light bulbs and the welder’s power draw.
When you calculate your rate, don’t just pick a number like $75 an hour because that is what the guy down the street charges. You need to account for your specific overhead burden. This includes the “non-productive” energy use, such as the lights being on while you are sweeping the floor or the computer running while you are quoting jobs.
- Fixed Overhead: Insurance, rent, and software subscriptions.
- Variable Overhead: Electricity, heating, and gases.
- Labor: What you need to pay yourself to make the work worth your time.
- Profit Margin: The extra 10-20% that stays in the business for future tool upgrades.
Mapping Machinery Amortization and Power Use
Amortization is the process of spreading the cost of a tool over its expected lifespan. When combined with energy tracking, it helps you understand the total cost of ownership for every hour a machine is actually spinning.
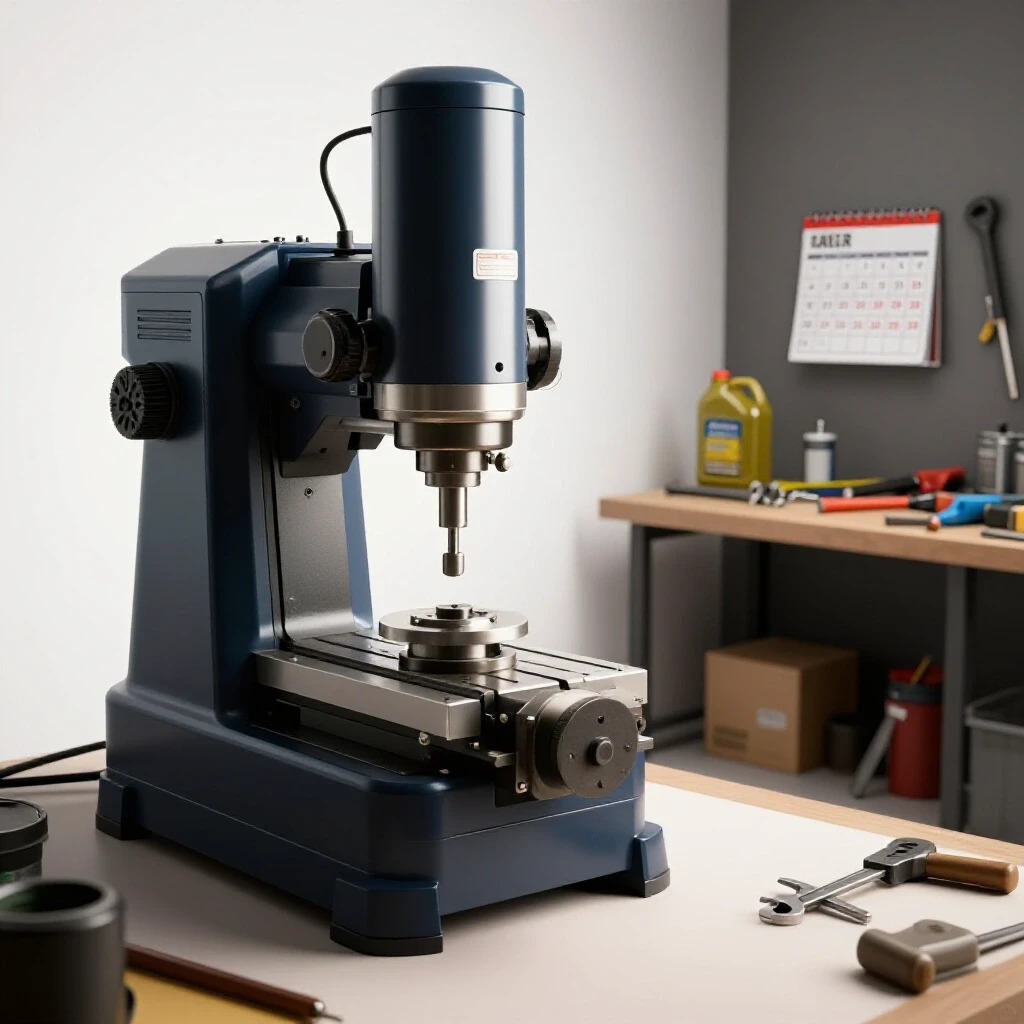
I once bought a vintage bridgeport mill that was a steal at $1,500. However, the older motor was significantly less efficient than a modern equivalent. By calculating the power draw over a year of part-time use, I realized the “cheap” mill was costing me an extra $300 a year in electricity compared to a newer model with a high-efficiency motor. Tracking these metrics helps you decide when it is actually cheaper to buy a new tool than to keep fixing an old, power-hungry one.
| Machine Type | Avg. Amps (240V) | Estimated Cost/Hour ($0.12/kWh) | Maintenance Factor |
|---|---|---|---|
| TIG Welder (200A) | 25A | $0.72 | Low |
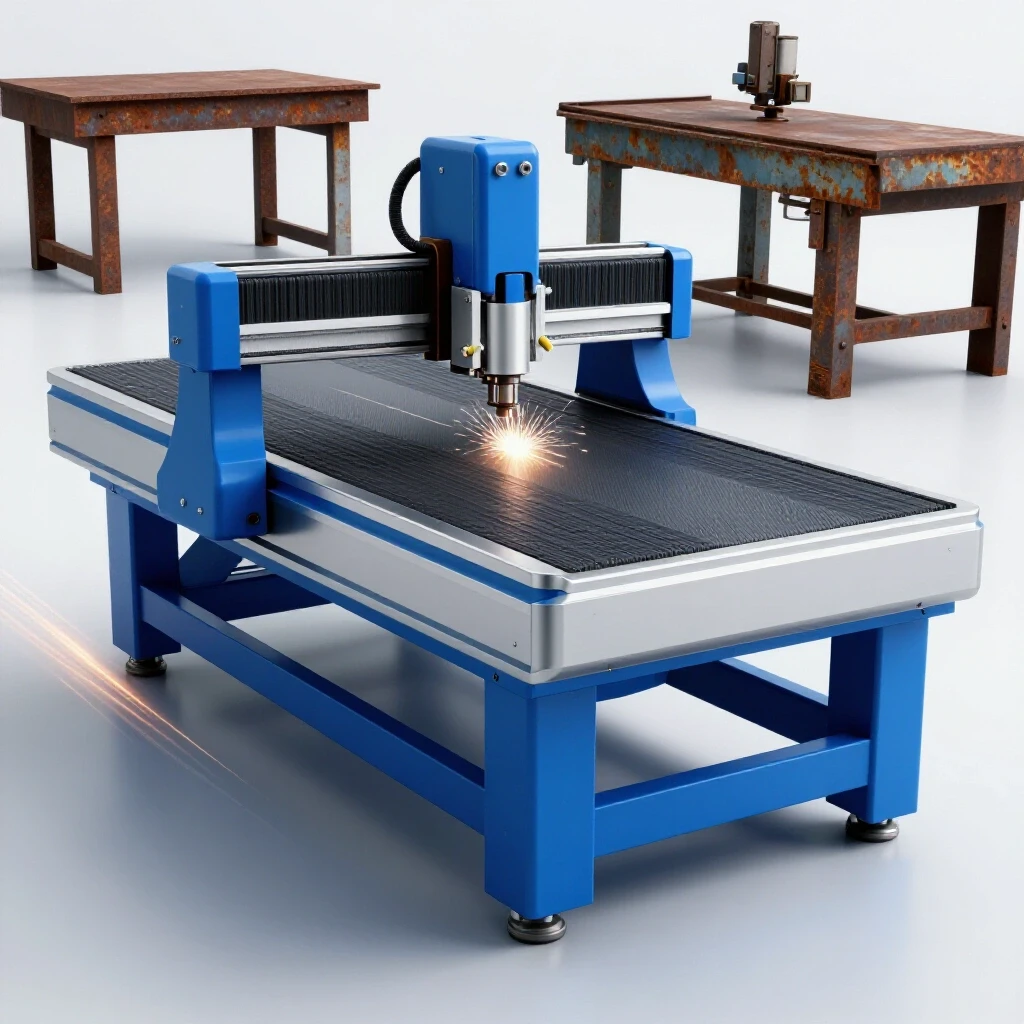
| CNC Mill (Spindle) | 15A | $0.43 | Medium |
| 5HP Air Compressor | 22A | $0.63 | High |
| LED Shop Lighting | 2A | $0.06 | Very Low |
Optimizing Compressed Air Systems for Lower Power Draw
Compressed air is often the most expensive utility in a fabrication shop due to motor inefficiency and leaks. By fixing small air leaks and adjusting pressure regulators, you can significantly reduce the frequency of compressor cycles and lower your monthly energy expenditure.
In my consulting work, I’ve found that the average small shop loses about 20% of its compressed air to leaks. That is 20% of your compressor’s electricity bill going toward cooling the room with pressurized air you never used. I recommend a “soapy water” test every quarter. Spray down every fitting, coupler, and manifold. If you see bubbles, you are losing money.
Reducing Compressor Cycle Frequency
Minimizing how often your compressor starts and stops reduces the high-current “inrush” period that spikes your power bill. This can be achieved by increasing your storage capacity or lowering your system’s maximum pressure setting.
Most shop tools, like plasma cutters or air grinders, only require 90 PSI to operate effectively. Yet, many shop owners leave their compressor set to kick off at 150 PSI. It takes significantly more energy to compress air from 100 to 150 PSI than it does from 0 to 90. By dropping your tank pressure to 110 PSI, you reduce the load on the motor and extend the life of the pump.
- Add an auxiliary tank: A second “dead” tank increases volume without adding a second motor.
- Lower the pressure: Set your regulator to the minimum required by your most demanding tool.
- Turn it off: Never leave a compressor pressurized overnight; a small leak will cause it to cycle while you sleep.
DIY Plumbing Upgrades for Air Efficiency
Using larger diameter piping and smoother internal surfaces reduces the friction that air faces as it moves through your shop. This allows you to run lower pressures at the tank while maintaining the necessary “hit” at the tool.
I replaced my old coiled rubber hoses with 3/4-inch copper lines years ago. The difference was immediate. Because the air didn’t have to fight through narrow, restrictive hoses, my impact wrenches had more torque even with the compressor set at a lower pressure. It is a one-time material investment that pays dividends in lower monthly power costs.
Enhancing Motor Efficiency and Dust Collection Management
Electric motors in lathes, mills, and dust collectors draw significant current, especially during startup. Managing these systems involves ensuring belts are tight, bearings are lubricated, and dust collectors only run when a machine is actually cutting material to prevent wasted kilowatt-hours.
One of the biggest mistakes I see in side-hustle shops is the “set it and forget it” mentality with dust collection. I’ve seen shops where a 3HP dust collector runs for four hours straight while the owner only spent 20 minutes actually cutting wood or grinding metal. That is hours of wasted electricity.
Implementing Manual and Automatic Blast Gates
Blast gates are sliding valves that control airflow in a vacuum system, ensuring suction is only directed to the machine in use. Using them effectively prevents your motor from working harder than necessary to pull air through unused ports.
If you have a centralized dust collector, you should never have more than one gate open at a time. I also suggest installing a simple remote switch or a current-sensing relay. These DIY-friendly devices turn the vacuum on only when the primary tool starts. It eliminates the “I’ll just leave it running while I measure” habit that kills your efficiency.
Belt Tension and Bearing Maintenance
Friction is the enemy of efficiency in any machine with moving parts. Properly tensioned belts and well-lubricated bearings allow motors to spin with less resistance, reducing the amperage required to maintain speed under load.
- Check belt deflection: A belt that is too tight puts unnecessary load on bearings; too loose, and it slips and wastes energy.
- Use high-quality grease: Reducing heat in your headstock or motor bearings directly correlates to lower power consumption.
- Align your pulleys: Misaligned pulleys cause the motor to fight against itself, drawing more current than a properly aligned system.
Workshop Lighting Upgrades and Thermal Insulation
Lighting and climate control often account for a large portion of a small shop’s overhead. Replacing old fluorescent tubes with high-efficiency LEDs and adding basic insulation to shop doors can stabilize your working environment and reduce the strain on your budget.
When I swapped my old T12 fluorescent fixtures for high-output LED shop lights, my lighting bill dropped by nearly 60%. But the benefit wasn’t just financial. The improved visibility meant I made fewer mistakes on precision layouts, which saved me money on wasted material. In a machine shop, better light is a productivity tool, not just a utility.
ROI Calculations for LED Retrofitting
Calculating the return on investment for lighting involves comparing the cost of new fixtures against the monthly savings on your electric bill. Most small shops find that the upgrade pays for itself in less than 18 months of regular use.
Let’s look at the math. If you have ten 4-foot fixtures running 100 hours a month, switching from fluorescent to LED can save you roughly $15 to $20 a month depending on your local rates. If the new bulbs cost you $150 total, your payback period is only 8 to 10 months. After that, that $20 stays in your pocket every single month.
DIY Insulation for Garage-Based Shops
Insulating a workshop involves sealing gaps around doors and windows and adding reflective barriers to prevent heat transfer. This keeps the shop at a workable temperature without forcing space heaters or fans to run constantly.
I used to run a 220V electric heater in the winter just to keep my hands from freezing to the lathe. Once I spent a weekend adding foam board insulation to my garage door and sealing the floor plate with caulk, the heater ran half as often. That simple DIY project saved me more in utility costs over one winter than the cost of the insulation itself.
- Insulate the door: Use a kit or cut foam board to fit the panels of your roll-up door.
- Weatherstrip the gaps: A simple rubber seal at the bottom of the door stops the “chimney effect” of rising heat.
- Use task lighting: Instead of lighting the whole shop to 100%, use bright lights over the bench and lower ambient light elsewhere.
Pricing Fabrication Jobs to Account for Energy Burdens
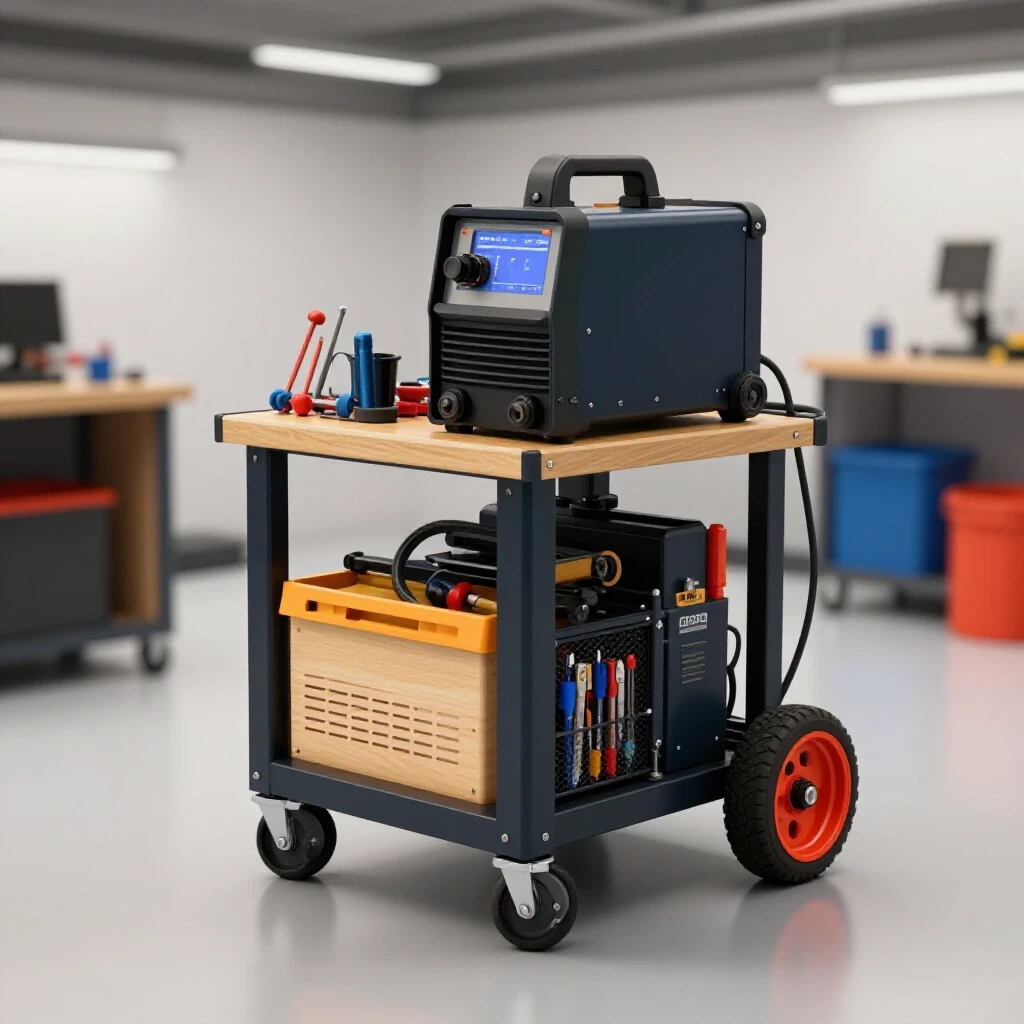
Accurate job costing requires a deep understanding of how specific processes, like heavy TIG welding or CNC milling, impact your utility bill. You must apply a “consumable burden” to your quotes to ensure the client, not your wallet, pays for the power consumed.
I learned this lesson the hard way on a large order of stainless steel brackets. I priced the job based on my usual hourly rate, but I didn’t account for the fact that the high-frequency TIG welding was going to spike my power bill that month. When I sat down to look at the profit, I realized I had basically worked for free for three days because the “overhead” ate the margin.
Why Hidden Consumables Bleed Small Shop Profits
Consumables aren’t just welding wire and grinding discs; they include the electricity, shielding gases, and heating fuels required to finish a project. Failing to track these small expenses leads to “margin creep,” where a job looks profitable on paper but leaves you with no cash in the bank.
I recommend adding a “Consumable Burden Factor” to every quote. This is usually a percentage (often 5-10%) added to the material cost or a flat hourly add-on to your shop rate. This covers the “invisible” costs like the electricity for the lights, the air for the blow-off gun, and the wear on your bandsaw blades.
Analyzing Post-Job Profits and Cost Variance
Post-job analysis is the practice of comparing your estimated costs against your actual spending once a project is complete. This helps you identify where you underestimated energy use or material waste so you can adjust your next bid.
Keep a simple notebook or spreadsheet for every job. Write down your estimated time and costs on the left, and the actuals on the right. If you consistently see that your “Utilities/Misc” category is higher than expected, it’s time to raise your shop rate.
- Track your meter: Note the reading before and after a big production run.
- Log gas usage: How many cubic feet of Argon did that project actually take?
- Review the invoice: Did the utility bill spike during that specific project window?
Practical Tools for Managing Shop Economics
To run a professional side-hustle, you need to move beyond back-of-the-napkin math. Using dedicated software or well-structured spreadsheets allows you to track depreciation and energy costs with precision.
- Kilowatt Meters: These plug-in devices show you exactly how much power a specific 110V tool draws over time.
- Job Costing Spreadsheets: A simple Excel or Google Sheets template can calculate your hourly burden automatically.
- Invoicing Software: Tools like Wave or Quickbooks help you track “Cost of Goods Sold” (COGS) so you can see your true profit after utilities.
- Digital Thermostats: For shops with dedicated heating, these prevent you from accidentally leaving the heat on overnight.
- Pressure Gauges: High-quality gauges at the tool help you see if you have significant pressure drops in your air lines.
By treating your workshop as a financial ecosystem, you can make smarter decisions about which jobs to take and which tools to buy. Reducing the energy draw of your machines isn’t just about saving a few dollars on a bill; it’s about increasing the “yield” of every hour you spend in the shop. When your overhead is low, your competitive edge is high.
Frequently Asked Questions
How much does it actually cost to run a welder per hour? On average, a 200-amp TIG welder running at a 50% duty cycle will cost between $0.60 and $0.90 per hour in electricity, depending on your local rates. However, the bigger cost is often the shielding gas, which can be $3.00 to $5.00 per hour. Always factor both into your “consumable burden.”
Is it worth upgrading to a 240V motor for my machines? While 240V isn’t inherently “cheaper” than 120V (you pay for Watt-hours, not Volts), a 240V motor is often more efficient and runs cooler. It also draws half the amperage, which can reduce the voltage drop in your shop’s wiring and prevent other equipment from struggling when a large motor starts.
What is the fastest way to lower my shop’s power bill without buying new tools? The fastest way is to fix air leaks and lower your compressor’s PSI. A single 1/16-inch leak can cost you over $15 a month if the compressor is left on. Lowering your tank pressure from 150 to 110 PSI can reduce the motor’s energy consumption by up to 15% per cycle.
How do I calculate a “consumable markup” for my quotes? A standard practice is to take your total monthly consumable costs (gas, electricity, abrasives, bits) and divide them by your total billable hours. If you spend $200 a month on these items and work 40 hours, your consumable burden is $5.00 per hour. Add this to your base shop rate.
Should I turn my machines off between operations or leave them idling? For most modern electronics, turning them off is better. However, for large motors (like a 5HP compressor or a phase converter), the “inrush” current during startup is very high. If you are going to use the machine again within 10-15 minutes, it is often more efficient to let it idle. If the gap is longer, shut it down.
How does shop insulation affect my machine’s lifespan? Extreme temperature swings cause condensation on cold metal surfaces, which leads to rust on precision ways and tables. By insulating your shop, you not only save on heating and cooling costs but also reduce the time and money spent on rust prevention and machine maintenance.
Does LED lighting really make a difference in a small shop? Yes, significantly. Beyond the 50-70% energy savings, LEDs don’t have the “stroboscopic effect” that some old fluorescents have, which can make rotating machinery look like it’s standing still—a major safety hazard. They also reach full brightness instantly in cold weather.
What is “Phantom Load” and how do I stop it? Phantom load is the power drawn by chargers, LED displays on welders, and transformers even when the tool is “off.” In a shop, this can add up. Using a master disconnect switch or simply unplugging high-draw items like plasma cutters when not in use can save a few dollars every month.
(This article was written by one of our staff writers, Michael Hargrove. Visit our Meet the Team page to learn more about the author and their expertise.)