How to Adjust and Fix Metal Bandsaw Blade Drift (DIY Guide)
In my fourteen years of inspecting heavy steel frames and managing shop floors, I have learned that a project’s success is often decided before the welder even sparks up. I once worked on a structural support frame for a heavy industrial press where every single piece of square tubing was cut on a small shop bandsaw. We assumed the saw was “close enough.” However, when we went to fit the joints, we found a 3-degree deviation on almost every cut. This created massive gaps that led to poor weld penetration and a high risk of structural cracking. That experience taught me that a wandering saw blade is not just a nuisance; it is a fundamental threat to the structural integrity of your build.
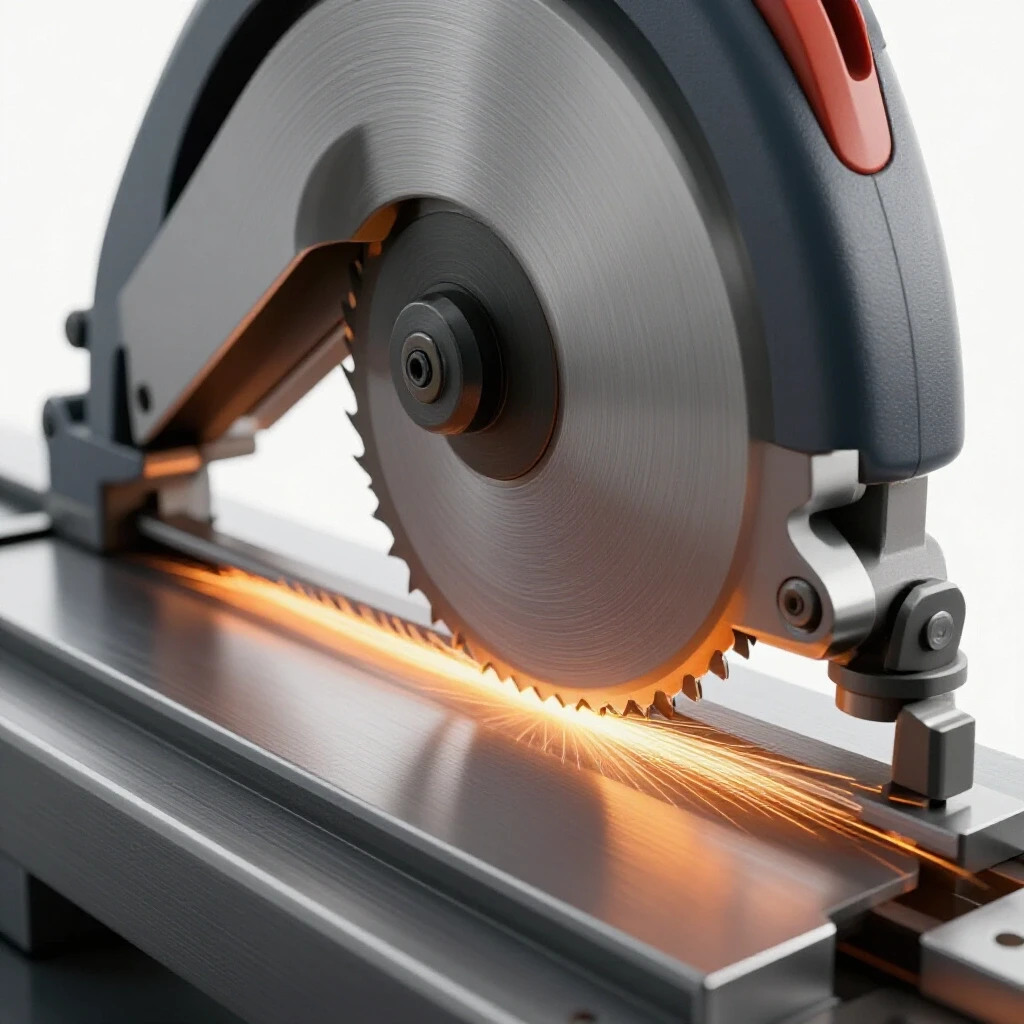
When a blade fails to travel in a straight line, we call this lateral deviation or “drift.” In a professional setting, we look at this through the lens of mechanical stress and geometry. If your cut is not square, your joint fitment will be poor. Poor fitment leads to uneven heat distribution during welding, which creates a larger heat affected zone (HAZ) and weakens the base metal. To avoid these failures, you must treat your bandsaw as a precision instrument that requires regular calibration.
The Science of Blade Tension and Beam Strength in Metal Cutting
Beam strength refers to the ability of a bandsaw blade to resist bending backwards or sideways while under the pressure of a cut. When you are working with mild steel or structural sections, the blade acts like a thin beam supported at two points by the guide blocks. If the tension is too low, the blade will bow outward as it meets resistance from the material.
Tensile strength is the maximum amount of pulling stress a material can withstand before failing. For most bimetal blades used in home workshops, we aim for a specific tension level that keeps the blade rigid without snapping it. If you lack a dedicated tension gauge, you can test this by looking at the deflection. A properly tensioned blade should not move more than 1/8th of an inch when pushed firmly from the side between the guides.
| Material Type | Recommended Blade Tension (PSI) | Potential Failure Point |
|---|---|---|
| Mild Steel (Thin Wall) | 15,000 – 18,000 | Blade fluttering / tooth stripping |
| Structural Carbon Steel | 20,000 – 25,000 | Lateral bowing / wavy cuts |
| Stainless Steel (304/316) | 25,000 – 30,000 | Extreme heat buildup / blade snapping |
| Aluminum Alloys | 12,000 – 15,000 | Clogging / tooth loading |
Maintaining the correct tension ensures that the “load path” of the cutting force stays directed through the teeth rather than pushing the blade body out of alignment. If you underestimate the structural metal load capacity of your blade, you will experience a “brittle fracture” of the blade itself or, more commonly, a ruined piece of expensive stock.
Establishing a Workshop Safety Checklist for Saw Maintenance
Before you touch a single adjustment bolt, you must ensure your environment is safe. Workshop safety is not just about wearing glasses; it is about controlling the energy of the machine. A bandsaw stores a significant amount of potential energy in its tensioned blade. If that blade snaps while you are hovering over it, the results can be catastrophic.
I always follow a strict garage fabrication safety protocol. This starts with a full power lockout. Never adjust the tracking or guide blocks while the machine is plugged in. Even if the switch is off, a mechanical failure or a bumped cord could engage the motor.
- Unplug the saw and coil the cord away from the work area.
- Clear all metal chips and “swarf” from the wheel housings using a brush, not your hands.
- Check your PPE. While cutting doesn’t require a Shade 10-13 filter like welding does, you still need high-impact safety glasses and hearing protection.
- Ensure your workspace has clear “safety zones” so no one can walk into the path of a long piece of material being fed into the saw.
- Verify that your ventilation is active if you are using cutting fluids, as some can aerosolize and cause respiratory irritation.
By following this workshop safety checklist, you reduce the risk of “near-miss” incidents. I have seen seasoned fabricators lose fingertips because they tried to “fine-tune” a running blade. It is never worth the risk.
Diagnosing the Root Causes of Lateral Blade Wandering
When your cuts start to curve, you need to play detective. In my experience, wandering usually stems from one of three areas: the blade’s physical condition, the tracking on the wheels, or the guide assembly. We call this diagnostic inspection. If you ignore these signs, you are essentially guessing at your structural accuracy.
Check the teeth first. If you have been cutting hard materials and the teeth on one side of the blade are duller than the other, the blade will naturally pull toward the sharper side. This is because the sharp teeth “bite” into the metal more effectively, creating an uneven force. If the blade is visually worn or has missing teeth, no amount of mechanical adjustment will fix the drift. You must replace the blade to ensure a predictable material performance.
Next, look at the “tracking.” This is the position of the blade on the drive and idler wheels. Ideally, the blade should run centered on the wheels or slightly toward the flange, depending on your saw’s design. If the blade is riding too far forward, it loses the support of the wheel’s crown, causing it to dive during a cut. Interestingly, many intermediate fabricators overlook the wheels, but they are the foundation of the saw’s geometry.
Adjusting Guide Blocks and Thrust Bearings for Maximum Stability
The guide blocks are the “brakes” that keep your blade from twisting. On most DIY or benchtop saws, these consist of either ball bearings or solid ceramic/metal blocks. Their job is to sandwich the blade and prevent it from tilting under load.
A common mistake is setting these guides too far apart. If there is a large gap, the blade can twist like a ribbon. I recommend using a feeler gauge to set the gap between the blade and the guide blocks to approximately 0.003 inches. This is roughly the thickness of a standard piece of notebook paper. You want the guides as close as possible without actually pinching the blade and creating friction heat.
- Side Guides: These prevent the blade from twisting. They should be positioned just behind the gullets (the valleys between the teeth). If they touch the teeth, they will ruin the blade’s “set.”
- Thrust Bearings: These are located behind the blade. They prevent the blade from being pushed backward during a cut. The thrust bearing should be set about 1/64th of an inch away from the back of the blade when the saw is idling. It should only spin when the blade is actively cutting material.
If your thrust bearing is constantly spinning or is set too far back, the blade will bow into a “C” shape under pressure. This bowing is the primary cause of cuts that are square at the top of the material but angled at the bottom.
Managing Heat Affected Zone Weakness through Proper Feed Rates
While we often talk about the heat affected zone (HAZ) in welding, heat is also a factor in cutting. If you force the blade through the metal too quickly, you generate localized heat. This heat can cause the blade to expand and lose its tension. As the metal softens, the blade finds the path of least resistance, which is rarely a straight line.
I use a “gravity-plus-one” rule for feed pressure on manual saws. Let the weight of the saw head do the work, and only add the slightest bit of manual pressure if the material is particularly thick. If you see the blade vibrating or “chattering,” you are likely pushing too hard or your speed is too high for the material’s hardness.
| Defect Observed | Likely Cause | Corrective Action |
|---|---|---|
| Cut curves to the right | Duller teeth on left side | Replace blade / Check guide alignment |
| Wavy, “S” shaped cut | Insufficient blade tension | Increase tension to 20k-25k PSI |
| Bottom of cut is angled | Thrust bearing is too far back | Adjust thrust bearing to 1/64″ gap |
| Blade pops off wheels | Poor tracking / Over-tensioning | Re-align wheels / Back off tension |
In structural fabrication, the goal is “predictability.” If you know exactly how your saw performs, you can plan your weld joints with confidence. This reduces welding gas flow rate waste because you aren’t trying to fill massive, uneven gaps with expensive shielding gas.
A Case Study in Structural Joint Failure Due to Poor Cutting
Early in my career, I assisted on a project involving a large mezzanine frame. The fabricator used a portable bandsaw that hadn’t been calibrated in months. He cut the 4×4-inch steel posts, but the cuts were slightly “out of plumb.” Instead of recutting them, he used a grinder to “fix” the angle.
Because the grinder couldn’t create a perfectly flat surface, the joint had “high spots.” When the weight of the mezzanine was applied during a load test, the stress concentrated on those high spots rather than being distributed across the entire weld. The joint suffered a “shear stress” failure at only 60% of its rated capacity.
This failure wasn’t a welding defect in the traditional sense; it was a preparation failure. It proved that the structural load capacity of a project is limited by the weakest link in the fabrication chain. If your saw cuts are crooked, your load paths will be skewed, and your safety margins will disappear.
Step-by-Step Guide to Re-aligning Your Saw Wheels
If you have checked your guides and tension but the blade still wanders, your wheels are likely out of “coplanar” alignment. This means the two wheels are not in the same plane, causing the blade to run at an angle.
- Check for Coplanarity: Use a long straightedge and press it against the faces of both the upper and lower wheels. The straightedge should touch both wheels at four points.
- Adjust the Tracking Knob: Most saws have a tracking adjustment knob on the idler wheel. While rotating the wheels by hand (power off!), turn the knob until the blade centers itself.
- Check for Wheel Wear: If your saw has rubber tires on the wheels, check for grooves. If the blade has worn a deep track into the rubber, it will never track straight. You may need to replace the tires.
- Verify the Pivot Point: On horizontal/vertical “drop” saws, ensure the pivot pin of the saw head isn’t loose. A loose pivot will allow the entire arm to flex sideways during a cut.
Once you have aligned the wheels, perform a “test cut” on a piece of scrap mild steel. Use a machinist square to check the cut in two directions: across the face and down the side. If the square shows light passing through at the bottom, you still have a mechanical deviation to address.
Final Inspection and Joint Verification Checklists
Before moving from the saw to the welding table, I use a joint verification checklist. This ensures that any errors in the cutting phase are caught before they become permanent structural weaknesses.
- Squareness Check: Use a 1-2-3 block or a precision square on all four sides of the cut.
- Surface Finish: Ensure the cut isn’t “burned.” Blue or black discoloration indicates excessive heat which can lead to brittle joints.
- Gap Measurement: Place the two pieces together. If you can fit a 1/16th-inch welding rod into any part of the joint (on a butt joint), the cut needs to be trued.
- Deburring: Always remove the “burr” left by the saw. This burr can trap contaminants and lead to welding porosity, which destroys structural integrity.
By maintaining your equipment and following these steps, you move from being a “hobbyist” to a “precision fabricator.” You reduce the frustration of wasted material and the danger of structural failure.
FAQ: Common Questions on Saw Calibration and Accuracy
Why does my blade always drift to the right after a few cuts? This is usually due to the teeth on the right side of the blade becoming duller than the left. This often happens if the blade is rubbing against a hard guide block or if you are cutting material that has a hard scale on one side.
Can I fix a wandering blade by just tightening the guides? No. If you tighten the guides too much, you will create friction heat. This heat will cause the blade to expand and lose its “beam strength,” actually making the drift worse. Always maintain a small gap (0.003″).
How often should I check the tracking on my workshop saw? I recommend checking it every time you change a blade or at the start of a major project. Vibration from regular use can slowly loosen the tracking adjustment bolts.
Does blade speed affect how much the cut wanders? Yes. For harder metals like stainless steel, a slower speed is required. If the speed is too high, the teeth “skate” over the surface instead of cutting, which pushes the blade sideways.
What is the best way to measure blade tension without a $300 gauge? The “deflection test” is the most common DIY method. With the guides moved 6 inches apart, a firm push should only move the blade about 1/8th of an inch. If it moves like a guitar string, it is too loose.
Is it safe to use a blade with one or two missing teeth? It is not recommended. Missing teeth create an “impact” every time that section of the blade hits the metal. This vibration can lead to “fatigue cracking” in the blade body and will almost certainly cause a wavy cut.
How do I know if my thrust bearing is shot? If you hear a high-pitched squealing or if the bearing feels “gritty” when you spin it by hand, it needs to be replaced. A seized thrust bearing will quickly wear a groove into the back of your blade.
Why does my saw cut straight on thin material but crooked on thick material? This is a classic sign of insufficient beam strength. Thin material doesn’t put much back-pressure on the blade. Thick material pushes the blade harder, revealing weaknesses in your tension or thrust bearing settings.
What is the “set” of a blade, and how does it affect drift? The “set” refers to how the teeth are angled outward from the blade body. This creates a “kerf” (the width of the cut) that is wider than the blade itself, preventing the blade from getting stuck. If the set is worn down on one side, the blade will drift.
Can I use cutting oil to stop the blade from wandering? Cutting oil reduces heat and friction, which helps maintain the blade’s rigidity. While it won’t fix a mechanical alignment issue, it will prevent “heat-induced” drift.
Should I adjust my saw differently for aluminum versus steel? Yes. Aluminum requires less tension but higher speeds. However, the mechanical alignment of the guides and tracking should remain the same regardless of the material.
What is the most common mistake when adjusting a bandsaw? The most common mistake is trying to compensate for a dull blade by increasing tension or feed pressure. This usually results in a snapped blade or a severely crooked cut. If the blade is dull, replace it.
(This article was written by one of our staff writers, James Harlan. Visit our Meet the Team page to learn more about the author and their expertise.)