Long-Term Reliability of Entry-Level Plasma Cutters (Review)
I have spent the last 17 years in industrial maintenance and fabrication shops, and if there is one thing I have learned, it is that a tool’s true character does not show up on day one. Most reviews you see online are “out-of-the-box” impressions where everything is shiny, the fan is quiet, and the arc is crisp. However, for a practical fabricator, the real test begins after the first year of intermittent use. I have seen countless entry-level power sources that performed beautifully during the honeymoon phase only to struggle with arc starting or thermal shutdown once the 18-month mark hit.
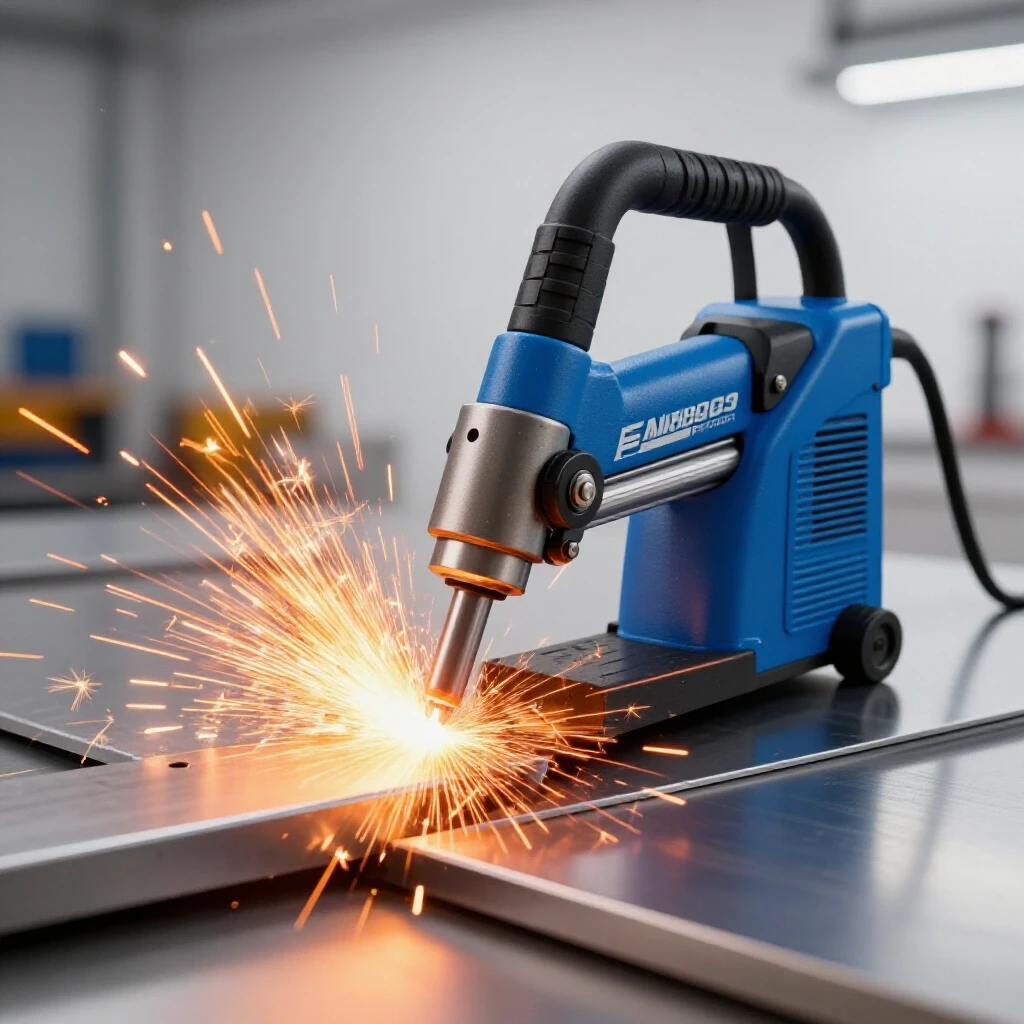
When you are looking at budget-friendly cutting equipment, the marketing focuses on peak amperage and maximum severance thickness. In my shop, I focus on how the machine handles the slow creep of dust, the repetitive heating of the inverter, and the physical wear on the torch leads. My goal is to help you look past the fresh paint and understand how these machines actually hold up over 12 to 36 months of real-world fabrication. We are going to look at the internal components and mechanical choices that determine if a machine stays in your shop or ends up in the scrap bin.
Evaluating Internal Airflow and Dust Management
Internal airflow management refers to how a machine’s cooling system moves air over electrical components while shielding sensitive parts from shop debris. This design choice is the single most important factor in whether a machine survives the two-year mark in a dusty metalworking environment.
In my experience tearing down machines that failed prematurely, the culprit is often “metal-dust bridge.” When you grind steel in the same room as your cutter, the cooling fan sucks that conductive dust inside. If the internal layout is poor, that dust settles directly on the high-voltage boards. Over 24 months, this buildup creates a path for electricity to jump where it shouldn’t, leading to a “pop” and a dead machine.
I prefer machines that use a “wind tunnel” design. This means the fans blow air through a dedicated heat sink channel rather than swirling it loosely over the entire motherboard. When you look at the vents of a machine you have owned for a year, check for dust patterns. If the dust is concentrated on the fins of the heat sink and not the capacitors, the engineering is sound.
- Fan Quality: Budget machines often use sleeve-bearing fans that can begin to rattle or slow down after 500 hours of use.
- Component Sealing: Look for “conformal coating,” which is a clear resin sprayed over circuit boards to protect them from moisture and dust.
- Air Intake Placement: Rear-mounted intakes tend to pull in less floor-level grinding dust than front-mounted ones.
The Reality of Thermal Cycling in Inverter Power Sources
Thermal cycling is the process of internal components heating up during a cut and cooling down afterward. This expansion and contraction can stress solder joints and semi-conductors, eventually leading to intermittent power loss or a total refusal to arc.
Entry-level machines usually have a duty cycle of 30% to 60% at their maximum output. If you are regularly cutting 1/2-inch mild steel, you are pushing the machine to its thermal limits. After 18 months of this, the cumulative stress can degrade the efficiency of the power transistors. I have measured machines that could comfortably cut 3/8-inch plate when new but began to “stutter” or lose the arc on the same material two years later.
This degradation is often subtle. You might notice that the machine requires a longer “rest” period between cuts than it used to. This is usually a sign that the thermal sensors or the heat sinks are no longer shedding heat as effectively as they did on day one.
| Component | 12-Month Status | 36-Month Status | Impact on Performance |
|---|---|---|---|
| Main Capacitors | Stable voltage | Minor capacity loss | Reduced arc smoothness |
| Cooling Fan | Quiet operation | Potential bearing noise | Higher internal temps |
| Thermal Sensors | Accurate cutoff | Drift in sensitivity | Premature thermal shutdown |
| Power Transistors | High efficiency | Increased heat waste | Lower sustained amperage |
Sustaining Arc Consistency Through Torch Lead Durability
The torch lead is the “umbilical cord” of your cutter, carrying high-voltage electricity, pilot arc signals, and compressed air through a single bundle. Over two to three years of being dragged across concrete floors and draped over sharp table edges, the internal integrity of this lead can fail.
I often see entry-level leads where the outer rubber jacket is too thin. Over time, heat from the shop or UV light from the arc makes this rubber brittle. Once the jacket cracks, the internal copper strands are exposed to the air and begin to oxidize. This increases electrical resistance, which means the machine has to work harder to maintain the same cutting power.
Another common failure point is the “strain relief” at the base of the torch handle. If this area is too stiff, the copper wires inside will fatigue and break from the constant wrist movement of the operator. If you notice your arc flickering when you move your hand a certain way, you likely have a fractured wire inside the lead.
- Lead Flexibility: A lead that stays supple in cold weather is usually made of higher-quality silicone or rubber compounds.
- Connector Tightness: The “Euro-style” or “Central” connectors can vibrate loose over months of use, leading to poor air seals.
- Internal Hose Quality: Low-grade internal air hoses can swell or delaminate, causing a drop in air pressure at the nozzle.
Consumable Wear and the Torch Head Interface
The torch head interface is the physical connection point where the electrode and nozzle sit inside the torch. Long-term reliability depends on this area remaining clean and perfectly aligned to ensure a centered arc.
After a year of fabrication, the biggest threat to your cut quality is not the machine itself, but the degradation of the torch head. If you use low-quality consumables or have moisture in your air lines, the internal threads of the torch head can corrode or “pit.” Once the seat for the electrode is no longer perfectly flat, the arc will start to “wander,” resulting in a beveled cut that leans to one side.
I have found that even budget machines can produce excellent results for years if the torch head is treated as a precision instrument. If you let the electrode wear down too far, it can “blow back” and damage the internal swirl ring or the torch seat. This is a common mistake that turns a $500 machine into a paperweight because the cost of a replacement torch assembly is often half the price of the whole unit.
Impact of Air Quality on Internal Solenoids
The internal solenoid is an electromechanical valve that opens and closes to control the flow of compressed air. It is one of the few moving parts inside the machine and is highly susceptible to failure if your shop air is not perfectly dry.
In a typical 24-month window, a hobbyist might not realize how much moisture is accumulating in their air lines. Water and oil from the compressor will eventually reach the solenoid. This causes the internal seals to swell or the valve to stick. If the air doesn’t shut off immediately after a cut (post-flow), or if it fails to start, the solenoid is usually the culprit.
I recommend using a three-stage filtration system: a water trap at the compressor, a dedicated dryer in the line, and a “toilet paper” style filter right at the back of the machine. This setup ensures that the internal components of the cutter never see a drop of moisture, which can easily double the lifespan of the solenoid and the torch head.
Measuring Sustained Cutting Performance on Heavy Plate
When we talk about cutting 1/2-inch mild steel, we are at the limit of most entry-level equipment. Sustained performance means the machine can make a 12-inch cut on this thickness without the arc becoming unstable or the machine hitting its thermal limit.
In my testing of older units, I look for “dross accumulation” as a sign of aging. Dross is the molten metal that sticks to the bottom of a cut. As a machine’s internal components age and the voltage drops slightly, the arc becomes “lazy.” It doesn’t blow the metal out of the kerf as cleanly as it once did. If you find yourself having to grind significantly more dross off your parts than you did a year ago, your machine’s power output is likely degrading.
- Clean the Grounds: Over time, the ground clamp loses its “bite” and the copper teeth oxidize. This creates resistance.
- Check Air Pressure Stability: Use an external gauge to ensure the machine is receiving a steady 65-75 PSI while the arc is active.
- Inspect the Pilot Arc: A weak or “orange” looking pilot arc often indicates that the internal points or the high-frequency starter are wearing out.
Long-Term Maintenance Framework for Entry-Level Units
To keep an entry-level machine running for three years or more, you cannot rely on the “set it and forget it” mentality. These machines require a proactive maintenance schedule to combat the compromises made in their manufacturing.
I have developed a simple checklist that I use for every machine in my shop. This isn’t about fixing things when they break; it’s about preventing the environmental wear that kills budget electronics.
- Quarterly Blow-out: Every three months, unplug the machine, remove the cover, and use “canned air” or low-pressure (30 PSI) dry air to blow dust off the boards.
- Connector Inspection: Check the tightness of the torch and ground connections every month. Heat makes these expand and contract, which can loosen them over time.
- Consumable Mating Surface: Every time you change a nozzle, wipe the inside of the torch head with a clean, dry cloth to remove any carbon buildup.
- Air Filter Replacement: Change your external air filters before they look saturated. If you see moisture in the clear bowl, you are already too late.
The Value of Spare Parts Pipelines
One of the most frustrating aspects of owning budget machinery for more than two years is finding parts when something finally wears out. Industrial brands have parts diagrams that stay active for decades. Entry-level brands often change their internal designs every six months.
Before you commit to a long-term relationship with a machine, look at the torch style. If it uses a proprietary torch that is only sold by one vendor, you are at their mercy. I prefer machines that use “universal” or “S45” style torches. These have been around for years, and you can find replacement handles, leads, and consumables from dozens of sources. This ensures that even if the original manufacturer goes out of business, your machine remains a functional tool.
Summary of Long-Term Reliability Factors
The longevity of a budget cutting tool is rarely about the “specs” on the box. It is about how the machine manages heat, how well it is protected from its environment, and how easily it can be maintained by the owner.
- Internal Layout: A clean, organized interior with shielded boards will always outlast a cluttered one.
- Thermal Management: Machines that are not constantly pushed to their 100% limit will have significantly less solder fatigue.
- Torch Quality: The physical durability of the lead and the torch head determines the consistency of your work over time.
- Environmental Protection: Your air quality and dust management are the two biggest variables you can control to extend machine life.
By focusing on these mechanical realities, you can move past the marketing hype. A machine that is well-cared for and chosen based on its internal build quality can easily provide three to five years of reliable service in a light fabrication setting. The key is to recognize that an entry-level price tag means you are the primary maintenance technician for that tool.
Frequently Asked Questions
Why does my machine struggle to start the arc after a year of use? This is often caused by a combination of two things: worn-out internal points (if the machine uses High-Frequency start) or carbon buildup inside the torch head. If the pilot arc cannot find a clean path to jump, the machine will fail to initiate the main cutting arc. Cleaning the internal mating surfaces of the torch usually solves this.
Can I upgrade the torch on an entry-level machine to improve its lifespan? Yes, in many cases. If the machine uses a standard connector, switching to a higher-quality torch with better strain relief and thicker copper leads can significantly improve both cut quality and the machine’s overall durability.
Does leaving the machine plugged in all the time affect its longevity? It can. Budget machines often have “parasitic” loads where the control transformer stays energized as long as it’s plugged in. This generates a small amount of heat and can wear out capacitors over several years. I always recommend unplugging the machine or using a dedicated power switch when not in use.
How do I know if my internal power components are failing? The most common sign is a loss of “penetration” on material you used to cut easily. If you have to slow down your travel speed significantly on 1/4-inch steel compared to when the machine was new, the capacitors or transistors are likely losing their efficiency.
Is it worth repairing a budget machine after the warranty expires? Generally, if the repair involves the main circuit board, the cost of the part and labor will approach the price of a new machine. However, if the failure is in the torch, the solenoid, or the fan, these are inexpensive and easy to replace yourself.
What is the most common “killer” of entry-level plasma cutters? Moisture in the air line is the number one killer. It causes the torch to short out internally and destroys the solenoid valve. If you don’t have a dedicated air dryer, you are significantly shortening the life of your equipment.
How does duty cycle change as the machine ages? As the cooling fan ages and dust builds up on the heat sinks, the machine’s ability to shed heat decreases. This means the thermal sensor will trip much sooner than it did when the machine was new, effectively lowering your usable duty cycle.
Why is my cut becoming more beveled over time? This is usually due to a damaged torch head or a worn-out swirl ring. If the air doesn’t spin perfectly around the electrode, the arc will be pushed to one side. Inspect the torch head for any signs of melting or pitting where the nozzle sits.
Does the length of the torch lead affect the machine’s power? Yes. Longer leads have more “voltage drop.” If you use a 25-foot lead on a machine designed for 12 feet, the machine has to work harder to maintain the arc, which can lead to increased internal heat and shorter component life.
How often should I replace the ground clamp? You don’t necessarily need to replace it unless the spring weakens or the cable frays. However, you should use a wire brush to clean the contact points every few months to ensure you have a low-resistance path for the electricity.
(This article was written by one of our staff writers, Steven Brooks. Visit our Meet the Team page to learn more about the author and their expertise.)