How to Identify and Fix Power Tool Wear Warning Signs (Tips)
I have spent 17 years in industrial maintenance and fabrication shops, and if there is one thing I have learned, it is that a tool’s paint job tells you nothing about its heart. I have seen “professional” grade grinders shake themselves to pieces in a month, while some mid-tier tools held up for years of hard surfacing. The difference is never the marketing sticker; it is the quality of the bearings, the balance of the motor, and the rigidity of the housing.
When you are standing in a store or browsing online, you are bombarded with “peak horsepower” ratings and “ergonomic” promises. These are often distractions from the mechanical realities that actually determine if a tool will survive a heavy metalworking project. I evaluate tools based on how they sound, how they vibrate, and how they handle heat under load. In this guide, I will show you how to look past the branding to find the mechanical red flags that signal a tool is about to fail.
Evaluating Housing Rigidity and Material Choice
Housing materials are the foundation of any handheld tool, providing the structural support for the motor and gear train. A tool with a flexed or poorly aligned frame will cause internal components to wear prematurely due to misalignment.
Die-Cast Gear Housings vs. Plastic Shells
A die-cast metal gear housing is a non-negotiable feature for heavy metalworking tools like angle grinders or circular saws. Metal housings dissipate heat much faster than plastic, which prevents the gear grease from thinning out and losing its lubricating properties.
In my shop, I always check the transition point where the metal gear head meets the plastic motor body. If there is any movement or “give” when you apply pressure, the internal gears will eventually lose their alignment. This leads to a grinding sound and accelerated tooth wear. I prefer magnesium or aluminum alloys because they offer a high strength-to-weight ratio and excellent thermal conductivity.
Structural Dampening and Vibration Control
Vibration is the enemy of precision and longevity. In handheld tools, “dampening” refers to the tool’s ability to absorb the energy created by the motor and the cutting action. Cheaper tools use thin, hollow plastic shells that resonate like a drum, transferring all that stress into your hands and the internal bearings.
Higher-quality tools use glass-filled nylon or over-molded rubber to break up these harmonics. When comparing two tools, I look at the weight-to-power ratio. While a lighter tool feels better for five minutes, a slightly heavier tool often indicates more copper in the motor and thicker walls in the housing, which leads to a more stable operation.
Motor Performance and Internal Health Indicators
The motor is the most expensive part of your tool, and it usually gives you plenty of warning before it gives up the ghost. Understanding how to interpret these signs can save you from a total tool loss.
Identifying Brush and Commutator Wear
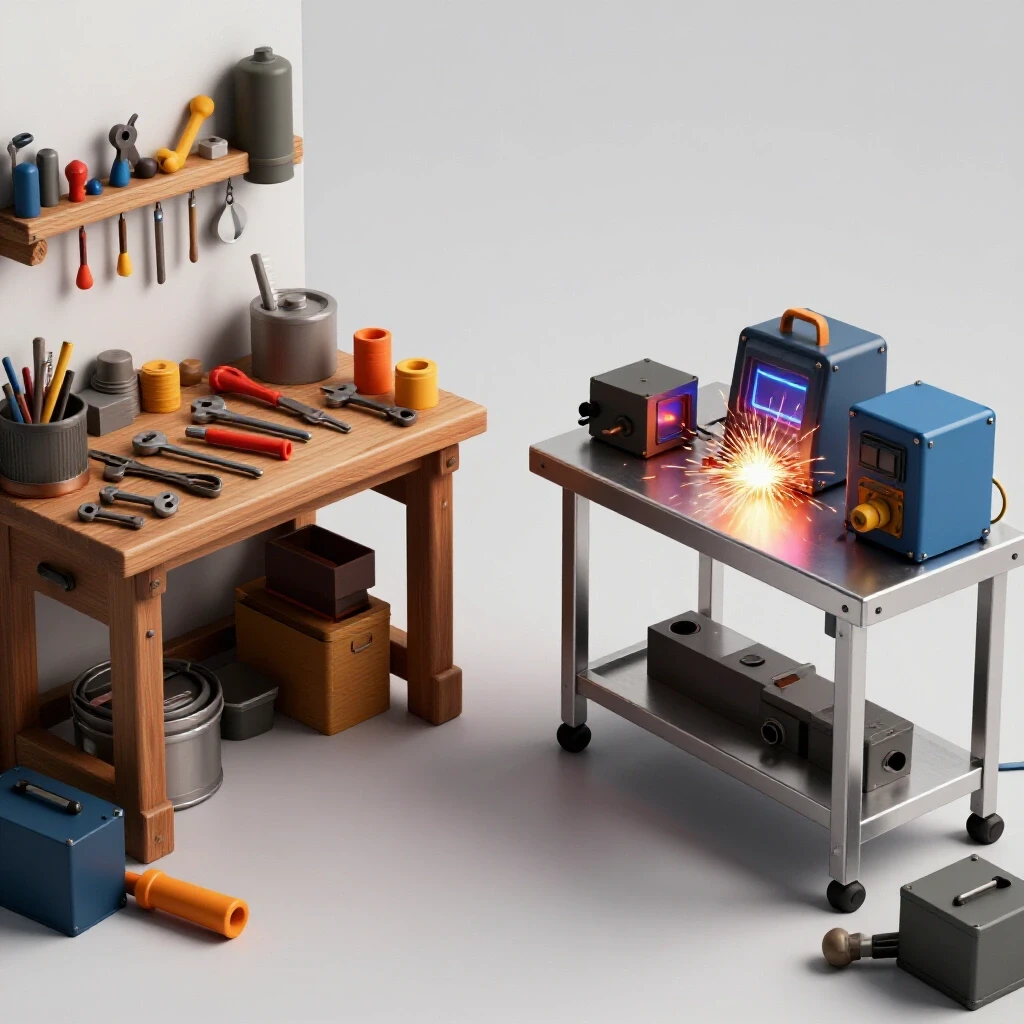
Most traditional power tools use carbon brushes to deliver electricity to the spinning armature. These are wear items, much like brake pads on a car. If you see heavy blue or orange sparking through the cooling vents, your brushes are likely worn down or the commutator (the part they touch) is dirty.
I once spent an afternoon diagnosing a “dead” metal-cutting saw that a friend was ready to scrap. After opening the brush caps, I found the carbon was worn to the wire. A five-dollar set of brushes and a quick cleaning of the commutator with a specialized stone brought it back to life. If you ignore the “ticking” sound of a failing brush, you risk scarring the commutator, which often means the motor is beyond a simple fix.
Decoding Motor Heat and Smell
Heat is the primary killer of electric motors. If a tool becomes too hot to hold near the motor vents, the internal insulation on the copper windings is likely starting to break down. This is often accompanied by a distinct “ozone” or “burnt sugar” smell.
In my experience, this usually happens because the cooling fans are clogged with metal dust or the user is “lugging” the motor—running it at low RPM under a heavy load. This prevents the internal fan from spinning fast enough to move air. If I smell that heat, I immediately stop and run the tool at full speed with no load for two minutes to let the fan cool the internals.
| Feature | Brushed Motors | Brushless Motors |
|---|---|---|
| Maintenance | Requires brush replacement | Virtually zero motor maintenance |
| Heat Build-up | High (friction from brushes) | Low (electronic commutation) |
| Lifespan | Moderate (limited by commutator) | High (limited by electronics) |
| Warning Signs | Sparking, ticking, power loss | Error codes, sudden shut-offs |
Diagnosing Bearing and Spindle Issues
Bearings are the unsung heroes that keep your tool spinning smoothly. When they start to go, the tool will lose its accuracy and eventually seize.
Measuring Spindle Runout and Play
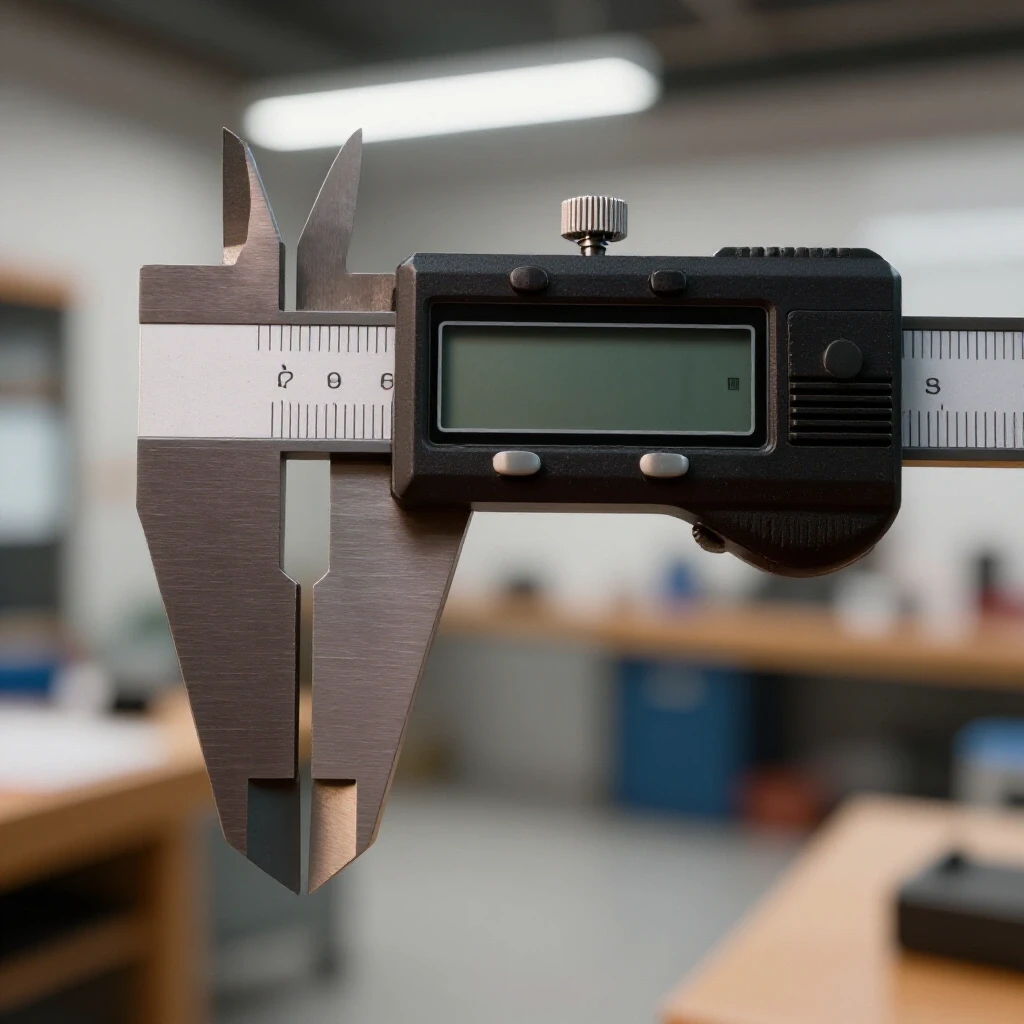
Total Indicated Runout (TIR) is a measurement of how much a shaft wobbles as it rotates. While you might not use a dial indicator on a handheld drill every day, you can feel it. If you put a long bit in your drill and the tip traces a circle instead of a point, you have excessive runout.
For a high-quality handheld drill, I look for a runout of less than 0.005 to 0.010 inches. Anything more than that will make it impossible to drill a precise hole in steel. This wobble is usually caused by a low-grade spindle bearing or a bent chuck. If you can move the chuck side-to-side with your hand, the bearing is shot.
Listening for Bearing Growl
A healthy bearing is almost silent. A failing bearing makes a distinct “growl” or high-pitched “shriek.” I use a simple trick: with the tool unplugged, spin the spindle by hand. It should feel smooth, like it’s spinning in butter. If it feels “crunchy” or has distinct “notches,” the ball bearings inside have likely pitted the race.
I’ve found that many budget tools use shielded bearings which let fine metal dust inside. Premium tools use “sealed” bearings (look for the RS or 2RS suffix on the bearing code). Replacing a $10 bearing is a simple task that can make an old grinder feel like a brand-new machine.
Maintaining Pneumatic Tool Efficiency
Air tools are simpler than electric tools, but they have their own set of warning signs. They rely on tight tolerances and constant lubrication to function.
Detecting Air Vane Wear
Inside a pneumatic motor, small composite vanes catch the air to spin the rotor. Over time, these vanes wear down and become shorter. The first sign of this is a loss of torque. If your impact wrench can’t break a bolt loose that it used to handle easily, the vanes are likely the culprit.
Another sign is “stalling” at specific points in the rotation. I always check the exhaust port for “dust”—if you see grey or black particles coming out of the air exhaust, your vanes are disintegrating. Regular oiling (2-3 drops before every use) is the only way to prevent this.
Managing Moisture and Corrosion
Moisture is the silent killer of air tools. If you don’t drain your compressor tank daily, water travels through the lines and sits inside your tools, causing internal rust. This shows up as a “sticky” trigger or a tool that won’t start until you hit it. If I see orange-tinted oil leaking from the tool, I know there is internal corrosion that needs to be cleaned with a solvent before re-oiling.
Practical Maintenance Framework for the Workshop
I don’t believe in waiting for a tool to break. I use a simple “Check, Clean, Lube” system every few months to keep my gear in top shape.
- The “Dry” Test: Run the tool and listen. Does it sound different than it did last month?
- The “Wobble” Test: Check for side-play in the chuck or arbor.
- The “Breathe” Test: Use compressed air to blow out the motor vents. You would be amazed at how much metal dust hides in there.
- The “Cord” Check: Inspect the power cord for nicks or “soft spots” near the tool entry point. A short here can mimic a failing motor.
- The “Lube” Check: For tools with grease ports (like some circular saws or grinders), add a small amount of high-pressure gear grease.
Choosing the Right Tool Class for Your Workload
One of the biggest mistakes I see is people buying a “DIY” grade tool for a “Pro” grade job. A budget grinder is designed for 15 minutes of use followed by 30 minutes of cooling. If you try to prep a 20-foot trailer frame with it, it will burn out before you finish.
I always look at the Amperage rating. For metalworking, I don’t buy an angle grinder with less than 7 to 10 Amps. This extra “headroom” means the motor isn’t working at 100% capacity all the time, which drastically reduces heat and wear.
| Tool Component | Budget Grade (Warning Signs) | Professional Grade (Standards) |
|---|---|---|
| Bearings | Shielded (Dust prone) | Sealed (Dust proof) |
| Gears | Sintered/Pressed metal | Heat-treated forged steel |
| Housing | All plastic | Metal gear head / Reinforced plastic |
| Cord | Plastic/PVC (Stiff) | Rubber (Flexible/Heavy gauge) |
Summary of Key Takeaways
Identifying mechanical issues early is the difference between a quick fix and a trip to the dumpster. Always listen for changes in the motor’s pitch and feel for new vibrations. If a tool gets hot, give it a break. Most importantly, don’t be afraid to open a tool up. Most handheld tools are surprisingly simple inside, and a little bit of cleaning or a new set of brushes can extend their life by years.
When you are ready to buy your next tool, look past the marketing. Check the spindle for play, look for a metal gear housing, and feel the weight. A tool that feels solid and runs smoothly in the store is much more likely to be the one still working in your shop a decade from now.
FAQ: Common Tool Maintenance and Selection Questions
How can I tell if my drill chuck is actually bad or if it’s just a cheap drill bit? I always test this by using a known “straight” piece of precision-ground rod or a brand-new, high-quality bit. Tighten it in the chuck and spin the drill slowly. If the tip of the rod wobbles but the base near the chuck stays still, the bit is bent. If the entire rod moves in a cone shape, your chuck or the spindle bearings have excessive runout.
Is it worth replacing the brushes on a budget-friendly tool? Absolutely. Brushes are typically $5 to $10. Even on a $50 grinder, replacing the brushes can give you another two or three years of service. It is the single most cost-effective repair you can make.
Why does my angle grinder make a high-pitched screaming sound? This is almost always a sign of dry or failing bearings. As the grease inside the bearing dries out or gets contaminated with metal dust, friction increases, creating that “scream.” If you catch it early, you can sometimes clean and re-grease them, but usually, a bearing replacement is the safer bet.
What is the best way to clean metal dust out of my power tools? I use a can of compressed air or a shop compressor set to about 30 PSI. Blow into the intake vents while the tool is not running. Avoid using high pressure (over 90 PSI) directly into the bearings, as this can actually force dust past the seals and into the grease.
Can I use any grease to lubricate my tool’s gear head? No. Most high-speed power tools require a specific “moly” (molybdenum disulfide) grease or a specialized high-speed gear lubricant. Standard automotive chassis grease is often too thick and will cause the tool to overheat because the gears have to “fight” through the heavy grease.
How do I know if a brushless motor is failing? Unlike brushed motors, brushless tools have electronic control boards. If the tool starts and then immediately cuts out, or if it works intermittently when you squeeze the trigger, the electronics are likely failing. There is no “sparking” to look for, so you have to rely on the tool’s built-in LED error codes if it has them.
Is a heavier tool always better? Not always, but in the world of metalworking, weight usually equals “mass.” Mass is what dampens vibration and provides a heat sink for the motor. If two grinders have the same power rating but one weighs two pounds more, I’ll almost always choose the heavier one for heavy-duty grinding.
How often should I oil my pneumatic tools? If you are using them daily, 2-3 drops of air tool oil into the air inlet before every use is the standard. If you are doing a long project, like grinding for an hour, add another drop halfway through. Never use WD-40 as a lubricant; it is a solvent and will strip away the necessary oils.
What does it mean when my tool “loses power” but still spins? This usually indicates a mechanical “slip” or an electrical bottleneck. In a drill, it might be the internal clutch wearing out. In an electric tool, it could be a “soft” short in the cord or a commutator that is so dirty it can’t conduct enough current to handle a load.
Can I fix a bent spindle on a grinder? In my experience, no. Once a spindle is bent, it is impossible to get it perfectly straight again by hand. The resulting vibration will destroy your bearings and potentially cause a grinding disc to shatter. If the spindle is bent, the tool is a safety hazard and should be retired or used for parts.
(This article was written by one of our staff writers, Steven Brooks. Visit our Meet the Team page to learn more about the author and their expertise.)