How to Design and Build Metal Prototypes Safely (Tutorial)
I have spent the last 14 years inspecting steel frames and fabricating custom components. During that time, I have learned that a project does not fail because of bad luck. It fails because of physics. In my early years, I once built a heavy-duty workbench that I thought was indestructible. I used thick steel and what looked like “heavy” welds. A week later, after loading a lathe onto it, I heard a sharp crack. A joint had failed because I ignored the heat-affected zone and relied on weld size rather than penetration.
That moment changed how I approach the shop. Now, I treat every project as a data set. For those of us working in home shops or small garages, the stakes are high. We do not have a team of quality control engineers watching our backs. We have to be our own inspectors. This guide focuses on the technical reality of working with metal, helping you move from “guessing” to “knowing” that your project is structurally sound.
Analyzing Structural Metal Load Capacity
Structural metal load capacity is the measurement of how much force a specific material can handle before it deforms or breaks. It is the foundation of any safe build, as it dictates whether your material choice matches the intended use of the part.
Before you strike an arc, you must understand yield strength. This is the point where metal stretches like a rubber band but does not snap back. If you exceed this limit, your project is permanently ruined. I always use a safety factor of at least 2:1 for static loads and 4:1 for anything that moves. For example, if a shelf needs to hold 500 pounds, I design it to hold 1,000 pounds.
| Material Type | Yield Strength (PSI) | Common Use Case | Weldability |
|---|---|---|---|
| A36 Mild Steel | 36,000 | General frames, brackets | Excellent |
| 6061-T6 Aluminum | 35,000 | Lightweight structures | Moderate (Heat sensitive) |
| 304 Stainless Steel | 30,000 | Food grade, corrosion resistance | High (Warps easily) |
| 4130 Chromoly | 63,000 | High-stress tubing | Requires pre-heat |
To calculate the load path, imagine the weight as water flowing through your structure. If there is a sharp turn or a thin joint, the “water” will back up and cause a burst. Always ensure your load travels directly through vertical members whenever possible.
Identifying Heat Affected Zone Weakness
The Heat Affected Zone (HAZ) is the area of base metal surrounding a weld that has not melted but has had its microstructure altered by intense heat. This region is often the weakest point of a completed fabrication and is where most structural cracks begin.
When you weld, you are essentially performing localized heat treatment. This heat can make the metal next to the weld brittle. In one project involving a trailer hitch, I saw the weld hold perfectly, but the metal a half-inch away snapped clean off. This happened because I moved too slowly, dumping too much heat into the steel and “cooking” the grain structure.
To manage the HAZ, use the following techniques: – Use “stitch welding” (short beads) to allow the metal to cool between passes. – Keep your travel speed consistent to avoid over-heating one spot. – Use a copper or aluminum “chill block” behind the weld to soak up excess heat. – Monitor the color of the metal; a deep blue or purple indicates high heat, but a dull grey often means you have “burnt” the material.
Garage Fabrication Safety and Environment
Garage fabrication safety involves organizing your workspace to prevent fires, respiratory issues, and electrical hazards. Because home shops are often cramped, managing the relationship between sparks, gases, and ventilation is a critical daily task.
I have had my share of close calls. Once, a stray spark landed in a bucket of oily rags five feet behind me. I didn’t notice the smoke until I lifted my welding hood. Now, I follow a strict “hot work” rule: the last hour of shop time is for cleaning and observation, not welding. This ensures no smoldering embers are left behind.
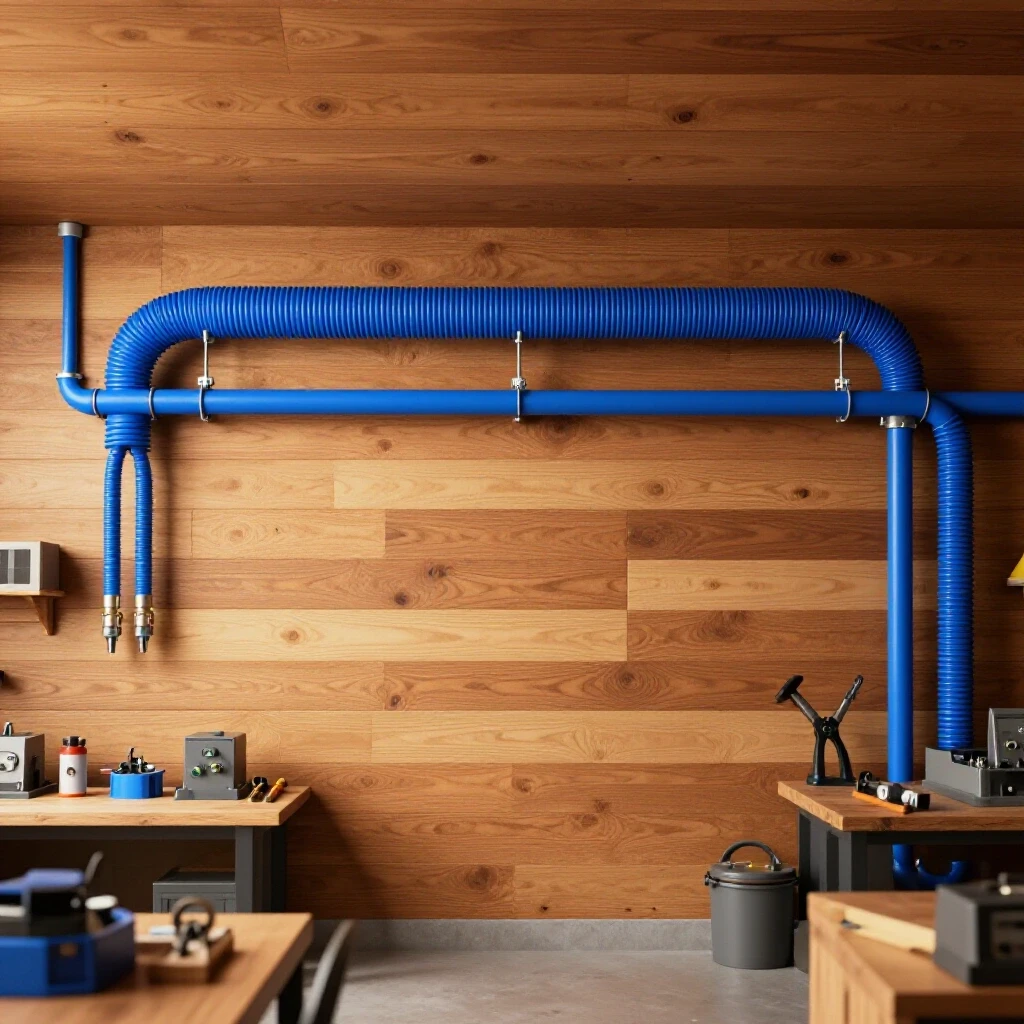
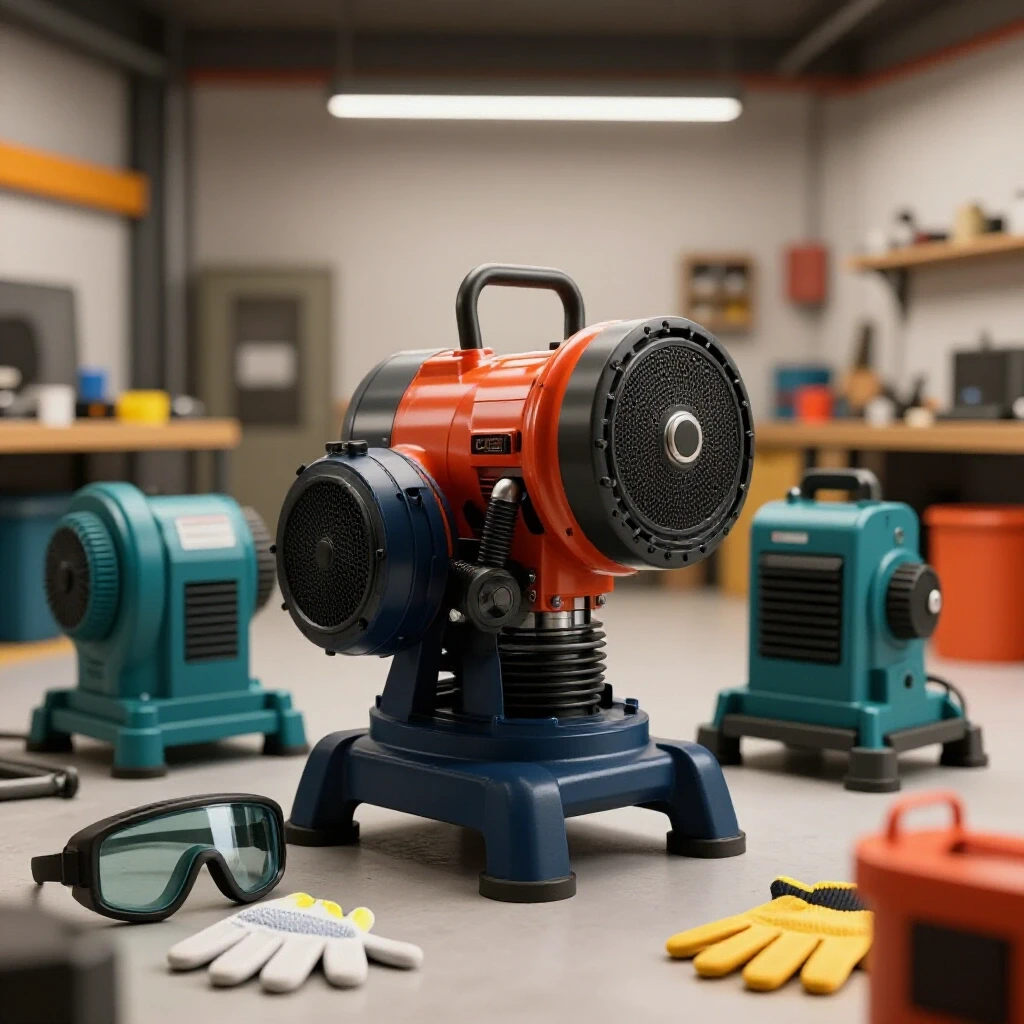
- Ventilation: Use a high-volume fan to pull fumes away from your face. A standard box fan is rarely enough; look for an axial blower with a flexible hose.
- Floor Space: Keep a 3-foot “clear zone” around your welding table. Remove all cardboard, chemicals, and pressurized cans.
- Fire Suppression: Keep a 10lb ABC fire extinguisher within arm’s reach. Check the pressure gauge every month.
Mastering Welding Gas Flow Rate and Coverage
The welding gas flow rate is the speed at which shielding gas leaves the nozzle to protect the molten puddle from oxygen. Proper flow prevents porosity, which is the formation of tiny bubbles that turn a weld into a brittle, sponge-like mess.
Most hobbyists set their regulators too high, thinking more gas is better. In reality, a flow rate that is too high causes turbulence. This pulls outside air into the weld. For most MIG and TIG projects in a draft-free garage, 15–20 CFH (Cubic Feet per Hour) is the sweet spot. If you are working near an open door, you might need to increase this or use a wind shield.
- Check the tank pressure to ensure you have enough gas for the job.
- Inspect the gas hose for cracks or leaks using soapy water.
- Set the regulator to 18 CFH as a baseline.
- Perform a “test pop” on a scrap piece to look for pinholes.
- Adjust by 2 CFH increments if you see any signs of oxidation.
Welding Defect Troubleshooting for Structural Integrity
Welding defect troubleshooting is the process of identifying visual and internal flaws in a bead, such as undercut, lack of fusion, or slag inclusions. Recognizing these errors early prevents you from building a project that looks finished but lacks the strength to function.
The most dangerous defect is “lack of fusion.” This is when the weld metal sits on top of the base metal like a bead of water on a waxed car. It looks like a weld, but it isn’t actually attached. This is common when using a welder that is underpowered for the metal thickness.
- Undercut: A groove melted into the base metal next to the weld. This is caused by high voltage or a slow travel speed. It creates a “perforation” line where the metal will snap.
- Porosity: Tiny holes caused by wind, dirty metal, or low gas. If you see this, grind it out completely. Never weld over porosity.
- Overlap: When the weld puddle spills over without melting the base. This is a sign of “cold” welding. Increase your heat or slow down.
PPE Ratings and Visual Protection
Personal Protective Equipment (PPE) ratings define the level of protection your gear provides against light radiation, impact, and heat. Using the wrong shade or material can lead to “arc eye” or skin burns that feel like a severe sunburn.
I never compromise on my hood. For years, I used a cheap fixed-shade mask, but the eye strain was constant. Switching to an auto-darkening helmet with a Shade 10-13 rating and a high optical clarity (1/1/1/1) made a massive difference in my weld quality. If you can see the puddle clearly, you can react to defects in real-time.
| Gear Item | Recommended Rating/Type | Why it Matters |
|---|---|---|
| Welding Hood | Shade 10-13 (Auto-darkening) | Protects against UV/IR radiation |
| Gloves | Top-grain goatskin (TIG) or Cowhide (MIG) | Balance between feel and heat protection |
| Respirator | P100 Rated (Thin profile) | Filters out toxic metal fumes (Hexavalent Chromium) |
| Jacket | FR (Flame Resistant) Cotton or Leather | Prevents sparks from burning through clothing |
Structural Load Testing and Verification
Structural load testing is the final step where you apply controlled force to a prototype to verify it meets your design goals. This process moves the project from a theoretical model to a proven piece of hardware.
I use a “static hang” test for most of my projects. If I’ve built a bracket meant to hold a 100-pound engine component, I will secure it to a test rig and hang 200 pounds of sandbags from it. I leave it for 24 hours. If there is any visible bowing or “creaking” at the joints, the design goes back to the drawing board.
- Visual Inspection: Use a magnifying glass to look for hairline cracks around the weld toes.
- Dye Penetrant Test: Use a DIY NDT (Non-Destructive Testing) kit. You spray a red dye on the weld, wipe it off, and apply a white developer. Any hidden cracks will show up as bright red lines.
- Deflection Measurement: Use a dial indicator to see how much the metal moves under load. If it doesn’t return to zero after the load is removed, you have exceeded the yield strength.
Workshop Safety Checklist for Daily Use
A workshop safety checklist is a series of repeatable steps performed before and after every fabrication session. It reduces the “human error” factor that leads to accidents when you are tired or rushing to finish a project.
- Check all power cords for exposed wires or fraying.
- Ensure the welding ground clamp is attached to clean, bare metal.
- Verify that the gas cylinder is chained securely to the wall or cart.
- Clear all grinding dust from the welding area (grinding dust can ignite).
- Test the auto-darkening function of the helmet before the first arc.
- Confirm that the workspace is dry and there is no standing water.
Common Fabrication Mistakes to Avoid
Even with 14 years of experience, I have to remind myself to slow down. One of the biggest mistakes I see is poor joint preparation. People try to weld over mill scale (the dark grey coating on new steel) or rust. This introduces impurities into the weld, causing it to fail under stress. Always grind the metal until it is shiny and silver at the joint.
Another mistake is “over-welding.” Adding more metal doesn’t always make a joint stronger; often, it just adds more heat and distortion. Follow the 1/8-inch rule: for most home projects, a weld bead doesn’t need to be much wider than the thickness of the metal you are joining.
Frequently Asked Questions
How do I know if my welder is powerful enough for the metal thickness? Check the manufacturer’s duty cycle and amperage chart. As a rule of thumb, you need about 1 amp of power for every 0.001 inch of steel thickness. For 1/8-inch steel (0.125″), you need at least 125 amps for a single-pass weld with full penetration.
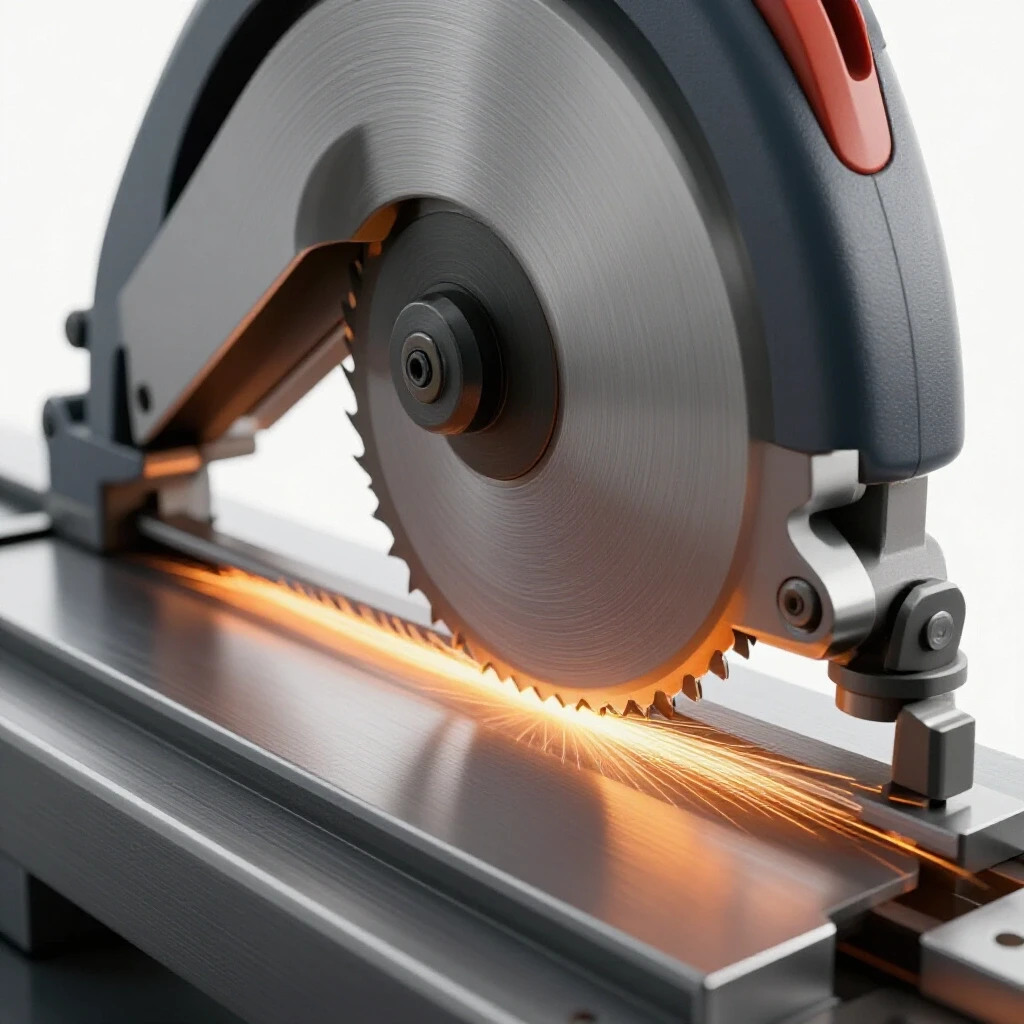
What is the safest way to cut metal in a home shop? A cold-cut saw or a bandsaw is generally safer than an angle grinder. Grinders produce high-velocity sparks and can “kick back” if the disc binds. If you must use a grinder, always wear a full face shield over your safety glasses and never remove the guard.
Why does my metal warp during welding, and how can I stop it? Warping is caused by the metal expanding when hot and contracting as it cools. To prevent this, use “tack welds” every few inches to lock the pieces in place. You can also pre-bend the metal in the opposite direction so that the weld pull draws it into the correct final position.
Is it safe to weld galvanized steel in a garage? Welding galvanized steel releases zinc oxide fumes, which can cause “metal fume fever.” If you must weld it, you must grind off all the zinc coating at least two inches back from the weld area and wear a P100-rated respirator with active ventilation.
What is the difference between a safety factor of 2:1 and 4:1? A 2:1 safety factor means the part is twice as strong as it needs to be for a steady load. A 4:1 factor is for “dynamic” loads where the weight might bounce or drop, which creates much higher instantaneous forces than a static weight.
How do I detect a “cold” weld if it looks okay on the outside? A cold weld usually has a high, rounded profile rather than a flat or slightly concave one. You can perform a “slug test” on a scrap piece by welding two pieces together and hitting them with a sledgehammer. If the weld snaps off the surface without tearing the metal, it was a cold weld.
What is the best way to store gas cylinders safely? Store them upright, capped, and chained to a permanent structure. Never store them near heat sources or where they could be struck by a vehicle. If a cylinder falls and the valve shears off, it can become a dangerous projectile.
Can I use a standard shop vac for welding fume extraction? No. Shop vacs are not designed for hot sparks and can catch fire. Additionally, they do not have the proper filtration to catch microscopic welding particles. Use a dedicated fume extractor or an exhaust fan that vents directly outside.
How often should I replace my welding helmet lens? Replace the clear outer cover lens as soon as it becomes pitted or scratched. A dirty lens forces you to get closer to the weld, increasing your exposure to fumes and heat. If the auto-darkening filter (ADF) flickers, replace the batteries or the helmet immediately.
What should I do if I get “arc eye”? Arc eye feels like you have sand in your eyes and usually shows up hours after welding. Keep your eyes closed, stay in a dark room, and use cool compresses. If the pain persists or your vision is blurred, see a doctor immediately to check for corneal damage.
(This article was written by one of our staff writers, James Harlan. Visit our Meet the Team page to learn more about the author and their expertise.)