How to Choose the Correct Feed Rate for Drill Presses (Fix)
In my fourteen years navigating machine shops and structural fabrication bays, I have learned that the most dangerous sound in a workshop isn’t a loud bang. It is the high-pitched, metallic scream of a drill bit rubbing against steel without actually cutting. That sound represents a failure in mechanical synchronization. It means the tool is generating heat instead of removing chips, leading to a compromised workpiece and a potentially shattered bit.
When I started as a junior inspector, I watched a seasoned fabricator ruin a high-cost structural plate because he was “babying” the drill. He thought a light touch was safer. Instead, he work-hardened the hole, making the steel so hard that no standard bit could finish the job. This mistake taught me that precision in metalwork is not about intuition; it is about understanding the physics of linear advance per revolution.
Choosing how fast to push a bit into metal is a fundamental skill for any fabricator concerned with structural metal load capacity. If you push too hard, you risk bit deflection or structural cracking. If you push too slowly, you create a heat-affected zone weakness that can lead to premature joint failure. This guide focuses on the technical reality of manual drilling to help you achieve consistent, safe results in your home shop.
Understanding the Mechanics of Bit Advance
The linear distance a drill bit travels into the metal during one full rotation is known as the feed. It is a critical balance between cutting efficiency and tool survival that determines the quality of the finished hole.
In manual fabrication, we often talk about “feel,” but feel is actually your nervous system reacting to thrust and resistance. When you turn the handle on a drill press, you are translating your physical strength into a specific amount of Inches Per Revolution (IPR). For a hole to be structurally sound, the bit must maintain a constant “bite” into the material. This prevents the bit from skating or rubbing, which generates friction rather than a clean cut.
A clean cut is vital because every hole you drill is a potential stress riser. If the internal surface of the hole is torn or heat-damaged due to improper pressure, the structural integrity of the entire assembly is at risk. In my inspection work, I have seen heavy frames fail at the bolt holes because the fabricator used a dull bit and inconsistent pressure, creating microscopic fractures in the hole wall.
Why Material Hardness Dictates Penetration Pressure
Hardness is the resistance of a metal to localized plastic deformation. Harder metals require precise pressure to ensure the cutting edge actually bites into the surface rather than simply sliding over it.
When you work with materials like stainless steel or high-carbon alloys, the stakes are higher. These metals have a tendency to work-harden. This means the material becomes physically harder as it is deformed by the heat and pressure of a dull or rubbing tool. If your downward pressure is too light, the bit will rub, the temperature will spike, and the metal will become nearly impossible to drill.
- Mild Steel (A36): Generally forgiving, but still requires enough pressure to produce “C” shaped chips.
- Stainless Steel (304/316): Highly prone to work-hardening; requires heavy, consistent pressure and lower speeds.
- Aluminum: Soft but “gummy”; requires enough pressure to prevent the flutes from clogging with melted metal.
I once inspected a series of mounting brackets for a structural load-testing rig. The fabricator had used a variable pressure approach, pulsing the handle. This created “rings” inside the hole where the metal had hardened at different rates. Under a 2:1 safety factor load, the bolts sheared because the holes weren’t perfectly cylindrical, leading to uneven stress distribution.
Calculating Inches Per Revolution (IPR) for Structural Integrity
IPR is a measurement of how many inches a bit moves downward for every 360-degree turn of the spindle. This metric ensures the hole remains true and the material isn’t compromised by excessive heat.
For most manual drill presses used in a garage fabrication safety context, you won’t have a digital readout for IPR. However, you can estimate it by the thickness of the chips produced. If you are drilling a 1/2-inch hole in mild steel, you are generally looking for a feed rate of 0.004 to 0.007 inches per revolution.
| Bit Diameter (Inches) | Mild Steel Feed (IPR) | Aluminum Feed (IPR) | Stainless Steel Feed (IPR) |
|---|---|---|---|
| 1/8″ | 0.001 – 0.002 | 0.002 – 0.004 | 0.0005 – 0.001 |
| 1/4″ | 0.002 – 0.004 | 0.004 – 0.006 | 0.001 – 0.003 |
| 1/2″ | 0.004 – 0.007 | 0.007 – 0.010 | 0.003 – 0.005 |
| 3/4″ | 0.007 – 0.012 | 0.010 – 0.015 | 0.005 – 0.008 |
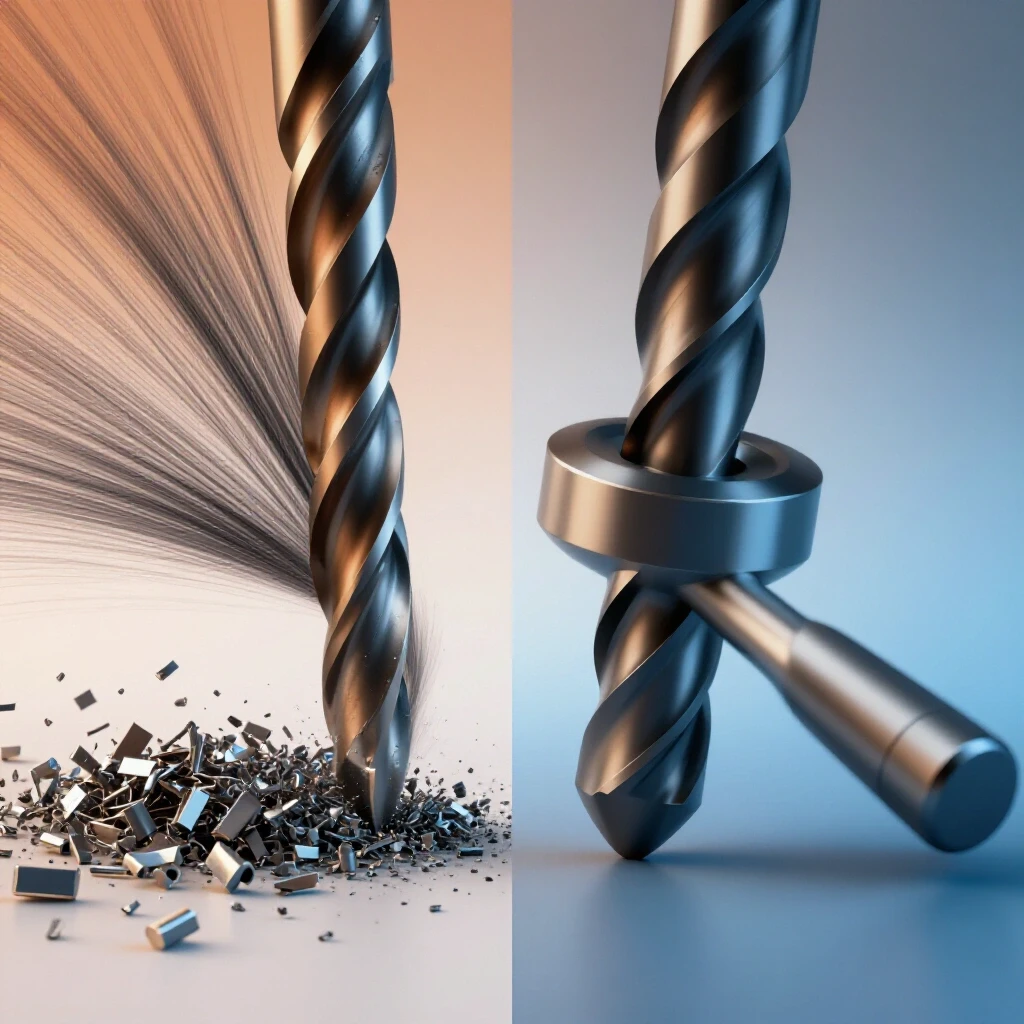
To put this into practice, think about the thickness of a sheet of paper (about 0.003 inches). If you are using a 1/2-inch bit, each rotation of the spindle should ideally remove a slice of metal slightly thicker than a piece of paper. If the shavings look like fine dust, you aren’t pushing hard enough. If the drill press motor is bogging down or the bit is turning blue, you are pushing too hard.
The Role of Thrust and Deflection in Hole Accuracy
Thrust is the vertical force applied to the bit, while deflection is the tendency of the bit to bend or wander under that force. Both can lead to misaligned structural joints that fail to meet design specs.
When you apply downward pressure, the drill press frame and the bit itself act like a spring. If the bit is too long or the workpiece isn’t clamped securely, the bit will “walk” or bend. This results in a hole that is not perpendicular to the surface. In structural metal load capacity calculations, a non-perpendicular hole creates an eccentric load on the bolt, which can cause the bolt to snap under much less weight than its rated PSI yield strength.
- Use Short Bits: Use “stubby” or screw-machine length bits whenever possible to minimize deflection.
- Center Punching: Always create a deep divot with a center punch to guide the bit’s point.
- Pilot Holes: For holes over 1/2-inch, drill a pilot hole equal to the width of the larger bit’s “web” (the flat center part of the tip).
- Rigid Clamping: Never hold a workpiece by hand. Use a drill press vise or T-slot clamps to ensure the metal cannot move under thrust.
Identifying the Signs of Incorrect Downward Pressure
These are the visual and auditory cues that indicate the bit is either being forced too fast or allowed to rub without cutting. Recognizing these signs is a key part of your workshop safety checklist.
One of the most common mistakes I see in garage fabrication is ignoring the color of the chips. In mild steel, chips should be shiny and silver. If they turn a dark straw color or deep blue, it means the temperature at the cutting edge has exceeded 500 degrees Fahrenheit. This heat doesn’t just dull the bit; it migrates into the workpiece, creating a heat affected zone weakness that can make the surrounding metal brittle.
- Squealing/Chirping: This is the sound of friction. It usually means the feed is too low, and the bit is rubbing.
- Chatter: A vibrating, rumbling sound usually indicates the feed is too high or the setup is not rigid enough.
- Continuous Spirals: In ductile metals like mild steel, a good feed rate produces long, curling “clock spring” chips.
- Discolored Chips: Blue chips in steel indicate excessive heat. Increase your feed or decrease your RPM.
Interestingly, if you see a bit “climbing” into the metal—where it seems to pull itself down—this often happens with soft metals like brass or aluminum. This is a sign that the bit geometry is too aggressive for the feed, and it can lead to the bit grabbing the workpiece and spinning it out of the vise.
Safety Protocols and Structural Load Considerations
Maintaining control over the drilling process is as much about personal safety as it is about metal properties. A bit that catches because of an improper advance rate can break, sending high-speed shrapnel across the shop.
When we talk about structural joint failure analysis, we have to look at the “bearing area” of the hole. If the feed rate was erratic, the inside of the hole will have ridges. These ridges reduce the surface area contact between the bolt and the hole. Under high stress, these ridges can crush, leading to a “loose” joint that eventually fails due to vibration or fatigue.
Workshop Safety Checklist for Drilling
- Eye Protection: Always wear Z87+ rated safety glasses; drilling produces high-velocity chips.
- No Gloves: Never wear gloves when operating a drill press. A glove can catch in the rotating spindle and pull your hand into the machine.
- Secure Workpiece: Use at least two points of contact for clamping to prevent the “helicopter” effect if the bit binds.
- Coolant/Lubricant: Use a dedicated cutting fluid to reduce friction and help clear chips. This allows for a more consistent advance rate.
Structural Joint Failure Analysis: A Case Study
Years ago, I worked on a project involving a large gate hinge that had to support several hundred pounds. The fabricator drilled the holes for the mounting bolts using a hand-fed drill press. He was worried about breaking his only 3/4-inch bit, so he used very light pressure and high speeds.
When I inspected the part, I noticed the holes were slightly “egg-shaped.” Because he hadn’t applied enough downward pressure, the bit had vibrated (chattered) inside the hole, wearing away the sides. When the gate was hung, the bolts didn’t sit flush. Within six months, the constant movement caused the bolts to fatigue and snap. The root cause wasn’t the bolt strength; it was the poor hole quality caused by an incorrect feed rate.
To avoid this, always prioritize a steady, firm advance. You want the bit to be cutting at all times. If you see the bit stop producing chips, stop immediately and investigate.
Practical Steps for Setting Your Shop Up for Success
To ensure your projects are built to last, you need a repeatable system for managing how you drill into structural components.
- Reference a Chart: Keep a printed feed and speed chart near your drill press. Don’t guess.
- Calibrate Your Hand: Practice drilling into scrap material of the same thickness. Try to produce consistent “C” chips.
- Check Your Bits: A dull bit requires significantly more thrust to achieve the same feed rate. If you have to lean on the handle, the bit is dull.
- Monitor Temperature: Touch the workpiece (carefully) after drilling. If it’s too hot to touch, your friction-to-cutting ratio is off.
- Use a Depth Stop: When drilling multiple holes, a depth stop ensures you aren’t slamming the bit into the table, which preserves the point geometry.
By mastering the relationship between the bit’s rotation and its downward travel, you move from being a hobbyist who “pokes holes” to a fabricator who creates engineered apertures. This technical accuracy is what separates a project that lasts a lifetime from one that fails at the first sign of stress.
Summary of Key Metrics for Fabricators
| Metric | Importance | Target Range (General) |
|---|---|---|
| IPR (Inches Per Rev) | Prevents work hardening | 0.001″ to 0.012″ based on diameter |
| Chip Color | Indicates heat levels | Silver (Steel), No discoloration (Alum) |
| Safety Factor | Structural buffer | 2:1 for static, 4:1 for dynamic loads |
| Thrust Force | Prevents bit deflection | Varies; must be enough to “bite” |
FAQ: Mastering Bit Advance and Shop Safety
What happens if I don’t push hard enough on the drill press handle?
If the downward pressure is too light, the bit will rub against the metal instead of cutting. This creates intense friction and heat, which can lead to work-hardening in metals like stainless steel. Once the surface hardens, the bit will dull rapidly, and you may find it impossible to finish the hole without specialized tooling.
How can I tell if my feed rate is too high?
A feed rate that is too aggressive will usually cause the drill press motor to slow down or “bog.” You might also hear a loud rumbling or chatter, and the bit may flex or bend. In extreme cases, the bit will snap or the workpiece will be pulled out of the clamps.
Why does the bit size change the required pressure?
Larger bits have a wider “chisel edge” at the very tip that does not cut as efficiently as the outer edges. This requires significantly more thrust (downward force) to push that center point into the metal. This is why drilling a pilot hole is essential for larger diameters.
Is cutting fluid necessary for manual drilling?
Yes. Cutting fluid performs two vital roles: it lubricates the cutting edges to reduce friction and it carries heat away from the bit and workpiece. This helps maintain a consistent feed rate because the bit stays sharp longer and the metal remains at a stable temperature.
How do I prevent “grabbing” when the bit breaks through the bottom of the hole?
As the bit reaches the end of the cut, there is less material to resist the downward force. To prevent the bit from “grabbing” and pulling itself through, you should slightly reduce the downward pressure just as you feel the bit begin to break through the bottom of the workpiece.
Can I use the same feed rate for all types of steel?
No. Harder steels or alloys like 4140 require more pressure and slower rotation to ensure the bit bites. Mild steel (A36) is more forgiving, but you still need enough pressure to avoid rubbing. Always consult a material-specific chart for the best results.
Does a dull bit affect the structural integrity of the hole?
Absolutely. A dull bit requires more pressure, which generates more heat. This heat can create a heat affected zone (HAZ) around the hole, making the metal more brittle. Furthermore, a dull bit often creates a rougher internal surface, which acts as a starting point for structural cracks under load.
Why are my chips coming out as tiny splinters instead of curls?
Tiny splinters or “dust” usually indicate that your feed rate is too low or your bit is dull. The bit is scraping the metal rather than peeling it. Increase your downward pressure until you see consistent, curled chips.
What is the safest way to clear chips while drilling?
Never use your hands to clear chips, even if you are wearing gloves. Use a small brush or compressed air (while wearing safety goggles) to clear the area. Long, stringy chips should be broken by occasionally backing the bit off slightly during the cut.
How does clamping affect the quality of the hole?
If the workpiece is not clamped rigidly, it can shift or vibrate under the thrust of the drill. This leads to an oversized or out-of-round hole. For structural projects, even a slightly oversized hole can cause a bolt to sit improperly, leading to joint failure.
(This article was written by one of our staff writers, James Harlan. Visit our Meet the Team page to learn more about the author and their expertise.)