How to Set Up a Small Welding Station in Your Garage (Tips)
Building a functional metalworking space in a residential garage is a journey of compromises and careful planning. When I started my first shop in 2013, I had exactly $2,000 and a drafty single-car garage. I remember the anxiety of staring at online forums where everyone seemed to own industrial-grade equipment that cost more than my car. The fear of wasting my limited savings on the wrong tools was real. Over the last decade, I have learned that a successful home fabrication area is not built on expensive brand names but on smart layout choices and a strict adherence to safety standards.
My background as an industrial maintenance technician taught me that machines are only as good as the infrastructure supporting them. In a home setting, this means your electrical circuits and ventilation are just as important as the welder itself. I once spent three weeks trying to diagnose why my welds looked porous, only to realize my garage’s electrical drop was sagging under the load of an old refrigerator and a space heater. This article focuses on the data-driven steps I used to fix those mistakes, helping you build a capable space without overextending your bank account.
Evaluating Your Residential Fabricating Space
This phase involves assessing physical square footage and workflow paths to ensure tools fit comfortably without creating tripping hazards or fire risks in a confined home environment. You must account for the movement of long metal stock and the reach of your equipment cables.
When you begin your starter metal workshop layout, start by measuring your available floor space. I recommend a minimum “work zone” of 8 feet by 8 feet for the actual welding and grinding area. This provides enough clearance to move around a project without bumping into walls or flammable storage. One of my early mistakes was placing my workbench too close to my wooden storage shelves. A single stray spark from a grinder can smolder in sawdust for hours before igniting.
To prevent this, I adopted the “Clean Zone” and “Dirty Zone” strategy. The dirty zone is where the sparks fly—usually near the garage door for better airflow. The clean zone is where you keep your precision measuring tools, electronics, and finished projects. By separating these areas, you protect your expensive precision tools from the metallic dust that grinders produce.
- Minimum Clearance: Maintain at least 3 feet of open space around your primary workbench.
- Material Flow: Ensure you have a clear path to bring 10-foot lengths of steel into the shop.
- Floor Surface: Use bare concrete; remove any rubber mats or wood flooring that could catch fire.
Managing Electrical Loads and Circuit Safety
Understanding how much power your house can provide to a welder and grinder without tripping breakers or damaging the home’s wiring system is critical. Residential outlets are often shared across multiple rooms, which can lead to unexpected power failures during a project.
Most beginner welder power requirements fall within the 115V or 230V categories. If you are working with a standard 15-amp household circuit, you will be limited to light-duty repairs on thin material. I quickly found that a dedicated 20-amp circuit for the welder was the single best investment I made. It prevented the “flickering lights” syndrome and allowed the machine to run at its rated duty cycle. The duty cycle is the amount of time a machine can weld within a 10-minute period before it needs to cool down.
| Tool Type | Typical Voltage | Amperage Draw | Recommended Circuit |
|---|---|---|---|
| Entry-Level Welder | 115V | 15A – 20A | Dedicated 20A |
| Angle Grinder (Small) | 115V | 5A – 10A | Standard 15A |
| Bench Grinder | 115V | 3A – 6A | Standard 15A |
| LED Shop Lighting | 115V | < 1A | Shared Circuit |
Before you plug in your first tool, use this workshop electrical setup checklist: 1. Identify which outlets are on which breakers by switching them off one by one. 2. Label your garage outlets with their corresponding amperage. 3. Avoid using extension cords; if necessary, use a heavy-duty 10-gauge cord under 25 feet. 4. Ensure your garage has a functioning Ground Fault Circuit Interrupter (GFCI) to prevent shocks in damp conditions.
Prioritizing Your Initial Fabrication Tool Budget
A strategic approach to spending limited funds involves choosing the most versatile equipment first while reserving capital for high-quality safety gear and consumables. Many beginners spend 90% of their budget on a fancy welding machine and realize too late they cannot afford the saws or grinders needed to prep the metal.
In my experience, a healthy budget metalworking tools allocation follows a 40/30/30 rule. Spend 40% on your primary machine (the welder), 30% on metal preparation and cutting tools (grinders and saws), and 30% on safety gear and measuring instruments. This balance ensures that you can actually finish a project. A weld is only as good as the fit-up, and you cannot get a good fit-up without accurate measuring and clean cuts.
- Primary Welder: Look for a machine that offers both flux-core and gas-shielded options.
- Cutting Tools: A 4.5-inch angle grinder is the “Swiss Army Knife” of the shop. I recommend owning two—one for a grinding wheel and one for a wire brush—to save time.
- Measuring Tools: A high-quality steel square and a digital caliper are non-negotiable for professional results.
Interestingly, cheap abrasives are a common trap. A low-cost grinding disc might cost $1, but it may wear down in five minutes. A $3 disc from a reputable supplier often lasts four times longer, saving you money and reducing the amount of dust in the air.
Implementing Safety Standards and PPE
Selecting the right protective equipment based on ANSI and OSHA guidelines is the foundation of a long-term hobby. Metalworking involves intense light, high heat, and flying debris, all of which can cause permanent injury if ignored.
I follow the American National Standards Institute (ANSI) Z87.1 standard for eye protection. Even when wearing a welding helmet, you should have safety glasses underneath. I learned this the hard way when a piece of slag bounced off my chest and flew under my helmet while I was inspecting a fresh weld. It was a terrifying reminder that “good enough” safety gear is never actually enough.
For your garage workshop, prioritize these items: * Auto-Darkening Helmet: Ensure it has a reaction speed of at least 1/25,000 of a second to protect your retinas from “arc flash.” * Flame-Resistant Clothing: Use 100% cotton or leather. Synthetic fabrics like polyester can melt to your skin if hit by a spark. * Respiratory Protection: Even a basic N95 mask helps, but a dedicated respirator with P100 filters is better for filtering out metallic fumes. * Fire Extinguisher: Keep a multi-purpose (ABC rated) extinguisher within five feet of your welding station.
Designing Garage Workshop Ventilation Systems
This section covers the mechanics of removing hazardous fumes and dust from your workspace to maintain breathable air quality. Residential garages are often poorly ventilated, and welding fumes contain metal oxides that should not be inhaled.
The goal of garage workshop ventilation is to achieve a certain number of air exchanges per hour. For a small fabrication space, you want to move the air away from your face and out of the building. I started by using a high-velocity floor fan positioned to blow across the work area toward an open door. However, the American Conference of Governmental Industrial Hygienists (ACGIH) suggests that local exhaust—sucking the smoke away right at the source—is much more effective.
| Ventilation Method | Effectiveness | Cost Range | Recommended Use |
|---|---|---|---|
| Open Garage Door | Low | $0 | Light grinding only |
| Box Fan in Window | Medium | $20 – $40 | Occasional hobby welding |
| High-Velocity Floor Fan | Medium-High | $60 – $120 | Frequent welding projects |
| Dedicated Fume Extractor | High | $400+ | Daily fabrication |
To calculate your needs, look at the Cubic Feet per Minute (CFM) rating on fans. For a standard two-car garage, a fan rated at 2,000 to 3,000 CFM can refresh the air relatively quickly. Always position yourself so the wind is blowing the smoke away from your helmet, not into it.
Building a Functional Welding Table and Storage
A stable, fireproof work surface is the heart of your shop. It provides a grounded area for your projects and organizes your essential hand tools for easy access.
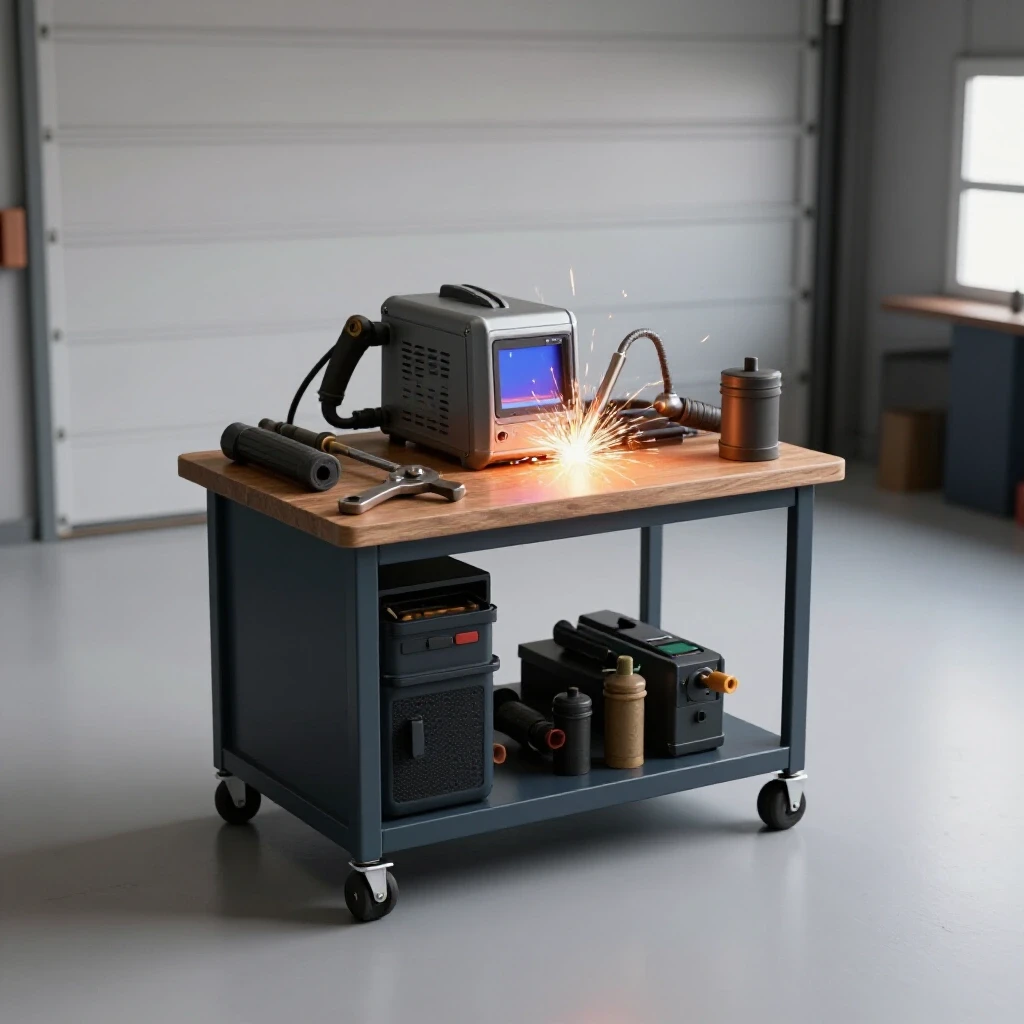
My first “table” was a piece of 1/4-inch steel plate clamped to two wooden sawhorses. It worked, but it was dangerous and unstable. A proper affordable fabrication tools setup includes a dedicated metal table. If you are on a strict budget, you can build a frame out of square tubing and bolt a thick steel plate to the top. This allows you to weld directly on the surface and provides a solid ground for your machine.
- Height: Set the table height to about 36 inches, or whatever is comfortable for your height to prevent back strain.
- Leveling: Use adjustable feet. Most garage floors are sloped for drainage, and a wobbly table will ruin your project’s alignment.
- Storage: Use magnetic strips on the side of the table to hold your pliers, wire brushes, and chipping hammers.
- Grounding: Clean a small patch of the table down to bare shiny metal where you can attach your welder’s ground clamp.
For metal storage, I recommend a vertical rack. Storing steel flat on the floor takes up too much space and makes it hard to find what you need. A simple rack built from 1-inch tubing can hold hundreds of pounds of material in a 2-foot by 2-foot footprint.
Tracking Costs and Maintenance Records
Effective shop management requires keeping a log of your spending and equipment performance. This helps you identify when a tool is underperforming or when you are spending too much on consumables.
I maintain a simple spreadsheet that tracks every dollar spent. This habit allowed me to see that I was spending $50 a month on cheap cutting discs, which prompted me to invest in a better cold-cut saw that eventually paid for itself in six months.
Use this framework for your shop log: * Purchase Date: Tracks warranty periods. * Consumable Life: Note how many projects a single spool of wire or a grinding disc lasts. * Maintenance Tasks: Record when you clean the liner in your welding torch or replace the filters in your respirator. * Safety Checks: Monthly inspection of cords, hoses, and fire extinguishers.
Executing Your First Test Welds
Once your layout is set and your power is confirmed, the final step is a controlled test of the environment. This is not about making a perfect bead; it is about testing your shop’s systems under load.
Start by setting up a scrap piece of 1/8-inch mild steel. Put on all your PPE and ensure your ventilation is running. Strike an arc and weld for two minutes. Stop and check your electrical breaker—is it hot? Is the smoke clearing out of the garage efficiently? This “stress test” ensures that your starter metal workshop layout is actually functional before you commit to a major project.
If the breaker trips, you know you need to reduce your machine settings or look into your electrical supply. If the room fills with smoke, you need to adjust your fan placement. These early adjustments are much easier to make now than in the middle of a complex build.
- Step 1: Clean the scrap metal to shiny silver using your angle grinder.
- Step 2: Position your ground clamp as close to the weld as possible.
- Step 3: Perform a “dry run” movement to ensure your torch cable doesn’t snag on the table.
- Step 4: Weld a 3-inch bead and observe the fume path.
Building a shop is an iterative process. My current space looks nothing like my 2013 setup because I constantly adjusted based on what worked. By focusing on the fundamentals of power, safety, and layout, you create a space where you can focus on the craft of metalworking rather than the frustration of a poorly planned environment.
Frequently Asked Questions
Can I weld in a garage with a wooden floor? It is highly discouraged. Sparks and molten metal (slag) can easily fall into cracks in the wood and start a fire that smolders undetected. If you must work in such a space, you must cover the floor with heavy-gauge sheet metal or a dedicated welding-rated fire blanket, and keep a fire watch for at least an hour after you finish.
What is the most important tool for a beginner besides the welder? The 4.5-inch angle grinder is the most essential secondary tool. It is used for cleaning rust off metal, prepping edges for welding, cutting material to length, and cleaning up the finished weld. Without a grinder, you cannot achieve the clean surfaces required for a strong weld.
How do I know if my garage ventilation is sufficient? A simple “clear air” test is to observe the smoke. If the smoke lingers at eye level or fills the rafters for more than a few minutes after you stop welding, your ventilation is inadequate. You want a steady stream of air moving the fumes away from your face and out an exit point immediately.
Do I really need a dedicated circuit for a small welder? While many small units are advertised as “plug and play,” they draw significant current. Sharing a circuit with a freezer or heavy lighting can cause the breaker to trip frequently or lead to “voltage drop,” which results in a weak, stuttering arc and poor weld penetration.
Is an auto-darkening helmet better than a fixed-shade one for beginners? Yes. An auto-darkening helmet allows you to see your workpiece and the position of your torch before you strike the arc. This leads to much more accurate weld placement and reduces the frustration of “stray” arcs that happen when you can’t see where you are starting.
How much should I spend on my first set of safety gear? Expect to spend at least $150 to $250 for a basic, safe setup. This includes a decent auto-darkening helmet ($80+), leather welding gloves ($20), a flame-resistant jacket or apron ($40), and a respirator ($30). Cutting corners on safety gear can lead to medical bills that far exceed the cost of the equipment.
What is the best way to store metal in a small garage? Vertical storage is best for small spaces. A simple A-frame rack or wall-mounted brackets allow you to keep long bars and tubes organized without consuming valuable floor space. Always store heavier pieces lower to the ground to keep the center of gravity low and prevent tipping.
Can I use a standard shop vac for dust collection? Only if it is equipped with a HEPA filter and you are collecting dry dust. However, you should never use a shop vac to collect hot sparks from a grinder, as the debris can ignite the filter or the dust inside the vacuum canister. For grinding, a specialized spark trap or simply venting to the outside is safer.
How often should I check my fire extinguisher? You should check the pressure gauge once a month to ensure it is in the “green” zone. Additionally, give it a quick shake to prevent the dry chemical powder inside from settling and packing down, which can prevent it from discharging properly in an emergency.
What is the “duty cycle” and why does it matter to me? The duty cycle tells you how long you can weld out of a 10-minute period. A 20% duty cycle means you can weld for 2 minutes and then the machine must cool for 8 minutes. For a hobbyist, a 20-30% duty cycle is usually plenty, but for heavy fabrication, you would need a more expensive machine with a higher rating.
(This article was written by one of our staff writers, Michael Thompson. Visit our Meet the Team page to learn more about the author and their expertise.)