How to Adjust Welding Heat Input Based on Puddle (DIY Fix)
When I first started metalworking twelve years ago, my garage was a place of frustration. I would pull the trigger on my MIG gun or strike a stick electrode, and the result was usually a mess of bird poop and holes. I didn’t understand that the glowing liquid under my hood was actually a live data feed telling me exactly what to do. Mastering torch control and learning to interpret that molten pool transformed my hobby into a craft.
In this metal welding practice guide, I want to share the systematic approach I used to move past those frustrating plateaus. We will look at how to read the liquid metal and make real-time changes to your technique. By tracking your progress and understanding the mechanics of heat, you can achieve the consistency that defines professional-grade fabrication.
Understanding the Molten Pool as a Real-Time Data Feed
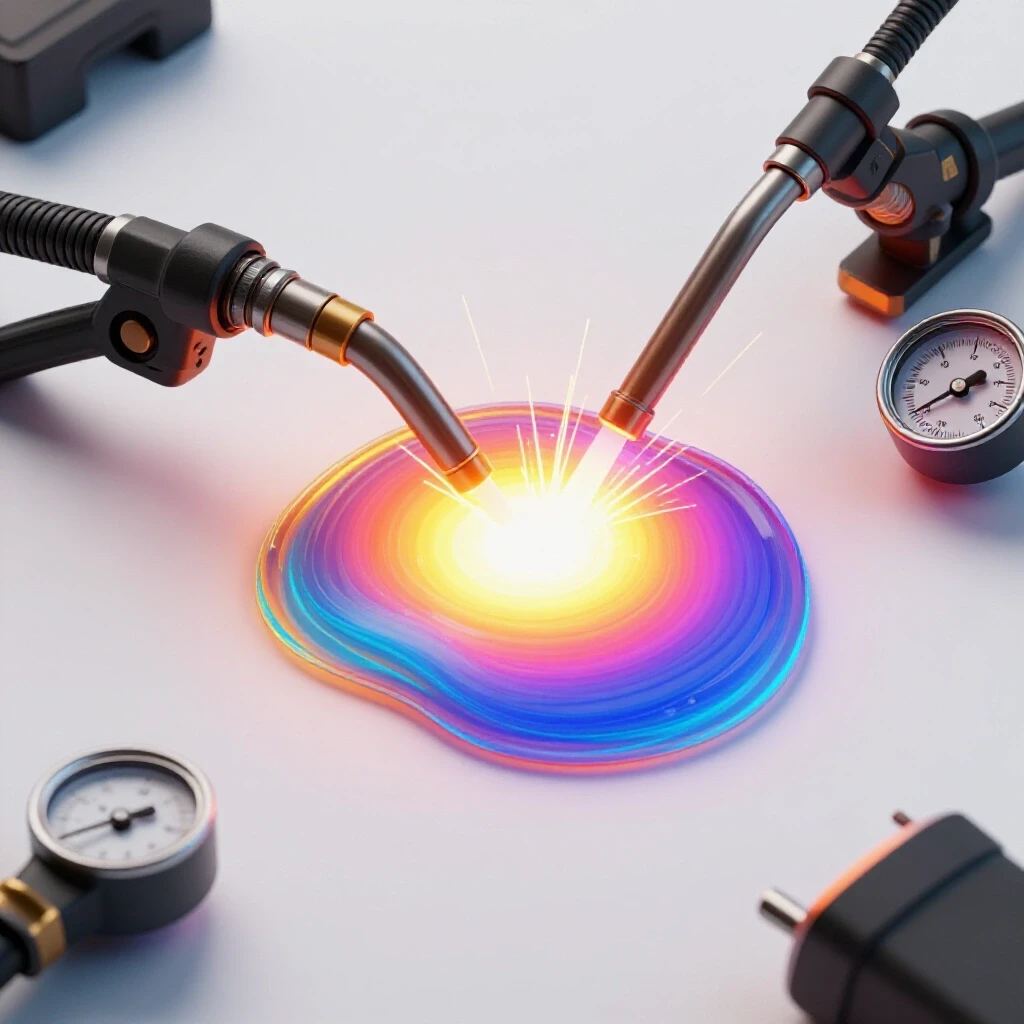
The molten pool is the small area of liquid metal created by the arc’s intense heat. By watching its width, shape, and how it flows into the base material, you can determine if your current settings are effectively melting the joint. This visual feedback tells you when to speed up, slow down, or change your torch angle.
When you are learning metal fabrication, the liquid metal is your most honest teacher. If the pool looks sluggish and thick, you likely don’t have enough energy reaching the plate. If it is watery and starts to sag or “run away” from you, the metal is getting too hot. I spent months just staring at that glow before I realized that a healthy puddle should look like a shiny, fluid “C” or a rounded oval.
The Anatomy of a Healthy Weld Puddle
A healthy puddle has a consistent width and follows the torch at a predictable distance. It should wet out, meaning the edges of the liquid metal flow smoothly into the solid plate without leaving a sharp ridge or a gap. This indicates that the thermal energy is sufficient to create a strong bond between the pieces.
In my early practice sessions, I noticed that if my puddle looked like a pointed “V,” I was moving too fast. The metal didn’t have enough time to melt outwards. Conversely, a perfectly circular puddle often meant I was sitting in one spot too long, risking a burn-through. Aim for a slightly elongated oval that stays about 1.5 to 2 times the width of your electrode or wire.
Setting Your Baseline Machine Parameters for Manual Metalworking
Before you strike an arc, you must establish a starting point on your machine based on the thickness of your material. These initial settings provide a foundation, but they are rarely perfect for every situation. You will use the behavior of the molten metal to fine-tune these numbers as you work.
Setting these parameters is the first step in a welding technique progression. For a beginner using a 110V or 220V setup on mild steel, you can use the following table as a general guide. Remember, these are starting points; your hand speed and the temperature of the metal will require you to make small adjustments.
Table 1: Initial Settings for Mild Steel (MIG/GMAW)
| Material Thickness | Wire Feed Speed (IPM) | Voltage Setting | Suggested Gas Flow (CFH) |
|---|---|---|---|
| 1/16″ (16ga) | 180 – 200 | 16 – 17 | 20 |
| 1/8″ (11ga) | 240 – 260 | 18 – 19 | 20 – 25 |
| 3/16″ | 320 – 340 | 20 – 21 | 25 |
| 1/4″ | 380 – 400 | 22 – 23 | 25 – 30 |
Why Amperage and Voltage Matter to the Puddle
Amperage (in stick welding) or Voltage (in MIG) controls the “pressure” and “volume” of the heat entering the metal. High settings create a more fluid, aggressive puddle that can penetrate deeper into the steel. Low settings result in a colder, taller bead that might just sit on top of the metal without actually fusing to it.
I often tell my students to think of the machine settings as the “rough tune” and their hands as the “fine tune.” If your machine is set slightly too high, you can compensate by moving your torch faster. If it is a bit low, you can slow down your travel speed to allow more heat to soak into the joint.
Mastering Torch Control and Body Mechanics for Consistent Flow
Physical stability is the secret to a professional bead. If your body is shaking or your arm is unsupported, your arc length will vary, which causes the heat input to fluctuate wildly. Proper positioning allows you to maintain a steady distance and angle, ensuring the liquid metal behaves predictably.
To improve your mastering torch control, you should always find a way to “brace” yourself. I use the “tripod” method: one hand on the torch, the other hand or forearm resting on the table, and my hips tucked against the workbench. This three-point contact eliminates most of the natural sway in the human body.
The Importance of the Work and Travel Angles
The work angle is the position of the torch relative to the joint, while the travel angle is the tilt in the direction of movement. For most flat-position welds, a 10 to 15-degree drag angle (tilting the torch away from the direction of travel) is ideal. This pushes the heat into the puddle and helps you see what you are doing.
- Work Angle: Usually 90 degrees to the plate for a flat bead, or 45 degrees for a T-joint.
- Travel Angle: A 10-15 degree drag or push angle helps control the puddle shape.
- Arc Gap/Stick-out: Maintain a consistent 3/32″ to 1/8″ distance between the tip and the metal.
Why Travel Speed Rules the Puddle Dynamics
Travel speed is the rate at which you move the arc along the joint. It is perhaps the most critical variable you can control with your hands to manage how much heat enters the steel. Moving too fast results in a thin, weak bead, while moving too slow creates a wide, lumpy mess.
During my trade school practice drills, I learned that a standard travel speed for manual welding is between 8 and 12 inches per minute (IPM). If you are moving slower than 8 IPM, you are likely putting too much heat into the part, which can cause warping. If you are faster than 12 IPM, you might not be getting enough penetration.
Calculating Heat Input for Better Consistency
While you don’t need a calculator mid-weld, understanding the formula for heat input helps you realize how much your hand speed matters. Heat input is the amount of energy per inch of weld. When you slow down your travel speed, the heat input increases exponentially.
Heat Input Formula:
Heat Input = (Amps x Volts x 60) / (Travel Speed in IPM x 1000)
If you keep your machine settings the same but double your speed, you cut the heat input in half. This is why learning to maintain a steady, rhythmic pace is vital. I recommend using a metronome or a timer during practice to help internalize a consistent 10 IPM movement.
Identifying and Correcting Heat-Related Bead Defects
The finished weld is a permanent record of your technique. By looking at common defects like undercut or overlap, you can determine if your travel speed or heat settings were incorrect. This visual assessment is the fastest way to troubleshoot your progress.
In my early years, I struggled with “undercut,” which is a groove melted into the base metal next to the weld that doesn’t get filled back in. I eventually realized I was either moving too fast for the high voltage I had set or my arc gap was too long. Adjusting these physical cues solved the problem almost immediately.
Table 2: Troubleshooting Puddle Behavior and Bead Results
| Visual Cue | Likely Cause | Suggested DIY Fix |
|---|---|---|
| Narrow, ropey bead | Travel speed too fast | Slow down; wait for the puddle to widen. |
| Wide, flat bead with sagging | Travel speed too slow | Increase speed; keep the arc on the leading edge. |
| Deep groove at the edges (Undercut) | Arc gap too long or too hot | Shorten arc gap; lower voltage or amperage. |
| Metal “piling up” without fusion | Machine settings too cold | Increase voltage/amps; slow down travel speed. |
| Excessive Spatter | Arc gap too long or high volts | Steady your hand; check gas flow and wire speed. |
Reading the “Tie-In” at the Edges
Watch the “toes” of the weld—the places where the liquid metal meets the solid plate. You want the liquid to “wet out” or melt into the plate smoothly. If the metal looks like it is sitting on top of the plate (like a bead of water on a waxed car), you are not getting enough heat into the base material.
Preparing Clean Zones for Better Thermal Transfer
You cannot accurately read a puddle if you are welding over rust, mill scale, or paint. Contaminants act as an insulator, forcing you to turn up the heat just to get through the junk. This leads to inconsistent penetration and a “dirty” looking puddle that pops and spatters.
I always preach the “one-inch rule” for material preparation clean zones. Use a flap disc or a wire wheel to grind the metal until it is shiny and bright at least one inch back from the joint. This ensures the arc energy goes directly into melting the steel rather than fighting through surface impurities.
- Remove Mill Scale: That dark grey coating on hot-rolled steel must be ground off.
- Degrease: Use a dedicated cleaner to remove oils that can cause porosity (tiny bubbles).
- Check Grounding: A poor ground clamp connection can cause the arc to stutter, mimicking a heat issue.
Structured Practice Drills for Technique Progression
Building muscle memory requires repetitive, focused movement. I recommend starting with “bead-on-plate” exercises before trying to join two pieces together. This allows you to focus entirely on the liquid metal without worrying about the joint geometry.
- The Straight Line Drill: Use a soapstone to draw straight lines on a scrap plate. Practice running a 6-inch bead, maintaining a consistent width the entire way.
- The Step-Down Drill: Start with a high travel speed at the beginning of the plate and gradually slow down. Observe how the puddle widens as you decrease your speed.
- The Restart Drill: Stop your weld mid-way, let it cool slightly, and then practice “tying in” a new bead. The goal is to make the transition invisible.
Tracking Your Progress with a Weld Log
One of the most impactful things I did was start a practice log. Every time I sat down at the bench, I recorded my settings and what I observed in the puddle. This turned my random “spark throwing” into a structured learning metal fabrication process.
Sample Practice Log Entry: – Date: Oct 12th – Material: 1/8″ Mild Steel – Settings: 18.5V / 250 IPM – Observation: Puddle was sluggish at start. Slowed down to ~8 IPM. – Result: Better wetting at the toes, but bead was a bit too tall. – Next Step: Increase voltage to 19.0V and maintain 10 IPM.
Logging Your Progress and Using Video Analysis
We live in an age where everyone has a high-definition camera in their pocket. Using slow-motion video analysis can reveal flaws in your torch angle or hand stability that you can’t see while you’re behind the hood. It is a powerful tool for overcoming technique plateaus.
Set up your phone on a tripod (safely away from sparks) and record a 30-second clip of your hands and the arc. When you watch it back, look for “stuttering” movements or changes in the distance between the tip and the metal. You might be surprised to find that you are lifting the torch every time you move your elbow.
- Review the Arc Gap: Is it staying consistent at 3/32″?
- Check the Angle: Are you maintaining that 10-15 degree drag?
- Analyze the Puddle: Does it stay the same size, or does it shrink and grow?
- Listen to the Sound: A consistent “bacon frying” sound usually indicates a stable heat input.
Practical Benchmarks for the Developing Fabricator
As you progress, it is helpful to have objective benchmarks to measure your skill. These aren’t about being “perfect,” but about being consistent. When you can hit these metrics ten times in a row, you are ready to move on to more complex joints.
- Consistency: Can you maintain a bead width within 1/16″ of your target for a full 8-inch run?
- Speed Control: Can you finish a 10-inch weld within 5 seconds of your target time (e.g., 60 seconds for 10 IPM)?
- Visual Quality: Is the bead free of visible undercut and porosity?
- Penetration: When you cut a test piece in half, is the weld fused all the way into the corner of the joint?
I spent years chasing the “perfect” weld, but I eventually learned that professional results come from the ability to recognize and correct errors in real-time. If you see the puddle getting too wide, you speed up. If you see it getting too narrow, you slow down. That reactive adjustment is the hallmark of a skilled fabricator.
Final Steps for Your Next Shop Session
The next time you head into the shop, don’t just start building a project. Spend the first 20 minutes on a dedicated practice drill. Focus specifically on one variable—perhaps your travel speed or your torch angle—and watch how it changes the liquid metal.
By treating every weld as an experiment and every puddle as a data source, you will find that those frustrating plateaus begin to disappear. Metalworking is a physical language, and the molten pool is how the steel speaks back to you. Listen to it, track your progress, and keep the arc steady.
Frequently Asked Questions
How do I know if my travel speed is too fast? If your travel speed is too fast, the weld bead will appear thin, narrow, and “ropey.” You will likely see a lack of fusion at the edges (toes) of the weld, and the bead may have a pointed, V-shaped ripple pattern. The molten pool will struggle to stay circular and will look like it is being “stretched” along the joint.
What should I do if the metal starts to melt away or blow through? This is a sign of excessive heat input. You can fix this by increasing your travel speed to spend less time on one spot, or by shortening your arc gap. If the problem persists, lower your machine’s voltage or amperage settings. Also, ensure you aren’t welding too close to the edge of a plate where heat can’t dissipate.
Why does my weld puddle look “dirty” or pop frequently? A popping puddle is usually caused by contaminants or a poor gas shield. Ensure your “clean zone” is ground to bright metal, removing all rust and mill scale. Also, check that your gas flow is between 20-25 CFH and that you aren’t holding the torch too far away (excessive stick-out), which allows air to contaminate the pool.
Does torch angle really affect how much heat goes into the metal? Yes, significantly. A steep drag angle (tilting the torch back) pushes more heat into the puddle and results in deeper penetration and a narrower bead. A more vertical or “push” angle spreads the heat across the surface, resulting in a wider, shallower bead. Most beginners find a 10-15 degree drag angle offers the best balance of visibility and control.
How can I maintain a steady hand for long weld runs? The best way to stay steady is to use the “tripod” method. Always support your torch hand with your other hand or by resting your arm on the table. Before you start the arc, do a “dry run” by moving the torch along the joint without pulling the trigger to ensure your clothing or arms won’t get snagged mid-weld.
What is the “C” shape everyone talks about in the puddle? The “C” shape refers to the trailing edge of the molten pool. In a well-formed weld, the ripples should be rounded and look like a series of interconnected “C” shapes. If the ripples are sharp or pointed like a “V,” it is a clear indicator that your travel speed is too high for the amount of heat being used.
How often should I check my machine settings during a project? You should check your settings every time you change material thickness or joint type (e.g., moving from a flat butt weld to a vertical fillet). Even the temperature of the metal matters; as the workpiece gets hotter from previous welds, you may need to increase your travel speed to prevent the puddle from becoming too fluid.
Can I use video to help me learn if I don’t have a teacher? Absolutely. Recording your welds in slow motion is one of the most effective ways to self-teach. Look for inconsistencies in your hand movement and the distance of the nozzle from the plate. Comparing your video to professional instructional videos can help you spot subtle errors in your body mechanics that are impossible to see while you are focused on the arc.
(This article was written by one of our staff writers, Thomas Langley. Visit our Meet the Team page to learn more about the author and their expertise.)