How to Identify and Avoid Common Welding Defects (DIY Guide)
Twelve years ago, I stood in my garage staring at a pile of scrap metal and a brand-new welder I had no idea how to use. My first few attempts were humbling. I produced beads that looked like “gorilla welds”—big, hairy, and structurally questionable. I felt the same coordination anxiety many of you feel today. I wondered if I would ever develop the steady hand required to make clean, professional-looking joints. Through thousands of hours of practice and a commitment to tracking my progress, I moved from “sticking metal together” to producing high-quality fabrication work.
The transition from a beginner to a proficient fabricator is not a matter of luck or hidden talent. It is a result of building muscle memory and learning to interpret the visual feedback from the molten metal. In this guide, I want to share the systematic approach I used to overcome technical plateaus. We will focus on the physical mechanics of torch control, the variables that dictate bead quality, and how to objectively measure your improvement through structured metal welding practice guide sessions.
Mastering Body Mechanics and Torch Stability
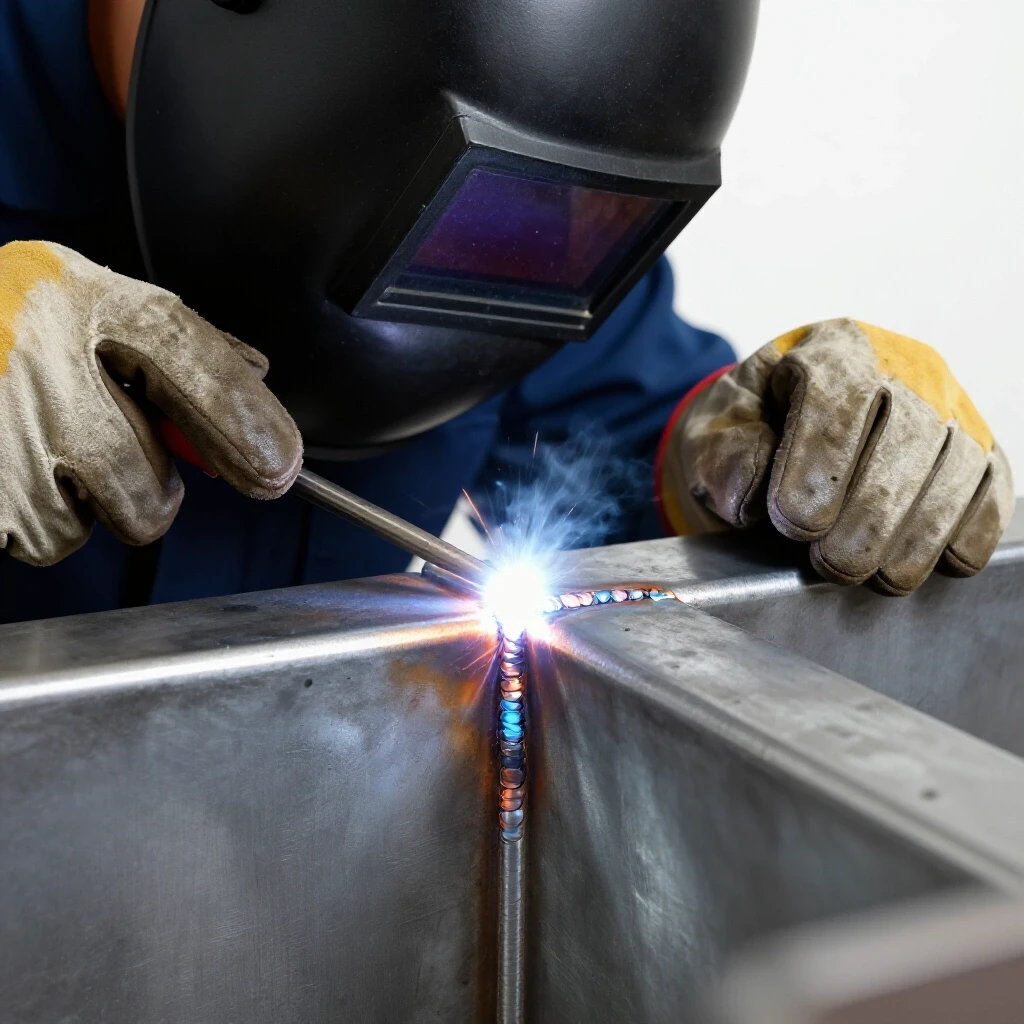
Developing consistent torch control starts with how you position your body and support your weight. This foundational step involves creating a stable “tripod” with your arms and torso to minimize tremors and ensure a smooth, linear motion. By treating your body like a precision machine tool, you reduce the physical variables that lead to erratic bead shapes.
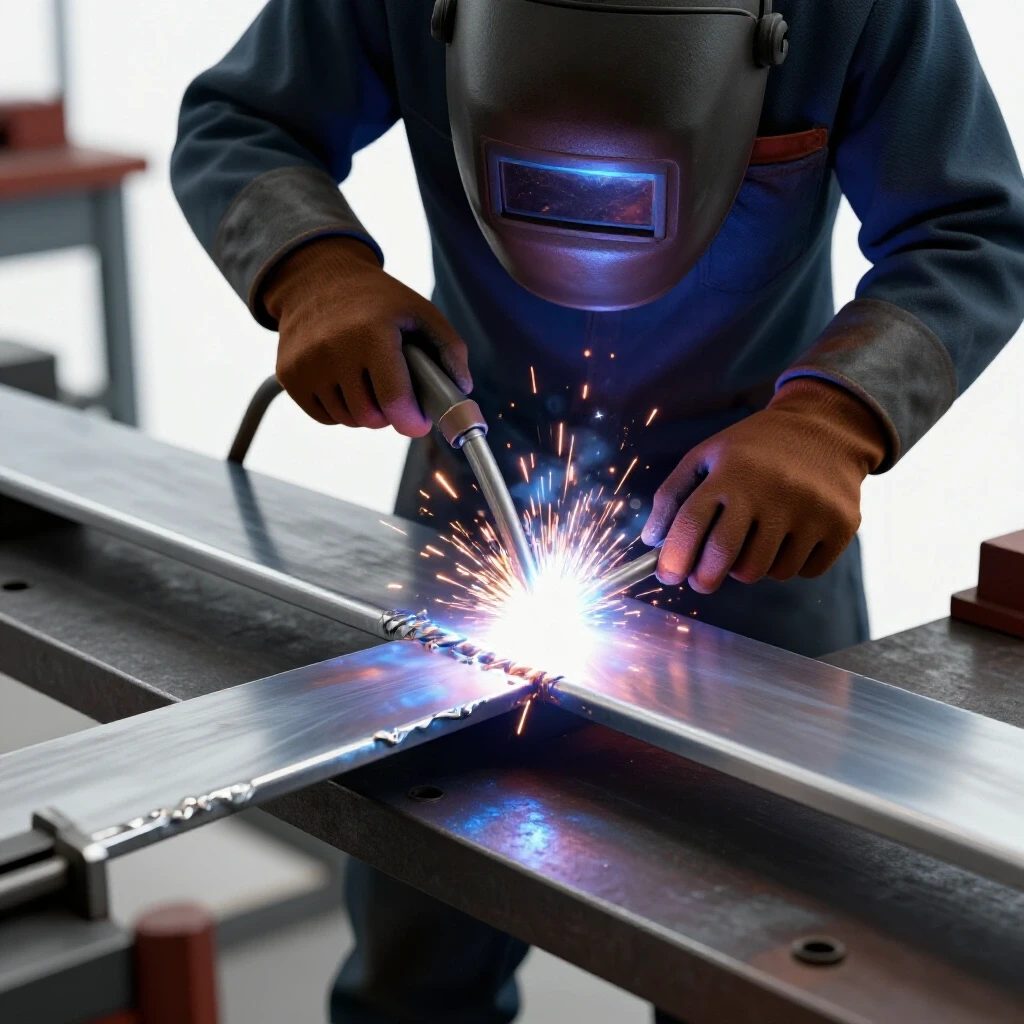
When I first started, I tried to “freehand” my welds by hovering my arms in the air. This was a mistake. My travel speed was inconsistent, and my arc length jumped all over the place. Now, I teach students to find a “brace point.” Whether you are sitting or standing, always try to lean your shoulder or elbow against the welding table. This creates a pivot point that allows your wrist and hand to move with much greater precision.
Before you even pull the trigger or strike an arc, perform a “dry run.” Move your torch across the entire length of the planned joint without any heat. If your sleeve catches on the table or your arm hits a clamp halfway through, you will likely create a defect. A smooth, uninterrupted physical path is the secret to a professional finish.
- Footing: Keep your feet shoulder-width apart for a stable base.
- Two-Handed Grip: Use your dominant hand to control the trigger and your non-dominant hand to steady the torch neck.
- Breathing: Take a deep breath before starting and exhale slowly as you move to keep your muscles relaxed.
Decoding the Molten Puddle for Real-Time Adjustments
Reading the weld pool is the ability to see and interpret the behavior of the liquid metal as it forms. This skill allows you to recognize if you are moving too fast, too slow, or if your heat is too high before the weld is finished. Mastering this visual feedback loop is the most critical step in achieving consistent results.
The “puddle” is a small reservoir of molten steel created by the heat of the arc. As a fabricator, your job is to “steer” this puddle along the joint. You must watch the back of the puddle to see how it freezes. If the back of the puddle looks like a series of uniform crescents (often called “dimes”), your travel speed is consistent. If it looks pointed or stretched, you are likely moving too fast.
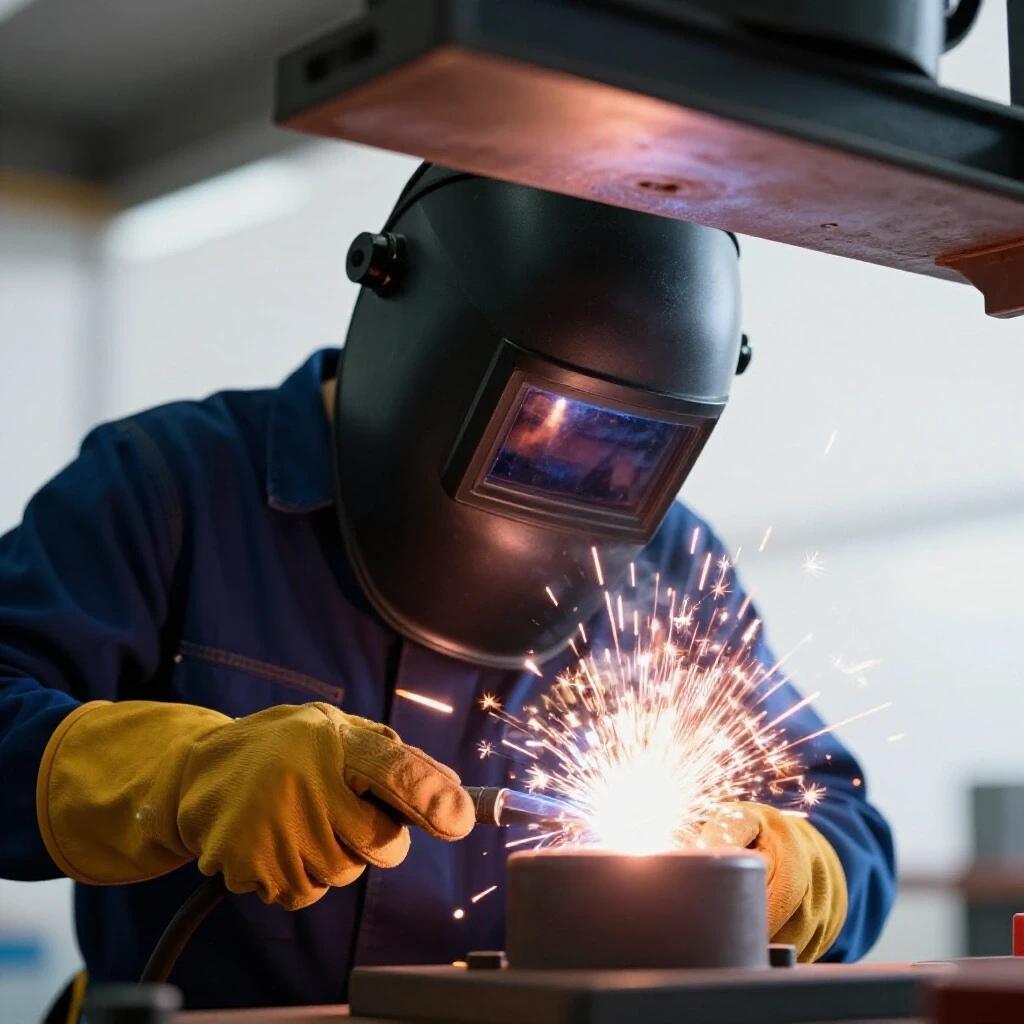
I spent months just staring at the arc before I truly “saw” the puddle. I suggest using a high-quality auto-darkening helmet set to the correct shade (usually 10 or 11 for DIY projects). This allows you to see the difference between the bright arc, the liquid metal, and the floating slag. If you cannot see the edge of the puddle clearly, you cannot control the quality of the bond.
Understanding Puddle Dimensions
| Puddle Characteristic | What It Indicates | Adjustment Needed |
|---|---|---|
| Wide and Flat | Excessive heat or slow travel | Increase speed or lower amps |
| Narrow and Tall | Low heat or fast travel | Decrease speed or raise amps |
| Erratic/Wandering | Long arc length or dirty metal | Shorten arc gap and clean surface |
| Bubbling/Spitting | Contamination or gas issues | Check gas flow and grind to bright metal |
Calibrating Machine Parameters for DIY Projects
Setting baseline machine power involves matching your amperage, voltage, and wire feed speed to the thickness of the material you are joining. These parameters dictate the “heat input,” which determines how deeply the metal melts and how well the pieces fuse together. Correct settings are the first defense against structural failures.
Most modern welders come with a chart inside the door or on a digital display. These are excellent starting points, but they are not absolute. Factors like your extension cord length, the ambient temperature, and your personal travel speed will affect the outcome. I recommend keeping a dedicated notebook to log your settings and the resulting bead quality.
When I am dialing in a new machine, I use the “rule of thumb” for mild steel: approximately 1 amp for every 0.001 inch of material thickness. For example, if I am welding 1/8-inch (0.125″) steel, I start around 125 amps. From there, I fine-tune based on how the metal reacts. If the bead is “cold-lapping” (sitting on top of the metal without melting in), I turn up the heat.
Essential Parameter Metrics
- Arc Gap: Maintain a distance of 3/32″ to 1/8″ between the electrode and the metal.
- Travel Angle: Use a 10–15 degree “drag” angle (leaning away from the direction of travel) for MIG and Stick on flat joints.
- Wire Feed Speed (MIG): Listen for a consistent “sizzling bacon” sound, which indicates a stable short-circuit transfer.
Creating Clean Zones for Defect Prevention
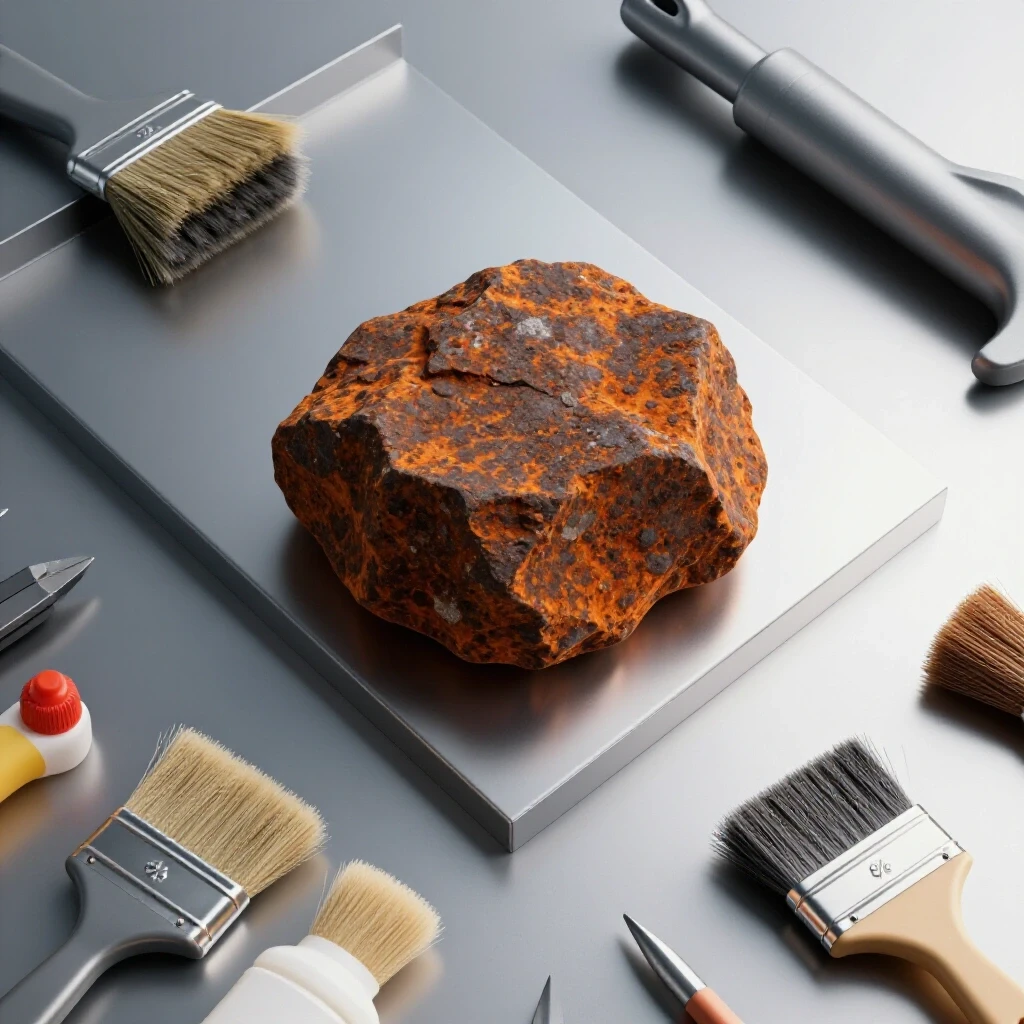
Preparing clean zones is the process of removing mill scale, rust, oil, and paint from the weld area to ensure a pure metallurgical bond. Proper joint preparation is often overlooked by beginners, yet it is responsible for the majority of common issues like porosity and lack of fusion. Clean metal is the foundation of a strong weld.
I used to think I could “burn through” the rust on old scrap metal. I was wrong. Every bit of contamination that enters the weld pool creates gas pockets or inclusions that weaken the joint. Now, I follow a strict “one-inch rule.” I use a flap disc or wire wheel to grind the metal until it is bright and shiny at least one inch back from the weld path on all sides.
This preparation also includes the “fit-up.” If there is a large gap between your pieces, the heat will not transfer correctly, and you risk blowing a hole through the metal. Aim for a tight fit with gaps no larger than 1/16″ unless you are intentionally performing a deep-penetration V-groove weld.
Identifying and Correcting Common Bead Flaws
Learning metal fabrication requires the ability to look at a finished bead and diagnose what went wrong. By recognizing visual cues like undercut, porosity, and overlap, you can make specific physical adjustments to your technique in the next practice run. This self-assessment turns every mistake into a data point for improvement.
One of the most frustrating issues I faced was “undercut.” This is a small groove melted into the base metal right at the edge of the weld that hasn’t been filled back in. It’s a structural weak point. I eventually realized I was moving too fast and not letting the puddle “wash” into the sides of the joint. By slowing down and slightly oscillating the torch, I learned to fill that groove as I went.
Another common hurdle is “porosity,” which looks like tiny holes or sponges on the surface. This is almost always caused by a lack of shielding gas or dirty metal. If you are welding in a garage with the door open, even a slight breeze can blow your shielding gas away. I learned to use welding screens or close the door to maintain a stable environment.
Visual Assessment Checklist
- Porosity: Check for pinholes. Cause: Dirty metal or gas flow issues.
- Undercut: Look for “ditches” at the edges. Cause: Too much heat or too fast travel speed.
- Overlapping: Look for a bead that “rolls over” the edge without melting. Cause: Too little heat or too slow travel speed.
- Spatter: Look for small metal balls stuck to the surface. Cause: Arc length too long or voltage too high.
Structured Practice Drills for Skill Progression
A trade school practice drills approach involves repeating specific motions until they become instinctive. Instead of trying to build a complex project immediately, spend your time on “bead-on-plate” exercises and simple joints. This structured repetition allows you to focus purely on your hand-eye coordination without the pressure of a finished product.
I recommend the “5-Bead Challenge.” Take a piece of 1/4-inch scrap plate and run five parallel beads, each six inches long. Your goal is to make every bead identical in width and height. Once you can do that, move to a “lap joint” where one piece of metal overlaps another. This introduces the challenge of managing heat between two different surfaces.
Tracking your progress is vital. I still have some of my early practice plates with the dates and settings written on them in silver marker. When you hit a plateau, looking back at a plate from three months ago can give you the motivation to keep going. You will see that your “bad” days now are better than your “good” days were when you started.
Progression Milestones
- Level 1: Consistent bead-on-plate (uniform width and height).
- Level 2: Flat lap joints with full fusion at the “toe” of the weld.
- Level 3: T-joints (fillet welds) without undercut or slag inclusions.
- Level 4: Out-of-position welds (vertical or overhead) while maintaining puddle control.
Building a Data-Driven Practice Log
A welding technique progression is best managed through objective data rather than “gut feelings.” By logging your travel speed, heat settings, and visual results, you can identify patterns in your performance. This systematic approach helps you move past plateaus by pinpointing exactly which variable needs adjustment.
I use a simple spreadsheet to track my shop time. I record the material type, the machine settings, and a “quality score” from 1 to 10. I also note the “Travel Speed Metric.” To find this, I time how long it takes to weld a 6-inch bead. If I am aiming for 8–12 inches per minute (IPM), a 6-inch bead should take me 30 to 45 seconds. If I finish in 15 seconds, I know I am rushing and likely causing a lack of penetration.
Modern technology can also help. I often set up my smartphone to record a slow-motion video of my arc. Watching the video later allows me to see things I missed in the heat of the moment—like the torch angle drifting or the arc gap widening as my hand gets tired.
Sample Practice Log Template
| Date | Joint Type | Material | Amps/Volts | Travel Speed (IPM) | Notes/Observations |
|---|---|---|---|---|---|
| 10/12 | T-Joint | 1/8″ Mild | 125A | 9 IPM | Slight undercut on top edge; slow down. |
| 10/14 | Lap Joint | 1/8″ Mild | 120A | 10 IPM | Bead looks flat and uniform. Good fusion. |
| 10/16 | Bead-on-Plate | 1/4″ Mild | 180A | 8 IPM | Practicing “C” motion. Puddle stayed fluid. |
Why Travel Speed Rules the Puddle
Mastering weld travel speed tips is essential because your movement rate directly controls the “heat per inch” delivered to the metal. If you move too slowly, the heat builds up, the puddle gets too wide, and you risk burning through the workpiece. If you move too quickly, the metal doesn’t have time to melt together, resulting in a weak, brittle joint.
Consistency is more important than speed. In my shop, I use a metronome or a rhythmic “counting” method to keep my pace. For a standard MIG weld, I might count “one-one-thousand, two-one-thousand” for every half-inch of travel. This mental pacing prevents the common mistake of “racing” to the end of the joint.
As you gain experience, you will learn to adjust your speed based on the “sink” of the puddle. If you see the puddle beginning to sag or get excessively wide, you naturally speed up slightly to “stretch” the heat. This real-time adjustment is the hallmark of an intermediate fabricator.
Final Steps for the Developing Fabricator
Building these physical skills is a marathon, not a sprint. The frustration you feel when a bead looks messy is simply a sign that your eyes are becoming more discerning than your hands are currently capable of matching. This “taste-gap” is a normal part of the learning curve.
Your next steps should be grounded in low-stakes practice. Before you attempt to build a trailer, a workbench, or a car part, commit to burning through 10 pounds of electrodes or a full spool of wire on scrap metal. Focus on your body positioning, your “dry runs,” and your puddle reading.
If you find yourself struggling with a specific defect, don’t just keep repeating the same mistake. Stop, change one variable—like your torch angle or your wire speed—and try again. Use your practice log to see if that change made an objective difference. Fabrication is as much a mental game of troubleshooting as it is a physical craft. Keep your tools clean, your eyes on the puddle, and your notebook nearby.
Frequently Asked Questions
Why does my weld have tiny bubbles or holes in it? This is called porosity. It happens when gas is trapped in the metal as it cools. The most common causes in a DIY setting are wind blowing away your shielding gas, using rusty or oily metal, or holding the torch too far away from the work (excessive stick-out). Always grind your metal to a bright shine and check your gas flow.
How do I stop the “ditches” or grooves at the edges of my weld? Those grooves are known as undercut. They occur when the base metal melts away, but the filler metal doesn’t fill the space. To fix this, try slowing your travel speed or slightly reducing your voltage/amperage. If you are using a weaving motion, pause for a fraction of a second at the edges of the joint to let the puddle “wash” into the base metal.
Why is my welding wire sticking to the tip or “bird-nesting” in the machine? This is usually a tension or heat issue. If the wire melts back into the copper tip (burn-back), your wire speed might be too slow or your voltage too high. If the wire tangles at the drive rolls (bird-nesting), check that your drive roll tension is correct and that you are using the right size tip for your wire diameter.
What is the “bacon sizzling” sound people talk about? In MIG welding, a consistent, crisp crackling sound—like frying bacon—indicates that your voltage and wire feed speed are perfectly balanced for a “short-circuit” transfer. If it sounds like a loud hum, your voltage is likely too high. If it sounds like a machine gun with lots of popping, your wire speed is likely too high or your voltage is too low.
How far should the welding tip be from the metal? For most DIY MIG and Stick applications, you want to maintain a distance of about 3/8″ to 1/2″ for the nozzle, with the actual arc gap being around 1/8″. If you get too close, you might clog your nozzle with spatter. If you get too far away, you lose gas coverage and the arc becomes unstable.
Why does my weld look like it’s just sitting on top of the metal? This is “cold-lapping” or a lack of fusion. It means the base metal didn’t get hot enough to melt and blend with the filler metal. You need to increase your amperage or voltage, or slow down your travel speed to allow more heat to soak into the joint. Always ensure you are pointing the arc directly at the “root” or center of the joint.
How can I tell if my weld is strong enough? While pros use X-rays, a DIY “hammer test” on scrap metal is very revealing. Weld two pieces of scrap together in a T-joint, then use a sledgehammer to try and bend the vertical piece over the weld. If the metal bends but the weld stays intact, you have good fusion. If the weld snaps off the surface, you have a lack of penetration or fusion.
Is it normal for my hand to shake while welding? Yes, especially for beginners. This is why body positioning is so important. Never try to weld with “floating” arms. Brace your elbow, wrist, or even your pinky finger against the table or a steady rest. As your muscle memory develops and your grip relaxes, the shaking will naturally decrease.
How often should I clean my welding nozzle? You should check it every few minutes. Spatter (small metal balls) will build up inside the nozzle and eventually block the flow of shielding gas, leading to porosity. Use “nozzle gel” or a spray anti-spatter, and keep a pair of welding pliers (welpers) handy to scrape out the buildup regularly.
Does the color of the metal after welding matter? On mild steel, a dull grey or blue color is normal. If the weld and the surrounding metal look extremely “crusty” or heavily oxidized, you might be using too much heat or moving too slowly, which “cooks” the alloying elements out of the steel. Aim for a clean, consistent bead with minimal discoloration beyond the immediate heat-affected zone.
(This article was written by one of our staff writers, Thomas Langley. Visit our Meet the Team page to learn more about the author and their expertise.)