Basic Machinery Safety Guidelines for New Shops (Checklist)
When I first started metalworking twelve years ago, I thought my biggest hurdle would be learning how to lay a straight bead. I spent hours in my garage, hunched over a workbench, trying to stop my hands from shaking. What I didn’t realize then was that my physical environment was actually holding back my skill development. My lighting was poor, my posture was unstable, and my tools weren’t set up for success. I was so focused on the puddle that I ignored the fundamental shop habits that make high-level fabrication possible.
In my journey from a frustrated beginner to a vocational instructor, I have tracked every hour of my practice. I have logged thousands of weld passes and machining operations. Through this data, I found a direct link between a controlled, secure workspace and the speed at which a person masters manual dexterity. If you are worried about a tripping hazard or a poorly guarded grinding wheel, your brain cannot fully commit to the micro-movements required for a consistent 10-degree torch angle.

This guide is built on the lessons I learned the hard way. It focuses on the essential protocols for setting up a new fabrication space. By treating your shop environment as a part of your technical training, you will overcome plateaus faster and build the muscle memory needed for professional-grade results.
Establishing a Secure Foundation for Technical Skill Growth
A secure foundation means creating a controlled environment where physical practice can happen without distraction.
When you are learning to track a weld puddle, your eyes and hands are under immense strain. Any external variable, like a flickering light or a wobbly table, adds to your cognitive load. In my early logs, I noticed my bead consistency dropped by 30% when I worked in a cluttered space. I was subconsciously adjusting my body to avoid hitting obstacles, which ruined my travel speed.
The first step in your practice routine should be a workspace audit. You need a dedicated area for hot work and a separate area for precision layout. This separation prevents grinding dust from ruining your measuring tools and keeps your “clean zone” truly clean. A clean zone is the area approximately two inches around a joint where all mill scale, oil, and rust are removed. If your shop layout makes it hard to reach your grinder, you will likely skip this step, leading to porosity and failed welds.
| Workspace Element | Impact on Skill Development | Ideal Setup |
|---|---|---|
| Lighting | Better visibility of the arc and puddle | 500-1000 lumens at the work surface |
| Bench Height | Reduces fatigue and improves hand stability | Elbow height when standing |
| Flooring | Prevents slips during long weld passes | Non-slip, fire-resistant mats |
| Ventilation | Keeps lungs clear for steady breathing | Fume extractor or cross-breeze fan |
Personal Protection as a Tool for Better Hand-Eye Coordination
Personal protective equipment (PPE) is often viewed as a burden, but it is actually a tool that helps you see and feel the work better.
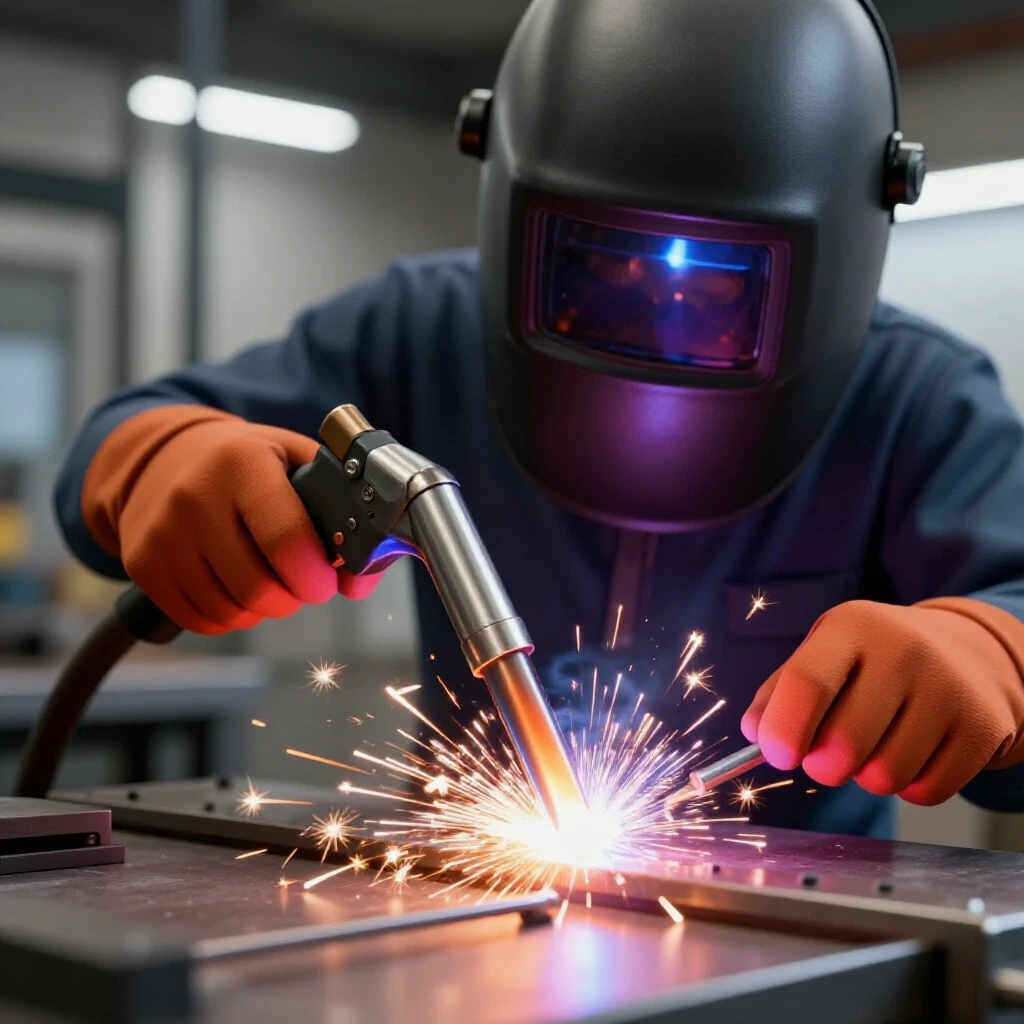
In my trade school practice drills, I found that students with the right gear progressed twice as fast. For example, if your welding hood has a low-quality lens, you will struggle to see the difference between the molten puddle and the slag. This leads to erratic travel speeds. A high-quality, auto-darkening hood allows you to keep your hands in the “ready” position, which is vital for building muscle memory in your starts and stops.
Ear protection is another underrated tool for skill building. Constant loud noise from grinders or saws causes “sensory fatigue.” When your brain is tired from noise, your fine motor skills suffer. I started wearing earplugs under my welding helmet and noticed I could maintain a steady 1/8-inch arc gap for much longer periods. By muffling the chaos, you can focus on the rhythmic sound of a “bacon-frying” arc, which is a key indicator of correct voltage and wire speed.
- Eyes: Use a hood with a large viewing area and a grind mode.
- Lungs: A P100 respirator fits under most hoods and prevents “welder’s flu.”
- Hands: Use thin TIG gloves for dexterity and heavy MIG gloves for heat protection.
- Feet: Leather boots prevent hot sparks from burning through your laces and distracting you.
Pre-Operation Inspection Routines for Consistent Machine Performance
A systematic check of your equipment before you flip the power switch ensures that the machine responds exactly how you expect it to.
Consistency is the goal of every fabricator. If your bench grinder’s tool rest has a gap larger than 1/8-inch, the metal can get pulled down into the wheel. This isn’t just a safety issue; it ruins the precision of your tungsten point or the bevel on your plate. I include a five-minute inspection in every practice session log. This habit ensures that my machine parameters stay at the baseline I’ve set.
Before you start practicing your bead-on-plate drills, check your cables and hoses. A gas leak in a MIG or TIG setup will cause immediate porosity, which looks like tiny holes in your weld. New learners often think they are doing something wrong with their hand movement when the issue is actually a loose fitting. By verifying your equipment’s integrity first, you ensure that any errors in the weld are actually due to your technique, which makes your practice data much more accurate.
- Inspect power cords for frays or exposed wires.
- Check that all guards are securely in place and adjusted.
- Verify that your work clamp (ground) is clean and has a strong spring.
- Ensure all consumables, like contact tips and electrodes, are in good condition.
- Test the emergency stop button to confirm it functions correctly.
Safe Body Mechanics and Positioning for Manual Metalwork
How you stand and move determines your ability to maintain control over high-heat or high-torque tools.
I often tell my students that welding is an athletic event. If you are reaching too far or straining your back, your torch control will be shaky. To master torch control, you must find a way to “brace” your body. I use the “three-point stance” method: two feet on the ground and one hip or elbow leaned against the welding table. This stabilizes your core and allows your wrist to perform the fine 10-15 degree drag angles required for solid penetration.
Body mechanics also apply to how you handle material. When using a drill press or a band saw, never “chase” the work with your hands. Use clamps or a vise. In my early days, I tried to hold a small piece of steel while drilling a 1/2-inch hole. The bit caught, and the metal spun like a propeller. This taught me that taking thirty seconds to clamp a part is the only way to ensure a precise, square hole. Physical stability leads to technical accuracy.
- The Brace: Lean your non-dominant shoulder against a wall or table.
- The Glide: Practice moving your torch across the joint without power to check for snags.
- The Pivot: Use your wrist and elbow as a compass to maintain a consistent arc gap.
- The Stance: Keep your feet shoulder-width apart to avoid swaying during long passes.
Identifying and Mitigating Common Shop Hazards During Practice
Recognizing the subtle signs of danger before they lead to tool failure or injury is a hallmark of an intermediate fabricator.
Fire is the most common hazard in a metal shop. Sparks from a grinder can travel up to 30 feet and smolder in a pile of sawdust for hours. I keep a fire extinguisher within arm’s reach of my welding station and a second one by the exit. Part of my practice cycle includes a “fire watch” where I stay in the shop for 30 minutes after the last spark to ensure nothing is burning.
Another hazard is the “pinch point” on machinery like rollers or saws. As you build muscle memory, you might become too comfortable around your tools. I once saw a student get his glove caught in a drill press because he was trying to brush away chips while the spindle was turning. We now use a “no-touch” rule: if the machine is moving, your hands are at least six inches away. Use a brush or pliers to move debris. This discipline keeps your hands healthy so you can continue your practice sessions without interruption.
| Hazard Type | Detection Method | Mitigation Strategy |
|---|---|---|
| Electrical | Warm plugs or humming sounds | Unplug when not in use; check grounds |
| Fumes | Visible smoke or sweet smells | Use local exhaust; wear a respirator |
| Fire | Smoldering smells or bright sparks | Clear 35-foot radius of flammables |
| Mechanical | Unusual vibrations or grinding noises | Stop immediately and inspect bearings |
Developing a Systematic Shutdown and Lockout Habit
Ensuring tools cannot be accidentally energized while you are changing parts is a critical habit for any shop owner.
In a professional setting, this is called Lockout/Tagout (LOTO). In a small shop, it means unplugging the tool before you change a blade, a grinding disc, or a welding wire roll. I have seen many accidents happen because someone accidentally bumped a trigger while changing a tool. I make it a rule to physically see the plug on the floor before my hands touch the “business end” of a machine.
This habit extends to leaving the shop for the day. I use a master power switch for my welding machines and compressors. This prevents a slow air leak from burning out a motor or a gas solenoid from staying open overnight. When you treat your tools with this level of respect, you develop a “professional mindset.” This mindset carries over into your work quality. A person who is disciplined about their shutdown routine is usually disciplined about their weld travel speed and bead stacking.
- Turn off the machine’s internal power switch.
- Unplug the cord from the wall outlet.
- Bleed off any stored energy (like air pressure in a hose).
- Verify the machine won’t start by pressing the “on” button.
- Perform the maintenance or adjustment.
- Plug back in only when guards are replaced.
Measuring Your Progress through a Safety-First Practice Log
Tracking your safety checks alongside your weld quality helps you build a professional roadmap.
I recommend keeping a notebook in your shop. Each entry should start with a “Go/No-Go” checklist of your shop’s condition. Did you clear the floor? Is your fire extinguisher charged? Once those are checked, you can move into your technical metrics. For example, if you are practicing MIG welding on 1/8-inch mild steel, your log might look like this:
- Date: October 12th
- Pre-Start: PPE checked, Work area cleared, Ground clamp cleaned.
- Settings: 18.5 Volts, 280 IPM wire speed.
- Goal: Maintain 10-degree drag angle and 3/32-inch arc gap.
- Result: Bead 1 was too cold (fast travel). Bead 2 was more consistent at 10 IPM.
- Observation: I noticed my hand shakes less when I brace my forearm on the table.
By linking your environment to your results, you can see that “bad days” are often just days where you skipped your setup routine. This objective data helps you push through plateaus. You stop blaming “talent” and start looking at your variables. Maybe you need better pliers to hold your work, or maybe you need to adjust your stool height to stop your leg from cramping during a long T-joint weld.
Mastering Tool Control Through Structured Drills
Once your shop is secure, you can focus on the physical mechanics of tool control.
A great drill for beginners is the “Dry Run.” Before you turn on the welder or the saw, move your hands through the entire length of the cut or weld. Do this five times. If your elbow hits a clamp halfway through, you need to reposition your body. This drill builds muscle memory for the path of travel without the stress of the actual operation. I still do this for every complex joint I weld.
Another essential drill is the “Bead-on-Plate” exercise. Use a piece of 1/4-inch scrap steel. Draw straight lines with a soapstone marker every half inch. Your goal is to weld a straight line, keeping the puddle exactly the same width from start to finish. This teaches you how to balance heat input and travel speed. If the bead gets too wide, you are moving too slowly. If it gets skinny and sits on top of the metal, you are moving too fast. Aim for a travel speed of about 8 to 12 inches per minute (IPM).
- Step 1: Position the torch at the start of the line.
- Step 2: Establish your 10-15 degree drag angle.
- Step 3: Strike the arc and count “one-one-thousand” to let the puddle form.
- Step 4: Move steadily, watching the back of the puddle to ensure it stays uniform.
- Step 5: Fill the crater at the end by pausing for a split second before breaking the arc.
Evaluating Joint Quality and Identifying Defects
The final stage of a practice cycle is assessing your work against industry standards.
In trade schools, we use visual inspection charts to grade welds. You should do the same. Look for undercut, which is a groove melted into the base metal next to the weld. This is usually caused by too much heat or an incorrect torch angle. Look for overlap, where the weld metal just sits on the surface without fusing. This is a sign of low heat or traveling too fast.
I use a “macro-etch” test for my important practice joints. I cut the weld in half, sand it smooth, and use a mild acid (like navel jelly) to see the penetration profile. This gives you immediate, undeniable feedback. Did you actually melt into the root of the joint, or did you just “glue” the top together? Seeing the cross-section of your work is the fastest way to understand how your hand movements affect the internal structure of the metal.
| Defect | Visual Sign | Likely Cause | Fix |
|---|---|---|---|
| Undercut | Notch at the weld toe | Too much heat; wrong angle | Lower voltage; aim torch at the root |
| Porosity | Tiny holes/bubbles | Gas coverage issue; dirty metal | Check gas flow; grind to clean metal |
| Spatter | Small metal balls on plate | Voltage too high; long arc gap | Lower voltage; tighten arc gap |
| Lack of Fusion | Weld sits on top of metal | Cold settings; fast travel | Increase heat; slow down travel |
Conclusion: Your Path to Professional-Grade Fabrication
Building a high-level skill set in metalworking is not about luck. It is about the disciplined application of physical mechanics within a secure environment. By following a systematic routine—from checking your PPE to logging your travel speeds—you remove the guesswork from your learning process.
The most important thing you can do today is to stop viewing shop setup as a chore. Instead, see it as the first step in your technical training. When your tools are inspected, your body is braced, and your workspace is clear, you are free to focus on the subtle “dance” of the weld puddle. This is where the breakthroughs happen. This is where you move from “sticking metal together” to creating professional-grade fabrication.
Start your next session by spending fifteen minutes on your workspace layout. Clear the clutter, check your guards, and set up a brace for your welding arm. Then, run your drills and log the results. You will find that consistency is much easier to achieve when you aren’t fighting your environment.
Frequently Asked Questions
Why is body positioning so important for a simple weld?
Body positioning is the foundation of stability. If your muscles are strained or your balance is off, your hands will naturally shake. By bracing your body against a table or using a three-point stance, you isolate the movement to your wrist and fingers. This allows for the micro-adjustments needed to maintain a consistent arc gap and travel angle, which are the two most important factors in weld quality.
How often should I check the guards on my bench grinder?
You should check them every time you use the machine. Vibrations from the grinder can cause bolts to loosen over time. The gap between the tool rest and the wheel should never exceed 1/8-inch. If the gap is too large, the workpiece can be pulled into the machine, causing the wheel to shatter or injuring your hand. It only takes five seconds to check, but it prevents the most common grinding accident.
What is the best way to track my progress as a self-taught fabricator?
Keep a dedicated practice log. Record your machine settings (volts, wire speed, or amperage), the material thickness, and the specific goal of the session (e.g., “improving restarts”). After each pass, write down what you saw. Was the puddle too fluid? Was there too much spatter? Comparing these notes to your actual weld beads will help you identify patterns and overcome plateaus much faster than “winging it.”
Does lighting really affect how well I can weld?
Absolutely. To weld well, you must be able to see the “leading edge” of the puddle and the joint line simultaneously. If your shop is dark, the bright arc will cause your eyes to struggle with the contrast, making it hard to see where you are going. High-quality LED shop lights or a dedicated lamp at your welding station will reduce eye strain and help you maintain a straighter path.
Why shouldn’t I wear loose clothing or jewelry in the shop?
Rotating machinery, like drill presses and lathes, can easily snag loose fabric or a ring. Once a machine catches a piece of clothing, it can pull you in faster than you can react. Always tuck in your shirt, roll up long sleeves (or wear tight-fitting leather), and remove all jewelry before starting any machine. It is a simple habit that prevents catastrophic injuries.
How do I know if my travel speed is correct?
A good rule of thumb for beginners is to aim for a speed of one inch every five to seven seconds (about 8-12 IPM). If your bead is tall and narrow, you are moving too fast. If it is flat, wide, and the base metal is warping, you are moving too slowly. Use a stopwatch to time a six-inch weld; it should take you roughly 30 to 45 seconds.
What is the most common mistake beginners make with PPE?
The most common mistake is choosing “comfort” over “protection,” such as skipping a respirator because it’s hot or wearing sneakers instead of boots. However, the discomfort of a minor burn or the fatigue from breathing fumes will ruin your focus and degrade your skill. High-quality PPE is an investment in your ability to practice longer and more effectively.
Can I use a regular fire extinguisher for metal fires?
Most shop fires involve wood, paper, or electrical components, for which a standard ABC fire extinguisher is perfect. However, certain metals like magnesium or high-volume aluminum chips require a Class D extinguisher. For a standard home fabrication shop, a large ABC extinguisher is the baseline requirement, but you must keep it visible and unobstructed at all times.
(This article was written by one of our staff writers, Thomas Langley. Visit our Meet the Team page to learn more about the author and their expertise.)