How to Choose the Right Bench Vise for Your Shop (Guide)
Building a functional metalworking space in a standard garage often feels like a puzzle where the pieces don’t quite fit. When I set up my first shop in 2013, I had exactly $2,000 and a lot of ambition. I quickly learned that while a welder gets all the glory, the most important tool in the room is the one that holds your work still. Without a reliable way to secure steel, every cut is dangerous and every weld is crooked.
Many beginners face a wall of conflicting advice when looking for their first heavy-duty clamping tool. You see professional setups that cost thousands and cheap alternatives that look like toys. My goal is to help you navigate these choices using the same logic I used as an industrial maintenance technician. We will focus on structural integrity, safety standards, and how to allocate your limited funds so you don’t have to buy the same tool twice.
Assessing Your Workshop Footprint and Structural Needs
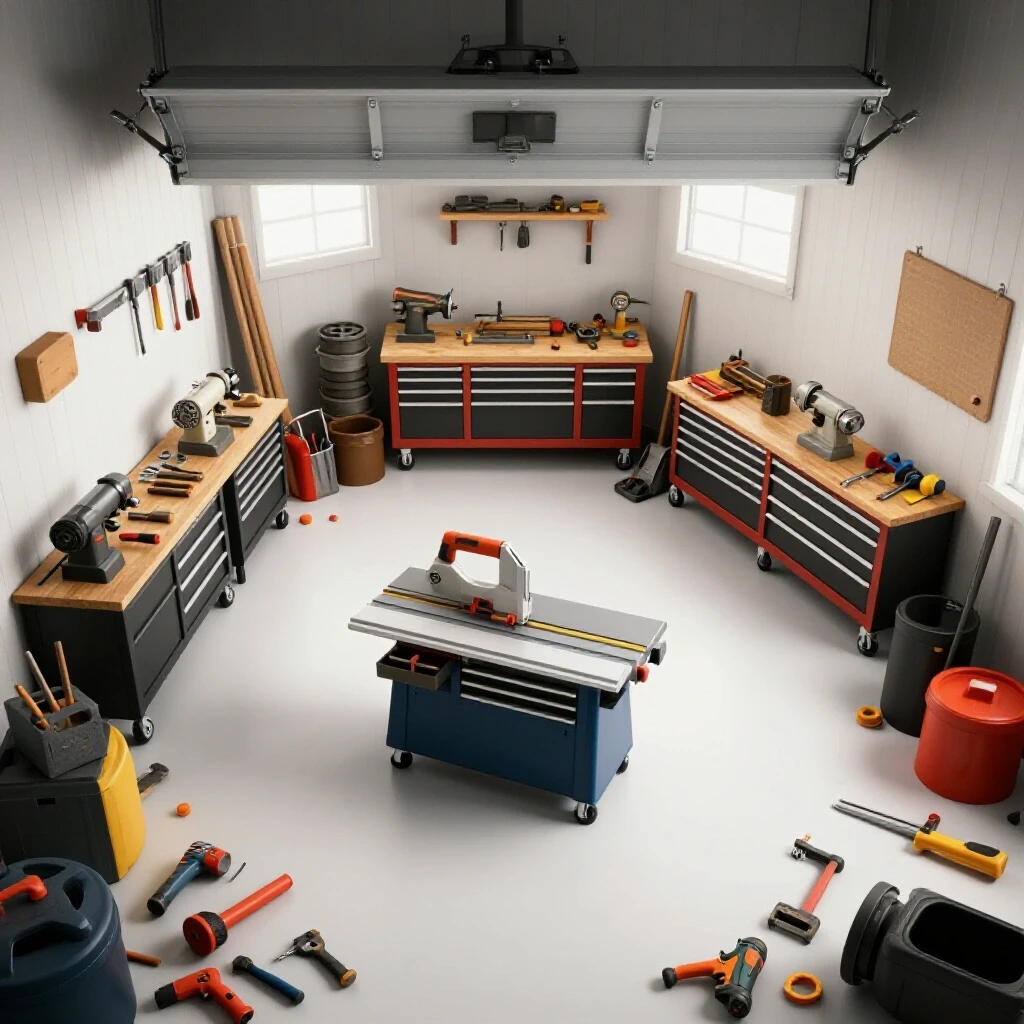
Selecting a location for your primary workholding station requires balancing physical space with the structural strength of your workbench. This planning phase ensures your shop layout allows for safe movement while providing a rigid foundation for high-force tasks like bending, hammering, and heavy filing.
Before you look at any equipment, look at your floor. A metalworking station needs to be rock solid. In my early days, I mounted a heavy vise to a flimsy plywood table. The first time I tried to bend a piece of flat bar, the whole table tipped toward me. It was a safety lesson I never forgot. Your workbench should be anchored to the floor or weighted heavily to resist the leverage you will inevitably apply to your workpiece.
Determining the Optimal Location for Metal Fabrication
The placement of your main clamping station dictates the flow of your entire workshop, influencing how you handle long stock and where you perform grinding. Proper positioning prevents bottlenecks and ensures you have enough clearance to swing a hammer or operate a hacksaw without hitting a wall.
I recommend leaving at least three feet of clear space on either side of your bench. This “swing zone” is vital for safety. If you are working with a long piece of square tubing, you don’t want to be cramped against a water heater or a parked car. I use a simple 30% rule: allocate 30% of your total bench surface to the “clean zone” and the rest to your “work zone” where the heavy clamping happens.
Calculating Load Requirements for Your Workbench
Workbench load requirements involve the combined weight of your tools and the dynamic forces generated during fabrication, such as impact from a sledgehammer. A properly rated bench prevents structural failure and ensures that your clamping equipment remains level and secure during high-stress operations.
| Feature | Beginner Requirement | Industrial Standard (Reference) |
|---|---|---|
| Bench Top Thickness | 1.5 – 2 inches (Solid Wood/Steel) | 3+ inches (Steel Plate) |
| Leg Material | 4×4 Lumber or 2-inch Steel Tube | Heavy Channel or I-Beam |
| Mounting Hardware | Grade 5 or Grade 8 Bolts | Grade 8 or Welded Studs |
| Floor Attachment | Tapcon Anchors or Heavy Weight | Poured Concrete Anchors |
Understanding Material Science in Workholding Tools
The durability of a clamping device is determined by the specific type of iron or steel used in its construction, which affects its resistance to cracking under pressure. Knowing the difference between brittle materials and those that can handle impact is essential for selecting a tool that will last decades.
In the world of metalworking, “cast iron” is a broad term. Most entry-level tools are made from grey iron. It is excellent for vibration dampening but brittle. If you hit it too hard with a hammer, it can snap. For a shop where you plan to do heavy fabrication, you want to look for ductile iron. This material has a higher tensile strength and can “give” slightly under load rather than shattering.
The Role of Tensile Strength in Tool Longevity
Tensile strength is the maximum amount of pulling or stretching force a material can withstand before breaking or permanently deforming. In a workshop setting, higher tensile strength in your clamping tools means they can handle tighter grips and heavier hammering without the risk of catastrophic failure.
Most standard shop tools have a tensile strength rating measured in Pounds per Square Inch (PSI). A basic grey iron tool might be rated at 20,000 to 30,000 PSI. While this sounds like a lot, a ductile iron tool often reaches 60,000 PSI or more. When you are tightening a handle with all your weight, that extra strength is your insurance policy against a broken tool and a potential injury.
Comparing Jaw Materials and Replaceability
Jaw material refers to the hardened inserts that actually touch your workpiece, which are often serrated for grip or smooth to protect delicate surfaces. Replaceable jaws are a key feature because they allow you to refresh the tool’s grip after years of wear without replacing the entire unit.
- Hardened Steel Jaws: Best for general fabrication; they bite into the metal for a secure hold.
- Pipe Jaws: Specialized curved inserts located below the main jaws, designed to hold round stock without it slipping.
- Soft Jaws: Removable covers made of aluminum, copper, or rubber used to prevent marring on finished projects.
Sizing Your Primary Clamping Tool for Fabrication
Choosing the right size for your workholding equipment involves matching the jaw width and opening capacity to the types of projects you expect to build. A tool that is too small will limit your capabilities, while one that is excessively large may be difficult to mount on a standard home workbench.
When I talk to beginners, they often ask if a 4-inch jaw is enough. For basic repairs, yes. But for a fabrication shop, a 5-inch or 6-inch model is the “sweet spot.” This size offers enough throat depth—the distance from the top of the jaws to the top of the slide—to hold larger pieces of angle iron or tubing securely.
Measuring Throat Depth and Opening Capacity
Throat depth is the vertical distance from the top of the jaw to the top of the tool’s body, determining how deep a workpiece can sit. Opening capacity is the maximum horizontal distance the jaws can move apart, which limits the thickness of the material you can clamp.
If you plan to work with 4-inch square tubing, a tool with only a 3-inch opening is useless. I always suggest looking for a tool where the opening capacity is at least equal to the jaw width. This balance ensures you can handle most common metal stock sizes found in a home garage.
Evaluating the Utility of an Integrated Anvil
An integrated anvil is the flat, hardened surface on the back of some clamping tools used for light shaping and straightening of metal parts. While not a replacement for a dedicated blacksmithing anvil, it provides a convenient space for small-scale hammering and alignment tasks.
Many beginners make the mistake of using the “slide” or the body of the tool as a hammering surface. This will eventually lead to the tool seizing up. A proper built-in anvil is designed to take those hits. Check that the anvil area is large enough for your needs and that it is positioned directly over the main mounting point to transfer force into the bench rather than the tool’s adjustment screw.
Electrical Planning and Power Requirements for Your Station
While a manual clamping tool does not use electricity, its location determines the power layout for the tools that interact with it, such as grinders and welders. Planning your circuit loads and outlet placement around your work area prevents tripped breakers and dangerous cord tangles during fabrication.
In my 2013 shop, I made the mistake of putting my only 20A outlet on the opposite wall from my bench. I had extension cords running across the floor, which is a major trip hazard and a fire risk in a metal shop. Your clamping station should be the hub of your electrical layout.
Managing Circuit Loads for Fabrication Tools
Circuit load management involves calculating the total amperage drawn by tools running simultaneously to ensure they do not exceed the capacity of your breaker. For a home shop, understanding the difference between a 15A and a 20A circuit is critical for operating equipment like grinders and small welders safely.
| Tool Class | Typical Amp Draw | Recommended Circuit |
|---|---|---|
| Angle Grinder | 6 – 12 Amps | 15A or 20A |
| Bench Grinder | 3 – 5 Amps | 15A |
| Entry-Level Welder | 15 – 20+ Amps | Dedicated 20A or 240V |
| Shop Vacuum | 8 – 11 Amps | 15A |
Safety Checklists for Workshop Electrical Setup
An electrical safety checklist provides a structured way to verify that your wiring, outlets, and cord management meet basic safety standards for a high-heat environment. Following these steps reduces the risk of electrical fires and ensures your power delivery is consistent during heavy tool use.
- Dedicated Circuits: Ensure your welder is on a dedicated line to prevent flickering lights or blown breakers.
- Grounded Outlets: Verify all outlets are properly grounded to protect against short circuits in metal-cased tools.
- Overhead Drops: Use retractable cord reels or overhead outlets to keep wires off the floor and away from sparks.
- Surge Protection: Protect sensitive equipment, like digital calipers or chargers, from the power spikes common in welding environments.
Implementing Industrial Safety Standards at Home
Applying safety guidelines from organizations like OSHA and the American Welding Society (AWS) helps create a professional-grade environment in a residential space. These standards cover everything from eye protection and ventilation to the mechanical stability of your equipment.
Safety isn’t just about wearing glasses; it’s about how you set up your environment. I follow the “Zone Principle.” Your clamping station is the “Hot Zone” where sparks fly. This area must be clear of flammable materials like sawdust or gasoline cans. By treating your garage like a professional floor, you minimize the risks inherent in metalworking.
Ventilation and Air Quality Requirements
Workshop ventilation involves the exchange of air to remove harmful fumes, dust, and smoke generated during welding or grinding. Proper airflow, measured in Cubic Feet per Minute (CFM), is essential for maintaining a breathable atmosphere and preventing the buildup of hazardous particulates.
For a standard two-car garage, a simple open door isn’t enough when you are grinding for an hour. You need a fan system that can move at least 1,000 to 2,000 CFM. I use a high-velocity floor fan positioned to pull air away from my face and toward the exterior. Always position your clamping station so that you aren’t standing between the workpiece and the exhaust point.
Personal Protective Equipment (PPE) for Clamping Tasks
Personal Protective Equipment refers to the gear worn to minimize exposure to hazards that cause serious injuries, such as flying metal chips or high-intensity light. Choosing PPE that meets ANSI (American National Standards Institute) ratings ensures that your gear is tested to withstand the specific rigors of metal fabrication.
- Eye Protection: Always use Z87+ rated safety glasses. The “+” indicates they are rated for high-impact.
- Hand Protection: Wear leather gloves when handling metal, but be careful using them around rotating machinery like drill presses.
- Hearing Protection: Metalwork is loud. Use earplugs or muffs rated for at least 25dB of noise reduction.
- Footwear: Leather boots are a must; synthetic sneakers can melt if a hot spark or “berry” lands on them.
Budget Allocation and Tracking Your Startup Costs
Effective budget tracking involves categorizing your tool purchases to ensure you invest in high-quality foundational equipment while saving on non-essential items. By keeping a detailed log of your spending, you can build a capable shop over time without falling into the trap of buying low-quality tools that fail.
When I started, I used a simple spreadsheet to track every dollar. I allocated 40% of my budget to my primary machine (the welder), 30% to safety gear and measuring tools, and 30% to workholding and hand tools. This prevented me from spending all my money on a fancy machine and having nothing left to hold the metal or protect my eyes.
Prioritizing Your First Tool Purchases
Tool prioritization is the process of ranking equipment based on its necessity for your initial projects versus specialized tools that can be added later. Starting with a solid clamping device, a grinder, and basic safety gear allows you to begin learning the craft immediately while staying within a modest budget.
- Primary Workholding: A high-quality 5-inch or 6-inch ductile iron vise.
- Safety Gear: High-quality helmet, gloves, and Z87+ glasses.
- Cutting/Prepping: A corded 4.5-inch angle grinder with various abrasive wheels.
- Measurement: A steel square, a tape measure, and a scribe for marking.
Long-Term Value vs. Low Initial Cost
Evaluating long-term value means considering the lifespan and reliability of a tool rather than just its purchase price. A slightly more expensive tool made of better materials often costs less over five years because it doesn’t need to be replaced and performs more accurately.
I once bought a very cheap, unbranded clamping tool from a discount store. Within three months, the internal screw stripped because the metal was too soft. I had to buy a better one anyway, meaning I wasted the original $50. In metalworking, “buy once, cry once” is a mantra that will save your budget and your sanity.
FAQ: Essential Questions for New Workshop Owners
What is the most important feature to look for in a metalworking vise? The most important feature is the material composition. Look for ductile iron rather than grey cast iron if you plan to do any hammering or heavy bending. Ductile iron has a much higher tensile strength and is less likely to crack under the high-stress loads common in fabrication.
How do I know if my workbench is strong enough to hold a heavy vise? Your workbench should not flex or move when you apply pressure to the handle of your tool. If you can shake the bench by hand, it is too light. A good rule of thumb is that the bench top should be at least 1.5 inches thick, and the legs should be braced or anchored to the floor to handle the leverage of metalworking.
Can I use a swivel base for heavy-duty metal fabrication? Yes, but only if the swivel base has dual lockdowns. A single locking point often slips when you are hammering on a workpiece. Dual lockdowns provide a more secure connection to the bench. If you don’t need to rotate your work often, a fixed-base model is generally more rigid and slightly cheaper.
What size jaw width is best for a beginner’s garage shop? A 5-inch jaw width is the ideal starting point for most hobbyists. It offers a balance between weight, opening capacity, and price. It is large enough to hold common 2-inch and 3-inch steel tubing securely but small enough to fit on a standard 24-inch deep workbench without taking up too much space.
How should I mount the tool to my workbench for maximum safety? Use Grade 5 or Grade 8 bolts that go all the way through your bench top, with large fender washers on the underside to distribute the load. Do not use lag screws or wood screws, as they can pull out of the wood when you apply heavy force, potentially causing the tool to fall on your feet.
Does throat depth really matter for basic DIY projects? Yes, throat depth determines how far down your metal can sit in the jaws. If you are trying to hold a wide piece of plate vertically to file the edge, a shallow throat depth will prevent you from gripping it securely. Aim for a throat depth of at least 3 inches for general fabrication.
Is an anvil on the back of the tool necessary? While not strictly necessary, it is highly recommended. It provides a dedicated surface for “beating” on metal parts. Without an anvil, you might be tempted to hammer on the slide or the jaws of the tool, which can damage the precision of the clamping mechanism over time.
How much of my $2,000 budget should I spend on a vise? Expect to spend about 10% to 15% of a $2,000 budget (roughly $200 to $300) on a high-quality, long-lasting clamping tool. While this might seem high compared to discount options, this tool is the foundation of your work and will likely outlast every other power tool in your shop.
What is the difference between serrated and smooth jaws? Serrated jaws have teeth that “bite” into the metal, providing an incredibly secure grip for heavy tasks. Smooth jaws are used for finished parts where you don’t want to leave marks. Most beginners should start with serrated jaws and buy a set of magnetic “soft jaw” covers for delicate work.
Where is the safest place to mount a vise on a workbench? Mount it over a leg of the workbench. This transfers the force of hammering and bending directly down through the leg to the floor, rather than stressing the middle of the bench top. Also, ensure the stationary jaw extends slightly past the edge of the bench so you can hold long pieces vertically without the bench getting in the way.
(This article was written by one of our staff writers, Michael Thompson. Visit our Meet the Team page to learn more about the author and their expertise.)