Durable and Budget Friendly Power Tools for Metal (Review)
When I set up my first garage shop in 2013, I had exactly $2,000 and a lot of nerves. I had spent a decade as an industrial maintenance technician, so I knew what high-end machinery looked like, but I had no idea how to translate that to a residential space on a shoestring budget. The anxiety of wasting money on a tool that might burn out after three cuts was real. I remember staring at a row of angle grinders at the local hardware store, paralyzed by the choice between a $30 “no-name” brand and a $150 professional model.
That first year taught me that building a functional space isn’t about buying the most expensive gear. It is about understanding the electrical limits of your garage and choosing equipment that offers the best return on investment. You do not need industrial-grade machines to produce quality work. You need a smart starter metal workshop layout and a few reliable, cost-effective machines that can handle the grit and heat of fabrication.
Assessing Your Garage for Metal Fabrication
A starter metal workshop layout is the strategic arrangement of equipment to maximize workflow while ensuring safety and electrical efficiency. It involves mapping out “hot zones” for sparks and “clean zones” for precision work within a constrained residential footprint. Proper planning prevents you from having to rewire your entire garage six months into the hobby.
Before you buy a single piece of equipment, you must look at your walls. Most standard garages run on a single 15-amp or 20-amp circuit. This is the most significant constraint for any beginner. If you try to run an affordable fabrication tool like a chop saw on the same circuit as your refrigerator, you will trip a breaker every time the blade hits the metal. I recommend mapping your breakers first. Plug a lamp into various outlets and flip switches until you know exactly what is on each line.
Space is your next hurdle. Metalworking creates dust, sparks, and fumes. You cannot simply tuck a workbench in a corner and hope for the best. You need at least three feet of clearance around stationary tools. This “buffer zone” keeps you safe from kickbacks and gives you room to maneuver long sticks of square tubing or angle iron.
Workshop Electrical Setup Checklists
A workshop electrical setup checklist is a systematic guide used to verify that a space can safely handle the amperage and voltage requirements of metalworking machinery. It focuses on identifying dedicated circuits, grounding requirements, and the total load capacity of the residential electrical panel.
I use a simple spreadsheet to track my power needs. Most entry-level tools under $150 pull between 5 and 12 amps. However, the startup surge—the moment you pull the trigger—can spike much higher. If you are planning for beginner welder power requirements, keep in mind that even small 120V units prefer a dedicated 20-amp circuit to avoid stuttering during the arc.
- Identify all 120V outlets and their corresponding breakers.
- Calculate the total amperage of tools likely to run simultaneously (e.g., a grinder and a shop vac).
- Ensure no lighting circuits are shared with high-draw power tools to avoid going dark if a breaker trips.
- Verify the presence of a Ground Fault Circuit Interrupter (GFCI) for protection against electrical shocks in damp garage environments.
| Tool Class | Typical Amperage (120V) | Recommended Circuit |
|---|---|---|
| Small Angle Grinder | 6A – 10A | 15A Shared |
| Bench Grinder | 3A – 5A | 15A Shared |
| Portable Band Saw | 6A – 11A | 20A Dedicated |
| Entry-Level Welder | 15A – 20A | 20A Dedicated |
| Shop Vacuum | 8A – 12A | 20A Shared |
Prioritizing Your First Power Tool Purchases
Budget metalworking tools are entry-level machines that offer a balance between low purchase price and long-term durability. These tools typically feature brushed motors capable of handling intermittent heavy loads without premature failure or overheating. Choosing the right ones first prevents “analysis paralysis” and keeps your project momentum high.
When funds are tight, the temptation is to buy a “kit” that includes everything. In my experience, it is better to buy three high-quality individual tools than a seven-piece kit of mediocre ones. I prioritize tools based on their versatility. An angle grinder can cut, grind, and polish, making it more valuable than a dedicated metal lathe for a beginner.
I suggest allocating about 30% of your initial budget to high-quality safety gear and measuring tools. While this article focuses on power equipment, a tool is useless if you cannot accurately mark your material or if you injure yourself using it. The remaining 70% should go toward the “big three”: cutting, grinding, and drilling.
Essential Starter Tool Sequencing
Essential starter tool sequencing is the logical order in which a hobbyist should acquire equipment to build a functional shop incrementally. This progression ensures that each new purchase expands the shop’s capabilities without exceeding the available budget or storage space.
I followed a specific order when I built my shop, which helped me stay under my $2,000 limit. I started with an angle grinder because it allowed me to prep material for the welder I bought second. Without the ability to clean the metal, the welder was a paperweight.
- Phase 1: 4.5-inch Angle Grinder (Cutting and Prep)
- Phase 2: Corded Drill or Small Drill Press (Hole Making)
- Phase 3: Portable Band Saw or Chop Saw (Accurate Sizing)
- Phase 4: Bench Grinder (Tool Sharpening and Heavy Descaling)
Evaluating High-Value Cutting and Grinding Equipment
Affordable fabrication tools in the cutting category must balance motor power with the ability to use standard, widely available abrasives. For a tool to be considered durable for metal, it needs a high-quality gear housing that can dissipate heat during long grinding sessions.
The angle grinder is the heart of the budget shop. Look for models with at least a 6-amp motor. I prefer corded models for beginners. Cordless tools are convenient, but the batteries add significant cost, and metalworking drains them rapidly.
When choosing a saw, the “chop saw” vs. “cold saw” debate is common. Cold saws are expensive and usually out of reach for a beginner budget. A standard abrasive chop saw is much more affordable, often found for under $150. While they are loud and messy, they are incredibly durable. I have used the same budget-friendly chop saw for seven years by simply replacing the brushes once and keeping the pivot point lubricated.
Why Cheap Abrasives Cost More in the Long Run
Abrasive ratings refer to the grit size, bond type, and material composition of cutting and grinding discs. Understanding these ratings is vital for budget-conscious users because the wrong disc can wear out prematurely or pose a safety risk if used at incorrect speeds.
Interestingly, the tool itself is often cheaper than the consumables you will use over its lifetime. I track my “tooling-to-machine cost ratio.” If I buy a $60 grinder and spend $100 on discs in the first year, the discs are the real expense. High-quality abrasive wheels from reputable brands last three to four times longer than the “bulk bin” versions. This reduces the load on your tool’s motor because you don’t have to push as hard to make a cut.
Drilling and Fastening Solutions for Metal
Hole making in metal requires high torque at low speeds, which is the opposite of what most wood-focused drills provide. For a home shop, a corded 1/2-inch drill is a powerhouse. It provides the steady torque needed to drive a hole saw through 1/4-inch plate without the battery dying mid-cut.
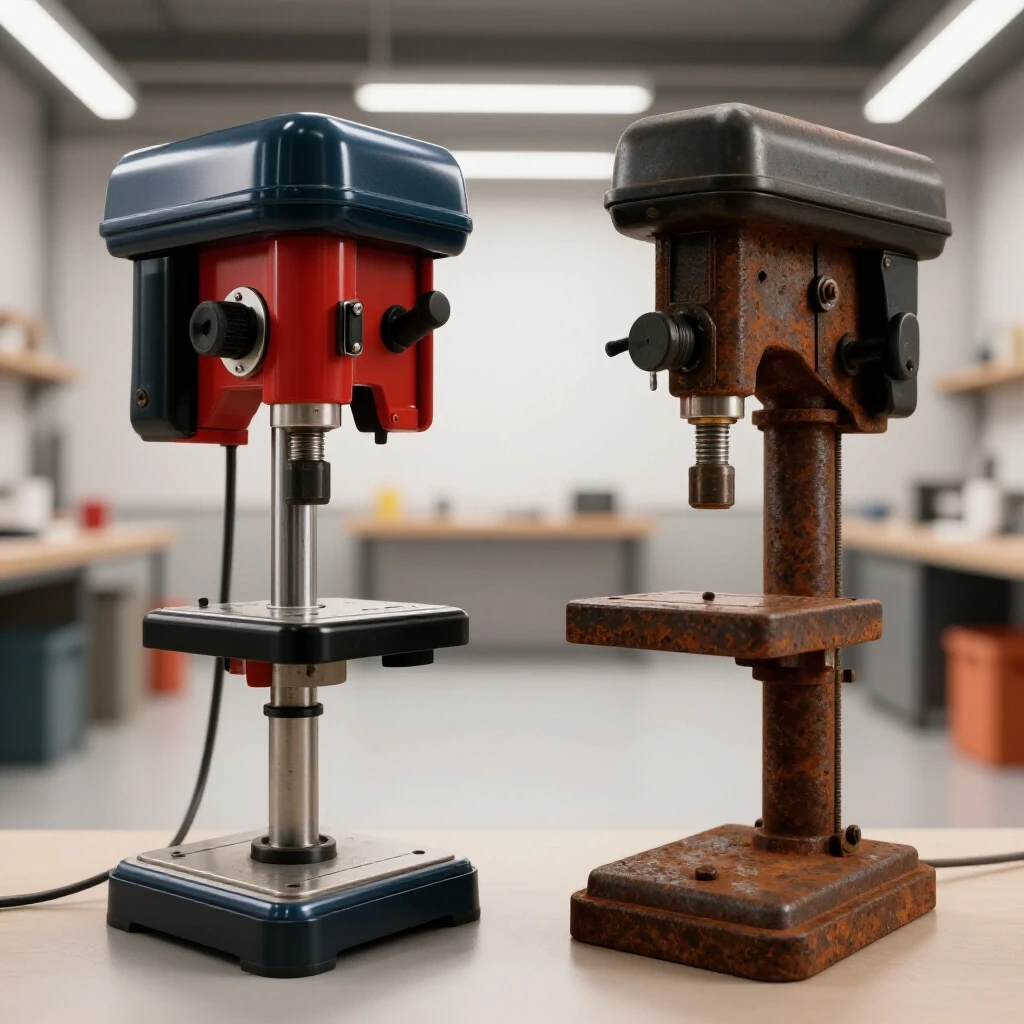
If you have the space, a small benchtop drill press is a game-changer. It provides the perpendicular accuracy that is nearly impossible to achieve by hand. Look for a model with at least five speed settings. To drill metal successfully, you must be able to slow the spindle down. High speeds generate heat, which ruins drill bits and can eventually warp the tool’s spindle.
Tooling-to-Machine Cost Ratios
The tooling-to-machine cost ratio is a metric used to compare the initial price of a power tool against the ongoing cost of its consumable parts, such as bits, blades, and discs. A high ratio indicates that the tool requires frequent or expensive accessory replacements to remain functional.
In my records, I found that my drill press had a lower ratio than my angle grinder. Once I bought a decent set of Cobalt drill bits, they lasted for years with proper sharpening.
- Angle Grinder: 1.5:1 (Consumables exceed tool cost quickly)
- Drill Press: 0.5:1 (Initial bit set is the main expense)
- Chop Saw: 1.2:1 (Abrasive blades are a recurring cost)
- Portable Band Saw: 0.8:1 (Blades last a long time if used correctly)
Managing Garage Workshop Ventilation
Garage workshop ventilation is the process of exchanging indoor air with fresh outdoor air to remove hazardous fumes, dust, and metallic particles produced during fabrication. Effective ventilation is measured in Cubic Feet per Minute (CFM) and is essential for maintaining a healthy workspace in confined residential areas.
Metalworking is a “dirty” hobby. Grinding creates fine metallic dust that settles on everything and is harmful to breathe. If you are welding, the fumes are even more concerning. I use a two-part strategy: source capture and general exchange. Source capture involves placing a vacuum nozzle right where the sparks are flying. General exchange uses a high-powered fan to pull air through the garage.
For a standard two-car garage, you should aim for at least 500 to 1,000 CFM of airflow. You don’t need an expensive HVAC system. A heavy-duty floor fan positioned in an open side door, with the main garage door cracked a few inches, creates a cross-breeze that clears smoke in minutes.
Ventilation CFM Requirements
CFM (Cubic Feet per Minute) is a measurement of the volume of air a fan or blower can move. In a metal shop, calculating the required CFM ensures that the air is replaced often enough to prevent the buildup of toxic gases or combustible dust.
- Small Garage (10×20 ft): 400 – 600 CFM
- Medium Garage (20×20 ft): 800 – 1,200 CFM
- Heavy Grinding/Welding Zone: Localized 200 CFM extraction
Tracking Costs and Tool Longevity
Tool lifespan reports are data-driven estimates of how long a piece of equipment will remain operational under typical hobbyist use. These reports help beginners understand the difference between “cheap” tools that fail within months and “budget” tools that can last a decade with proper maintenance.
I keep a maintenance log for every tool I own. It’s a habit from my industrial days. Every time I change the brushes in a motor or grease a gear housing, I write it down. This record-keeping has shown me that tools in the $80 to $150 range often share internal components with much more expensive brands. The difference is usually in the cord quality, the switch feel, or the warranty.
To get the most out of a budget tool, never exceed its duty cycle. This is the amount of time a tool can run in a ten-minute period without overheating. Most entry-level grinders have a 50% duty cycle. That means if you grind for five minutes, you should let the tool idle or rest for five minutes. This simple practice can triple the life of a budget motor.
Actionable Tracking Framework
- Purchase Log: Note the date, price, and warranty period.
- Maintenance Schedule: Check brushes every 50 hours of use; grease gears annually.
- Consumable Tracker: Record how many cuts you get per blade or disc to find the best value brand.
- Repair vs. Replace Threshold: If a repair costs more than 50% of a new tool, it is time to upgrade.
Conclusion
Building a functional metalworking space on a budget is a marathon, not a sprint. By focusing on a smart starter metal workshop layout and prioritizing versatile, mid-range power tools, you can avoid the financial pitfalls that stop many beginners before they even start. I have found that the most successful shops are not the ones with the newest gear, but the ones where the owner understands the limits of their equipment and maintains it meticulously.
Start with the basics: map your power, clear your space, and buy one solid angle grinder. As you complete projects, you can reinvest your savings into the next tool on your list. This incremental approach allows you to learn the nuances of each machine without being overwhelmed. Remember, the goal is to spend more time fabricating and less time worrying about your bank account.
FAQ
What is the most important power tool for a beginner metalworker? The 4.5-inch angle grinder is the most versatile. It handles cutting, grinding, and cleaning. If you only have $100 to spend on tools, spend it on a high-quality corded grinder and a variety of abrasive discs.
Can I run a welder and a grinder on the same outlet? It is not recommended. Both tools have high amperage draws. Running them simultaneously on a single 15-amp circuit will likely trip the breaker. Always try to use a dedicated 20-amp circuit for welding.
How do I know if a budget tool is durable enough for metal? Look for metal gear housings rather than plastic. Check the amperage rating; for a grinder, 6 amps is the minimum, while 7-10 amps is better for sustained work. Read user reports specifically focusing on motor burnouts.
Is a cordless drill okay for metalworking? Yes, for light work and small holes. However, for drilling through 1/4-inch steel or using hole saws, a corded 1/2-inch drill provides more consistent torque and won’t suffer from battery degradation during high-heat tasks.
What are the minimum ventilation requirements for a garage shop? You should aim for at least 5 to 10 air changes per hour. For a standard garage, a fan capable of moving 1,000 CFM is usually sufficient to clear smoke and dust when doors are properly positioned for airflow.
How much should I spend on safety gear compared to tools? I recommend a 30/70 split. If you have $500, spend $150 on a high-quality auto-darkening helmet, ANSI-rated eye protection, and a respirator. The remaining $350 can go toward your primary power tools.
Are abrasive chop saws better than band saws for beginners? Chop saws are generally cheaper (under $150) and very durable, but they are loud and create a lot of sparks. Portable band saws are quieter and cleaner but require more skill to make perfectly straight cuts.
How do I prevent my budget tools from overheating? Follow the 50% duty cycle rule. If you use the tool for several minutes, give it an equal amount of time to cool down. Keeping the air vents on the tool clear of dust also helps significantly.
What electrical upgrades are most beneficial for a home shop? Installing a dedicated 20-amp circuit with a 12-gauge wire is the best upgrade. This provides the “headroom” needed for high-draw tools like compressors and welders without flickering the lights in the rest of the house.
Do I really need a drill press? While not strictly necessary, a drill press ensures your holes are perfectly square. In metalworking, if a hole is slightly tilted, bolts won’t line up, which can ruin a complex project. It is a high-value upgrade after you have a grinder and a saw.
(This article was written by one of our staff writers, Michael Thompson. Visit our Meet the Team page to learn more about the author and their expertise.)