How Adding Overhead Hoists Speeds Up Workshop Tasks (Review)
When I first moved my fabrication work from a hobbyist garage to a commercial space, I felt a constant, low-level anxiety about my bank balance. I was working twelve-hour days, yet the money at the end of the month didn’t seem to reflect that effort. I realized quickly that I wasn’t just a welder anymore; I was a shop manager who needed to understand the hard math of throughput and overhead.
Most side-hustlers fail because they price their work based on what feels right rather than what the data dictates. They see the cost of steel and add a little for their time, forgetting that every minute spent wrestling a heavy frame onto a welding table is a minute they aren’t billing. In my 16 years of running and consulting for small shops, I have found that the difference between a struggling business and a profitable one often comes down to how efficiently you move material and how accurately you track the small things.
Determining Your True Hourly Shop Rate
A shop rate is the total cost of keeping your doors open divided by the number of hours you actually spend on billable work. It includes your rent, utilities, insurance, and equipment depreciation, plus the profit you need to grow. Without an accurate rate, you are essentially guessing whether a job is profitable or if you are paying for the privilege of working.
In the fabrication world, I see many owners setting their rates between $65 and $120 per hour. However, the mistake is thinking that if you work an 8-hour day, you have 8 billable hours. In reality, after cleaning, maintenance, and administrative tasks, you might only have 5 or 6 hours of “torch-on” time. If your monthly overhead is $3,000 and you want to earn $5,000 in profit, you need to generate $8,000 in revenue. If you only have 100 billable hours a month, your base rate must be at least $80 per hour just to hit those targets.
Why Billable Hours Differ from Clock Hours
Billable hours represent the time spent directly on a customer’s project that can be justified in an invoice. Clock hours include everything else, like sweeping floors, talking to vendors, or fixing a broken bandsaw blade. Understanding this gap is the first step toward realistic job costing and ensuring your side-hustle doesn’t drain your personal savings.
I often use a simple formula to help shop owners see the reality of their schedule. Take your total hours spent in the shop and multiply by 0.7. That 70% efficiency is a healthy goal for a small shop. If you are spending half your time moving heavy stock around manually because you lack the right handling equipment, that efficiency might drop to 50%. This is where your profit starts to vanish into the rafters.
The Economic Impact of Material Handling Efficiency
Material handling efficiency refers to the speed and safety with which you move raw stock and heavy assemblies through your shop’s workflow. By reducing the physical struggle of repositioning large items, you decrease the non-billable time spent on “set-up” and increase the time spent on “output.” This directly impacts your bottom line by shortening project timelines.
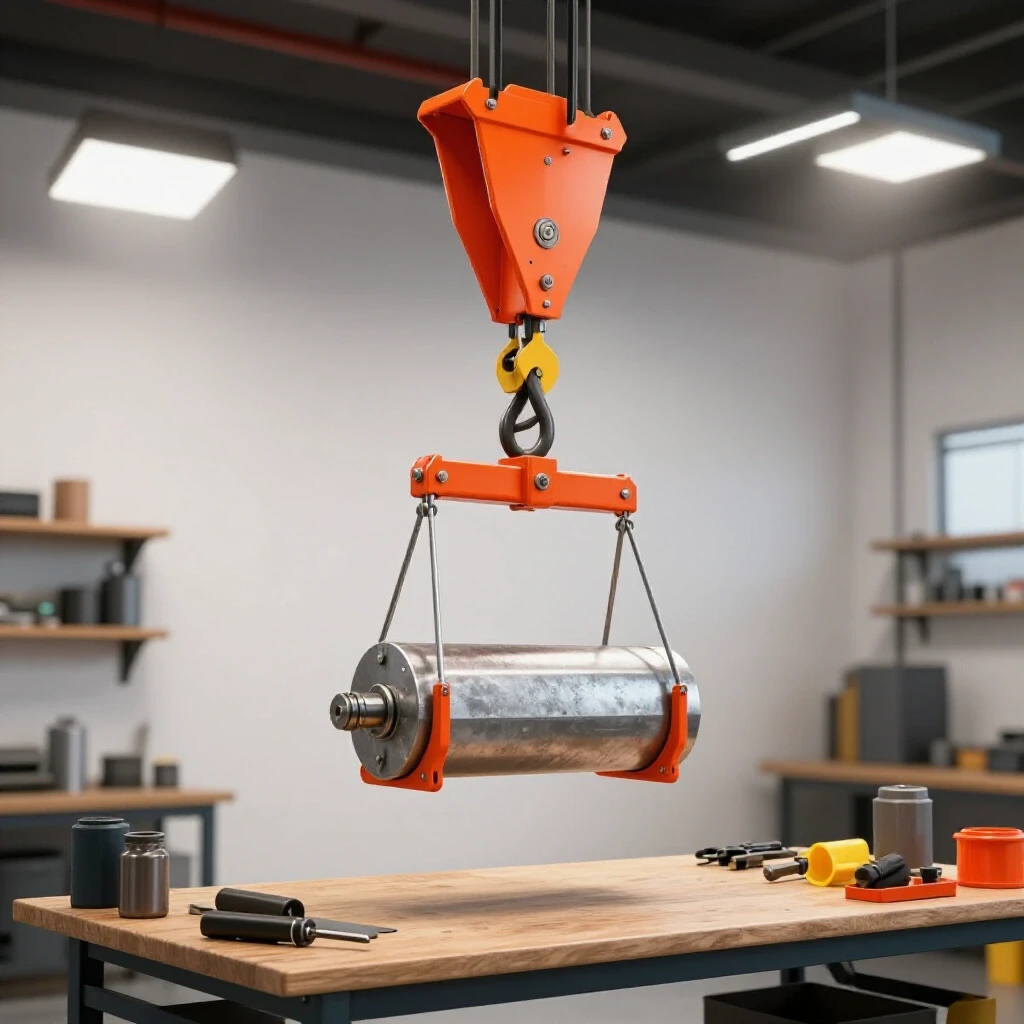
In my experience, the single biggest time-sink in a small fab shop is the “manual lift cycle.” This is the time spent finding a second person to help flip a frame or using a floor jack to shimmy a heavy plate into position. When you transition to mechanical lifting solutions, you aren’t just saving your back; you are buying back billable minutes. Every time you don’t have to stop what you are doing to assist with a heavy lift, your shop’s throughput increases.
Comparing Manual vs. Mechanical Repositioning
When we look at the data, the time savings are measurable and significant. A task that takes 15 minutes of struggling with a pry bar and a floor jack can often be done in 3 minutes with an overhead lifting system. Over the course of a week, those 12-minute savings add up, allowing you to fit an extra job into your schedule without working more hours.
| Task Description | Manual Time (Minutes) | Mechanical Lift Time (Minutes) | Time Saved per Cycle |
|---|---|---|---|
| Flipping a 4×8 Utility Trailer Frame | 20 | 4 | 16 Minutes |
| Loading Heavy Plate onto Plasma Table | 15 | 3 | 12 Minutes |
| Repositioning Large Weldment for Out-of-Position Welds | 10 | 2 | 8 Minutes |
| Moving Raw 20ft Square Tubing to Saw | 8 | 2 | 6 Minutes |
As the table shows, the cumulative effect of these savings can be the difference between finishing a project on Friday or having it bleed into your Saturday. For a side-hustler, Saturday is often the only time left for marketing or rest. By optimizing how you move weight, you are effectively lowering your internal cost of production.
Calculating ROI on Mechanical Lifting Systems
Return on Investment (ROI) is a financial metric used to determine the profitability of an expenditure relative to its cost. For a workshop tool, you calculate ROI by dividing the annual labor savings generated by the tool by the initial cost of the equipment. This helps you decide if an upgrade is a smart move or a financial burden.
When I evaluate a new piece of equipment, I don’t just look at the price tag. I look at the payback period. If a lifting system costs $3,500 and it saves you 5 hours of labor per week, and your shop rate is $80/hour, you are saving $400 a week. At that rate, the tool pays for itself in less than nine weeks. That is an incredible return that many small shop owners overlook because they are focused on the upfront cash outflow.
Depreciation and the Tax Benefit
In the United States, the IRS allows small businesses to use Section 179 to deduct the full purchase price of qualifying equipment from their gross income. This means if you are in a 22% tax bracket, a $3,000 investment might actually only “cost” you $2,340 after tax savings. This makes the ROI even more attractive for a growing side-hustle that needs to offset its tax liability.
- Machine Amortization: Spreading the cost of a tool over its useful life (e.g., 5-10 years).
- Opportunity Cost: The profit you lose by not having a tool that would allow you to take on larger, heavier, and more profitable jobs.
- Maintenance Burden: The small, annual cost (usually 1-3% of purchase price) to keep mechanical systems safe and operational.
Why Hidden Consumables Bleed Small Shop Profits
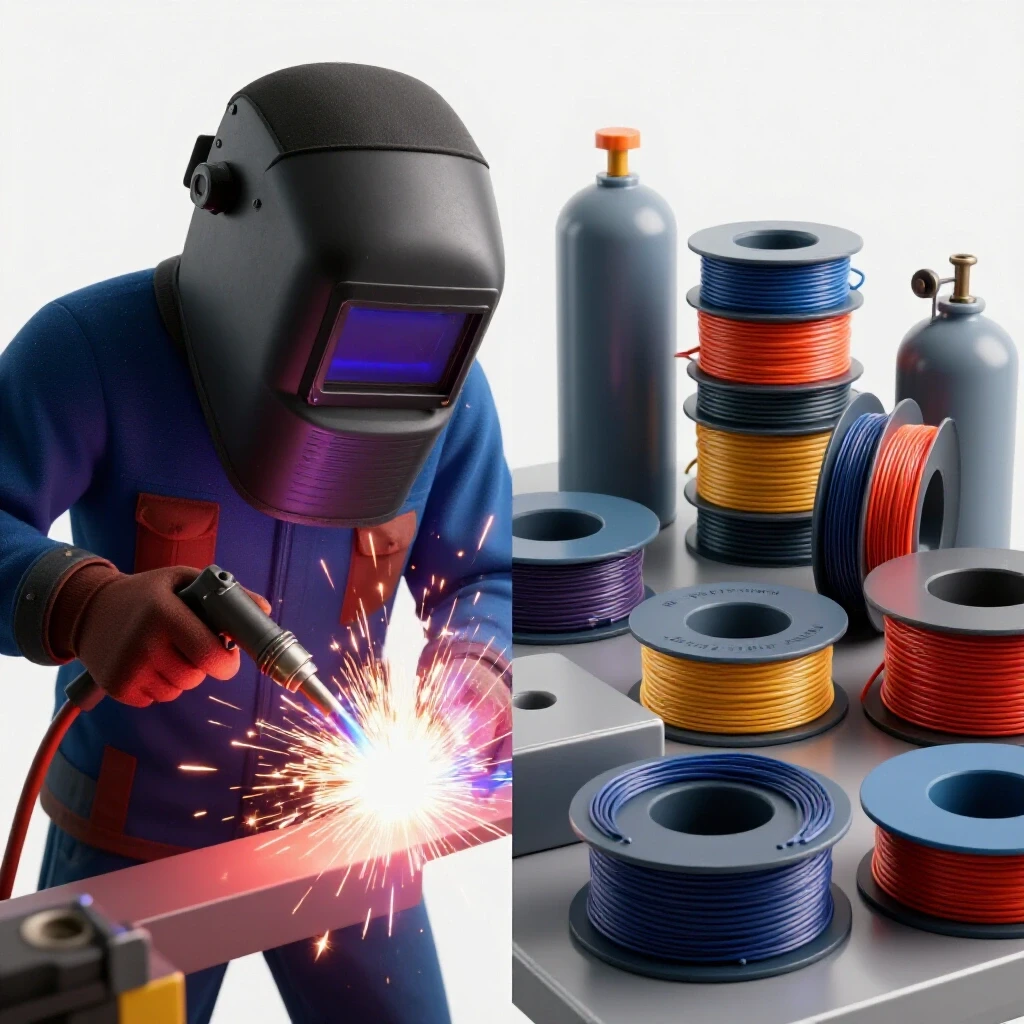
Consumables are the items used up during the fabrication process, such as welding wire, shielding gas, grinding discs, and drill bits. Because these items are small, they are often excluded from quotes, leading to a “leak” in the shop’s finances. Tracking these costs is essential for maintaining a healthy profit margin on every job.
I once consulted for a shop that was losing nearly $500 a month simply because they didn’t track their flap discs and saw blades. They were charging for steel and labor but treating consumables as a general “cost of doing business.” To fix this, I recommend applying a consumable burden factor of 10% to 15% to every labor quote. If a job has $1,000 in labor, you should add $100 to $150 just to cover the items that get used up or worn out.
Tracking Consumable Usage for Better Estimating
The best way to stop the bleeding is to keep a simple log next to your supplies. For one month, track exactly how many grinding wheels you use and how many bottles of gas you swap. Compare this to your total sales for that month. This will give you a “real-world” percentage that you can use in your future bidding process.
- Abrasives: Track flap discs, cut-off wheels, and sanding belts per project.
- Welding Supplies: Monitor wire spool consumption and gas refills (C25 or Argon).
- Tooling: Factor in the wear on drill bits, annular cutters, and bandsaw blades.
- Shop Supplies: Don’t forget chemicals like anti-spatter, degreasers, and marking paint.
Building a Custom Job Quote with Confidence
A custom job quote is a formal document that outlines the scope of work, material costs, labor hours, and total price for a client. A professional quote protects you from “scope creep” and ensures the customer understands exactly what they are paying for. It is the foundation of a professional relationship and a profitable project.
When I build a quote, I use a “bottom-up” approach. I start with the raw material cost and apply a 30% to 50% markup. This isn’t just for profit; it covers the time I spent sourcing the metal, the fuel to pick it up, and the risk of a mistake. Next, I add my estimated labor hours multiplied by my shop rate. Finally, I add the consumable burden and any specialized subcontracting costs, like powder coating or laser cutting.
The Difference Between an Estimate and a Firm Quote
It is vital to communicate whether you are giving an estimate or a firm quote. An estimate is a “best guess” and should include a clause that the final price may vary by 10-15% based on actual material prices or unforeseen challenges. A firm quote is a fixed price. For side-hustlers, I recommend sticking to firm quotes for simple jobs and estimates for complex, one-off builds where the “unknowns” are high.
- Material Markup: Covers sourcing, transport, and scrap.
- Labor Estimate: Be honest about how long it takes to clean and prep, not just weld.
- Contingency Fee: A 5-10% buffer for unexpected issues on complex assemblies.
Bulk Metal Sourcing and Inventory Strategy
Sourcing is the process of finding and purchasing the raw materials needed for fabrication. Strategic sourcing involves buying in larger quantities or from wholesalers to lower the cost per foot or per sheet. By reducing your raw material costs, you can either lower your prices to be more competitive or increase your profit margins.
For a small shop, storage is often an issue, but buying steel “by the stick” from a local retail yard is the fastest way to kill your margins. I found that by establishing a relationship with a regional steel service center, I could save 40% on material costs just by ordering 500 pounds at a time instead of 50. Even with a delivery fee, the lower price per pound made a massive difference in my competitive bidding.
Analyzing Post-Job Profits to Refine Your Process
After every major project, you must perform a “post-mortem” analysis. Look at your initial quote and compare it to your actual costs and time spent. Did you spend more time on material handling than you expected? Did you go through more consumables than planned? This data is the only way to get better at pricing.
If you find that you consistently underestimate the time it takes to move and flip heavy parts, it is a clear sign that your workflow is inefficient. This is the data you use to justify an investment in better handling equipment. If you can prove that you lost $200 in labor on a job because of manual lifting, the decision to upgrade becomes a mathematical certainty rather than a gut feeling.
Essential Tools for Shop Management and Tracking
Managing a shop requires more than just welding skills; it requires a digital toolkit to track the numbers. Using software to manage invoices, estimates, and material costs keeps your data organized and professional. These tools help you see trends in your spending and identify where your shop is most—and least—profitable.
- QuickBooks or FreshBooks: Excellent for professional invoicing and tracking shop expenses for tax time.
- Excel or Google Sheets: I still use a custom spreadsheet for job costing because it allows me to tweak my markup and burden percentages instantly.
- Evernote or Keep: Useful for snapping photos of material receipts so they don’t get lost in the shop.
- Trello: A simple way to track project stages (To-Do, In Progress, Waiting for Parts, Done).
Conclusion: Taking the Next Steps Toward Efficiency
Transitioning from a hobbyist to a profitable shop owner requires a shift in mindset. You have to stop viewing your time as “free” and start viewing it as your most valuable asset. Every decision you make—from how you price a weld to how you move a heavy beam—should be filtered through the lens of financial efficiency.
Start by calculating your true shop rate this weekend. Look at your last three jobs and see if you actually made the profit you thought you did. If you find that manual labor and material handling are eating your margins, look into ways to streamline your workflow. Small, data-driven changes are the key to building a sustainable, profitable fabrication business that respects both your time and your talent.
Frequently Asked Questions
How do I know if my shop rate is too high for my local market?
If you are losing more than 70% of your bids on price alone, your rate might be high, or you are bidding for the wrong customers. However, don’t lower your rate until you analyze your costs. If you lower your rate below your cost of doing business, you are paying to work. Instead, look for ways to increase efficiency so you can do the same job in fewer hours.
What is a reasonable markup on raw materials for a small shop?
The industry standard for small shops is typically between 30% and 50%. This covers the time spent ordering, the cost of pick-up or delivery, and the storage of off-cuts. For very small material orders (under $100), many shops use a 100% markup to cover the administrative “hassle factor.”
How can I track welding gas usage without a flow meter?
The easiest way is to track the number of hours of “arc time” you get per bottle. If you know a 125cf bottle of C25 lasts you about 6 to 8 hours of continuous welding, you can divide the cost of the refill by those hours to get a “cost per hour” for gas. Add this to your consumable burden.
Should I charge for the time I spend quoting a job?
For most small shops, quoting is considered a “cost of sales” and is wrapped into your overhead. However, if a project requires several hours of design or CAD work, you should inform the customer that there is a non-refundable design fee that can be applied to the final balance if they move forward.
How do I account for the cost of electricity in my shop rate?
Look at your utility bills for the last six months and find the average. If your shop is in your home, calculate the square footage of the shop versus the house to find the shop’s “share” of the bill. Divide this monthly cost by your average billable hours to find the “power cost” per hour.
Is it better to buy used equipment or new equipment for a side-hustle?
Used equipment often offers a better ROI because the initial “depreciation hit” has already been taken by someone else. However, for critical material handling or safety equipment, ensure that used items are inspected and in good working order. The goal is to reduce downtime, not increase it with constant repairs.
What is the most common mistake in job estimation?
Underestimating “non-welding” time is the biggest pitfall. This includes cleaning the steel, deburring edges, jigging the parts, and the final clean-up of the welds. Always take your “gut feeling” for how long it will take to weld and add at least 50% for prep and finishing.
How often should I re-evaluate my shop rate?
I recommend a review every six months or whenever a major expense changes (like a rent increase or a large equipment purchase). Inflation affects consumables and material prices constantly, so staying on top of your numbers ensures your margins don’t slowly erode over time.
Can I justify a lifting system if I only work part-time?
Yes, if it allows you to work alone safely and faster. If a lifting aid saves you 2 hours a week, and you work 10 hours a week on your side-hustle, you’ve increased your capacity by 20%. That extra capacity can be used to take on more work or simply to get your weekends back.
How do I handle customers who think my shop rate is too high?
Educate them on what they are paying for: professional equipment, insurance, expertise, and a quality result. If a customer only cares about the lowest price, they are often the most difficult to work for and the least profitable. Focus on customers who value reliability and craftsmanship.
(This article was written by one of our staff writers, Michael Hargrove. Visit our Meet the Team page to learn more about the author and their expertise.)