Save Money by Welding Your Own Custom Truck Parts (DIY Plan)
I remember the first time I sold a set of custom-fabricated bed tie-down brackets. I was proud of the clean MIG beads and the heavy-duty feel of the mild steel. I charged the customer $60, thinking I’d made a quick profit for two hours of work. By the time I factored in the cost of the steel, the half-dozen grinding discs I chewed through, the shielding gas, and the electricity, I realized I had actually paid the customer for the privilege of working in my own shop.
That experience is a rite of passage for many fabricators moving from hobbyists to side-hustlers. We often focus so much on the craft that we ignore the industrial accounting required to keep a shop afloat. If you want to build a sustainable business welding custom components for pickups and utility vehicles, you have to move past “guesstimating.” You need a firm grasp on shop math, equipment depreciation, and the hidden costs that evaporate your margins.
This guide focuses on the financial realities of running a small-scale fabrication operation. We will look at how to price your work accurately, track your consumables, and ensure that every hour you spend under the hood is actually putting money in your pocket.
Establishing Your Base Shop Rate for Fabricating Truck Accessories
Determining what it costs to keep the doors open and the welder running is the first step toward a sustainable side-hustle. Your shop rate isn’t just your take-home pay; it must cover your rent, utilities, insurance, and the eventual replacement of your machinery as it wears down over time.
To find your true shop rate, you cannot simply look at what the guy down the street is charging. You must calculate your total monthly overhead and divide it by your billable hours. For a side-hustle, you might only have 40 billable hours a month. If your shop costs $400 a month to run (including power, rent, and insurance), your overhead burden is already $10 per hour before you even pay yourself or buy a single piece of steel.
Separating Fixed and Variable Overhead
Fixed costs stay the same every month regardless of how many brackets you weld, while variable costs fluctuate based on your shop’s activity level. Understanding this distinction allows you to accurately distribute these expenses across every job you bid, ensuring that even small projects contribute to your shop’s survival.
Fixed costs include things like shop rent, business insurance, and software subscriptions for invoicing. Variable costs include electricity—which spikes when you are running a welder or an air compressor—and heating or cooling for the workspace. I recommend tracking your utility bills for six months to find a realistic average. Most small shops find that their variable overhead adds an additional $2 to $5 per hour to their operating costs.
Mapping Machinery Amortization and Depreciation
Amortization is the process of spreading the cost of an expensive tool over its useful life to understand its daily cost. If you buy a $2,500 TIG welder and expect it to last five years, it costs you $500 a year, or about $42 a month, just to own it.
In my consulting work, I see many shop owners forget to “pay” their machines. If you don’t factor in depreciation, you won’t have the cash on hand to replace your equipment when it eventually fails. I use a simple linear depreciation model. Take the purchase price, subtract the expected scrap or resale value, and divide it by the number of years you plan to use it. This monthly “tool tax” should be a line item in your overhead calculations.
- Welder ($2,000): 5-year life = $33.33/month
- Horizontal Band Saw ($800): 8-year life = $8.33/month
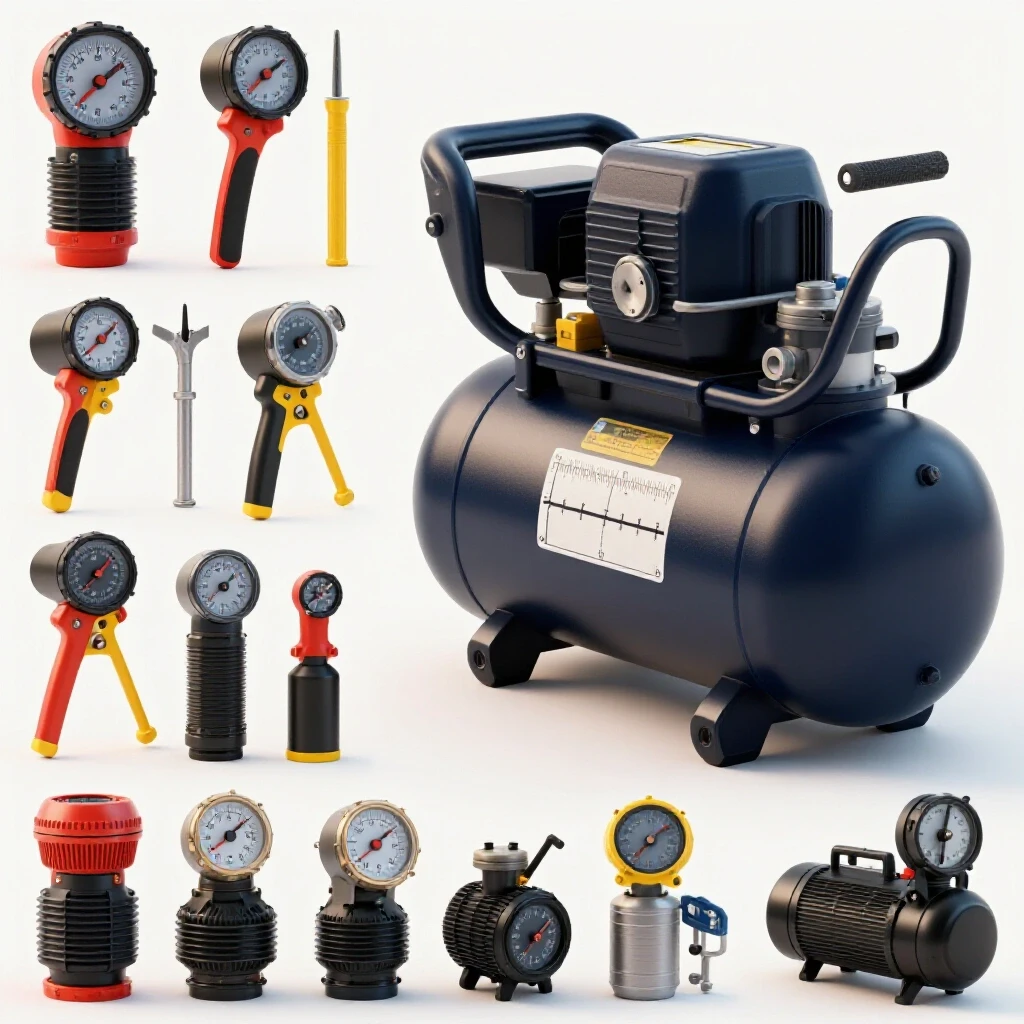
- Air Compressor ($1,200): 10-year life = $10.00/month
Why Hidden Consumables Bleed Small Shop Profits
Small items like MIG wire, shielding gas, and grinding wheels often go unbilled, turning a profitable bracket job into a financial loss. These items are difficult to track on a per-job basis, leading many fabricators to simply ignore them, which is a mistake that can eat 15% of your gross revenue.
Consumables are the “silent partners” in your shop that take a cut of every project. When you are fabricating mounts or reinforcements, you aren’t just using steel; you are using up the life of your drill bits, the teeth on your saw blades, and the volume of your gas cylinder. The most effective way to handle this is by applying a “consumable burden” to every quote.
Tracking the True Cost of Shielding Gas and Wire
Shielding gas is one of the most underestimated expenses in a small welding shop because the cost is often “lumpy”—you pay $80 to $120 for a tank swap every few months. However, if you track your arc time, you can find a per-hour cost for gas that ensures you aren’t losing money on long weldments.
For a standard MIG setup running 75/25 Argon/CO2 at 20 cubic feet per hour (CFH), a 125-cubic-foot tank provides about 6 hours of continuous arc time. If a tank swap costs $90, your gas cost is $15 per hour of trigger time. When you bid a job that requires 30 minutes of actual welding, you must include $7.50 just for the gas. I suggest keeping a simple logbook next to the welder to track how many projects you get out of a single bottle.
The Flap Disc and Abrasive Expense Factor
Abrasives are often the highest consumable cost in a fabrication shop, sometimes exceeding the cost of the welding wire itself. Between cutting, grinding down tacks, and cleaning up spatter, you can easily go through several dollars’ worth of discs on a single set of custom mounts.
I recommend a “Consumable Burden Percentage” for your quotes. Instead of trying to count every disc, add a flat 10% to 15% to the total material cost of the job. If the steel for a project costs $50, add $7.50 to cover the abrasives, gas, and wire. This simplifies your bidding process while ensuring these costs are covered.
| Consumable Item | Typical Unit Cost | Est. Life for Small Projects | Cost Per Project Factor |
|---|---|---|---|
| 4.5″ Flap Disc | $4.50 | 2-3 small brackets | $1.50 – $2.25 |
| MIG Wire (2lb spool) | $15.00 | 10-15 projects | $1.00 – $1.50 |
| Shielding Gas (125cf) | $90.00 | 6 hours arc time | $5.00 – $15.00 |
| Saw Blade (Bi-metal) | $35.00 | 100+ cuts | $0.35 |
The Math Behind Accurate Job Bidding for Custom Components
Moving from “guesstimates” to data-driven quotes ensures you cover your time and materials while maintaining a healthy margin. A professional bid should be broken down into four distinct pillars: materials, labor, overhead, and profit margin.
Many side-hustlers confuse “labor” with “profit.” Labor is what you pay yourself for the work performed; profit is what the business keeps to grow, buy new tools, or cover mistakes. If you only charge for your labor, you aren’t running a business—you’ve just created a second job for yourself.
Formulating a Realistic Material Markup
You should never charge the customer exactly what you paid for the steel at the local supplier. Picking up materials takes time, fuel, and wear on your vehicle, and you are providing the convenience of having that material in stock.
A standard industry markup for materials in small shops is 20% to 50%. If you spend $100 on mild steel flat bar and hardware for a set of light-duty mounts, you should charge the customer at least $130 to $150 for those materials. This markup covers the “hidden” time spent at the steel yard and the cost of storing the material in your shop.
Calculating Labor and “Shop Time”
Labor is more than just the time spent with the welding torch in your hand. It includes the time spent measuring the vehicle, cutting the stock, prepping the joints, and cleaning up the finished parts. I have found that for every hour of actual welding, there are typically two to three hours of preparation and finishing.
When estimating a job, break it down into stages: * Design/Template: 30 minutes * Cutting/Prep: 1 hour * Fit-up/Tacking: 45 minutes * Final Welding: 30 minutes * Grinding/Finishing: 1 hour
In this example, a “quick” welding job actually takes four hours of shop time. If your shop rate is $75/hour, that’s a $300 labor charge. If you only bid for the 30 minutes of welding, you’d be losing $262.50 in unbilled time.
Sourcing Raw Materials to Protect Your Margins
Buying steel and hardware strategically can significantly lower your cost per unit, allowing for more competitive pricing. The difference between buying a 3-foot section of steel at a big-box hardware store and a 20-foot stick at a dedicated steel service center can be as high as 400%.
For a small shop owner, the goal is to reduce the “cost per inch” of your raw materials. While buying in bulk requires more upfront cash, it is the most effective way to increase your profit margin without raising prices for your customers.
Leveraging “Drops” and Remnants
Most steel yards have a “remnant” or “drops” section where they sell off-cuts from larger industrial orders at a significant discount. These are perfect for small truck accessories like light bar brackets or reinforced battery trays.
I once saved nearly $200 on a month’s worth of small projects by strictly buying from the remnant bin. These pieces are often sold by the pound rather than by the foot, which can cut your material costs in half. However, you must factor in the extra time it takes to sort through the bin and potentially clean up some surface rust.
Bulk Hardware and Fastener Strategies
Individual Grade 8 bolts at a hardware store can cost $2.00 to $4.00 each. If you are building a reinforcement kit that requires twelve bolts, that’s nearly $50 in hardware alone. Buying those same fasteners in bulk boxes of 50 or 100 from an industrial supplier can drop the price to $0.40 per bolt.
- Strategy 1: Identify the 5 most common bolt sizes you use for truck mounts (e.g., 3/8″ and 1/2″ Grade 8).
- Strategy 2: Purchase these in boxes of 50 from suppliers like McMaster-Carr or Fastenal.
- Strategy 3: Keep an organized bin system. Searching for a bolt for 10 minutes is $12.50 in lost labor time at a $75/hour shop rate.
Calculating ROI on New Welding Equipment
Investing in a high-end welder or a plasma table requires a clear understanding of how many parts you must sell to break even. A new tool should either allow you to charge more for your work or allow you to do the work faster.
If a new $1,500 cold-cut saw saves you 10 minutes of grinding per project, and you do 100 projects a year, you’ve saved nearly 17 hours of labor. At a $75/hour shop rate, that’s $1,275 in saved time in the first year alone. The saw pays for itself in about 14 months. This is the only way you should justify major equipment upgrades.
The Payback Period Formula
To calculate the payback period, divide the total cost of the tool by the monthly “extra” profit or labor savings it generates. If the payback period is longer than 24 months for a side-hustle, you should carefully consider if the investment is necessary.
- Tool Cost: $2,000 (e.g., a high-quality TIG welder)
- Increased Revenue/Savings: $100 per month (by taking on more complex stainless or aluminum work)
- Payback Period: 20 months
Avoiding the “Cool Factor” Trap
It is easy to get distracted by the latest technology, but in a small shop, every tool must be a profit center. I’ve seen shop owners buy $5,000 CNC plasma tables that sit idle 90% of the time. Unless you have a specific line of products that requires that tool to meet demand, it is often more cost-effective to use an angle grinder and a steady hand.
Focus your investments on tools that improve the “bottlenecks” in your shop. If you spend most of your time cleaning up messy cuts from a torch, a dedicated metal cutting saw is a better investment than a fancy new welding helmet.
Analyzing Post-Job Profits to Refine Your Process
The final step in professional fabrication is the “post-mortem” analysis. After you deliver the parts and get paid, you must look back at your estimates and compare them to the actual time and materials used.
This is where you discover if you are actually making money. If you estimated three hours for a set of reinforcements but it took five because of a broken drill bit and extra grinding, you need to know that. This data allows you to adjust your future quotes so you don’t repeat the same financial mistakes.
Using Digital Tools for Tracking
You don’t need expensive enterprise software to track your shop’s performance. A simple spreadsheet or a dedicated small-business app can handle most of the heavy lifting.
- QuickBooks or FreshBooks: Excellent for professional invoicing and tracking expenses against specific jobs.
- Excel/Google Sheets: Ideal for creating custom calculators where you can plug in your material lengths and shop rate to generate a quote.
- Clockify: A free time-tracking app that helps you see exactly how long you are spending on each phase of a project.
- Evernote or Keep: Use these to snap photos of your material receipts so you don’t lose them before tax season.
Actionable Benchmarks for Small Fabrication Shops
To stay competitive and profitable, aim for these industry-standard benchmarks in your small shop:
- Shop Rate: $65–$120 per hour (depending on your local market and skill level).
- Material Markup: 30% minimum.
- Consumable Burden: 15% of material cost.
- Profit Margin: 10–20% on top of labor and overhead.
- Project Variance: Try to keep actual time within 10% of your estimated time.
Frequently Asked Questions
How do I determine my shop rate if I’m just starting out?
Start by listing every monthly expense related to your shop, including a portion of your home’s mortgage if you use the garage, your power bill, and tool insurance. Divide this by the number of hours you realistically plan to work. Add your desired hourly wage to this number. If your expenses are $300 and you work 30 hours a month, your overhead is $10/hr. If you want to earn $40/hr, your base shop rate is $50/hr.
Should I charge for the time I spend talking to customers?
Yes. Consultation, measuring, and quoting are all part of the job. For small projects, many fabricators include a flat “set-up fee” or “shop fee” of $25 to $50 to cover this administrative time. For larger projects, you should estimate the hours spent on design and include them in your labor total.
How do I handle customers who think my prices are too high?
Educate them on the costs of materials and the quality of the work. Explain that your price includes Grade 8 hardware, proper joint preparation, and professional-grade materials. If they still push back, they may not be the right customer for a custom shop. It is better to have an empty shop than a shop full of work that loses money.
Is it better to charge by the hour or by the project?
For custom work, a “flat rate” or “per project” price is usually better for both you and the customer. It gives the customer a fixed cost and allows you to earn more if you become more efficient. However, your flat rate must be based on an accurate hourly estimate.
How do I track consumables like welding gas?
The easiest way is to track “arc time” or “cylinder life.” Note the date you start a new bottle and the date it runs out. Count how many projects you completed in that window. Divide the cost of the refill by the number of projects to get a “gas cost per project.”
What is the biggest hidden cost in a small welding shop?
Abrasives and finishing. Most beginners underestimate how many grinding discs, sanding belts, and flap discs they will use. These can easily add $10 to $20 to even a simple project. Always include a consumable burden of at least 15% on your material costs.
Should I buy a cheaper welder to save money starting out?
Only if it can safely perform the work. A machine that constantly overheats or produces poor arc stability will cost you more in wasted time and ruined materials than you saved on the purchase price. Aim for a mid-range machine from a reputable brand with good local support for parts and consumables.
How do I calculate the cost of the steel I use?
Call your local steel supplier and ask for a price list or a “per foot” price for common sizes like 2″x2″ square tube or 1/4″ flat bar. Create a simple spreadsheet where you can enter the inches used for a project, and it will automatically calculate the base cost. Don’t forget to add your 30% markup.
Do I need to charge for “shop supplies” like rags and cleaners?
Yes. While small, things like acetone, shop towels, and marking pens add up. This is why a 10% to 15% consumable burden is vital. It covers all the “untraceable” items that you need to keep the shop running.
How often should I re-evaluate my shop rate?
At least once a year, or whenever a major expense changes (like a spike in utility rates or a new equipment purchase). If you find you are consistently busier than you can handle, it is often a sign that your shop rate is too low and it’s time for an increase.
What should I do if I underbid a job?
Finish the job to the best of your ability and honor the price you gave the customer. Use it as a learning experience. Document exactly where you went wrong—was it the material cost, the prep time, or the finishing? Adjust your next quote accordingly. Consistency and integrity are vital for building a reputation in the fabrication community.
Can I save money by using “scrap” steel for customer projects?
You can save on the purchase price, but you often spend more in labor cleaning up rust or paint. If you use remnants, ensure the time spent prepping them doesn’t exceed the money you saved. Always charge the customer the “new” price for the material; the savings from using a remnant is part of your business’s profit for being resourceful.
(This article was written by one of our staff writers, Michael Hargrove. Visit our Meet the Team page to learn more about the author and their expertise.)