How to Prep and Sort Copper Scrap for Top Payout (DIY Guide)
Managing a small fabrication shop often feels like a balancing act between high-level project management and the granular reality of material waste. Over my 16 years in the metalworking industry, I have seen many talented fabricators struggle not because they lacked skill, but because they ignored the financial value sitting in their scrap bins. When I first started my manufacturing business, I viewed copper leftovers as a nuisance that cluttered the floor. It took a deep dive into my overhead costs to realize that properly managing these residuals was actually a vital part of my shop’s bottom line.
For the side-hustler or small shop owner, every minute spent in the workshop must be accounted for. If you are transitioning from a hobby to a paid service, you likely already feel the pressure of pricing your work accurately. You track your welding gas, your electricity, and your abrasive discs. However, many fail to apply that same level of rigor to their material recovery. Refining the way you handle copper waste can offset your monthly consumables cost, but only if you understand the labor-to-value ratio.
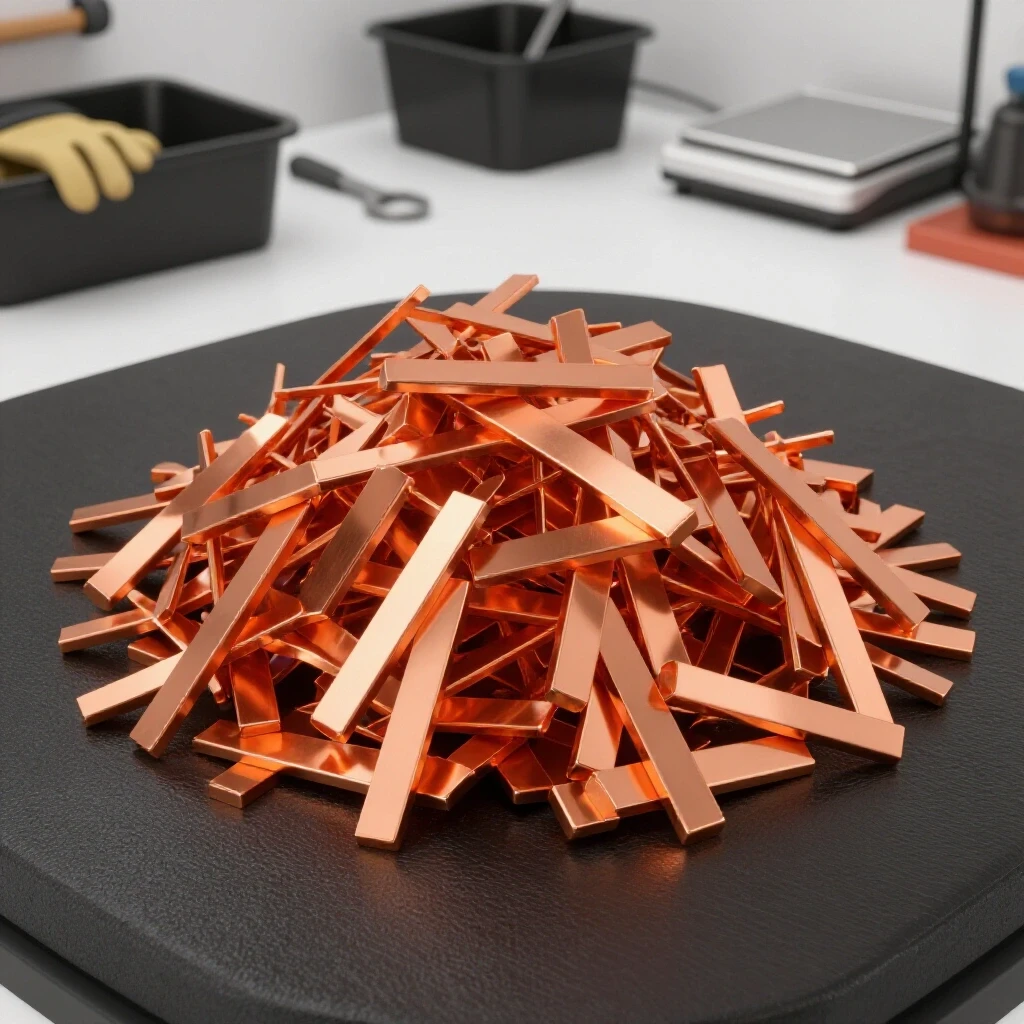
In this guide, I will share the methodical approach I developed for grading, cleaning, and organizing copper residuals. We will look at this through the lens of workshop economics, focusing on how to maximize the efficiency of your time and the return on your tool investments.
Establishing a True Shop Rate for Material Processing
Determining your shop rate involves calculating the total cost of keeping your doors open, divided by your billable hours. This includes rent, insurance, utilities, and equipment depreciation. When you spend time sorting materials, you are essentially “hiring” yourself at this rate, so the efficiency of the task is paramount.
Before you pick up a pair of wire strippers, you must know what your time is worth. In my consulting work, I find that most small shop owners underestimate their hourly burden. If your shop rate is $75 per hour, and you spend two hours stripping low-grade wire to gain a small increase in material value, you may actually be losing money. I always suggest a “break-even” analysis for any manual labor that doesn’t involve direct fabrication.
To calculate your shop rate, add up your monthly fixed costs. If your rent is $1,000, insurance is $150, and electricity is $100, your base overhead is $1,250. If you work 100 hours a month, your overhead burden is $12.50 per hour before you even pay yourself or buy a single grinding disc. If you want to take home $40 per hour, your minimum shop rate is $52.50. Use this number to decide if a specific sorting task is a productive use of your time.
Building on this, I recommend categorizing your workshop tasks into “high-value” and “maintenance” tiers. High-value tasks are when the torch is lit or the mill is running. Maintenance tasks, like grading copper, should be done during “dead time”—those 15-minute windows between paint coats or while a machine is running an automated cycle. This ensures that your material recovery efforts do not eat into your primary fabrication schedule.
| Expense Category | Monthly Cost (Example) | Hourly Impact (100 hrs/mo) |
|---|---|---|
| Fixed Overhead (Rent/Ins) | $1,150 | $11.50 |
| Utilities & Consumables | $300 | $3.00 |
| Equipment Depreciation | $200 | $2.00 |
| Desired Labor Wage | $4,500 | $45.00 |
| Total Shop Rate | $6,150 | $61.50 |
Identifying Copper Grades by Visual and Physical Characteristics
Categorizing copper requires a keen eye for surface finishes, coatings, and attachments. In a workshop setting, copper is typically grouped into three primary grades based on its purity and the presence of alloys or solder. Proper identification ensures that high-quality material is not downgraded by accidental mixing.
The most valuable form of copper you will handle in a workshop is often referred to as “Bare Bright.” This is essentially pure copper wire that has been stripped of its insulation and is free of any coatings. It must be at least 16 gauge in thickness and possess a shiny, metallic luster. If the wire is thinner than a pencil lead or has a dull appearance, it usually falls into a lower category. Interestingly, many beginners mistake shiny brass for copper, but a quick scratch test or a magnet check will clarify the material’s identity.
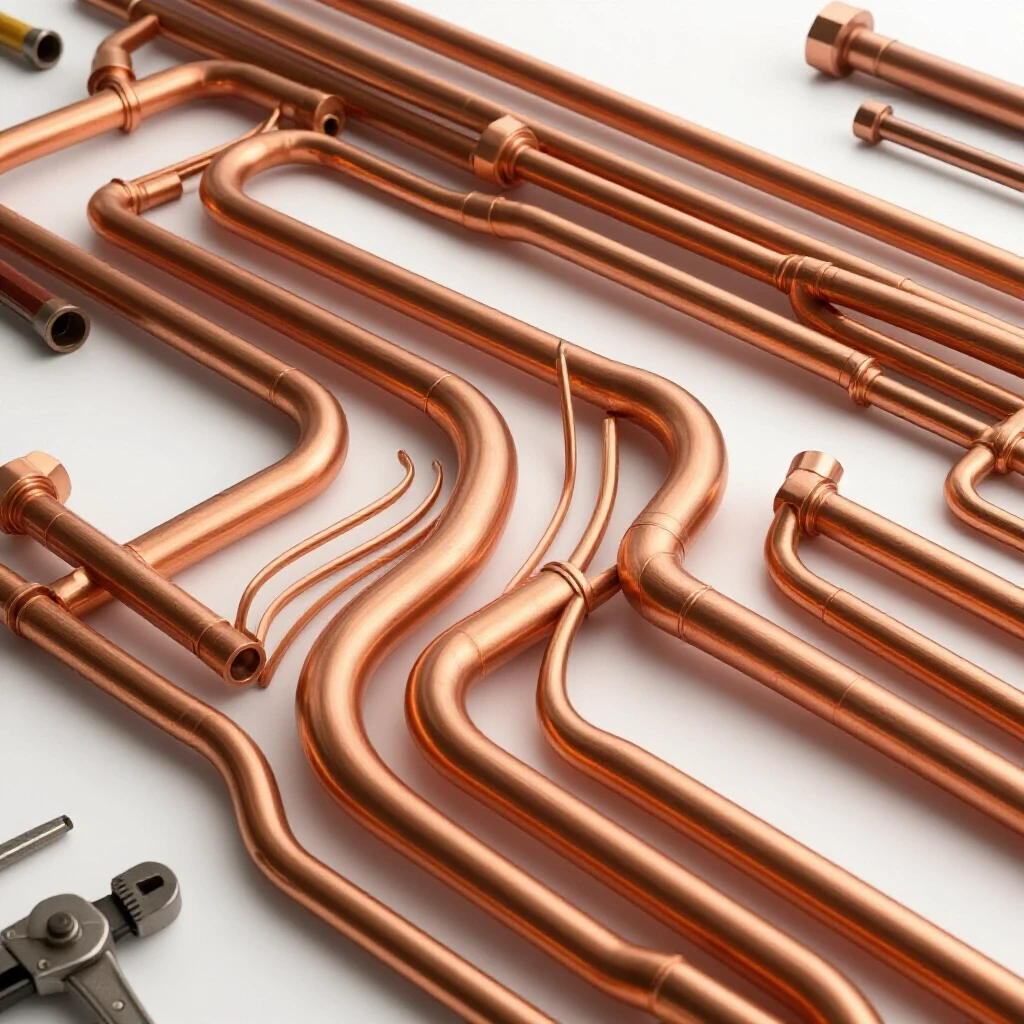
Next is #1 Copper. This includes clean copper tubing or bus bars that are free of solder, paint, or brass fittings. It may have some oxidation—turning a dull green or brown—but as long as the metal itself is clean, it remains in this top-tier category. In my experience, taking the extra five minutes to cut off a soldered elbow from a long run of pipe is one of the most profitable moves a fabricator can make.
Finally, we have #2 Copper. This grade allows for some “contamination.” It includes wire that has a tin or nickel coating, or pipe that still has solder joints and paint on the surface. While it is less valuable than #1, it is much easier to process because it requires less cleaning. As a result, many shop owners find that #2 is the “sweet spot” for time management, as it requires minimal labor to prepare.
- Bare Bright: Stripped wire, 16 gauge or thicker, shiny and unoxidized.
- #1 Copper: Clean pipe or wire, no solder, no paint, no brass attachments.
- #2 Copper: Oxidized wire, pipe with solder or paint, and tin-coated copper.
Efficient Stripping and Cleaning Techniques for Workshop Inventory
Processing copper involves removing non-metallic components like plastic insulation, rubber jackets, and paper wrapping. Using the right tools for the specific diameter of the material reduces physical strain and speeds up the workflow, making the recovery process more financially viable.
For small-scale side hustles, the most common tool for stripping wire is a standard utility knife. While this is inexpensive, it is also the slowest and most dangerous method. If you find yourself processing more than 20 pounds of wire a month, I suggest moving to a manual or drill-powered stripping machine. These tools use a set of rollers and a blade to slice the insulation in a single pass, which can increase your processing speed by 500% or more.
When cleaning copper pipe, the goal is to remove any “foreign” metals. This includes brass valves, steel hangers, and lead-based solder. I use a dedicated pair of high-leverage shears or a small bandsaw to zip off the ends of pipes where solder is present. This simple act of “topping and tailing” the material can move a pile from #2 grade to #1 grade. It is a classic example of how a small investment in labor can change the classification of your workshop waste.
Another overlooked aspect of cleaning is the removal of heavy attachments. For example, if you are salvaging copper from an old electrical panel, you might find large lugs or connectors. If these are made of aluminum or are heavily plated, they should be removed. My rule of thumb is that if a magnet sticks to it, or if it looks like a different color when scratched, it needs to be cut off. Keeping your copper “clean” is the foundation of professional material management.
Tracking the Return on Investment for Scrap Processing Tools
ROI, or Return on Investment, measures the profitability of a tool purchase by comparing the cost of the tool to the additional value or time it generates. For a fabrication shop, this means calculating how many pounds of material must be processed to pay off a new piece of equipment.
When I advise shop owners on equipment upgrades, I always use a simple payback period formula. Let’s say you are considering a $250 electric wire stripper. To determine if this is a smart buy, you need to look at the “value add” it provides. If stripping a pound of wire increases its value by $1.00, and the machine allows you to strip 50 pounds per hour instead of 5 pounds by hand, the machine is paying you $45 per hour in added value.
In this scenario, the machine pays for itself in less than six hours of operation. This is a much better investment than many high-end fabrication tools that might sit idle for weeks. However, if you only generate 10 pounds of scrap per year, that $250 machine is a waste of capital. I always tell my clients to document their scrap volume for three months before buying specialized processing equipment.
Building on this, consider the depreciation of the tool. A well-made manual stripper might last ten years with only occasional blade replacements. A cheap, plastic-bodied version might fail after a single heavy-duty session. In my shop, I always favored industrial-grade hand tools because the “cost per use” ended up being lower over the long run.
- Identify the Cost: Total purchase price including shipping and taxes.
- Estimate the Value Add: The difference in value between the raw and processed state.
- Calculate Time Savings: How much faster can you do the job with the tool?
- Determine the Payback Point: Divide the tool cost by the hourly value add.
Organizing and Storing Sorted Copper for Maximum Workflow Efficiency
A disorganized shop is an unprofitable shop. Creating a dedicated system for material storage prevents cross-contamination of grades and ensures that your workspace remains safe and productive. This involves using labeled bins and vertical storage solutions tailored to the volume of your residuals.
In my 16 years of managing workshops, I’ve found that the “bucket system” is the most effective for copper. I keep three clearly labeled 5-gallon buckets under a workbench: one for Bare Bright, one for #1, and one for #2. By sorting the material as it is generated, you eliminate the need for a massive “sorting day” later on. This “sort-as-you-go” philosophy is a core principle of lean manufacturing that applies perfectly to the small shop environment.
If you deal with longer lengths of copper pipe, vertical storage is your friend. A simple rack made from PVC pipe or scrap lumber can keep your #1 copper tubing off the floor and away from moisture. Moisture is an enemy because it can lead to heavy oxidation, which might cause a buyer to question the grade of your material. Keeping your inventory dry and clean preserves its quality and makes it easier to handle when it’s time to move it out of the shop.
Interestingly, the way you store your material also impacts your shop’s safety. Copper is heavy, and a bucket full of small offcuts can easily weigh 50 to 80 pounds. Use bins with sturdy handles and avoid overfilling them. I once saw a shop owner strain his back trying to lift a 100-pound drum of copper. That injury cost him three weeks of fabrication work—a prime example of how poor material management can lead to a massive financial loss.
- Label Everything: Use permanent markers or adhesive labels for each grade.
- Keep it Dry: Store copper in a low-humidity area to prevent dulling.
- Weight Limits: Never fill a container beyond what you can safely lift.
- Accessibility: Place bins near the areas where the most waste is generated.
Analyzing Post-Job Profits and Material Recovery
After a project is completed, a post-job analysis helps you understand the true cost of your work. This includes looking at the original material estimate versus the actual waste produced and the value recovered from that waste.
When I quote a fabrication job, I always include a “material burden” factor. This accounts for the fact that I have to buy more metal than the finished product actually uses. For example, if a project requires 10 feet of copper bus bar, I might have to buy a 12-foot length. The remaining 2 feet is “drop.” If I can recover a portion of the cost of that 2 feet by properly grading it, my actual material cost for the job goes down.
I recommend keeping a simple spreadsheet for every major project. Note the amount of copper purchased, the amount used in the final build, and the weight of the resulting scrap. Over time, this data allows you to refine your bidding process. If you notice that you consistently have 15% waste on a certain type of job, you can adjust your quotes to be more competitive or more profitable.
As a result of this tracking, you will start to see your workshop as a closed-loop system. The “waste” from one job becomes the “revenue” for the next. This mindset is what separates the hobbyist from the professional. It isn’t just about the big checks from clients; it’s about the small efficiencies that accumulate over the course of a year.
| Project Phase | Action Item | Financial Impact |
|---|---|---|
| Bidding | Include 10-15% material waste factor | Prevents under-quoting |
| Fabrication | Sort offcuts immediately into graded bins | Saves labor time later |
| Post-Job | Weigh and log recovered material | Refines future material estimates |
| Annual Review | Calculate total recovery vs. consumable spend | Measures overall shop efficiency |
Conclusion: The Long-Term Value of Disciplined Shop Economics
Maximizing the value of your workshop’s copper residuals is not a “get rich quick” scheme. Instead, it is a fundamental practice of a well-run business. By understanding the grades of copper, investing in the right tools, and maintaining a strict organizational system, you turn a messy byproduct into a structured financial asset.
As you grow from a hobbyist to a side-hustler, and eventually to a full-time shop owner, these habits will become the backbone of your profitability. Every hour you save through efficiency, and every dollar you recover through proper grading, is a dollar that stays in your pocket. This allows you to reinvest in better machinery, expand your capabilities, and ultimately build a more sustainable fabrication business.
Start small. Set up your three buckets today. Track the time you spend cleaning your next batch of pipe. Use the data you collect to make informed decisions about your shop rate and your tool purchases. In the world of metalworking, the difference between a struggling shop and a thriving one often lies in the details—and the details are usually found at the bottom of the scrap bin.
FAQ: Maximizing Workshop Copper Efficiency
What is the most common mistake when sorting copper? The most frequent error I see is mixing different grades in the same bin. Even a small amount of #2 copper, like a soldered joint, can cause an entire batch of #1 copper to be downgraded. Always keep your clean material separate from anything with paint, solder, or attachments.
Is it actually worth the time to strip thin electrical wire? Usually, no. For wire thinner than 16 gauge (like phone lines or some extension cords), the labor time required to strip it often exceeds the value gained. My rule is to only strip wire if it is thicker than a pencil lead and I can use a mechanical stripper.
How do I distinguish between copper and brass? Copper has a distinct reddish-pink hue, while brass is more yellow or gold. If you are unsure, use a file to scratch the surface. Copper will remain red deep into the metal, whereas brass will show a bright yellow color. Neither should be magnetic.
Should I remove the paper or plastic wrap from inside large cables? Yes. To reach the highest grade (Bare Bright), all non-metallic materials must be removed. This includes the outer jacket, any internal plastic dividers, and paper wrapping. Any “foreign” material left in the bunch will lower the grade.
Can I include copper-clad aluminum (CCA) with my copper? No. CCA is an aluminum wire with a thin copper coating. It is much lighter and less valuable. You can identify it by looking at the cut end of the wire; if the center is silver/white, it is aluminum. Mixing this with pure copper is a major grading error.
Does oxidation (the green or brown film) change the grade? Light oxidation is generally acceptable for #1 copper. However, if the copper is heavily corroded or has a thick “crust,” it will likely be classified as #2. Keeping your storage bins in a dry area helps prevent this.
What tools are essential for a beginner? At a minimum, you need a high-quality utility knife, a pair of heavy-duty wire cutters (diagonal cutters), and a small hacksaw or tubing cutter. As you scale, a manual or drill-powered wire stripper is the best first upgrade.
How should I handle copper that is attached to steel or plastic? Always remove the attachments. Use a hammer and chisel or a reciprocating saw to separate copper from large plastic housings or steel brackets. The goal is to have “clean” metal with no other materials attached.
Is it better to store copper in large drums or small buckets? For a small shop, 5-gallon buckets are superior. They are easier to move, easier to sort into, and don’t take up as much floor space. Large drums are only efficient if you have a forklift or pallet jack to move them.
How do I know if my sorting is “good enough”? A good test is to look at your pile and ask: “Is there anything in here that isn’t copper?” If you see a single screw, a piece of tape, or a drop of solder in your #1 pile, it isn’t ready. Consistency is the key to professional grading.
How does the “shop rate” apply if I’m just doing this as a hobby? Even as a hobbyist, your time has value. If you spend four hours stripping wire to earn an extra $20, you are “working” for $5 an hour. If you enjoy the process, that’s fine, but from a business perspective, that time would be better spent practicing your welding or marketing your services.
Should I flatten copper tubing to save space? It isn’t necessary and can actually make the material harder to inspect. Most buyers prefer to see the hollow center of the pipe to verify there is no hidden debris or lead inside. Neatly stacking the pipes is a better organizational strategy.
(This article was written by one of our staff writers, Michael Hargrove. Visit our Meet the Team page to learn more about the author and their expertise.)