Leasing vs Buying Metal Fabrication Machinery (Comparison)
I spent the first few years of my fabrication career chasing the wrong numbers. I thought that if I had enough work to keep the lights on and the welders humming, the profit would take care of itself. It was a painful lesson to learn that a shop full of expensive equipment and a calendar full of jobs does not always equal a healthy bank account. Many side-hustlers and small shop owners fall into the same trap, viewing new machinery as a trophy rather than a financial tool. When you are transitioning from a hobbyist to a professional, the way you acquire your tools determines whether you are building a business or just funding an expensive habit.
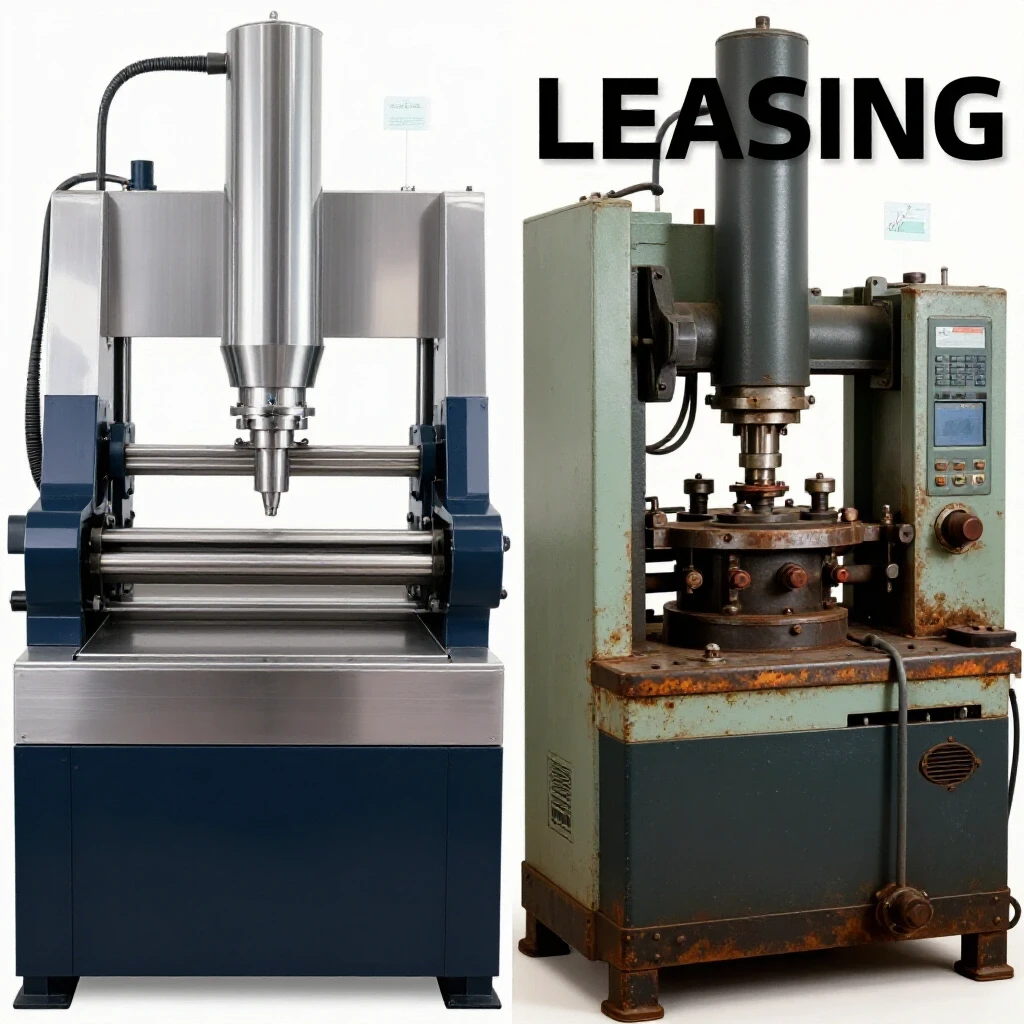
The decision to either pay for a machine in full or enter into a long-term payment agreement is rarely about the machine itself. Instead, it is about cash flow, risk management, and the speed at which you need to see a return on your investment. I have seen shops thrive by buying used gear with cash, and I have seen others scale rapidly by using financing to get the latest technology. There is no single right answer, but there is a right way to do the math. My goal is to help you navigate these shop economics so you can stop guessing at your pricing and start building a sustainable fabrication business.
Determining Your Baseline Workshop Economics
Establishing a baseline involves totaling all fixed and variable costs to ensure every hour spent in the shop covers expenses and generates profit. This process requires a deep dive into your monthly bills, including rent, utilities, insurance, and the hidden costs of keeping the doors open.
When I talk to shop owners about their hourly rate, I often hear numbers like $40 or $50 an hour. Usually, these figures are based on what they think the market will bear, not on their actual costs. In the modern fabrication landscape, a realistic shop rate for a small professional operation typically falls between $65 and $120 per hour. If you are charging less than $65, you are likely losing money on every arc you strike once you factor in the true cost of your equipment.
To find your rate, you must first calculate your “burn rate”—the amount of money it costs to exist for one month, even if you don’t take on a single job. This includes your shop rent, electricity, insurance, and software subscriptions for CAD or accounting. Once you have that number, you divide it by the number of billable hours you realistically expect to work. If your overhead is $2,000 a month and you work 80 hours of side-hustle time, your overhead cost is $25 per hour before you even pay yourself or buy a single grinding disc.
- Fixed Overhead: Rent, insurance, property taxes, and basic utilities.
- Variable Overhead: Shop supplies, minor tool replacements, and incremental power usage.
- Labor Rate: The amount you need to earn to make the work worth your time.
- Profit Margin: The 10% to 20% “kicker” that stays in the business for future growth.
Evaluating Equipment Acquisition and Capital Outlay Strategies
This section evaluates the trade-offs between paying the full price for equipment upfront and making monthly payments to use machinery owned by a third party. It focuses on how these choices affect your monthly cash flow and your ability to respond to new job opportunities.
Choosing how to bring a new piece of equipment into your shop is a pivot point for your business. If you have the cash to buy a machine outright, you eliminate monthly debt, which lowers your break-even point. However, that cash is now “trapped” in the iron. If a major material order comes in next week, you might lack the liquidity to buy the steel you need. On the other hand, a rental or financing agreement keeps your cash in the bank but adds a fixed monthly expense that you must cover regardless of your workload.
In my experience, the decision often comes down to the “utilization rate.” If a machine is going to sit idle for three weeks out of the month, paying a large upfront sum is often hard to justify. But if that machine is the heart of your production—like a CNC plasma table or a heavy-duty press brake—the reliability of owning your primary asset can outweigh the benefits of a low-commitment rental.
| Financial Factor | Outright Purchase (Buying) | Rental/Financing Agreement |
|---|---|---|
| Upfront Cash Required | High (100% of price) | Low (usually 0-10% down) |
| Monthly Fixed Cost | $0 | Fixed monthly payment |
| Asset Ownership | You own it from day one | Title usually stays with the lender |
| Maintenance | 100% your responsibility | Often included in some leases |
| Risk of Obsolescence | High (you own the old tech) | Low (can upgrade at end of term) |
| Impact on Shop Rate | Lowers hourly overhead | Increases hourly overhead |
Understanding Machine Amortization and Depreciation
Machine amortization is the process of spreading the cost of an expensive tool over its useful life to understand its true impact on your project costs. Depreciation tracks how the value of that asset decreases over time due to wear and tear or technological shifts.
If you buy a $15,000 welding cell, you shouldn’t try to “make your money back” on the first three jobs. Instead, you look at the machine’s expected lifespan. If the machine will last 10 years (120 months), the “capital cost” is $125 per month. This is your amortization. When you are calculating your fabrication job costing, you need to include a portion of this $125 in every quote.
Depreciation is the other side of that coin. A machine that costs $15,000 today might only be worth $8,000 in three years. For a side-hustle metalworking pro, this “paper loss” can sometimes be used to offset business income, but the real impact is on your balance sheet. If you own the machine, you are the one losing that value. If you are in a rental or lease-to-own agreement, the lender is often the one carrying the risk of the machine’s value dropping.
- Straight-Line Depreciation: Dividing the cost by the number of years of expected use.
- Usage-Based Amortization: Assigning a cost per hour of “on-time” (e.g., $5.00 per hour of spindle time).
- Residual Value: The estimated amount you could sell the machine for at the end of its life.
Why Hidden Consumables Bleed Small Shop Profits
Consumables are items used up during production, such as welding wire, tips, and grinding wheels, which must be billed to the customer. These small items are often overlooked in the quoting process, leading to a significant “leak” in potential profit.
I once consulted for a shop that was wondering why they were barely breaking even on handrail jobs. When we looked at their welding consumable tracking, we found they were spending $150 per week on flap discs, shielding gas, and TIG rods that were never mentioned in their quotes. They treated these as “shop supplies,” but at the end of the month, these supplies were eating 15% of their net profit.
The best way to handle this is to establish a “consumable burden factor.” For every dollar of labor you bill, you should add a percentage to cover these items. For general fabrication, a 10% to 15% burden is standard. If you are doing high-precision TIG welding with expensive specialty gases, that burden might jump to 25%. Never assume that a $20 spool of wire is “too small to track.” Over a year, those spools add up to a new piece of equipment.
- Abrasives: Grinding wheels, flap discs, and sanding belts.
- Gases: Argon, CO2, Oxygen, and Acetylene.
- Fillers: Welding wire, electrodes, and brazing rods.
- Tooling: Drill bits, end mills, and saw blades.
Calculating Realistic ROI for New Tool Investments
The payback period is the time it takes for the additional profit generated by a machine to equal the cost of acquiring that machine. A realistic metal business ROI calculator should factor in not just the purchase price, but the time saved and the new types of jobs you can accept.
When considering a major upgrade, I use a simple “Time-to-Black” formula. If a new piece of equipment costs $10,000 and it allows you to finish jobs 20% faster, how many jobs do you need to do before that 20% time savings equals $10,000? Most small shops should aim for a payback period of 18 to 36 months. If it takes longer than three years to pay for itself, the investment might be too risky for a side business.
Building on this, you must also consider “opportunity cost.” If you spend $10,000 on a new welder, that is $10,000 you can’t spend on marketing or a larger shop space. Always ask: “Is this the best use of this specific dollar right now?” Sometimes, renting a machine for a specific three-month contract is smarter than buying it, even if the monthly “rent” is higher than a loan payment.
Strategic Sourcing and Material Markup Formulas
Effective sourcing involves finding reliable metal suppliers and buying in quantities that reduce the per-unit cost without overextending shop storage. A material markup ensures you are compensated for the time spent ordering, picking up, and storing raw stock.
I see many new fabricators charge the customer exactly what they paid for the steel at the local yard. This is a mistake. You spent time researching the price, you used your truck and fuel to pick it up, and you used your floor space to store it. You are providing a service by having that material ready to cut.
A standard material markup of 20% to 50% is typical for small shops. If you buy a sheet of 10-gauge steel for $200, you should be billing the customer at least $240 to $300. This covers the “hidden” labor of material management. Furthermore, if you can buy in bulk—say, 10 sheets at a time—your cost per sheet might drop to $160, but your billable price stays at $240. This is where real profit is made in fabrication.
- Tier 1 Markup (20%): Large, expensive items like structural beams or heavy plate.
- Tier 2 Markup (35%): Standard tubing, sheet metal, and bar stock.
- Tier 3 Markup (50%+): Small hardware, fasteners, and specialty items.
Building a Professional Fabrication Job Quote
A professional estimate includes labor, materials, overhead, and a profit margin, ensuring the business remains sustainable over the long term. It serves as a contract between you and the customer, protecting both parties from “scope creep.”
When I build a quote, I break it down into four distinct buckets. First is the material cost (with markup). Second is the labor, calculated using my true shop rate. Third is the consumable burden. Finally, I add a “complexity factor.” If a job requires extremely tight tolerances or expensive setup time, I add 10% to the total to account for the increased risk of mistakes.
Interestingly, customers often respect a detailed quote more than a “napkin estimate.” Showing that you have calculated the exact linear feet of welding or the number of pierces on a plasma table proves that you are a professional. It also makes it much easier to negotiate. If the customer thinks the price is too high, you can show them exactly where the costs are coming from and offer to change the material or simplify the design to meet their budget.
Sample Quote Structure for a Custom Gate
| Item Description | Quantity/Hours | Rate | Total |
|---|---|---|---|
| Raw Steel (Tubing & Mesh) | 1 Lot | $450 (Cost + 30%) | $585.00 |
| Fabrication Labor | 12 Hours | $85.00/hr | $1,020.00 |
| Consumable Burden | 12 Hours | $8.50/hr (10%) | $102.00 |
| Powder Coating (Subcontract) | 1 Job | $250 (Cost + 15%) | $287.50 |
| Total Project Quote | $1,994.50 |
Analyzing Post-Job Profits and Cost Variance
Post-job analysis is the practice of comparing your original estimate to the actual time and money spent on a project. This allows you to identify where your “shop math” was wrong and adjust your future bids for better accuracy.
I call this the “Autopsy Phase.” After every major job, I sit down with my time logs and receipts. If I estimated 10 hours of labor but it actually took 14, I need to know why. Did I underestimate the setup time? Did I have a machine breakdown? Or did I just work slower than usual? This “cost variance” is the most valuable data you can have.
If you consistently find that your actual costs are 20% higher than your estimates, you don’t necessarily have to work faster—you just need to raise your prices by 20%. Most side-hustlers fail because they are afraid to charge what the work actually costs. By tracking your data, you gain the confidence to tell a customer, “This is the price,” because you have the numbers to back it up.
Essential Digital Tools for Modern Shop Management
Managing a shop today is much easier thanks to digital platforms that handle the heavy lifting of bookkeeping and estimation. These tools allow you to move away from spreadsheets and into a more automated workflow.
- QuickBooks or Xero: Essential for tracking your burn rate, managing invoices, and preparing for tax season.
- Jobber or Housecall Pro: Great for scheduling, sending professional quotes via mobile, and taking credit card payments on-site.
- Fusion 360 or SheetCam: Not just for design, but for calculating exact material usage and machine run times for more accurate bidding.
- Evernote or Notion: I use these to keep a “digital library” of every job, including photos, material receipts, and notes on what went wrong or right.
Practical Steps for Transitioning to Professional Equipment
If you are currently a hobbyist looking to scale, your first step shouldn’t be buying a $50,000 fiber laser. Instead, start by refining your shop rate with the tools you already have. Prove that you can make a profit at $75 an hour using a manual bandsaw and a basic MIG welder. Once your “billable hours” exceed your capacity, that is the signal to invest in faster, more expensive machinery.
When that time comes, look at your cash reserves. If you have six months of operating expenses in the bank, buying a machine with cash is a great way to keep your overhead low. If you are growing fast but cash is tight, a lease-to-own agreement can provide the equipment you need to fulfill larger contracts without draining your savings. Just remember that every monthly payment increases your “survival number”—the amount you must earn every month just to keep the lights on.
Frequently Asked Questions
What is the difference between an equipment lease and a equipment loan? A loan usually involves you owning the equipment from the start, with the bank holding a lien. A lease is more like a long-term rental where the leasing company owns the machine, and you have the option to buy it at the end of the term for a set price (often $1 or fair market value).
How do I know if I should buy a used machine or a new one? Used machines have a lower entry cost but higher maintenance risks. New machines offer warranties and better reliability but require a higher investment. For a side-hustle, I often recommend “high-quality used” for manual tools and “new with support” for complex CNC equipment.
Is it better to rent a machine for a one-off job? Yes. If a job requires a specialized tool like a heavy-duty magnetic drill or a large pipe bender that you won’t use again for months, renting is much smarter than buying. It keeps your capital free and your shop uncluttered.
How do I factor in the cost of electricity for heavy machinery? For most small shops, electricity is a small percentage of the overhead. However, for high-consumption tools like large compressors or plasma cutters, you can use a “kilowatt-hour” estimate based on the machine’s amp draw and add it to your hourly shop rate.
What is a “Section 179” deduction? In the United States, Section 179 allows businesses to deduct the full purchase price of qualifying equipment bought or financed during the tax year. This can be a huge benefit for both buying and certain types of leases, but you should always verify the current limits with a tax professional.
Should I charge the same rate for “design time” as I do for “welding time”? Many shops charge a lower “office rate” for CAD work and a higher “shop rate” for fabrication. However, if your design skills are a primary reason customers choose you, there is no reason you can’t charge your full professional rate for those hours as well.
How often should I update my shop rate? I review my shop rate every six months. If material costs, rent, or energy prices have gone up significantly, I adjust my bidding formula immediately. Waiting a year to raise prices can cost you thousands in lost margin.
What is the “Consumable Burden” again? It is a small surcharge added to every job to cover the cost of items that get used up, like gas, wire, and abrasives. It is usually calculated as a percentage of your labor or a flat fee per hour of machine time.
How do I handle “friend and family” pricing without losing money? The best way is to show them a full-price quote with a “Family Discount” line item at the bottom. This shows them the true value of your work while still giving them a break. Never discount so much that you are paying out of pocket for their materials and consumables.
Can I include my commute time in my job costing? If you are traveling to a job site for an installation, you should absolutely charge a “mobilization fee” or a travel rate. For your daily commute to your own shop, that is generally considered part of your personal time and is not billed to the customer.
What is a “linear foot” cost baseline? This is a pricing method where you charge a set amount for every foot of welding or cutting performed. It is very common in structural work or production runs where the tasks are repetitive and easy to measure.
Is it worth it to buy a backup machine? Only if the downtime of your primary machine would cost you more than the price of the backup. For a side-hustle, it is usually better to have a good relationship with a neighboring shop that can help you out in an emergency.
(This article was written by one of our staff writers, Michael Hargrove. Visit our Meet the Team page to learn more about the author and their expertise.)