Durable Metalworking Hand Tools for Daily Shop Use (Review)
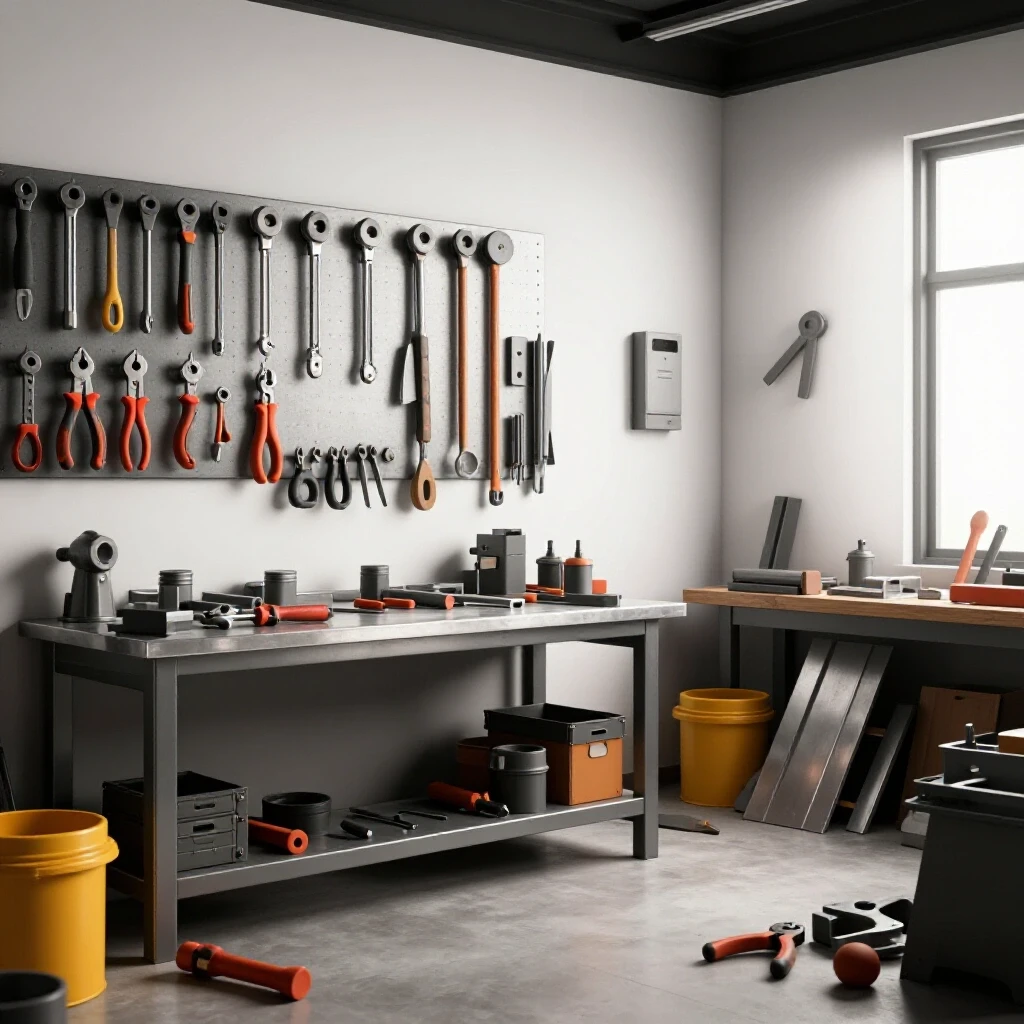
I have spent the last 15 years in a small fabrication shop, surrounded by the smell of cut steel and the constant hum of work. My journals are not filled with poetry; they are filled with dates, tool brands, and the exact moment a pair of snips stopped cutting cleanly. I started logging these details because I was tired of tools that looked great on a website but failed after three weeks of real shop use. In my experience, the true value of a tool is not found in its polished finish, but in how its edge holds up after the thousandth strike or the five-hundredth cut.
Most reviews you find today are based on a few minutes of use right out of the box. They do not tell you how the handle feels after four hours of continuous filing, or how the pivot point on a pair of pliers wears down over two years. My goal is to share the data I have gathered from my own maintenance logs. This information is designed to help you look past the marketing and understand the physical realities of the equipment you rely on every day. We are looking for tools that offer consistency, not just a low initial cost or a flashy name.
Analyzing Tool Metallurgy and Material Composition
Understanding the metallurgy behind workshop essentials is the first step in predicting how long an edge will last. Different alloys offer varying levels of toughness and wear resistance, which determines if a tool will chip or dull when striking hard surfaces. Selecting the right material ensures the tool matches the specific task.
The heart of any manual cutting or striking tool is the steel. In my shop, I have tracked the performance of various carbon steels and alloy steels used in cold chisels and center punches. High-carbon steel is common, but I have found that tools incorporating chromium-vanadium alloys tend to resist “mushrooming” at the striking end much better over time. Mushrooming occurs when the metal deforms from repeated hammer blows, creating a dangerous edge that can chip off.
The Role of Rockwell Hardness in Edge Retention
Rockwell Hardness (HRC) measures the indentation resistance of a metal. For shop equipment, finding the balance between a high HRC for sharpness and a lower HRC for impact resistance ensures the tool does not shatter during heavy use. A tool that is too hard becomes brittle and prone to cracking.
When I look at my logs for metal files, the HRC rating is the single biggest predictor of longevity. A file with a rating of 62-64 HRC will bite into mild steel effortlessly for months. However, if that same file hits a hardened weld bead, the teeth can snap if the steel lacks the proper tempering. I prefer a slightly lower hardness for tools like snips—around 58-60 HRC—which allows the edge to be honed again rather than simply breaking when it encounters a tough spot.
- HRC 55-58: Good for hammers and striking tools; resists chipping.
- HRC 58-60: Ideal for snips and pliers; balances sharpness with toughness.
- HRC 60-65: Best for files and scribes; provides maximum wear resistance.
Impact of Heat Treatment on Tool Longevity
Heat treatment is the process of heating and cooling metal to change its physical properties. Proper tempering ensures that a tool remains flexible enough to absorb shocks while keeping its working end hard enough to perform. Poor heat treatment leads to tools that bend or snap under normal loads.
I once tracked a set of inexpensive punches that all failed within six months. Upon inspection, the grain structure of the steel suggested they were quenched too quickly, making them brittle. In contrast, my high-quality punches show consistent wear patterns that I can easily fix with a light grinding. This consistency is what you are paying for when you choose tools with verified heat-treatment processes.
Evaluating Ergonomic Design for Repetitive Use
Ergonomics in the workshop is about more than just comfort; it is about reducing the physical strain that leads to errors. A well-designed handle distributes force evenly across the palm, preventing localized pressure points during hours of manual forming or cutting. Good design considers the natural movement of the human hand.
When you are performing manual tasks for hours, the weight and balance of the tool become critical. I have noted in my logs that a hammer with a poorly balanced head causes forearm fatigue much faster than one where the weight is centered over the striking face. This is not just a matter of feeling tired; fatigue leads to sloppy work and missed strikes.
Handle Materials and Grip Durability
The material used for tool handles affects both the grip and the vibration felt by the user. While wood is traditional and offers great vibration dampening, modern composites and high-grade rubbers often provide better oil resistance and durability in a greasy shop environment. Choosing the right grip prevents slips.
In my experience, “soft-grip” handles are a double-edged sword. While they feel great on day one, my maintenance logs show that many of them degrade when exposed to common shop fluids like cutting oil or degreaser. I now look for handles made of chemical-resistant elastomers. These stay tacky enough for a firm grip but do not turn into a sticky mess after a year on the workbench.
- Hickory: Excellent for hammers; absorbs shock but can break if overstriked.
- Fiberglass: Very durable and weather-resistant; transmits more vibration than wood.
- Acetate: Extremely resistant to chemicals; ideal for screwdriver handles and small picks.
- Textured Rubber: Provides high friction; check for oil resistance ratings before purchasing.
Pivot Design and Mechanical Advantage
The pivot point is the most common failure location for tools like pliers, snips, and clamps. A high-quality pivot uses a hardened pin or a bolt-and-nut assembly that allows for adjustment as the tool wears over time. This ensures the jaws remain aligned for a clean cut.
I track the “play” or wobble in my snips every six months. Tools with a simple rivet pivot tend to develop gaps that cause the metal to fold rather than cut. I prefer tools with an adjustable pivot. Being able to tighten the tension as the blades wear has extended the life of my primary cutting tools by nearly double compared to non-adjustable versions.
Tracking Long-Term Performance of Layout Equipment
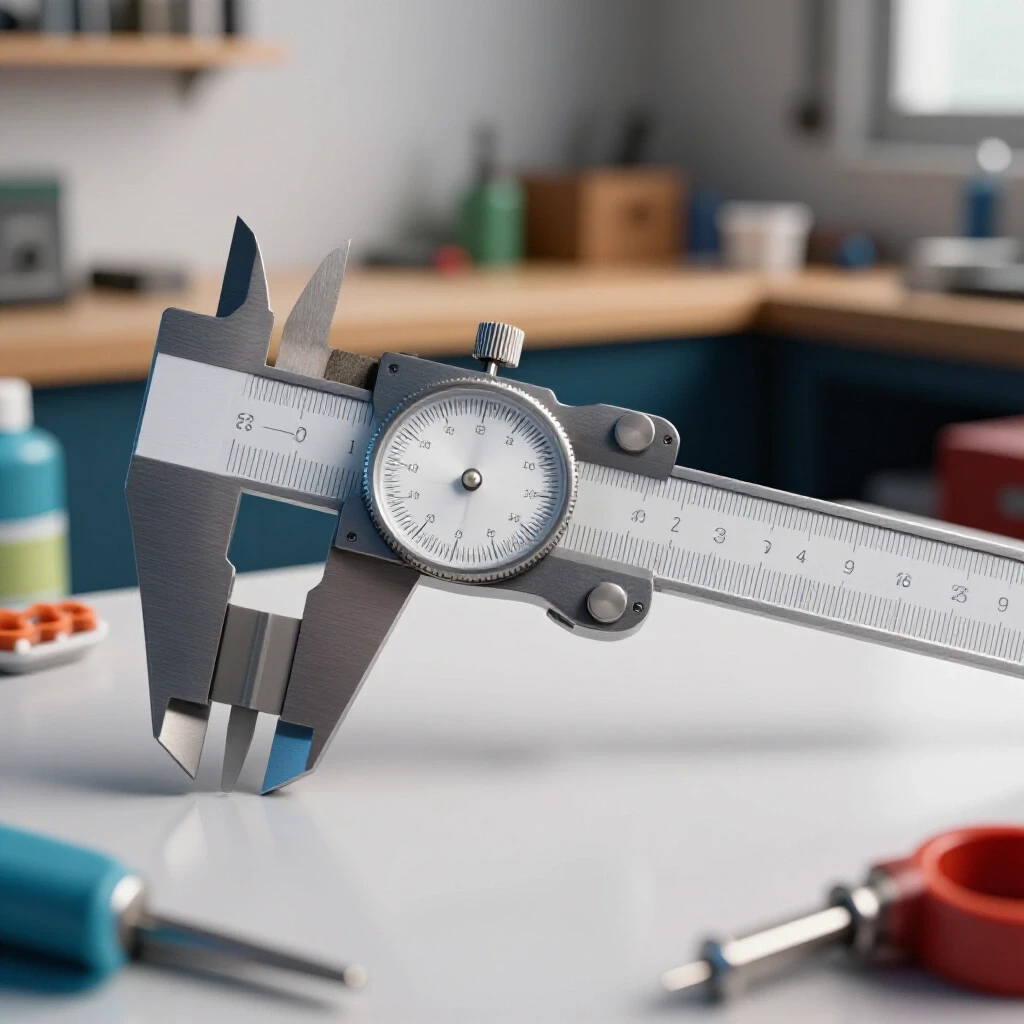
Accuracy is the foundation of any fabrication project, and measuring tools must maintain their precision over hundreds of heat cycles and drops. Monitoring how a square or scribe holds its edge or alignment provides a clear picture of its manufacturing quality. Reliability in layout prevents costly mistakes later.
Layout tools are often overlooked, but they are the most used items in my shop. If a square is off by even a fraction of a degree, that error multiplies over the length of a large frame. I keep a “Master Square” in a felt-lined drawer that never leaves the bench. I use it once a month to check every other square in the shop.
Maintaining Precision in Squares and Protractors
Shop squares often lose their 90-degree truth due to thermal expansion or physical impact. Regularly checking these tools against a known standard and logging the deviation helps identify when a tool needs to be retired or recalibrated for high-tolerance work. A dropped square is often a dead square.
| Tool Type | Material | Expected Life (Daily Use) | Failure Sign |
|---|---|---|---|
| Machinist Square | Hardened Steel | 10+ Years | Loss of 90-degree truth |
| Carbide Scribe | Tool Steel/Carbide | 2-3 Years (Tip) | Blunting or chipping |
| Steel Ruler | Stainless Steel | 15+ Years | Blurred etched markings |
| Spring Dividers | Forged Steel | 20+ Years | Stripped adjustment threads |
Interestingly, I have found that stainless steel rulers with etched—not printed—markings are the only ones that survive the constant abrasion of being slid across raw steel. Printed markings usually disappear within the first 200 hours of use in my shop.
Durability of Marking Tools and Scribes
Marking tools must produce a visible line on various surfaces without dulling instantly. A scribe with a replaceable or sharpenable tip is essential for daily fabrication, as the abrasive nature of mill scale on hot-rolled steel will wear down even the hardest points. Consistency in line weight is key.
My logs show that carbide-tipped scribes outlast standard steel scribes by a factor of ten. While the steel scribe needs sharpening every week, the carbide tip stays sharp for months. However, carbide is brittle. I have a note in my journal from 2018 where I dropped a carbide scribe on a concrete floor, and the tip shattered instantly. It is a trade-off between wear resistance and impact fragility.
Maintenance Protocols for Extending Equipment Life
Consistent care is what separates a tool that lasts five years from one that lasts twenty. Simple tasks like removing metal chips from files or dressing the face of a hammer prevent premature wear and keep the tools performing at their peak. A clean tool is a functional tool.
I treat maintenance as a scheduled part of my work week. Every Friday afternoon, I spend thirty minutes inspecting the hand tools I used most. This prevents small issues, like a loose handle or a tiny nick in a blade, from turning into a tool failure in the middle of a deadline.
Cleaning and Dressing Striking Tools
Hammers and chisels require regular “dressing” to remain safe and effective. Dressing involves using a fine-grit stone or grinder to remove any rolled edges or burrs from the striking face, ensuring that the force of the blow is transferred cleanly and predictably. This prevents dangerous metal shards.
- Hammer Faces: Check for pitting or smooth spots. A slightly scuffed face grips the nail or punch better than a polished one.
- Chisel Heads: Grind away any “mushroom” growth immediately.
- Chisel Edges: Use a guide to maintain the factory bevel angle (usually 60 degrees for cold chisels).
In my shop, I have a specific log for my favorite 2-pound dead-blow hammer. Over three years, the outer casing started to crack. By catching this early and applying a specialized flexible adhesive, I was able to get another year of use out of it before the internal shot began to leak.
Care and Storage of Manual Cutting Tools
Metal files and snips are highly sensitive to how they are stored. When files are thrown into a drawer together, their teeth rub against each other, causing them to dull before they ever touch a piece of work. Proper storage and cleaning are essential for maintaining their “bite.”
I use a “file card”—a stiff wire brush—to clean the teeth of my files every few minutes during use. If the teeth get clogged with soft metal like aluminum, the file stops cutting and starts sliding, which generates heat and wears the teeth down. For storage, I built a vertical rack so that no two tools touch. My logs indicate that files stored this way stay sharp 30% longer than those kept in a common drawer.
Performance Metrics for Clamping and Fixturing
Clamps are the unsung heroes of the shop, holding workpieces in place against the stresses of heat and mechanical force. The durability of a clamp is measured by its ability to maintain pressure without the screw stripping or the frame bending over repeated cycles. Reliability in clamping ensures project alignment.
I track the “clamping force” of my C-clamps and F-clamps by noting when the frames begin to show permanent deformation. A cheap clamp will “spring” or stay bent if you tighten it too much. High-quality forged clamps return to their original shape every time.
Screw Thread Durability and Lubrication
The threads on a clamp or vise are subject to immense pressure and often get covered in grinding dust or weld spatter. Using a dry lubricant, like graphite or a specialized wax, keeps the threads turning smoothly without attracting the abrasive grit that wears them down.
- Inspect Threads: Look for flattened or “galled” sections where the metal has smeared.
- Clean Spatter: Use a wire brush to remove any small beads of metal from the screw.
- Apply Lubricant: Use a dry film lubricant to ensure the screw doesn’t bind under load.
- Check Pads: Ensure the swiveling pads move freely so they apply pressure evenly.
According to my maintenance journal, clamps that are lubricated monthly require 40% less physical effort to tighten to the same pressure as unlubricated ones. This significantly reduces the wear on the internal threads of the clamp body.
Frame Rigidity and Material Memory
A clamp frame must be rigid enough to hold the work but flexible enough to not snap under tension. Forged steel frames generally offer the best “memory,” meaning they return to their original shape after the load is released. Cast iron frames are cheaper but can crack if over-tightened.
I once tested a series of bar clamps for a large gate project. The cast-iron versions failed when I applied maximum pressure to pull a warped tube into alignment. The forged steel clamps flexed visibly but held the load and returned to perfectly straight once the job was done. Since then, I only buy forged components for high-stress applications.
Conclusion and Next Steps for Shop Management
Building a collection of reliable equipment is a marathon, not a sprint. By focusing on material quality, ergonomic comfort, and consistent maintenance, you can create a workshop that works with you rather than against you. The data in your own shop—the broken handles and the dull blades—is the best guide you have for future purchases.
- Start a Tool Log: Dedicate a notebook to your shop tools. Record the date of purchase, the material it is made of, and any failures.
- Audit Your Squares: Check your layout tools against a master standard today. Mark any that are out of alignment.
- Clean Your Files: Spend ten minutes with a file card cleaning out the “pinned” metal from your most-used files.
- Inspect Striking Faces: Look for mushrooming on your chisels and punches. Grind them back to a safe profile this weekend.
- Build a Storage Rack: If your tools are currently in a pile, create a simple system to keep them separated and protected.
FAQ
How can I tell if a tool is made of high-quality steel? Look for specific alloy markings like “Cr-V” (Chromium-Vanadium) or “S7.” Higher-quality tools often have a cleaner finish with fewer casting marks. In the shop, a high-quality steel tool will produce a distinct “ring” when tapped, whereas lower-quality “pot metal” will produce a dull thud.
Why do my metal files dull so quickly? The two main reasons are improper storage and lack of cleaning. If files rub together in a drawer, the teeth chip. If you do not use a file card to remove “pins” (clogs of metal), the file will slide over the work, generating heat that softens the teeth.
Is there a way to fix a square that is no longer 90 degrees? For solid steel machinist squares, you can sometimes “nudge” them back by using a center punch near the inner or outer corner of the joint to move the metal. However, for most fabrication work, a square that has lost its truth is better used for rough layout or retired.
What is the best way to prevent rust on hand tools? In a damp shop, a thin coat of paste wax or a specialized tool oil is best. Avoid using WD-40 for long-term protection, as it evaporates quickly. My logs show that tools wiped with a wax-based protectant stay rust-free for up to six months in unheated spaces.
How do I know when a hammer handle needs replacing? Inspect the wood for any cracks that run parallel to the handle. If the head “wiggles” even slightly, it is unsafe. For fiberglass handles, look for fraying or “blooming” of the fibers, which indicates the resin is failing.
Can I sharpen my own snips and wire cutters? Yes, but you must follow the original bevel angle. Use a fine diamond hone rather than a coarse grinder. For wire cutters, only sharpen the outer face; never grind the flat inner faces, or the jaws will no longer meet.
What does “drop-forged” actually mean for tool durability? Drop-forging is a process where a heated bar of steel is hammered into a die. This aligns the grain structure of the metal with the shape of the tool, making it much stronger and more resistant to cracking than a tool that is simply cast from molten metal.
Why should I avoid “soft-grip” handles in a metal shop? While comfortable, many soft-grip materials are porous and absorb oils, fuels, and solvents. Over time, this causes the grip to swell, peel, or become permanently sticky. For heavy shop use, hard acetate or textured chemical-resistant rubber is usually a better long-term investment.
How often should I dress the heads of my cold chisels? You should dress them as soon as you see a “lip” starting to form over the edge of the striking face. In a busy shop, this might be once a month. Ignoring this leads to “spalling,” where a piece of the mushroomed metal flies off like a bullet when struck.
Does the color of the metal tell me anything about its quality? Not necessarily, as many tools are painted or plated. However, if you grind a small spot, the spark pattern can tell you about the carbon content. High-carbon steel produces many “bursting” sparks, while low-carbon steel produces longer, simpler sparks.
(This article was written by one of our staff writers, David Reynolds. Visit our Meet the Team page to learn more about the author and their expertise.)