Creating a Machine Tool Lubrication Schedule (Checklist)
I have spent twenty years watching shops grow from a single workbench to a full-scale production floor. In that time, I have learned that the difference between a shop that thrives and one that struggles often comes down to how well the owner treats their manual equipment. When you are scaling up, it is easy to focus on the next big job and forget the quiet needs of your lathes, mills, and saws. I have seen high-output facilities grind to a halt because a lead screw seized or a headstock ran dry. These are not just machines; they are the backbone of your business. If you want to move from a hobby-level setup to a professional operation, you have to stop reacting to problems and start preventing them.
Managing a busy fabrication space brings a lot of stress. You are juggling floor space, power requirements, and deadlines. In the middle of that chaos, maintenance can feel like a chore that slows you down. However, I have found that a structured approach to caring for your tools actually speeds things up. It reduces downtime and keeps your tolerances tight. In this guide, I will share how I developed a systematic way to keep my manual machines running smoothly. We will look at how to identify what needs oil, which fluids to use, and how to track everything so nothing gets missed. This is about building a professional foundation for your shop.
Establishing a Systematic Maintenance Cadence
A systematic maintenance cadence is a planned approach to tool care that replaces guesswork with a set routine. It ensures that every moving part on your manual metalworking equipment receives the proper oil or grease at specific intervals. This method prevents premature wear and helps maintain the accuracy of your machinery over several years.
When I first started, I oiled my lathe whenever I noticed the carriage felt a bit stiff. That was a mistake. By the time you feel resistance, damage is already happening. Metal is rubbing against metal, creating heat and microscopic tears. In a professional shop, we cannot afford that. I moved to a system where maintenance is part of the daily and weekly workflow. This shift changed the atmosphere of my shop. Instead of “fixing” things, we were “maintaining” them. It sounds like a small distinction, but it saves thousands of dollars in replacement parts.
Building this routine starts with understanding your shop’s specific rhythm. If you run your mill for eight hours a day, your needs are different than a shop that uses it twice a week. I recommend starting with a basic daily walk-through. Before you flip the power switch, you should be looking for dry ways or empty oil cups. This five-minute habit is the most effective way to protect your investment.
| Maintenance Level | Frequency | Primary Focus |
|---|---|---|
| Daily | Every Shift | Exposed ways, oil cups, and chip removal. |
| Weekly | Every 40 Hours | Lead screws, gearboxes, and belt tensions. |
| Monthly | Every 160 Hours | Reservoir levels, filter cleaning, and gib adjustments. |
| Annual | Every 2,000 Hours | Full fluid changes and precision alignment checks. |
Mapping Friction Zones on Manual Lathes and Mills
Mapping friction zones involves identifying every point on a machine where parts move against each other. This includes flat surfaces like bed ways, rotating components like spindles, and threaded parts like lead screws. Knowing these locations allows you to apply the correct lubricant to the exact spot where it is needed most.
Every machine has a “map” of where it needs help. On a manual lathe, the ways are the most obvious. These are the precision-ground surfaces the carriage slides on. If they go dry, the carriage will “stick-slip,” making it impossible to get a good surface finish. I once worked in a shop where the operator neglected the tailstock ways. Over time, the tailstock became so hard to move that we had to use a pry bar. That is a failure of leadership and process. We had to spend three days stone-grinding the ways back to a usable state.
On a vertical mill, the “knee” and the “table” have similar requirements. You also have the quill, which moves up and down constantly. Each of these zones has a different job. The ways need a tacky oil that stays in place, while the internal gears might need a thinner oil that can splash around. When you map out your shop, take a piece of tape and mark every oil nipple and fill port. It makes it much harder for a new employee or a tired shop owner to miss a spot during a busy week.
- Bed Ways: These require a “way oil” with tackifiers to prevent the oil from squeezing out under heavy loads.
- Lead Screws: These threaded rods move the table or carriage and need regular lubrication to prevent backlash.
- Headstock Gears: These often sit in an oil bath and require periodic level checks and full changes.
- Spindle Bearings: These are the heart of the machine and often require a very light, high-speed oil.
- Quill Surfaces: On a mill, the quill needs a light film to ensure smooth plunging and retraction.
Categorizing Shop Lubricants by Application
Categorizing shop lubricants means matching the specific oil or grease to the mechanical task it performs. Machine tools require different viscosities, ranging from thin spindle oils to heavy gear oils and tacky way lubricants. Using the wrong fluid can be just as damaging as using no fluid at all.
I have seen people use WD-40 as a lubricant for their lathe ways. That is a recipe for disaster. WD-40 is a solvent and a rust preventative; it is not a lubricant for heavy machinery. In a professional shop, you need to speak the language of ISO grades. ISO 68 is a common weight for way oil. It is thick and sticky. ISO 32 is often used for hydraulic systems or lighter spindles. If you put ISO 68 in a high-speed spindle, it will overheat. If you put ISO 32 on your ways, it will run off and leave the metal unprotected.
In my shop, I keep a dedicated cabinet for these fluids. I label them not just by their name, but by the machine they belong to. For example, my “Lathe Way Oil” bottle is clearly marked. This prevents cross-contamination. I also use different types of applicators. A pump oiler is great for filling cups, while a brush might be better for applying a thin coat of grease to an open gear.
| Lubricant Type | Common ISO Grade | Typical Application |
|---|---|---|
| Way Oil | ISO 68 or 220 | Lathe beds, mill tables, dovetail slides. |
| Spindle Oil | ISO 10 to 32 | High-speed bearings and sensitive spindles. |
| Gear Oil | ISO 100 to 150 | Manual gearboxes and headstocks. |
| General Purpose | ISO 46 | Drill press columns and non-precision pivots. |
| Lithium Grease | NGLI 2 | Open gears, rack and pinion sets, and hinges. |
Implementing a Visual Inspection Routine
A visual inspection routine is a deliberate process of looking for signs of wear, contamination, or lubrication failure. It involves checking for “weeping” oil, metal shavings in the lubricant, or dry spots on precision surfaces. This practice allows you to catch small issues before they become expensive mechanical failures.
I tell my team that their eyes are the most important tools in the shop. When you walk up to a machine, look at the floor first. Is there a new puddle of oil? That might mean a seal is failing. Look at the ways. Do they look shiny and wet, or dull and dry? If they are dry, you are already behind. I once caught a failing bearing on a horizontal saw just because I noticed the oil in the sight glass had turned a milky grey color. That color change meant water or coolant had leaked in. If we hadn’t seen it, the bearing would have seized within the week.
Visual checks also include looking at the “swarf” or chips. If the chips are getting stuck in the grease on your lead screws, they will act like sandpaper. You need to see that and clean it off. A clean machine is a machine that is easy to inspect. If your lathe is buried in chips and old grease, you will never see the warning signs. Part of a professional workflow is wiping down the machines at the end of every day. This isn’t just for aesthetics; it’s so you can see the machine’s condition clearly the next morning.
- Check Sight Glasses: Ensure oil levels are within the “safe” marks on all gearboxes.
- Observe Way Film: Touch the ways to confirm a thin, consistent film of oil is present.
- Inspect Oil Cups: Verify that “total loss” oilers are actually dripping and not clogged.
- Monitor Oil Color: Look for darkening or cloudiness, which indicates contamination or oxidation.
- Examine Wipers: Check the felt or rubber wipers on the carriage to ensure they are wiping away chips, not trapping them.
Developing a Frequency Matrix Based on Tool Usage
A frequency matrix is a tool used to determine how often a machine needs service based on its actual workload. Instead of using a calendar, this method uses “spindle hours” or “shift counts” to trigger maintenance tasks. This ensures that heavily used machines get more attention than those that sit idle.
In a scaling shop, your machines don’t all work at the same rate. Your main lathe might run six hours a day, while your cold saw only runs for twenty minutes. If you oil them both once a week, you are over-maintaining the saw and under-maintaining the lathe. I use a simple logbook for each major tool. We record the approximate hours of use. When the lathe hits 40 hours, it gets a “Level 2” service. This includes checking the gearbox oil and cleaning the lead screw.
This usage-based approach is a core part of lean manufacturing. It prevents wasted time. Why change the oil in a gearbox that hasn’t moved? Conversely, it protects the machines that are making you the most money. I have found that a simple “Hour Meter” can be mounted to the motor circuit of most manual machines. It costs about twenty dollars and tells you exactly when it is time for service. This takes the emotion and the memory out of the equation. The meter doesn’t lie.
- Light Usage (1-5 hours/week): Perform basic oiling once a week; check reservoirs monthly.
- Moderate Usage (10-20 hours/week): Oil ways daily; perform deeper inspections bi-weekly.
- Heavy Usage (40+ hours/week): Oil ways multiple times per shift; full inspection weekly.
- Idle Tools: Apply a rust preventative and cycle the moving parts once a month to prevent “flat-spotting” bearings.
Organizing Maintenance Supplies for Better Workflow
Organizing maintenance supplies involves creating a dedicated station where all oils, greases, and applicators are stored and labeled. This setup reduces the time spent searching for tools and ensures that the correct lubricant is always within reach of the machine. A well-organized station encourages the team to follow the maintenance routine consistently.
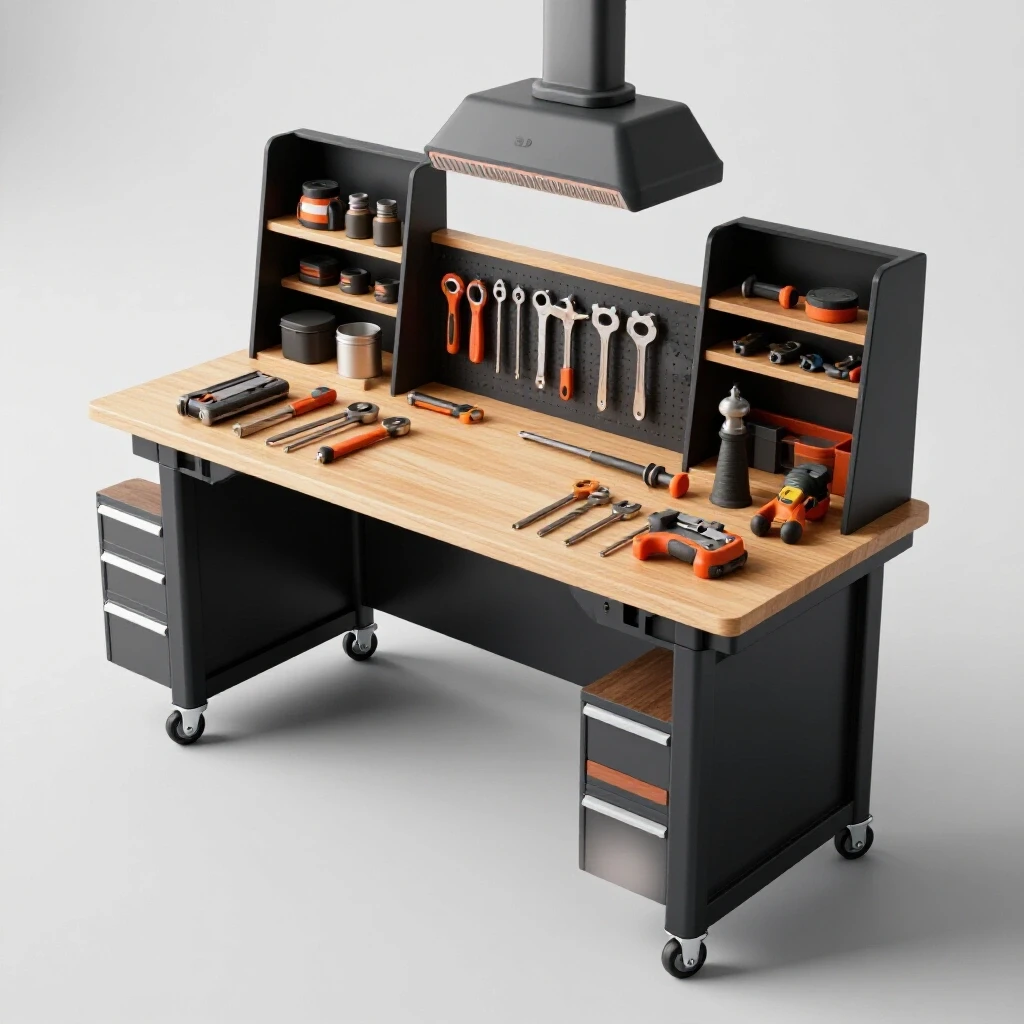
If the oil can is all the way across the shop, people won’t use it. It is human nature. To fix this, I redesigned my shop layout to include “Maintenance Points.” Each major machine has its own small shelf or shadow board. On that shelf is the specific oil can and the specific wipe-down rag for that tool. This eliminates the “I couldn’t find the oil” excuse. It also keeps the shop cleaner. When everything has a home, you don’t end up with greasy rags sitting on your precision surface plates.
I also recommend using color-coded labels. For example, everything related to “Way Oil” gets a blue sticker. The bottle is blue, the oil cup on the machine has a blue ring around it, and the storage shelf has a blue label. This “visual management” is a lean principle that works wonders in a high-stress environment. It reduces the mental load on the operator. They don’t have to think; they just match the colors. This is how you transition from a hobby shop to a professional production space.
- Centralized Lube Station: Store bulk containers in a cool, dry area to prevent oil breakdown.
- Point-of-Use Applicators: Keep small, labeled pump-oilers at each machine.
- Dedicated Rags: Use specific colors for cleaning rags to avoid wiping grinding dust onto precision ways.
- Refill Log: Keep a simple sheet to track when you are running low on specific ISO-grade oils.
- Spill Kits: Keep a small bucket of absorbent material near the station for quick cleanup.
Tracking and Record Keeping for Long-Term Reliability
Tracking and record keeping is the process of documenting every maintenance action taken on a machine. This can be as simple as a clipboard hanging on the tool or a digital spreadsheet. These records provide a history of the machine’s health and help identify recurring issues or patterns of neglect.
I used to think that paper logs were a waste of time. I thought I could remember when I last changed the headstock oil. I was wrong. As the shop grew, my memory failed. Now, every machine has a laminated card attached to it. When an operator oils the ways, they put a checkmark. When I change the gearbox oil, I write the date and the type of oil used. This simple act creates accountability. If I walk by a machine and see no checkmarks for three days, I know we have a process breakdown.
These records are also vital if you ever decide to sell your equipment. A buyer will pay a premium for a manual mill that comes with five years of maintenance logs. It proves the machine hasn’t been abused. More importantly, it helps you troubleshoot. If a lathe starts making a strange noise, you can look at the log and see that the oil was changed two weeks ago. That might lead you to realize the wrong oil was used, or perhaps a filter was installed incorrectly. Data is your best friend in a professional shop.
- Maintenance Logs: A simple date/action/initial format works best for daily tasks.
- Repair History: Document any parts replaced or adjustments made to gibs and bearings.
- Fluid Change Labels: Place a small sticker on the gearbox with the date and ISO grade of the current oil.
- Digital Backups: Take a photo of the paper logs once a month so you have a permanent record in the cloud.
Common Pitfalls in Manual Machine Care
Common pitfalls are the frequent mistakes shop owners make when trying to maintain their equipment. These include over-lubricating, using contaminated oil, or ignoring “hidden” lubrication points like internal wick feeds. Recognizing these mistakes early can save a machine from a slow and expensive death.
One of the biggest mistakes I see is “over-greasing.” People think that if a little grease is good, a lot is better. This is false. Too much grease can trap heat and actually push seals out of their seats. It also attracts dust and metal chips, turning the grease into a grinding paste. Another pitfall is ignoring the “wicks.” Many older manual machines use felt wicks to draw oil from a reservoir to a bearing. Over time, these wicks get clogged with grime and stop working. Even if the reservoir is full, the bearing is starving. You have to replace those wicks every few years.
Finally, never reuse oil. I have seen shops try to “filter” old oil through a coffee filter to save money. This is a terrible idea. Oil breaks down chemically due to heat and pressure. It loses its ability to protect the metal. The cost of a few gallons of fresh ISO 68 is nothing compared to the cost of regrinding the ways on a Bridgeport mill. Be professional—use fresh, clean lubricants every time.
Conclusion
Transitioning your shop into a highly efficient, semi-professional space requires a change in mindset. It is about moving from “using” tools to “stewarding” them. By creating a clear routine for applying oils and greases, you are protecting your ability to produce high-quality work. You are also reducing the physical bottlenecks that occur when a machine goes down for an avoidable repair.
I have found that once the system is in place, it becomes second nature. The shop feels calmer and more organized. Your machines will run quieter, your finishes will look better, and your stress levels will drop. Start small. Pick one machine this week and map out its friction zones. Buy the correct ISO-grade oil and a dedicated pump-oiler. Hang a clipboard and start tracking. These small steps are the building blocks of a professional fabrication business.
Frequently Asked Questions
What is the difference between way oil and standard motor oil?
Way oil contains special additives called “tackifiers” that help it stick to vertical and horizontal surfaces. Standard motor oil is designed to flow quickly and will often run off machine ways, leaving them dry. Way oil also has “extreme pressure” additives that prevent the heavy carriage of a lathe or mill from squeezing the oil out from between the metal surfaces.
How often should I actually change the oil in my lathe headstock?
For most manual lathes in a light commercial setting, a full oil change every 1,000 to 2,000 hours of operation is standard. However, you should check the level weekly and look for signs of contamination. If the oil looks milky, dark, or contains visible metal flakes, change it immediately regardless of the hours.
Can I use the same grease for everything in my shop?
No. Different components require different grease properties. Open gears need a very tacky grease that won’t sling off at high speeds. High-speed bearings might need a thinner, synthetic grease that handles heat better. Always check the machine manual for the NGLI rating (usually NGLI 2 for general shop use) to ensure compatibility.
Why does my machine have “oil cups” instead of grease fittings?
Many precision machines use “total loss” oiling systems. Oil is designed to flow through the bearing, wash away any tiny bits of grit or heat, and then exit the machine. Grease, on the other hand, stays in place and can trap contaminants. If a machine was designed for oil, never pump grease into it, as it will clog the internal oil passages.
How do I know if my oil wicks are still working?
If you fill an oil reservoir and the level never goes down, your wicks are likely clogged or “glazed” with old, dried oil. A functioning wick should slowly draw oil out of the reservoir over several hours of use. If the machine stays dry despite a full reservoir, it is time to open the access panel and replace the felt wicks.
Is it necessary to oil the machine if I only use it for five minutes?
Yes. Friction starts the moment the machine begins to move. Even a short operation can cause wear if the surfaces are dry. A quick “once-over” with an oil can before you start is the best insurance policy for your equipment.
What is the best way to clean old, hardened grease off a machine?
Use a mild degreaser and a plastic scraper or a stiff nylon brush. Avoid using metal scrapers or wire brushes on precision-ground surfaces like ways, as you can scratch them. Once the old grease is gone, immediately apply a fresh coat of the correct lubricant to prevent rust.
Should I oil the lead screws on my mill every day?
If you are doing heavy milling with lots of chips, you should clean and oil the lead screws daily. Chips can stick to the oil on the screw and get pulled into the nut, causing rapid wear. Wiping the screw clean and applying a fresh, light coat of oil prevents this “lapping” action.
What does “ISO 68” actually mean?
ISO stands for the International Organization for Standardization. The number (68) refers to the kinematic viscosity of the oil in centistokes (cSt) at 40 degrees Celsius. In simple terms, a higher number means the oil is thicker. Knowing the ISO grade allows you to buy the correct oil from any brand and know it will perform as expected.
How do I handle oil disposal in a home-based shop?
Treat your machine oil the same way you handle automotive oil. Collect it in a sealed container and take it to a local recycling center or an auto parts store that accepts used oil. Never pour it down the drain or dispose of it in the regular trash, as it is an environmental hazard.
(This article was written by one of our staff writers, Edward Sinclair. Visit our Meet the Team page to learn more about the author and their expertise.)