How to Weld a Weatherproof Steel Cargo Storage Box (Plan)
I have spent nearly two decades in cold workshops, often hunched over a seized 1940s South Bend lathe or a rusted Bridgeport mill. There is a specific kind of quiet satisfaction in hearing a spindle turn for the first time in fifty years. However, that satisfaction disappears quickly if your hard-won precision tools begin to flash-rust because of a leaky roof or a damp garage floor. Over the years, I have learned that restoring classic cast iron is only half the battle; the other half is protecting those surfaces from the elements. This realization led me to develop a systematic approach for building heavy-duty, sealed mild-steel enclosures. These units serve as the frontline defense for my rescued machinery parts and vintage hand tools, ensuring that the 0.001-inch tolerances I worked so hard to achieve remain intact.
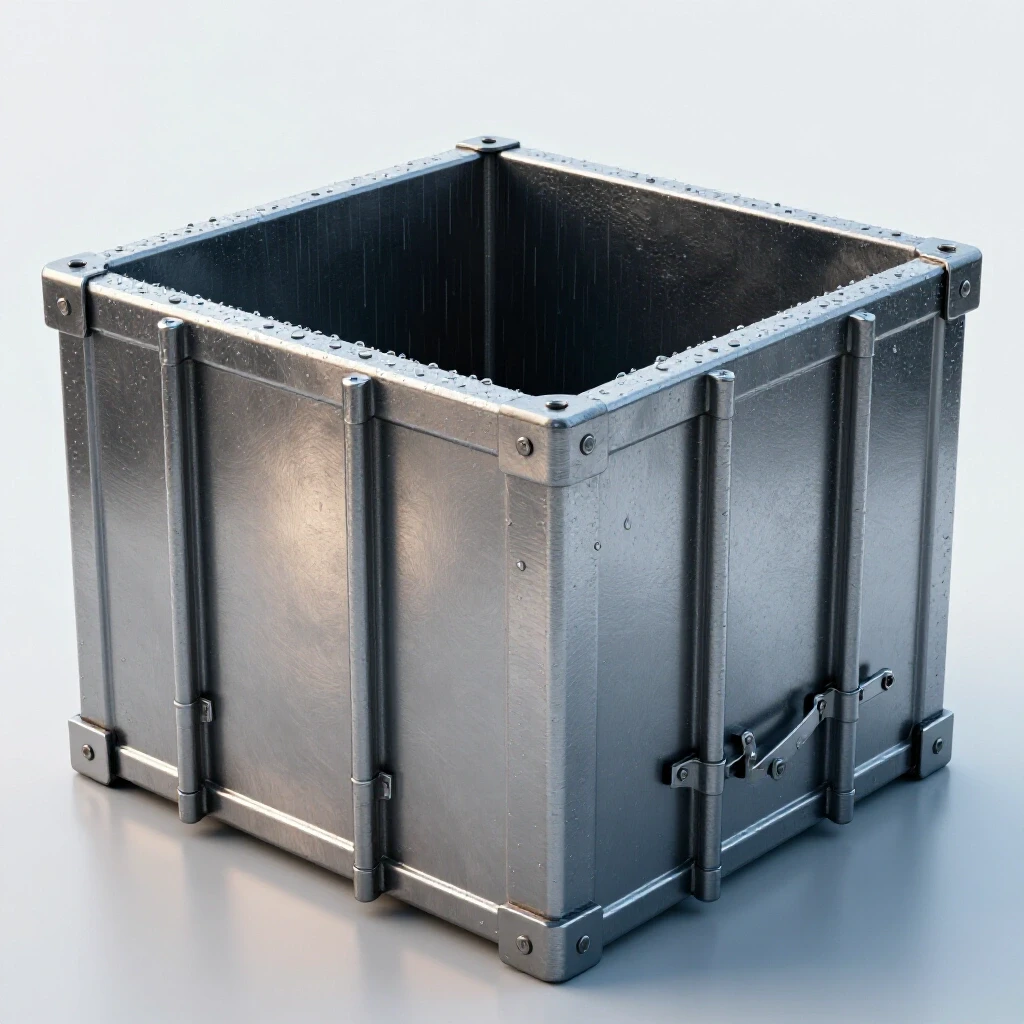
A well-fabricated metal storage unit is more than just a box. It is a piece of workshop infrastructure that requires the same level of planning as a babbitt bearing pour or a bedway scraping project. When you are dealing with heavy structural corrosion on a daily basis, you begin to respect the power of moisture. Building a truly moisture-resistant tool chest requires a deep understanding of metal fitment and heat management. You cannot simply “tack and go” if you want to keep the humidity out. In this guide, I will walk you through the process of fabricating a durable, weatherproof steel container from scratch, using the same methodical mindset I apply to machine disassembly and restoration.
Foundations of Heavy-Duty Steel Fabrication for Workshop Enclosures
Building a sealed mild-steel enclosure requires selecting the right gauge of material and planning for structural rigidity. This stage involves calculating the weight of the tools to be stored and choosing a steel thickness that can be welded continuously without excessive warping or burn-through.
When I start a project like this, I reach for 11-gauge or 12-gauge mild steel sheet. It is thick enough to handle the weight of heavy cast-iron pulleys or gear sets, yet thin enough to manage with standard shop tools. If you go too thin, like 16-gauge, you will fight warpage the entire time you are trying to lay down a sealing bead. I always start by mapping out my cuts on a master sheet, much like I would document a machine disassembly sequence. I use a scribe and a machinist’s square to ensure every corner is a true 90 degrees. If your base is out of square by even a fraction, your lid will never sit flush, and your gasket will fail to seal.
- Material Choice: 11-gauge (approx. 1/8 inch) mild steel provides the best balance of weldability and strength.
- Precision Cutting: Use a cold saw or a guided plasma cutter to ensure edges are straight and burr-flee.
- Structural Support: For larger boxes, I weld 1-inch angle iron along the interior seams to prevent the panels from “oil-canning” or flexing.
| Material Thickness | Recommended Welding Process | Target Amperage | Common Use Case |
|---|---|---|---|
| 14 Gauge | MIG (GMAW) | 60 – 80 Amps | Small hand tool organizers |
| 12 Gauge | MIG / Stick (7018) | 80 – 100 Amps | General machinery part storage |
| 11 Gauge (1/8″) | MIG / Stick (6011) | 90 – 120 Amps | Heavy-duty enclosures for motors |
| 3/16 Inch | Stick / MIG | 120 – 150 Amps | Base plates and structural frames |
Preparing Joints for Maximum Weather Resistance
Joint preparation is the process of cleaning, beveling, and aligning the edges of steel panels before welding. Proper preparation ensures that the weld bead penetrates deep into the metal, creating a solid, non-porous barrier that prevents water and air from entering the enclosure.
In my 18 years of restoring machinery, I have seen countless failed welds on old shop fixtures. Most failed because the restorer tried to weld over mill scale or old paint. When building a moisture-resistant tool chest, I treat the joints with the same reverence I give to a bearing surface. I use a flap disc to grind the edges down to “bright metal” at least one inch back from the seam. If you leave mill scale on the steel, it can trap tiny pockets of gas, leading to porosity. To a restorer, porosity is the enemy; those tiny holes are invitations for moisture to seep in and start the oxidation process on your vintage tools.
- Beveling: For 1/8-inch steel, a slight 30-degree bevel on the mating edges allows for full penetration.
- Degreasing: I use a residue-free cleaner to remove any oils or shipping coatings from the steel.
- Fitment Gaps: I aim for a “tight fit” or a maximum gap of 1/16 inch. A consistent gap allows the weld to flow evenly.
Why Seized Cast Iron Screws Crack Under Force—And How to Formulate a Real Thermal Release Plan
Understanding the relationship between heat and metal expansion is critical when working with older machinery or fabricating new steel structures. Thermal release involves using controlled heat to expand a female threaded part, allowing a seized male fastener to be removed without snapping the brittle cast iron.
When I am disassembling a pre-war drill press, I often encounter screws that haven’t moved since the Truman administration. If you apply a cheater bar immediately, you will likely snap the bolt head. Instead, I use a localized heat source, like an oxy-acetylene torch, to heat the surrounding casting. This causes the hole to expand slightly more than the bolt. I then apply a high-quality penetrating oil, which is drawn into the threads as the metal cools—a process known as “wicking.” This same principle of heat management applies to welding your storage box. If you dump too much heat into one corner, the steel will pull and twist, ruining the alignment of your lid.
- Assess the Material: Identify if you are working with grey cast iron or ductile iron, as they react differently to heat.
- Clean the Area: Remove grease and old paint to prevent toxic fumes and to see the metal’s color changes.
- Apply Heat: Aim for a dull red glow (approx. 1100°F) on the surrounding metal, not the bolt itself.
- Shock the Thread: Sometimes a sharp tap with a brass hammer while the metal is hot can break the rust bond.
- Steady Pressure: Use a 6-point socket and a steady pull. If it feels “mushy,” stop—you are about to shear the bolt.
Executing Continuous Weld Beads for Moisture-Proof Seams
A continuous weld bead is a single, unbroken line of filler metal that joins two pieces of steel. Unlike tack welding or “stitch” welding, a continuous bead creates a hermetic seal, which is essential for protecting sensitive machinery from humidity and dust.
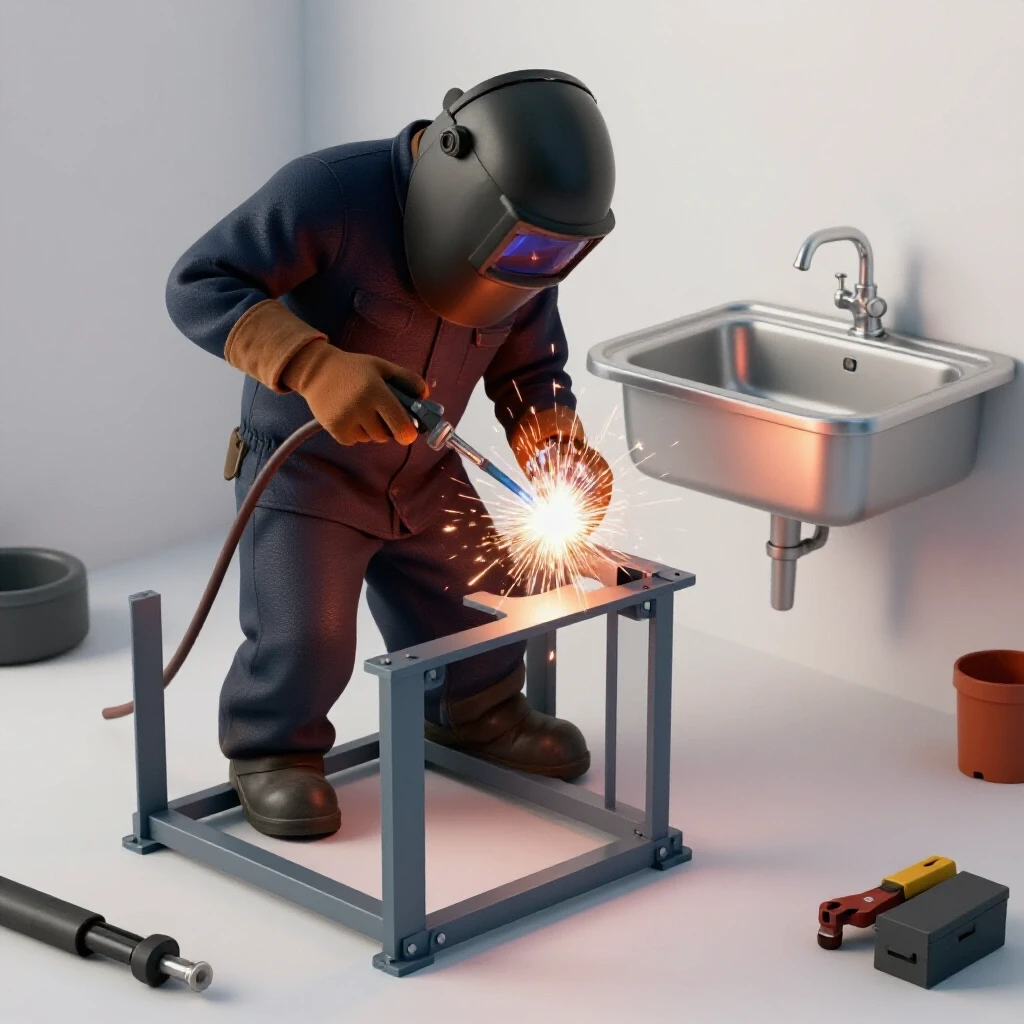
When I weld the seams of a heavy-duty metal storage unit, I prefer the MIG process for its cleanliness, but I often go back to a 6011 stick electrode if the steel is slightly pitted. The key is to maintain a consistent travel speed and arc length. If you move too fast, the bead will be thin and prone to cracking. If you move too slow, you risk warping the panel. I weld in short sections—maybe three to four inches at a time—moving from one side of the box to the other. This “staggered” approach manages the heat load, much like how I gradually tighten the bolts on a machine head to ensure even pressure.
- Amperage Control: Set your machine so the puddle “wets out” nicely into the corners without sagging.
- Visual Inspection: After each pass, I use a magnifying glass to check for pinholes or “cold laps” where the metal didn’t fuse.
- Slag Removal: If using stick or flux-core, I am meticulous about chipping slag. Trapped slag is a common cause of leaks.
Selecting and Integrating Gaskets for a Sealed Environment
Gasketing is the application of a flexible material, such as rubber or neoprene, between the lid and the body of the enclosure. This seal acts as a physical barrier that compresses when the lid is closed, blocking out moisture and airborne contaminants.
For my tool rescues, I don’t rely on the metal-to-metal contact alone. Even the best weldment will have slight variations. I weld a “knife-edge” or a small flange around the top opening of the box. This flange provides a narrow surface for the gasket to compress against, which creates a much higher pressure seal than a wide, flat surface. I typically use EPDM rubber weatherstripping because it resists UV breakdown and remains flexible in cold workshops. It reminds me of the old felt seals found in vintage lathe aprons, though much more effective at keeping the water out.
- Gasket Material: EPDM or Nitrile rubber is preferred for its resistance to oils and workshop chemicals.
- Adhesive Selection: Use a high-quality weatherstrip adhesive to ensure the gasket doesn’t peel away after a year of use.
- Compression Gap: Design your latches so they compress the gasket by about 25% to 30% of its original thickness.
Surface Treatments and Corrosion Prevention for Long-Term Storage
Surface treatment involves applying a protective coating, such as primer and paint, to the raw steel to prevent oxidation. This step is the final layer of defense, ensuring the enclosure itself doesn’t succumb to the rust it is designed to keep away from your tools.
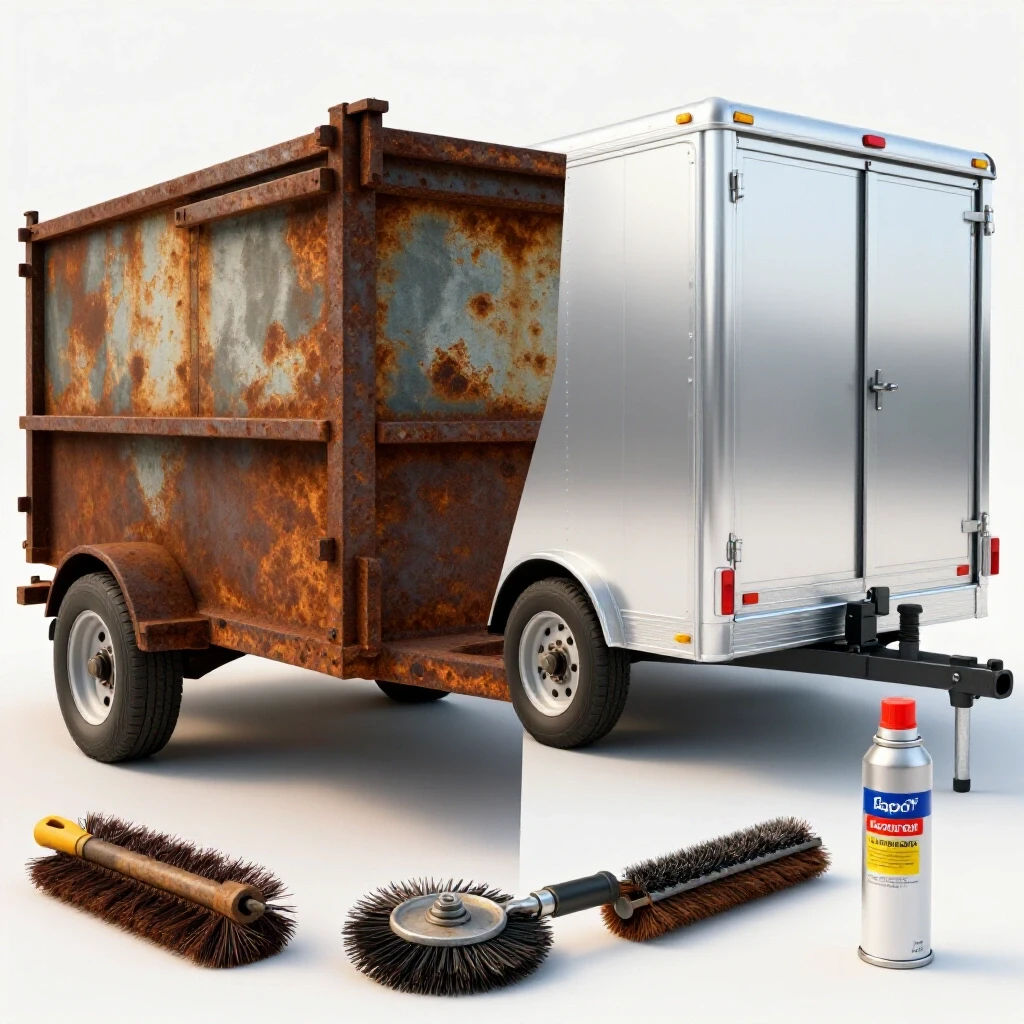
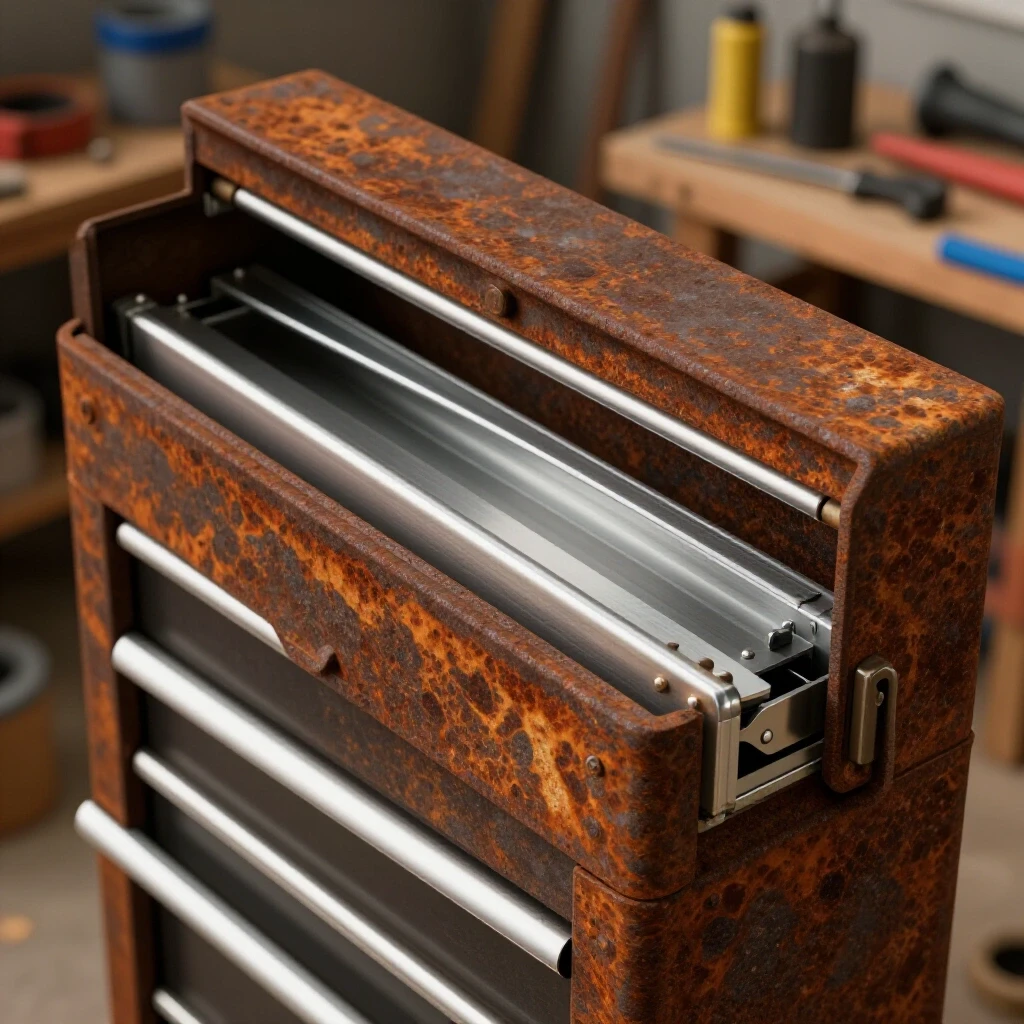
After the welding is done, I treat the box like a vintage machine casting. I start with a mechanical cleaning using a wire wheel to remove any remaining scale. Then, I apply a phosphoric acid-based rust converter. This turns any microscopic iron oxide into iron phosphate, which is an inert base for paint. For the final finish, I prefer a high-solids epoxy primer followed by a “machinery grey” enamel. It’s a classic look that matches the 1950s aesthetic of my shop while providing a durable, wipe-clean surface.
- Degrease: Use acetone to remove all fingerprints and oils.
- Etch: Apply a metal prep solution to give the primer a “tooth” to grab onto.
- Prime: Two coats of zinc-rich primer provide galvanic protection.
- Topcoat: Use an oil-resistant enamel that can stand up to the lubricants used on your machinery.
- Internal Protection: I often line the bottom of my boxes with VCI (Vapor Corrosion Inhibitor) paper as an added safeguard.
Comparing Rust Removal Methods for Steel and Cast Iron
When restoring old equipment or preparing steel for a new build, you have several options for removing oxidation. Each method has trade-offs in terms of speed, cost, and the risk of damaging the underlying metal.
| Method | Best For | Pros | Cons |
|---|---|---|---|
| Electrolysis | Large cast-iron parts | Gentle, reaches into crevices | Requires 12V DC setup, slow |
| Evapo-Rust (Chelation) | Precision parts, gears | Non-toxic, preserves base metal | Expensive for large items |
| Wire Wheel | Heavy structural steel | Fast, inexpensive | Can “smear” rust, leaves scratches |
| Phosphoric Acid | Sheet steel, box exteriors | Leaves a paint-ready surface | Requires careful neutralizing |
| Sandblasting | Non-precision castings | Extremely fast and thorough | Can warp thin sheet, messy |
Assessing the Integrity of the Finished Enclosure
Once the fabrication is complete, you must verify that the enclosure is actually weatherproof. This involves a series of tests to ensure that the welds are continuous and the gasket is performing its job under pressure.
I use two simple tests that I learned from old-timers in the trade. The first is the “light test.” I place a bright work light inside the box and close the lid in a dark room. If I see any pinpricks of light at the seams, I know I have a hole in my weld. The second is the “dollar bill test” for the gasket. I close the lid on a slip of paper; if I can pull the paper out with no resistance, the gasket isn’t compressing enough. These are low-tech but highly effective ways to ensure your classic tool alignment isn’t threatened by a faulty seal.
- Weld Check: Use a soapy water spray and a light puff of compressed air from the inside to look for bubbles.
- Latch Adjustment: Ensure your draw latches are pulling the lid down evenly across the entire perimeter.
- Leveling: Just like a lathe, your storage box should sit level. I add adjustable feet to my larger enclosures to keep them off damp concrete floors.
Actionable Framework for Machine Disassembly and Parts Storage
When you are deep into a machine rescue, organization is your best friend. I use a specific checklist to ensure that every obsolete fastener and custom shim is accounted for and protected within my sealed enclosures.
- Document Before Touching: Take high-resolution photos of the assembly from four angles.
- Tag and Bag: Every part gets a tag with the machine name and sub-assembly (e.g., “Atlas 10F Quick Change Gearbox”).
- Measure Obsolete Threads: Use a thread pitch gauge and micrometer to document fasteners that may need to be fabricated later.
- Clean and Dry: Never put a dirty part into your new storage box. Use a parts washer and dry thoroughly.
- Oil Coating: Apply a light coat of way oil or a dedicated rust preventative before sealing the box.
- Inventory Sheet: Keep a laminated list inside the box lid detailing exactly what is stored inside.
Maintaining Your Workshop Infrastructure
Building this moisture-resistant tool chest is just the beginning. To keep your restored machinery in factory-spec condition, you must maintain the enclosure itself. I check my gaskets every six months for signs of cracking or compression set. I also keep a small canister of silica gel desiccant inside. These canisters have beads that turn from blue to pink when they are saturated with moisture. When that happens, I bake the beads in the oven to dry them out and put them back to work. It’s a small task, but it’s the difference between a tool that stays pristine and one that requires another round of electrolysis.
By following this systematic plan, you are not just building a box; you are creating a sanctuary for mechanical history. The time spent on perfect joint preparation and continuous weld beads pays dividends every time you open that lid and find your 1930s calipers as bright and functional as the day you finished restoring them.
Frequently Asked Questions
How do I prevent the steel panels from warping while welding the seams?
Warpage is caused by uneven heating and cooling. To minimize it, use the “staggered” welding technique. Instead of running one long bead, weld three inches on one corner, then move to the opposite corner. Allow the metal to become cool enough to touch before continuing. Clamping the panels to a thick steel welding table also helps act as a heat sink.
Can I use a flux-core welder for a weatherproof box, or do I need gas?
You can use flux-core, but it is much harder to achieve a perfectly sealed seam. Flux-core produces slag that can get trapped in the weld puddle, creating tiny leak paths. If you must use flux-core, you need to be extremely aggressive with a wire brush and chipping hammer between every pass to ensure the next bead fuses perfectly to clean metal.
What is the best way to clean heavy rust off a machine before storing it?
For heavy rust on cast iron, I recommend a 12V DC electrolysis bath. It is a non-destructive way to remove rust without removing the base metal. For steel panels of your box, a flap disc on an angle grinder is usually the most efficient. Always ensure the metal is bone-dry and lightly oiled before placing it in your sealed enclosure.
Why is 11-gauge steel recommended over thinner options?
Thinner steel, like 16 or 18 gauge, is very difficult to weld continuously without blowing holes through the metal. 11-gauge (1/8 inch) is thick enough to absorb the heat of a continuous bead, which is necessary for a watertight seal. It also provides the structural “heft” needed to support heavy cast-iron machinery parts.
How do I source or replace obsolete thread patterns found in old machines?
Many vintage machines use “dead” thread standards like the 12-24 or specific Whitworth pitches. If the fastener is missing, you may need to use a thread gauge to identify the pitch and then search for specialty suppliers or turn a new bolt on a lathe. Storing these rare fasteners in a sealed, labeled box prevents the frustration of losing a part that cannot be bought at a hardware store.
Is hand-scraping necessary for the storage box itself?
No, hand-scraping is a technique used to create incredibly flat surfaces (10–20 points per inch) for machine ways and bearings. For a storage box, a clean, ground surface is sufficient. However, the precision mindset of a scraper helps you ensure that your box lid and flange are flat enough for the gasket to seal properly.
What should I do if I find a pinhole leak in my weld after painting?
You must grind the paint back to bare metal in that area. A pinhole cannot be “filled” with paint or caulk if you want a long-term solution. Re-weld the spot, grind it flush, and then re-apply your primer and topcoat. It is a bit of extra work, but it ensures the integrity of the moisture barrier.
How often should I replace the gaskets on my metal storage unit?
In a typical workshop environment, high-quality EPDM gaskets should last 5 to 10 years. However, you should inspect them annually. If the rubber feels brittle, shows cracks, or no longer “springs back” after the lid is opened, it is time to peel it off and apply a fresh seal.
Can I use stainless steel instead of mild steel?
Stainless steel is excellent for corrosion resistance, but it is much more expensive and harder to weld due to its high thermal expansion rate. For most machinery restorers, mild steel that is properly primed and painted offers the best balance of cost, ease of fabrication, and protection.
How do I handle heavy cast-iron parts safely during disassembly?
Always use mechanical advantages like an engine hoist or a gantry crane for parts over 50 pounds. Cast iron is brittle; if you drop a heavy casting, it is more likely to crack than bend. When storing these parts in your new box, ensure they are braced so they don’t slide and damage the internal coating or the gasket seal.
(This article was written by one of our staff writers, Richard Beaumont. Visit our Meet the Team page to learn more about the author and their expertise.)