How to Handle Freight Shipping Damage on Machine Tools (Fix)
I have spent the last 15 years in a shop environment where the arrival of a new piece of equipment is both a milestone and a high-stakes logistics puzzle. Whether it is a 1,200-pound vertical milling machine or a heavy-duty industrial bandsaw, the journey from the manufacturer to your shop floor is fraught with risks that marketing brochures never mention. I have kept meticulous journals on every major purchase, and I have seen firsthand how a single careless forklift operator can turn a precision instrument into a pile of scrap metal.
In my experience, the frustration of receiving a damaged tool is compounded by the lack of clear, practical advice on how to manage the situation. Most reviews focus on how a tool performs out of the box, but they rarely discuss what happens when the box arrives crushed. I have learned that the success of your shop depends as much on your ability to inspect and repair incoming machinery as it does on your welding or machining skills. This guide draws on my personal logs and mechanical repair data to help you navigate the realities of heavy equipment transit.
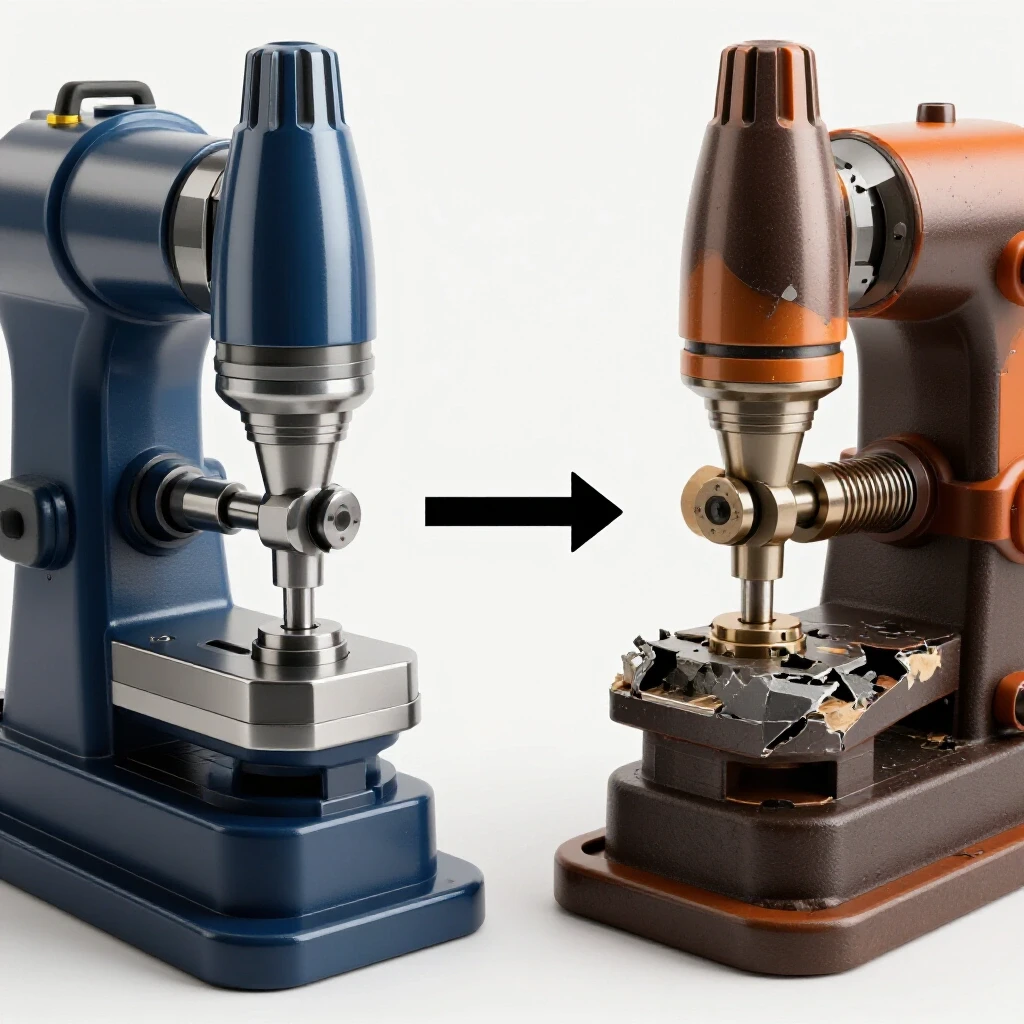
Preparing for Heavy Machinery Arrival
Before the freight truck pulls into your driveway or loading dock, you must establish a controlled environment for the hand-off. This involves staging the necessary inspection tools, ensuring adequate lighting, and preparing your shop space to receive a heavy, often top-heavy, crate or pallet.
Preparation is the first line of defense against long-term equipment headaches. I always have a high-lumen flashlight, a digital camera with a timestamp feature, and a basic set of wrenches ready. You cannot rely on the driver to wait patiently while you hunt for a pry bar. My logs show that a well-prepared staging area reduces the time spent on the initial inspection by 40%, allowing for a more thorough check of critical components like motor housings and cast-iron tables.
Essential Pre-Arrival Checklist
A systematic approach to preparation ensures that you do not miss subtle signs of transit harm during the high-pressure minutes when the delivery driver is waiting for a signature.
- Clear the Path: Ensure there is a 10-foot wide path from the truck to the machine’s final resting spot to avoid secondary damage during shop movement.
- Gather Documentation: Print your original purchase order and the manufacturer’s spec sheet to verify that all components, like the 240V motor or specific tensioning handles, are present.
- Tool Kit Staging: Have a heavy-duty crowbar, a cordless impact driver, and a magnetic level ready to check for immediate structural shifts.
- Lighting: Use portable LED work lights to illuminate the underside of the pallet, where hidden cracks in the casting often hide.
The Critical First Five Minutes: Inspection Protocols
The moment the liftgate drops, you are in a high-stakes evaluation period where your observations dictate the future of your investment. You must scrutinize the exterior of the packaging for any signs of impact, such as torn shrink wrap, crushed pallet corners, or holes in the wooden crating.
I have found that most transit issues are visible if you know where to look. In one instance, a metal bandsaw arrived with a perfectly intact crate, but a single scuff on the cardboard led me to find a bent blade-tensioning knob. By documenting this while the driver was present, I avoided a $150 out-of-pocket repair. This stage is about being an advocate for your shop’s budget and the tool’s long-term reliability.
Identifying External Red Flags
External signs of rough handling often point to internal mechanical issues that can affect the machine’s duty cycle or precision over hundreds of hours of use.
- Broken Pallet Slats: This suggests the machine was dropped or shifted violently, which can misalign internal drive belts or crack motor mounts.
- Torn Shrink Wrap: This often indicates that the machine rubbed against other freight, potentially scratching precision-ground surfaces like mill tables.
- Tilted Crates: If a crate is not level, the center of gravity has shifted, which can put undue stress on the mounting bolts of a 2-HP motor or gearbox.
Documenting Transit Failures and Carrier Discrepancies
Creating a verifiable paper trail is the only way to ensure that the cost of restoration does not fall on your shoulders. This process involves noting every irregularity on the Bill of Lading (BOL) and taking comprehensive photographs before the driver leaves your property.
In my workshop journals, I have noted that carriers are much more responsive when the documentation is objective and specific. Instead of writing “broken machine,” I write “3-inch crack in lower cast iron base, left side.” This level of detail, backed by clear photos, makes it difficult for a carrier to claim the damage happened after delivery. It is about building a data-driven case for your claim.
Effective Documentation Standards
High-quality documentation serves as a mechanical history for your tool, which is vital for future maintenance and potential warranty tracking.
- The 360-Degree Photo Rule: Take photos of all four sides of the crate before opening it, then repeat the process once the machine is exposed.
- Macro Photography: Get close-up shots of specific damage, such as a dented motor fan cover or a sheared bolt on a 40% duty cycle welder housing.
- Specific BOL Annotations: Use clear language like “Subject to internal inspection” if you cannot immediately uncrate the entire unit, though a full inspection is always preferred.
Evaluating Structural Integrity vs. Cosmetic Blemishes
Once the machine is unboxed, you must distinguish between surface-level scratches and structural failures that compromise the tool’s safety or precision. This involves checking the alignment of lead screws, the flatness of tables, and the integrity of the main castings.
I categorize damage into two tiers: “Fixable in Shop” and “Non-Negotiable Failure.” A scratched paint job on a drill press is a cosmetic issue I can live with for a discount. However, a hairline crack in the main column casting of a mill is a non-negotiable failure because it compromises the tool’s rigidity and long-term accuracy. My records show that structural cracks in cast iron are rarely worth the effort to repair in a small-scale manufacturing environment.
Comparison of Damage Severity
| Damage Type | Impact on Tool Performance | Recommended Action |
|---|---|---|
| Scratched Paint | None; purely aesthetic. | Request touch-up paint or partial credit. |
| Bent Handwheels | Minor; affects ergonomics and ease of use. | Replace part; easily swapped in 10 minutes. |
| Cracked Casting | Severe; loss of rigidity and precision. | Reject delivery or request full replacement. |
| Dented Motor Cover | Moderate; can interfere with cooling fans. | Remove and straighten or replace cover. |
| Misaligned Ways | Severe; affects accuracy across the travel. | Professional regrinding or machine replacement. |
Mechanical Restoration: Repairing Impacted Components
If the damage is localized and manageable, you can often execute a repair in your own shop to get the equipment into service faster. This typically involves straightening bent handles, welding non-structural brackets, or replacing broken hardware with higher-grade components.
I once received a heavy-duty cold saw with a shattered cast-aluminum handle. Rather than waiting three weeks for a replacement from the manufacturer, I used my TIG welder to fuse the pieces back together and reinforced the joint. It wasn’t just about the “fix”; it was about understanding the material limits. When you perform these repairs, you gain a deeper understanding of the tool’s construction, which is invaluable for future preventative maintenance schedules.
Common In-Shop Repair Procedures
These repairs require standard fabrication tools and a basic understanding of machine geometry to ensure the tool returns to its intended specifications.
- Straightening Lead Screws: If a lead screw is slightly bowed, it can often be straightened using a hydraulic shop press and a dial indicator to check for runout.
- Welding Brackets: For non-critical steel brackets that have snapped, a quick pass with a MIG welder can restore functionality, though you should always check for heat-induced warping.
- Replacing Hardware: Transit often shears low-grade bolts; I recommend replacing these with Grade 8 hardware to improve the machine’s overall structural resilience.
- Realignment of Motors: If a motor has shifted, loosen the mounting bolts and use a laser alignment tool to ensure the pulleys are perfectly coplanar, preventing premature belt wear.
Why Motor Insulation and Duty Cycles Matter During Inspection
When a machine is jarred during shipping, the internal components of the motor can be affected even if the exterior looks fine. It is crucial to understand how these impacts relate to the motor’s insulation class and duty cycle ratings.
A motor’s duty cycle—for example, a 60% rating—means it can run for 6 minutes out of every 10 under full load. If a shipping impact has shifted the internal cooling fan or damaged the Class F motor insulation, the motor will run hotter than designed. This heat will degrade the insulation faster, leading to a mid-project failure months down the line. I always check for free rotation of the motor shaft by hand before applying power for the first time.
Understanding Motor Specs for Post-Transit Testing
- Class F Insulation: Designed to handle temperatures up to 155°C; if a dented cover restricts airflow, the motor will exceed this limit quickly.
- Dual-Voltage Flexibility: If your tool is rated for 120V/240V, test it on the higher voltage if possible, as this often reveals internal vibration issues more clearly due to the increased torque.
- Power Factor Correction: In modern inverter-based tools, check that the internal capacitors haven’t been jarred loose, which can affect how efficiently the tool draws current from your shop’s circuits.
Developing a Long-Term Maintenance and Tracking System
After the initial repairs are made and the machine is operational, you must integrate it into your shop’s maintenance log. This allows you to track whether the initial shipping damage leads to accelerated wear on specific parts over time.
In my shop, every tool has a digital folder containing the original BOL, the damage photos, and a log of the repairs I performed. I have found that tools that suffered minor transit harm often require more frequent lubrication on the affected axes. By tracking these metrics, I can predict when a part might fail and order a replacement before it causes a production bottleneck.
Actionable Tracking Framework
- Initial Baseline: Record the machine’s runout and vibration levels immediately after the “fix.”
- 100-Hour Review: Inspect the repaired areas after 100 hours of runtime to check for stress cracks or loosening hardware.
- Utility Cost Monitoring: Note if the machine draws more Amps than specified, which could indicate internal friction from a slight misalignment.
- Digital Manual Storage: Keep a copy of the parts diagram on your phone or tablet for quick reference during repairs.
Comparing Tool Warranty Terms and Recovery Systems
Understanding the fine print of your warranty is essential when dealing with equipment that arrived with issues. Some manufacturers offer “limited” warranties that do not cover shipping damage, while others provide comprehensive “bumper-to-bumper” coverage for the first year.
I have compared dozens of warranty programs, and the best ones are those that allow for “field repairs.” This means the manufacturer will send you the parts for free, and sometimes even compensate you for the labor of installing them. This is often preferable to shipping a 500-pound tool back to the factory, which risks even more damage. Always ask about the “parts availability” for older models, as some brands stop stocking components after only five years.
Warranty Comparison Table
| Feature | Budget Brand | Industrial Brand |
|---|---|---|
| Coverage Period | 1 Year (Limited) | 3-5 Years (Comprehensive) |
| Shipping Damage | Often excluded if BOL is signed. | Often covered if reported within 48 hours. |
| Field Repair Support | Minimal; requires return to base. | High; technician or parts sent to shop. |
| Parts Availability | 3-5 years post-discontinuation. | 10+ years post-discontinuation. |
Practical Benchmarks for Machine Tool Longevity
A machine tool is a long-term investment, and your goal should be to maximize its operational life despite any early setbacks. Most industrial-grade tools should last 15 to 20 years with proper care, even if they required minor repairs upon arrival.
In my experience, the longevity of a tool is directly proportional to the owner’s willingness to perform routine maintenance. This includes checking oil levels in gearboxes every 500 hours and ensuring that the electrical connections remain tight. A tool that was “fixed” after shipping damage can still reach its full lifespan if the repair was done correctly and the machine is not consistently pushed beyond its rated duty cycle.
Tool-Buying Decision Pathway
- Step 1: Evaluate the frame material (Cast iron vs. stamped steel).
- Step 2: Verify motor specs (HP, Amps, Insulation Class).
- Step 3: Review the manufacturer’s shipping and return policy.
- Step 4: Inspect the tool immediately upon arrival using a standardized checklist.
- Step 5: Log all findings and repairs in a permanent maintenance journal.
Frequently Asked Questions
What should I do if the driver refuses to wait for me to inspect the machine? In my experience, you should never feel pressured to sign a clean Bill of Lading. If a driver is in a hurry, write “Driver refused to wait for inspection; crate shows visible damage” next to your signature. This creates a record that the inspection was hindered, which can be vital if you find internal damage later that day.
Can I repair a cracked cast-iron base myself? Cast iron is notoriously difficult to weld because of its high carbon content. While it is possible to “fix” it using specialized nickel rods and a pre-heating process with an arc welder, it is rarely as strong as the original casting. For structural components, I always recommend requesting a replacement part rather than attempting a shop repair.
How do I know if a dented motor is still safe to use? The biggest risk with a dented motor is that the fan shroud is pressed against the cooling fan. This will cause friction, heat, and eventual motor failure. Before turning it on, remove the shroud and check for clearance. If the internal windings are visible and look pinched or frayed, do not apply power; this is a significant safety hazard.
Does a shipping repair void my manufacturer’s warranty? This depends entirely on the brand. Many reputable industrial brands encourage shop-level repairs for minor issues like replacing a switch or a handle. However, always get written authorization via email before you start cutting or welding on a new machine to ensure you don’t accidentally forfeit your long-term coverage.
What is the most common hidden damage on freighted machinery? I have found that “brinelling” of bearings is the most common hidden issue. This happens when a machine is vibrated heavily during transit, causing the bearing balls to dent the races. You won’t see it, but you will hear a high-pitched whine or feel a vibration once the machine is running at full RPM.
Should I accept a discount instead of a replacement for a damaged tool? If the damage is purely cosmetic, like a dented sheet metal cabinet on a dust collector, a 15-20% discount is usually a fair trade. However, if the damage affects a moving part or a precision surface, no amount of discount will compensate for the frustration of a tool that won’t hold its tolerances.
How can I prove that damage happened during transit and not in my shop? The timestamped photos you take while the machine is still on the truck or pallet are your best evidence. Additionally, if the damage is on a side of the machine that was facing the inside of the crate, it is clear that the impact occurred while the unit was still packaged.
What tools are best for straightening bent sheet metal panels? I keep a set of auto-body hammers and dollies specifically for this. For thicker panels, a heavy copper mallet is useful because it allows you to apply force without scarring the paint as much as a steel hammer would. Always work slowly from the outside of the dent toward the center.
Is it worth it to buy “scratch and dent” machinery? From a value perspective, yes, provided you are an active fabricator who knows how to evaluate mechanical integrity. If you can verify that the motor horsepower and precision ways are intact, you can often get a high-end machine for the price of a budget model. Just be prepared to spend a weekend on restoration.
How does shipping damage affect the resale value of my tools? If the repair is documented and the tool performs to its original specifications, the impact on resale is minimal. However, visible welds on a casting or non-original parts will definitely lower the price. This is why it is so important to insist on OEM replacement parts during the claims process.
(This article was written by one of our staff writers, David Reynolds. Visit our Meet the Team page to learn more about the author and their expertise.)