How to Perform a Complete Workshop Tool Audit (Checklist)
In my fourteen years on the shop floor, I have seen how a single degree of error can ruin a week of work. I once spent forty hours fabricating a heavy-duty engine hoist, only to find the main upright was leaning just enough to create a dangerous side-load. The culprit was not my technique, but a framing square that had been dropped and knocked out of alignment. This taught me that our tools are the silent partners in every weld we lay and every cut we make. If they are not in peak condition, our structural integrity is compromised before we even strike an arc.
For those of us who build in our own shops, the stakes are high. We do not have a quality control department to catch our mistakes. We are the designers, the welders, and the inspectors. This responsibility requires a disciplined approach to checking our equipment. By systematically reviewing the state of our gear, we can identify potential failure points, such as a worn grinder bearing or a dirty flowmeter, that lead to structural defects like porosity or brittle fractures.
Categorizing Equipment by Fabrication Phase
Grouping your gear into functional categories allows you to assess their condition based on the specific role they play in the build process. This method ensures that you do not overlook small hand tools that are vital for accuracy during the layout and fit-up stages.
Properly sorting your shop equipment involves separating items into three main groups: preparation, joining, and finishing. Preparation tools include everything used for measuring and cutting. Joining tools are your welders and clamps. Finishing tools are for grinding and surface prep. By looking at them through this lens, you can spot how a flaw in one tool affects the next step in the fabrication chain.
- Layout and Measuring Tools: These are the guardians of your geometry. Check your tape measures for bent hooks and your squares for true 90-degree angles. A mistake here causes misalignment that leads to uneven load paths in your finished structure.
- Cutting and Shaping Equipment: Inspect bandsaw blades for dull teeth and grinders for cracked discs. A dull blade can wander, creating a beveled edge where you need a square butt joint, which ultimately weakens the weld penetration.
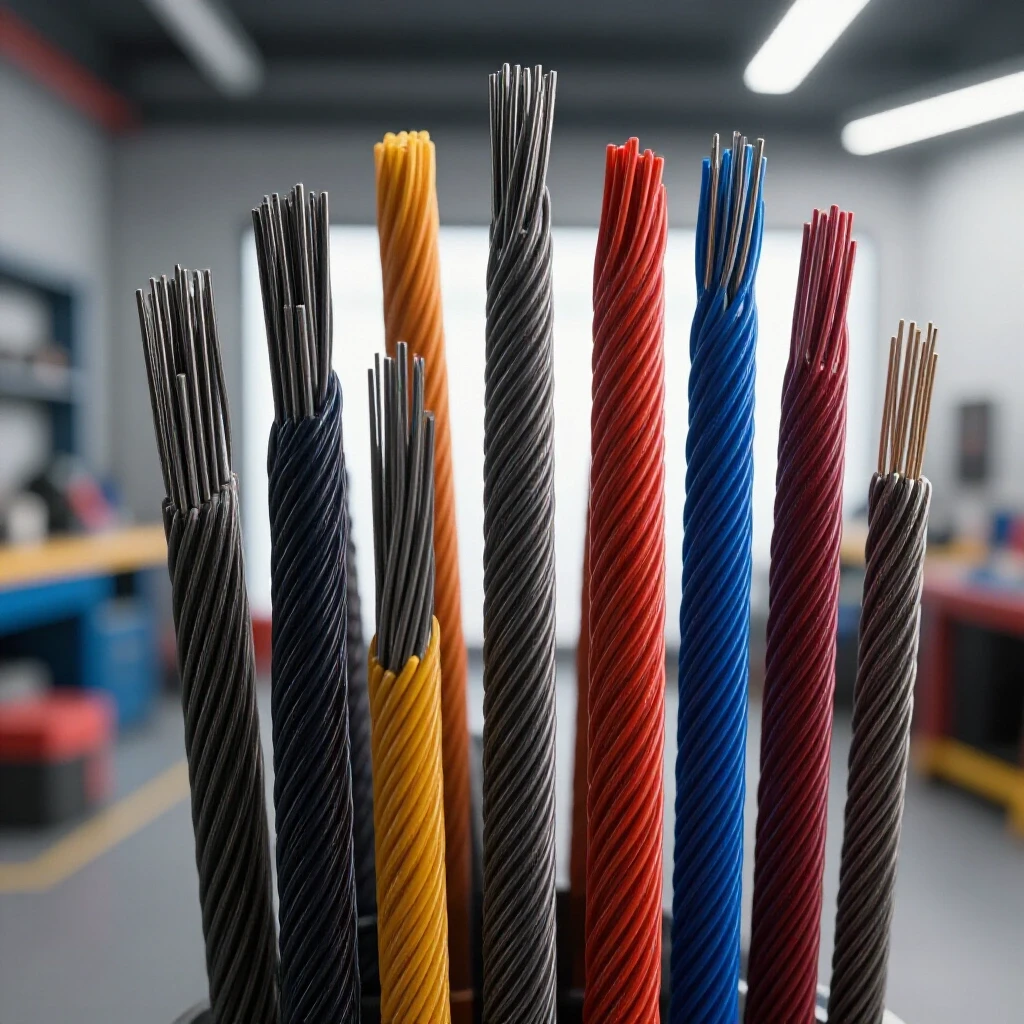
- Welding and Thermal Joining Tools: Focus on the lead cables, ground clamps, and gas delivery systems. A loose ground clamp can cause voltage drops, leading to an unstable arc and poor fusion in the heat-affected zone (HAZ).
- Work Holding and Fixturing: Check your C-clamps and F-clamps for stripped threads or bent frames. If a clamp cannot hold a joint tightly during the cooling phase, the metal will warp as it shrinks, throwing your entire project out of square.
Verifying Precision and Squareness in Layout Tools
Accuracy in metalwork starts with the tools that define your lines. If your measuring devices are inaccurate, your structural load calculations will be based on false dimensions, which can lead to catastrophic failure under stress.
Layout tool verification is the process of checking that your measuring and squaring devices provide true readings. This involves comparing tools against known standards or using geometric tests, like the 3-4-5 triangle method, to confirm squareness. For a fabricator, a tool that is “close enough” is often the root cause of a joint that cracks under a heavy load.
| Tool Type | Inspection Point | Potential Failure Mode | Structural Consequence |
|---|---|---|---|
| Steel Square | 90-degree corner | Out of square | Uneven load distribution in frames |
| Tape Measure | End hook rivet | Loose or bent hook | Incorrect member lengths and poor fit-up |
| Spirit Level | Bubble vial | Loss of calibration | Structural lean causing eccentric loading |
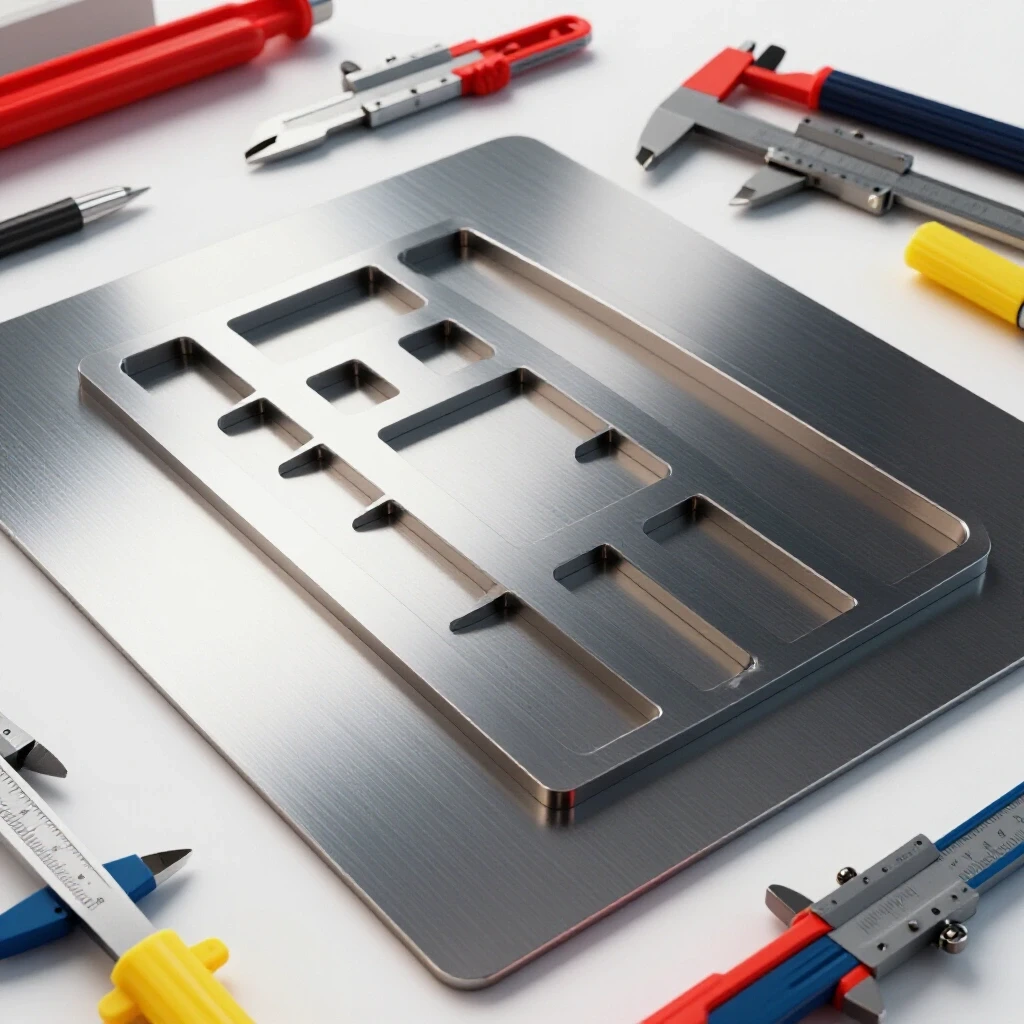
| Calipers | Jaw alignment | Worn or burred tips | Incorrect material thickness verification |
When I inspect my squares, I use the “line flip” test. I draw a line against a straight edge, flip the square over, and see if the edge still aligns with the line. If there is a gap, the tool is retired from structural work. We must remember that steel has a high tensile strength—the maximum stress it can handle while being pulled—but if the geometry is wrong, we introduce shear stress that the material was never meant to handle.
Assessing Power Tool Mechanical Health
Power tools are the workhorses of the shop, but they are also the most prone to mechanical wear. A tool that vibrates excessively or runs hot is not just a safety hazard; it is a precision-killer that can lead to poor joint preparation.
Evaluating power equipment involves checking for electrical cord integrity, bearing wear, and the security of moving parts. We look for frayed wires that could cause a short or worn-out brushes in a motor that lead to power surges. In a fabrication setting, the goal is to ensure the tool performs consistently so that every cut and grind is predictable and clean.
- Inspect Power Cords and Plugs: Look for nicks in the insulation or pulled wires at the strain relief. A damaged cord can cause intermittent power loss, which is particularly dangerous during a critical cut.
- Check Bearings and Spindles: Turn the tool off and rotate the spindle by hand. If you feel “crunchiness” or see side-to-side play, the bearings are failing. This wobble leads to jagged cuts and uneven bevels.
- Verify Guard Functionality: Ensure that all safety guards move freely and return to their closed position. A sticking guard on a chop saw can lead to accidental contact or a distracted operator.
- Listen for Abnormal Noises: High-pitched squealing or grinding sounds usually indicate a lack of lubrication or internal damage. These issues increase the heat generated by the tool, which can transfer to the workpiece and affect the metal’s properties.
Manual Record-Keeping for Equipment Maintenance
A physical logbook is the most reliable way to track the history of your tools. It removes the guesswork from maintenance and provides a clear timeline of when a tool was last calibrated or repaired.
A manual maintenance log is a paper-based system where you record the date, the tool inspected, the findings, and any actions taken. Unlike memory, a written record does not fade. It allows you to see patterns, such as a specific grinder that consistently burns through discs, which might indicate a deeper mechanical issue or a need for a different approach.
- Create a Dedicated Logbook: Use a sturdy notebook kept in a clean area of the shop. Dedicate one page to each major tool, such as your welder, bandsaw, and drill press.
- Record Inspection Dates: Mark down every time you perform a deep check of your equipment. This creates accountability and ensures that no tool goes too long without an assessment.
- Note Specific Repairs: If you replace a capacitor in your welder or a belt on your saw, write it down. Knowing the age of replacement parts helps you predict when the next failure might occur.
- Track Tool Performance: Document if a tool starts acting up, even if you cannot fix it immediately. This serves as a warning for future use, reminding you to take extra care or adjust your technique.
Structural Integrity of Work Surfaces and Clamping Systems
Your welding table and clamps are the foundation of your projects. If your table is bowed or your clamps are weak, the internal stresses created during welding will pull your project out of alignment as it cools.
This section covers the physical condition of your workholding environment. We examine the flatness of work surfaces and the clamping force of our fixtures. During welding, the heat-affected zone (HAZ)—the area of metal that was heated but not melted—undergoes significant thermal expansion and contraction. If your work surface is not stable, this movement will result in permanent distortion.
- Check Table Flatness: Use a long straightedge to look for dips or crowns in your welding table. A warped table will transfer its shape to your project, making it impossible to build a perfectly flat frame.
- Inspect Clamp Threads: Clean and lubricate the screw threads on all your clamps. Stripped or dirty threads prevent you from applying the necessary pressure to keep a joint tight, which can lead to weld metal pulling the pieces apart.
- Verify Grounding Points: Ensure your welding table has a clean, unpainted area for the ground clamp. A poor ground causes arc blow and inconsistent heat, which are primary causes of internal weld defects like lack of fusion.
- Assess Fixture Squareness: If you use dedicated welding jigs, check them for heat distortion. Over time, the repeated heating and cooling cycles can warp even heavy steel fixtures.
Welding Equipment and Gas Delivery Verification
The welder and its supporting systems are the most complex tools in the shop. A failure in the gas delivery system can introduce oxygen into the weld pool, leading to porosity—tiny holes in the weld that act like “perforations” on a piece of paper, making the joint easy to snap.
Checking your welding setup involves inspecting the torch, the liner, and the gas flow components. We look for leaks in the hoses and ensure the flowmeter is calibrated correctly. For most MIG welding on mild steel, a gas flow rate of 15–20 CFH (cubic feet per hour) is standard. Too little gas allows contamination; too much can create turbulence that also draws in air.
- Inspect the Welding Torch: Check the nozzle for “spatter” buildup and ensure the contact tip is the correct size for your wire. A worn contact tip causes an unstable arc and “wire stubbing,” which ruins the start of your weld.
- Test for Gas Leaks: Apply a soapy water solution to all gas connections from the tank to the machine. Bubbles indicate a leak, which wastes gas and can lead to poor shielding coverage.
- Verify Wire Feed Consistency: Run the wire through the gun and watch for any jerking or slipping. An inconsistent feed rate creates “cold” spots in your weld where the metal did not get enough heat to fuse properly.
- Check the Lens and Filter: If you use an auto-darkening helmet, treat it as a precision tool. Test the sensors and ensure the shade is set correctly for your amperage—typically Shade 10 to 13 for most fabrication work.
Implementing a Periodic Review Schedule
A one-time check is not enough to ensure long-term safety and accuracy. You must establish a routine that fits your workflow, ensuring that your tools are always ready for the stresses of structural fabrication.
A periodic review schedule is a planned routine for re-inspecting your tools at set intervals, such as monthly or before every major project. This proactive approach catches wear before it becomes a failure. By sticking to a schedule, you build a “safety first” culture in your shop that prioritizes the integrity of the build over the speed of completion.
- Pre-Project Check: Before starting a build that involves structural loads, like a mezzanine or a trailer, do a full review of your layout and welding tools.
- Monthly Maintenance: Spend one Saturday a month cleaning your tools, lubricating moving parts, and updating your manual logbook.
- Post-Incident Inspection: If a tool is dropped, or if you experience a “near-miss” like a grinding disc shattering, stop immediately and inspect all related equipment for hidden damage.
- Safety Margin Review: Always remember that we design for a safety factor—often 2:1 or 4:1. This means the structure is built to hold several times the expected load. However, this margin is only valid if the tools used to build it were accurate and functioning correctly.
By taking the time to manually inspect and document the condition of your equipment, you are doing more than just organizing your shop. You are building a foundation of reliability. When you know your square is true, your welder is dialed in, and your clamps are strong, you can focus on the art of fabrication with the confidence that your work will stand the test of time and stress.
Frequently Asked Questions
How can I tell if my framing square is actually square without a professional standard? You can use the “geometric flip test.” Place the square against a perfectly straight edge (like a factory edge of a steel plate) and draw a thin line. Flip the square over so the same edge is on the other side of the line. If the square’s edge and the line are perfectly parallel, it is square. If they diverge, the tool is inaccurate.
What is the most common tool-related cause of weld failure? Poor joint preparation due to worn-out grinding discs or dull saws is a major culprit. If the metal is not cleaned to “bright metal” or if the fit-up has large gaps, the weld may suffer from lack of fusion or excessive internal stress, leading to cracks in the heat-affected zone.
Why is gas flow rate so important for structural welds? Shielding gas protects the molten weld pool from nitrogen and oxygen in the air. If your flow rate is below 15 CFH, you risk porosity. If it is too high (above 25-30 CFH), it can cause turbulence that pulls air into the weld. Both scenarios weaken the joint’s structural integrity.
How often should I replace the liner in my MIG welder? The liner should be inspected every time you change a roll of wire. If you notice the wire “chattering” or if there is visible debris inside the liner, replace it. A dirty liner causes inconsistent wire feed, which leads to erratic welds and potential defects.
Can a bent C-clamp really affect the strength of a weld? Yes. A bent clamp may not apply even pressure, allowing the parts to move or “draw” as the weld cools. This movement introduces unintended stresses into the joint and can cause the weld to crack or the entire structure to warp out of its designed load path.
What should I look for when inspecting a used power tool? Check the cord for repairs, listen for “growling” bearings, and look for heat discoloration on the motor housing. Most importantly, check the spindle for “runout” or wobble. In structural work, a tool that cannot hold a steady line is a liability.
Is a paper logbook really better than a digital one? In a shop environment, paper is often superior because it does not require a battery, can be handled with dirty hands, and is easily kept right next to the tools. It serves as a physical reminder to perform your checks every time you see it on the workbench.
What is the “Heat-Affected Zone” and why does it matter during a tool check? The HAZ is the area around a weld that was heated but not melted. This area is often the weakest point of a fabrication because the heat changes the metal’s grain structure. Using tools like thermometers or ensuring consistent travel speed with a well-maintained welder helps minimize the size and brittleness of the HAZ.
(This article was written by one of our staff writers, James Harlan. Visit our Meet the Team page to learn more about the author and their expertise.)