What Weld Bead Colors Mean on Stainless Steel (DIY Guide)
When you spend hours prepping a stainless steel joint, the last thing you want to see is a dull, charred bead. I remember working on a custom intake for a local project about ten years ago. I was chasing that perfect aesthetic, but every time I finished a pass, the metal looked like a burnt piece of toast. It wasn’t just ugly; it was a sign that I was losing the very thing that makes stainless steel “stainless.”
In my 15 years of troubleshooting fabrication issues, I’ve learned that the surface of a weld acts like a diagnostic readout. It tells you exactly what happened with your heat, your gas coverage, and your travel speed. If you can read the colors on the metal, you can stop guessing and start fixing your process. This guide is designed to help you treat those colors as data points in a systematic diagnostic framework.
Decoding the Visual Language of Stainless Steel Heat Tint
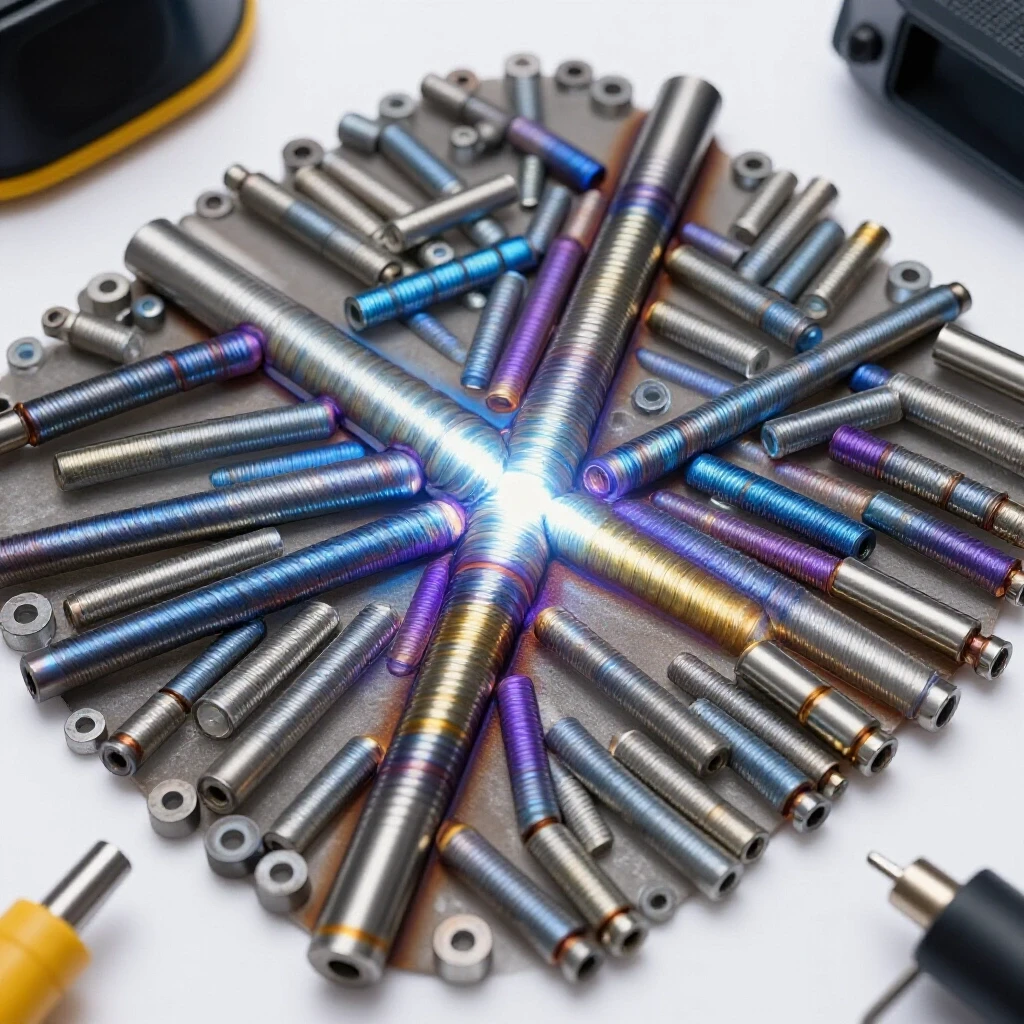
Heat tint is a thickening of the naturally occurring oxide layer on the surface of stainless steel. As the metal gets hotter or stays hot longer in the presence of oxygen, this layer grows, changing how it reflects light and creating various colors.
I look at these colors as a map of the thermal history of the weld. When we talk about these tints, we are actually discussing the thickness of the chromium oxide layer. In a controlled workshop environment, seeing a specific shade tells you how much chromium has been pulled from the metal to form that oxide. This is critical because if you pull too much chromium to the surface, the area just beneath the surface becomes “depleted,” making it a prime target for rust.
The Correlation Between Surface Tint and Corrosion Resistance
Each color on the spectrum represents a different level of oxidation and, consequently, a different level of remaining corrosion resistance. The closer you stay to the original silver of the base metal, the more “stainless” your project remains.
When I’m troubleshooting a failure in a fabricated part, I often look for where the colors shifted toward the darker end of the scale. A light straw color suggests a very thin oxide layer that likely won’t affect the metal’s longevity. However, once you hit dark blues or grays, you’ve fundamentally changed the chemistry of the surface. In a home workshop, understanding this allows you to decide if a weld needs mechanical cleaning or if your settings are dialed in correctly.
| Color Observed | Approximate Temperature Range | Relative Corrosion Resistance | Diagnostic Meaning |
|---|---|---|---|
| Chrome/Silver | Below 500°F | Highest | Perfect gas coverage; ideal heat input. |
| Pale Straw/Gold | 500°F – 650°F | Excellent | Very good shielding; minimal oxidation. |
| Deep Gold/Brown | 650°F – 800°F | Good | Acceptable for most non-corrosive uses. |
| Purple/Pink | 800°F – 950°F | Moderate | Significant oxidation; starting to lose protection. |
| Deep Blue | 950°F – 1100°F | Low | Excessive heat or poor gas coverage. |
| Dull Gray/Black | Above 1100°F | Lowest | Total “burn through” of the passive layer; “coked.” |
Why Oxidation Colors Signal More Than Just Temperature
While temperature is the primary driver, the presence of oxygen is the actual culprit behind the color shift. If you could weld in a perfect vacuum, you wouldn’t see any color at all, regardless of the heat.
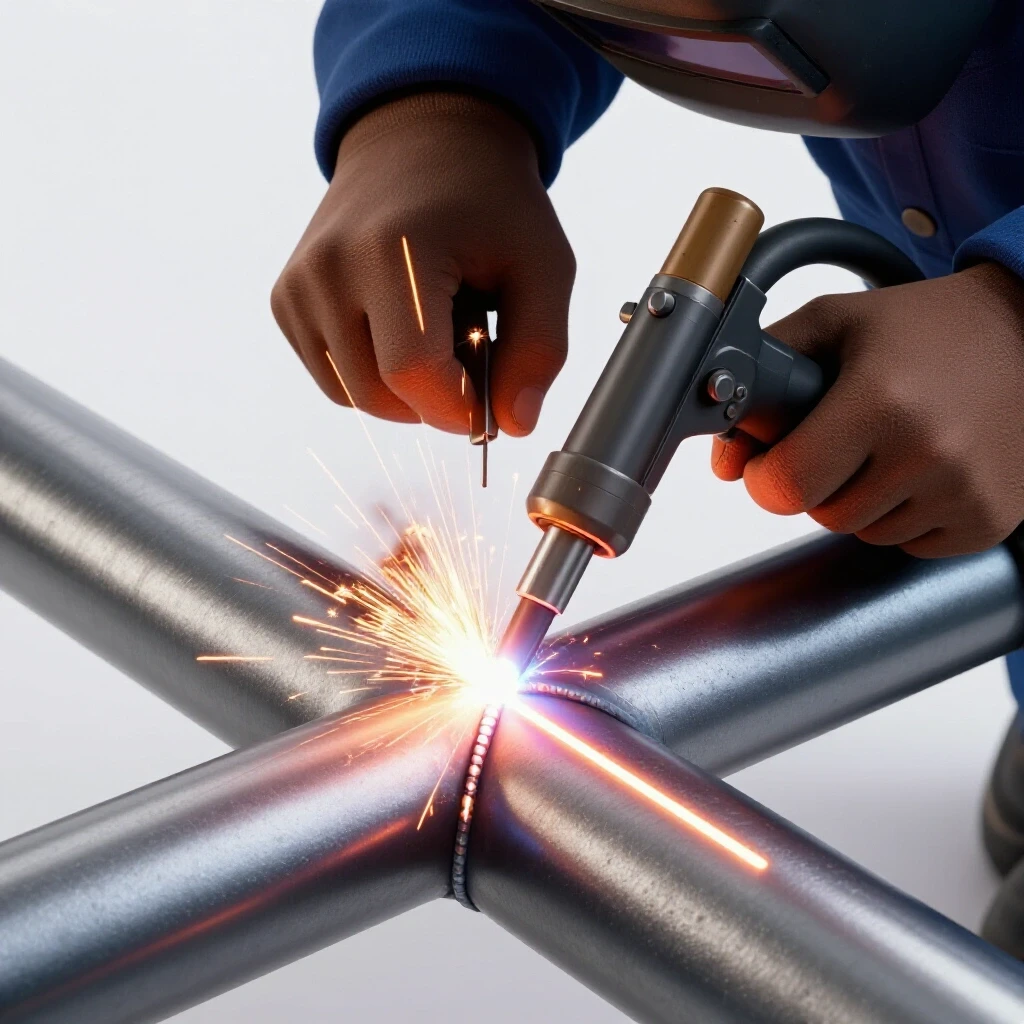
In a manual TIG setup, the colors you see are a direct reflection of how well your shielding gas protected the molten pool as it cooled. I often see fabricators blame their amperage for a gray weld when the real issue is that they pulled the torch away too fast. This “post-flow” period is when the metal is most vulnerable. If the gas disappears while the metal is still above 500°F, it will oxidize instantly, turning purple or blue even if the weld itself was performed perfectly.
Identifying the “Sweet Spot” in Heat Input
Finding the right balance between penetration and surface integrity requires controlling the total energy delivered to the joint. We calculate this as heat input, which is a function of your amperage, voltage, and travel speed.
When I’m troubleshooting weld porosity or discoloration, I start by looking at the width of the heat-affected zone (HAZ). If you have a beautiful gold bead but a wide purple band next to it, you are moving too slowly. You’re soaking the surrounding metal with heat. To fix this, I usually recommend increasing the travel speed rather than just dropping the amps. Moving faster keeps the heat localized, which allows the shielding gas to cover the cooling metal more effectively.
A Systematic Approach to Troubleshooting Weld Surface Discoloration
To resolve issues with “burnt” welds, you must isolate variables one at a time. I use a process of elimination that starts with the easiest fix—gas coverage—and moves toward more complex mechanical adjustments.
I once spent an entire afternoon trying to figure out why my stainless beads were coming out gray despite using a high gas flow. It turned out to be a tiny pinhole in my gas hose that was venturi-ing air into the line. This is why a metalworking diagnostic guide must always prioritize the “physical” checks before the “electrical” ones. If your hardware is leaking, no amount of machine tuning will help.
Step-by-Step Diagnostic Path for Surface Quality
- Check the Gas Lens: Ensure you are using a gas lens rather than a standard collet body. A gas lens creates a laminar flow (smooth, straight air) rather than a turbulent one, which provides much better coverage for stainless.
- Verify Post-Flow Settings: Set your post-flow to at least 1 second for every 10 amps. If you weld at 90 amps, you need 9 seconds of gas after the arc stops.
- Inspect the Tungsten: A contaminated tungsten will destabilize the arc and can introduce impurities that cause the bead to look dull.
- Monitor Torch Angle: If you tilt the torch too far (more than 15-20 degrees), you’ll start sucking oxygen into the backside of the gas envelope.
- Evaluate Fit-Up: Large gaps require more filler metal and more heat, which increases the chance of oxidation. Aim for a “light-tight” fit-up of 0.002 inches if possible.
Managing Shielding Gas and Environmental Variables
Shielding gas is your primary defense against the “graying” of stainless steel. Argon is the standard, but its effectiveness depends entirely on how it is delivered to the workpiece.
In my workshop, I’ve found that more gas isn’t always better. If you crank your flow meter up to 30 or 40 CFH (cubic feet per hour), you can actually create turbulence. This turbulence pulls the surrounding air into the weld pool, causing the very oxidation you’re trying to avoid. Most manual TIG work on stainless should happen between 15 and 20 CFH.
The Role of Back-Purging in Maintaining Internal Integrity
If you are welding a tube or a closed container, the color on the outside only tells half the story. The inside of the weld—the “root”—is also exposed to heat and oxygen.
Without back-purging (filling the inside of the part with argon), the backside of the weld will “sugar.” Sugaring is a colloquial term for severe oxidation that looks like black, crusty cauliflower. This is a structural failure point. When I’m performing mechanical troubleshooting steps on a failed stainless exhaust, I almost always find sugaring on the inside. To prevent this, you must seal the ends of your workpiece and run a secondary gas line to the interior at a low flow (about 5 CFH).
| Variable | Target Value/Setting | Impact on Bead Color |
|---|---|---|
| Gas Flow Rate | 15 – 20 CFH | Prevents turbulence-induced oxidation. |
| Post-Flow Time | 1 sec per 10 Amps | Protects the bead during the cooling phase. |
| Torch Angle | 10° – 15° Push | Ensures the gas envelope stays over the weld. |
| Arc Length | 1/16″ – 3/32″ | Minimizes the “spread” of the heat. |
| Travel Speed | 3 – 5 inches per minute | Reduces the size of the heat-affected zone. |
Corrective Measures for Overheated or Oxidized Beads
What do you do if the damage is already done? If you see blue, purple, or gray, the protective chromium oxide layer has been compromised. You cannot simply leave it if the part will be exposed to moisture.
I’ve seen many DIYers try to “weld over” a gray bead to fix the color. This is a mistake. You are just adding more heat to an already stressed area. The only way to restore the corrosion resistance is to mechanically or chemically remove the oxidized layer. This exposes “fresh” metal underneath, which can then reform its own thin, transparent passive layer.
Methods for Restoring the Passive Layer
- Wire Brushing: Use only a dedicated stainless steel wire brush. If you use a brush that has touched carbon steel, you will embed iron particles into the stainless, causing it to rust.
- Pickling Paste: This is a chemical acid (usually a mix of nitric and hydrofluoric acid) that eats away the oxide. It’s effective but requires careful handling and safety gear.
- Electrochemical Cleaning: This uses a conductive wand and a mild acid solution to “lift” the tint off the metal. It’s the most controlled method for a home shop.
- Flap Discs: For heavy gray oxidation, you may need to grind it back with a 120-grit flap disc. Be careful not to thin the base metal too much.
Essential Tools for Visual and Thermal Monitoring
To get consistent results, you need to move away from “feel” and toward measurement. In my experience, the most successful fabricators are the ones who treat their shop like a laboratory.
I recommend keeping a log of your settings. When you hit that perfect straw-colored bead, write down the amperage, the gas flow, and the material thickness. This turns a “lucky” weld into a repeatable process. Modern tools like infrared thermometers or smartphone-based spectrum analyzers can help you track the heat, but your eyes remain your best diagnostic tool.
- Digital Flow Meter: Don’t trust the ball on the tank; use a portable flow meter at the torch nozzle to verify actual output.
- Infrared Heat Tracker: Useful for checking the temperature of the metal 2-3 inches away from the weld to monitor heat soak.
- Stainless-Only Abrasives: Keep a separate drawer for brushes and discs to prevent cross-contamination.
- Magnifying Lamp: Essential for inspecting the “toe” of the weld for tiny signs of graying or undercut.
- Heat Crayons (Tempilstiks): These melt at specific temperatures (e.g., 500°F) to give you a visual cue when the metal is getting too hot.
Real-World Case Study: The “Burnt” Manifold
I once consulted for a builder who was making 304 stainless turbo manifolds. He was frustrated because his welds were consistently dark purple and gray. He thought his welder was faulty.
We started by looking at his lathe alignment checklist—not because he was using a lathe, but to ensure his preparation was square. We found that his fit-up was sloppy, with gaps of nearly 1/16th of an inch. To fill those gaps, he was pumping in 120 amps where 80 would have sufficed. By tightening his tolerances to 0.005 inches and switching to a large #12 gas lens, we brought the color back to a pale gold. The “machine error” was actually a “prep error.”
Conclusion: Mastering the Spectrum
Resolving issues with stainless steel oxidation isn’t about luck; it’s about controlling the environment around the arc. When you see a color you don’t like, don’t just keep welding. Stop and look at the variables. Is your gas flow correct? Are you moving too slowly? Is your post-flow long enough?
By treating the color of your bead as a diagnostic signal, you can systematically eliminate the factors that cause metal degradation. Start by ensuring your gas delivery is perfect, then work on your travel speed. With a little patience and a structured approach, you’ll find that those “rainbow” welds aren’t just for show—they are proof of a job done right.
FAQ: Troubleshooting Stainless Steel Weld Colors
Why does my stainless steel weld turn gray immediately? Gray color usually indicates “coking” or severe oxidation. This happens when the metal exceeds 1100°F while exposed to oxygen. It is often caused by moving too slowly, using too much amperage, or having insufficient shielding gas coverage.
Is a purple weld on stainless steel a bad thing? A purple weld is acceptable for many decorative or non-critical structural applications, but it does indicate that the chromium oxide layer is thick. This means the corrosion resistance is lower than that of a gold or silver weld. For food-grade or marine environments, purple should be cleaned.
How do I get that “rainbow” look on my welds? The rainbow effect is a transition of colors (straw to blue). While visually appealing, it is technically a sign of varying oxidation levels. To achieve it safely, you need very consistent travel speed and a slightly lower-than-perfect gas coverage during the cooling phase.
Does the grade of stainless (304 vs 316) change the colors? Yes, slightly. 316 stainless contains molybdenum, which can change how the oxide layer forms and reacts to light. Generally, 316 is more resistant to oxidation, so you might find it stays “cleaner” at slightly higher temperatures than 304.
Can I use a standard wire brush to clean the blue off my weld? No. You must use a dedicated stainless steel brush. A carbon steel brush will leave tiny iron particles behind. These particles will rust, creating “pitting” and ruining the stainless properties of your workpiece.
What is the best gas flow rate for a #8 gas lens? For a #8 gas lens, a flow rate of 15 to 20 CFH is usually the “sweet spot.” If you go much higher, you risk creating turbulence that pulls air into the weld.
Why is my weld gold on one side and blue on the other? This usually points to torch angle or external drafts. If you are tilting the torch to one side, the gas coverage will be uneven. Also, check for fans or open doors in your shop that might be blowing your shielding gas away.
Does back-purging affect the color of the top bead? Generally, no. Back-purging protects the inside of the joint. However, by keeping the backside cool and oxygen-free, it can help the entire joint dissipate heat more effectively, which may indirectly lead to a better color on the top.
Is it okay to quench a stainless weld in water to stop oxidation? Quenching is generally discouraged for critical welds because it can cause warping or micro-cracking due to rapid thermal contraction. It’s better to let the metal cool under the protection of your shielding gas (post-flow).
How long should my post-flow be for a 1/8″ thick plate? If you are welding at roughly 100-120 amps, your post-flow should be between 10 and 12 seconds. This ensures the bead and the tungsten stay protected until they drop below the critical oxidation temperature.
(This article was written by one of our staff writers, Paul Whitaker. Visit our Meet the Team page to learn more about the author and their expertise.)