How Automated Cutting Tools Speed Up Metal Fabrication (Fix)
When I first began my journey into industrial maintenance and later transitioned to building my own small-scale fabrication space, the biggest hurdle wasn’t just the cost of equipment. It was the realization that time is the most expensive resource in a shop. In my early years, I spent hours on layout and marking, only to find that human error often led to wasted material. Today, the shift toward precision-driven, computer-controlled systems has changed how beginners approach their first shop. By using equipment that follows a pre-programmed path, we can significantly compress the timeline from a raw sheet of steel to a finished part. This guide is built on my 12 years of tracking costs and workshop outcomes to help you navigate the complexities of setting up a high-efficiency space.
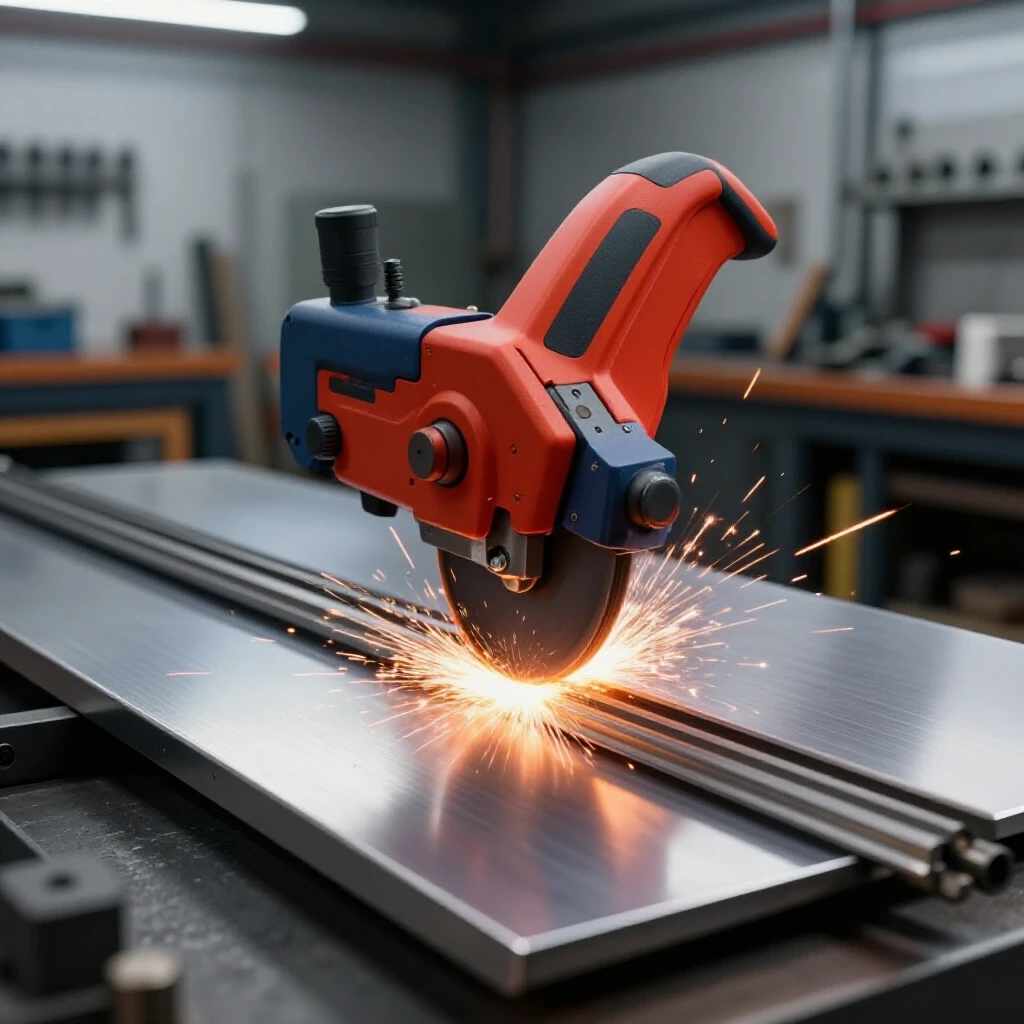
Setting up a shop on a budget requires a shift in perspective. Instead of focusing on how many tools you can buy, focus on the infrastructure that supports automated precision. This approach reduces the fear of making costly mistakes and ensures that your limited funds are spent on a workspace that is safe, code-compliant, and capable of professional-grade repeatability.
Evaluating Workshop Infrastructure for Computer-Controlled Machinery
Assessing the physical and electrical limits of a residential garage is the first step in supporting high-precision fabrication equipment. This involves calculating power draws, ensuring floor stability, and planning for the unique footprint of automated tables to prevent future layout bottlenecks or electrical failures.
Before you bring in any machinery, you must look at your electrical panel. Most standard garages are wired with a single 15A or 20A circuit that shares power with the rest of the house. For a functional fabrication space, this is rarely sufficient. Automated systems often require a dedicated 20A line for the motion controller and a separate 240V circuit for the thermal power source. I learned this the hard way when I tripped a breaker in the middle of a complex cut, ruining both the part and the consumable components of the machine.
A workshop electrical setup checklist should include a dedicated ground rod if your local codes allow it. High-frequency noise from some cutting systems can interfere with the computer electronics that guide the tool path. Ensuring a “clean” power supply is not just a safety measure; it is a requirement for the precision that speeds up your fabrication process. Without stable power, the speed gains of automation are lost to troubleshooting and re-cutting parts.
| Tool Component | Voltage Requirement | Amperage Draw (Peak) | Circuit Type |
|---|---|---|---|
| Motion Controller/PC | 120V | 5A – 8A | Dedicated Standard |
| Thermal Power Source | 240V | 30A – 50A | Dedicated High-Voltage |
| Air Compressor | 120V/240V | 15A – 20A | Dedicated Motor Rated |
| Ventilation System | 120V | 3A – 10A | Shared Service |
Building on this, the floor of your shop must be level. While it sounds simple, a garage floor with a steep slope for drainage can throw off the geometry of a large automated table. I recommend using a precision level and adjustable feet on your machine stands. If the table isn’t square to the earth, the tool might not follow the programmed path correctly over long distances, leading to errors that negate the speed benefits of the system.
Enhancing Production Efficiency Through Programmed Path Execution
Programmed path execution removes the need for manual marking and measuring, which drastically reduces the time required to move from raw material to a finished part. By following a digital blueprint, these systems deliver repeatable accuracy that allows for complex geometries to be cut in a fraction of the time.
The primary way automation speeds up your work is through the elimination of “layout dye and scribe” time. In a traditional setup, you might spend thirty minutes measuring and marking a single complex bracket. An automated system can execute that same shape in less than two minutes. Interestingly, the speed isn’t just in the cutting itself, but in the lack of downtime between cuts. The machine moves from one feature to the next with zero hesitation, maintaining a consistent feed rate that a human hand cannot replicate.
Repeatability is the second major factor. If you need ten identical parts, the time savings grow exponentially. Once the path is set, the machine produces the tenth part exactly like the first. This consistency is vital for beginner welder power requirements because well-fitting parts require less filler material and less time spent on the welding bench. When gaps are tight and edges are clean, the entire fabrication workflow accelerates.
- Elimination of manual measurement errors.
- High-speed positioning between cut segments.
- Consistent feed rates optimized for material thickness.
- Nesting capabilities that maximize material usage per cycle.
As a result of this efficiency, your shop layout must account for material flow. If the machine can process steel faster than you can move it, you create a bottleneck. I suggest a starter metal workshop layout that places your material storage rack within five feet of the machine’s loading zone. This minimizes the physical strain and time spent transporting heavy sheets, keeping the machine running more of the time.
Managing Environmental Safety and Ventilation Requirements
Environmental safety involves implementing standards for air quality and fume extraction when using thermal or abrasive systems in confined spaces. Proper ventilation is critical for maintaining a healthy workspace and protecting sensitive electronic components from metallic dust and smoke.
When you transition to automated thermal cutting, the volume of fumes increases because the machine is working faster than a human would. This makes garage workshop ventilation a top priority. OSHA guidelines for small shops emphasize the need for source capture—pulling the smoke away at the point of the cut before it can disperse into the room. In my first shop, I underestimated this and ended up with a layer of fine dust on every surface, which is both a health hazard and a fire risk.
To calculate your needs, look at the CFM (Cubic Feet per Minute) rating of your exhaust fans. A typical 20×20 foot garage has about 3,200 cubic feet of air. To achieve a safe exchange rate during active cutting, you should aim for at least 1,000 to 1,500 CFM of localized extraction. This ensures that the air is cleared quickly, allowing you to stay in the shop and move directly to the next phase of your project without waiting for the smoke to clear.
| Ventilation Component | Recommended CFM | Safety Standard Reference | Maintenance Interval |
|---|---|---|---|
| Source Extraction Fan | 1,200+ CFM | OSHA 1910.252 | Monthly (Blade Cleaning) |
| Ambient Air Filter | 500 – 800 CFM | ANSI Z49.1 | Every 50 Hours of Use |
| Makeup Air Intake | Equal to Exhaust | NFPA 96 (Adjacent) | Check for Obstructions |
Safety gear vetting is another area where budget-conscious beginners often stumble. I advocate for allocating 30% of your initial budget to high-quality safety gear and measuring tools. For automated systems, eye protection with the correct shade rating for thermal arcs is non-negotiable. Following AWS (American Welding Society) standards for protective clothing ensures that you aren’t just working fast, but working in a way that allows you to keep working for years to come.
Strategic Layout Planning for Seamless Material Flow
Strategic layout planning focuses on organizing the workshop to minimize material handling and maximize the speed of automated processing cycles. A well-planned space ensures that the path from raw stock to the cutting table and then to the assembly area is as short and unobstructed as possible.
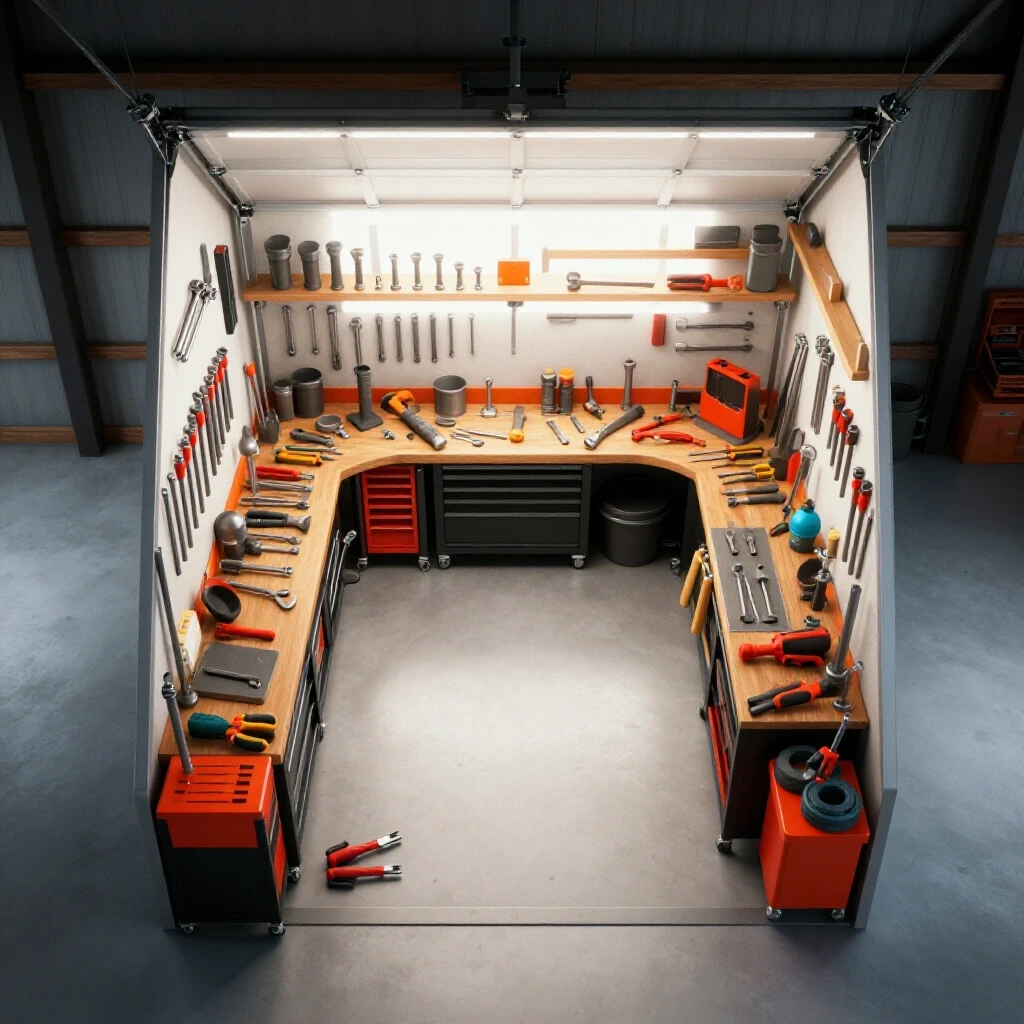
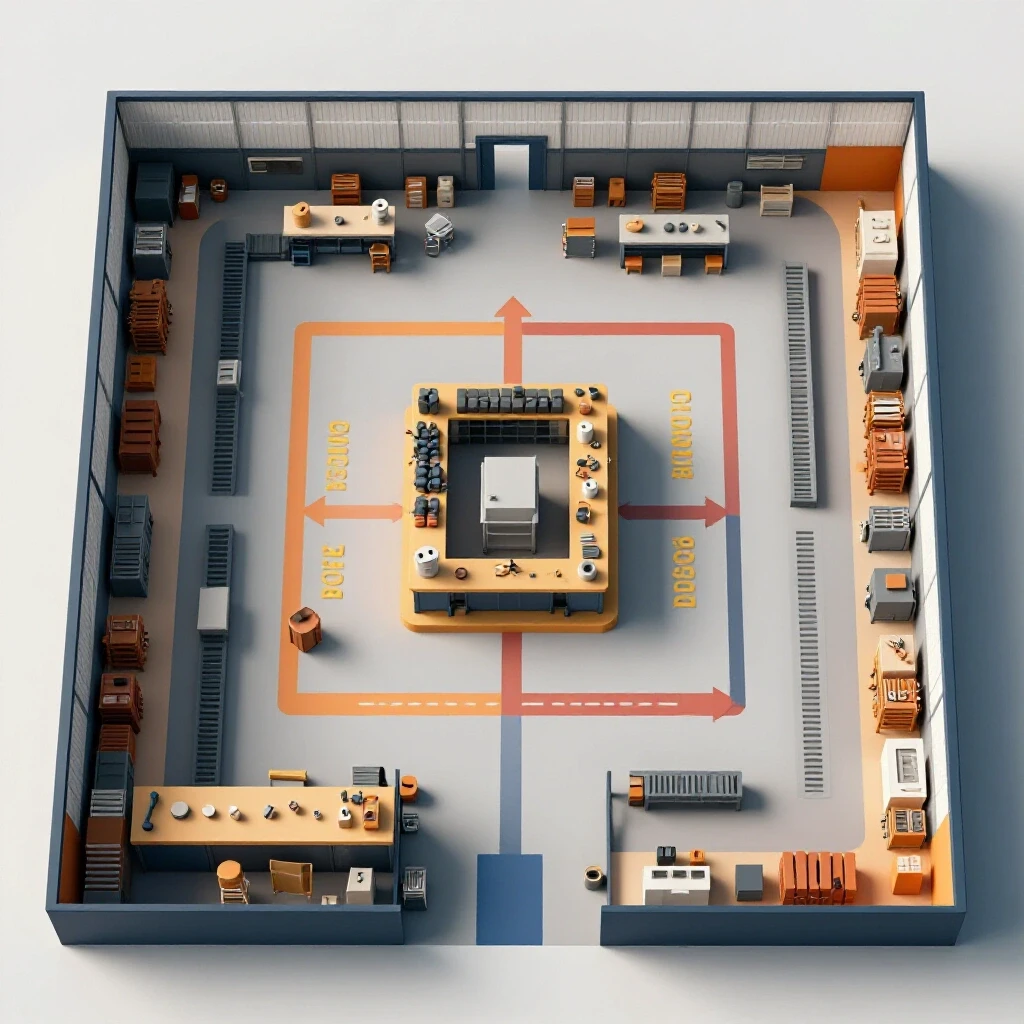
When arranging affordable fabrication tools, think about the “work triangle” often used in kitchen design. In a fab shop, this triangle consists of material storage, the cutting station, and the welding/assembly bench. In a confined space, every foot of movement adds up. I use a digital shop layout planner to test different configurations before bolting anything to the floor. This prevents the common mistake of placing a large table in a spot that blocks access to electrical panels or storage cabinets.
A key part of this layout is the “clean zone” versus the “dirty zone.” Automated cutting, especially plasma or water-based systems, can be messy. By keeping your computer controller and precision measuring tools in a shielded or separate area, you prevent grit and moisture from degrading their performance. This simple organizational step extends the lifespan of your budget metalworking tools and ensures the machine remains accurate.
- Measure the total square footage and mark permanent obstacles like water heaters.
- Define a 36-inch clearance boundary around the automated table for safe movement.
- Place the air compressor in a sound-dampened corner with adequate airflow.
- Install overhead lighting directly above the machine to aid in material alignment.
- Map out the path for the exhaust ducting to ensure the shortest run to the exterior.
Building on this, consider the footprint of your material. If you plan to work with 4×4 foot sheets, you need at least five feet of clear space on at least two sides of the table to load the material safely. Analysis paralysis often sets in here, but the data shows that a “U-shaped” workflow—where material enters one side and finished parts exit the other—is the most efficient for small shops.
Why Quality Consumables and Maintenance Drive Speed
The performance of automated systems depends heavily on the condition of consumables and regular maintenance. Using high-quality components and following a strict maintenance log prevents mid-cut failures and maintains the high speeds that these tools are designed to achieve.
In my experience as a maintenance technician, the fastest way to slow down a shop is to use cheap, off-brand consumables. In automated cutting, the “consumable” is the part of the tool that actually touches or creates the cut, such as a nozzle or an electrode. If these parts wear out prematurely or unevenly, the tool path will deviate, or the cut quality will drop. This forces you to spend more time on post-cut cleaning, which eats away at the time you saved by using an automated system in the first place.
Tracking the lifespan of these parts is essential. I maintain a simple logbook next to my machine to record the “arc hours” or the number of pierces. This data-backed approach allows me to replace parts before they fail, ensuring that every cut is as fast and clean as the first. For a beginner, this prevents the frustration of “mystery” cut issues that are often just the result of a worn-out nozzle.
- Check air filters daily for moisture (moisture ruins consumables).
- Inspect lead screws and rails for debris every 10 hours of operation.
- Verify the squareness of the gantry once a month.
- Clean the slats or water bed every 20-30 hours to prevent slag buildup.
Interestingly, the speed of fabrication is also tied to air quality. Most automated cutting systems require bone-dry air to function correctly. If your air lines have moisture, the arc will be unstable, and the machine will have to run at a slower speed to compensate. Investing in a dedicated air dryer or a multi-stage filtration system is a classic example of spending a little more upfront to save hours of frustration and wasted material later.
Actionable Tracking Frameworks for the New Shop Owner
Using structured frameworks to track costs, maintenance, and project time helps beginners stay within their budget while improving their fabrication skills. These logs provide a clear picture of what is working and where adjustments are needed to increase efficiency.
To stay on top of your shop’s performance, I recommend using a series of simple spreadsheets or logs. The first is a power load spreadsheet. List every tool and its peak amperage. This helps you avoid overloading your circuits, especially when the compressor and the cutting table are running simultaneously. It is a practical way to manage the electrical limits of a home garage without expensive utility upgrades.
The second framework is a tool vetting checklist. Before adding any new equipment, ask: Does this tool reduce a bottleneck? Does it fit within my existing power and ventilation capacity? For a budget-conscious beginner, this prevents the “shiny object syndrome” that leads to a shop full of tools that are rarely used. Every purchase should be a calculated step toward a more functional fabrication space.
- Project Time Log: Record the time spent on design, setup, cutting, and assembly.
- Consumable Inventory: Track how many nozzles or bits you use per project to forecast future costs.
- Maintenance Schedule: A calendar-based reminder for oiling rails and checking belt tension.
- Cost Tracker: Every nut, bolt, and electrical fitting should be logged to keep the total shop build under budget.
By following these steps, you transition from a hobbyist who is “trying things out” to a fabricator who understands the mechanics of their shop. The speed of automated tools is a powerful asset, but it is the structured environment around those tools that truly makes the difference. As you refine your layout and master your equipment, you will find that the precision of a programmed path doesn’t just make parts faster—it makes the entire process of creation more enjoyable and less prone to the errors that cause many to give up early.
FAQ
How does automation specifically reduce the time spent on a project? Automation eliminates the manual layout phase, where you would normally use rulers, squares, and markers to draw your part on the metal. The machine follows a digital file with high precision, moving directly from one cut to the next at optimized speeds. This reduces “cycle time,” which is the total time from start to finish for a specific part.
What are the minimum power requirements for a small automated cutting table? At a minimum, you need two separate circuits. A 120V, 15A or 20A circuit is required for the computer and motion controllers. A second, usually 240V, 30A to 50A circuit is needed for the cutting power source itself. Running both on a single shared circuit often leads to electrical interference or tripped breakers.
Why is floor leveling so important for automated tools? If the floor is uneven, the frame of the automated table can twist or “rack.” This causes the moving parts to bind or lose accuracy over long distances. Since the computer assumes the table is perfectly flat and square, any physical deviation results in parts that are slightly out of shape or cuts that don’t meet at the corners.
How much space do I really need for a starter CNC plasma table? While the table itself might be 4×4 feet, you need a “clearance boundary” of at least 3 feet on all sides for maintenance and loading. This means a 4×4 table actually requires a 10×10 foot area to be functional and safe. Always map this out in your starter metal workshop layout before purchasing.
What is the most common mistake beginners make with ventilation? Many beginners rely on a simple open garage door. However, automated cutting produces a high volume of fine particulates and fumes very quickly. Without a dedicated exhaust fan (at least 1,000 CFM) positioned near the cut, these fumes will linger in the rafters and settle on your tools, creating a long-term health and maintenance problem.
Do automated tools require special safety gear compared to manual ones? The core safety gear is similar (eye protection, gloves, fire-resistant clothing), but the intensity is higher. Because the machine cuts continuously, you are exposed to the arc or dust for longer periods. ANSI Z87.1 rated eye protection and proper shade lenses are mandatory to prevent “arc eye” during long automated runs.
How does “nesting” save money and time? Nesting is the process of arranging multiple parts on a single sheet of metal to minimize waste. Automated software can fit parts together like a puzzle much more efficiently than a human. This saves money on material and reduces the time spent loading and unloading new sheets of metal.
What is a “duty cycle” and why does it matter for speed? Duty cycle is the amount of time a machine can run in a 10-minute period without overheating. For example, a 60% duty cycle means the machine can cut for 6 minutes but needs to rest for 4. For automated fabrication, a higher duty cycle is better because it allows for long, continuous cuts without the machine pausing to cool down.
How often should I perform maintenance on an automated system? Basic maintenance should be daily (checking for moisture in air lines) and weekly (cleaning and oiling the rails). A more thorough check of the electrical connections and gantry squareness should happen monthly. Consistent maintenance prevents the small errors that can lead to slow production and ruined parts.
Can I run an automated cutting system on a standard 120V household outlet? The motion controller and computer can run on 120V, but most high-speed cutting power sources (like plasma) require 240V to cut through thicker materials effectively. Attempting to use 120V for the entire system will severely limit the thickness you can cut and the speed at which you can operate.
(This article was written by one of our staff writers, Michael Thompson. Visit our Meet the Team page to learn more about the author and their expertise.)