How to Avoid High Repair Bills on Shop Machinery (Prevent)
I have spent the last 15 years in my workshop, surrounded by the hum of lathes and the crackle of arc welders. My background in small-scale manufacturing taught me a hard lesson early on: the most expensive tool isn’t the one with the highest price tag, but the one that breaks down in the middle of a deadline. I keep a meticulous maintenance log for every piece of equipment I own, from my industrial bandsaw to my smallest bench grinder. These journals are filled with runtime hours, fluid change dates, and temperature readings that tell a story far different from what you see in shiny marketing brochures.
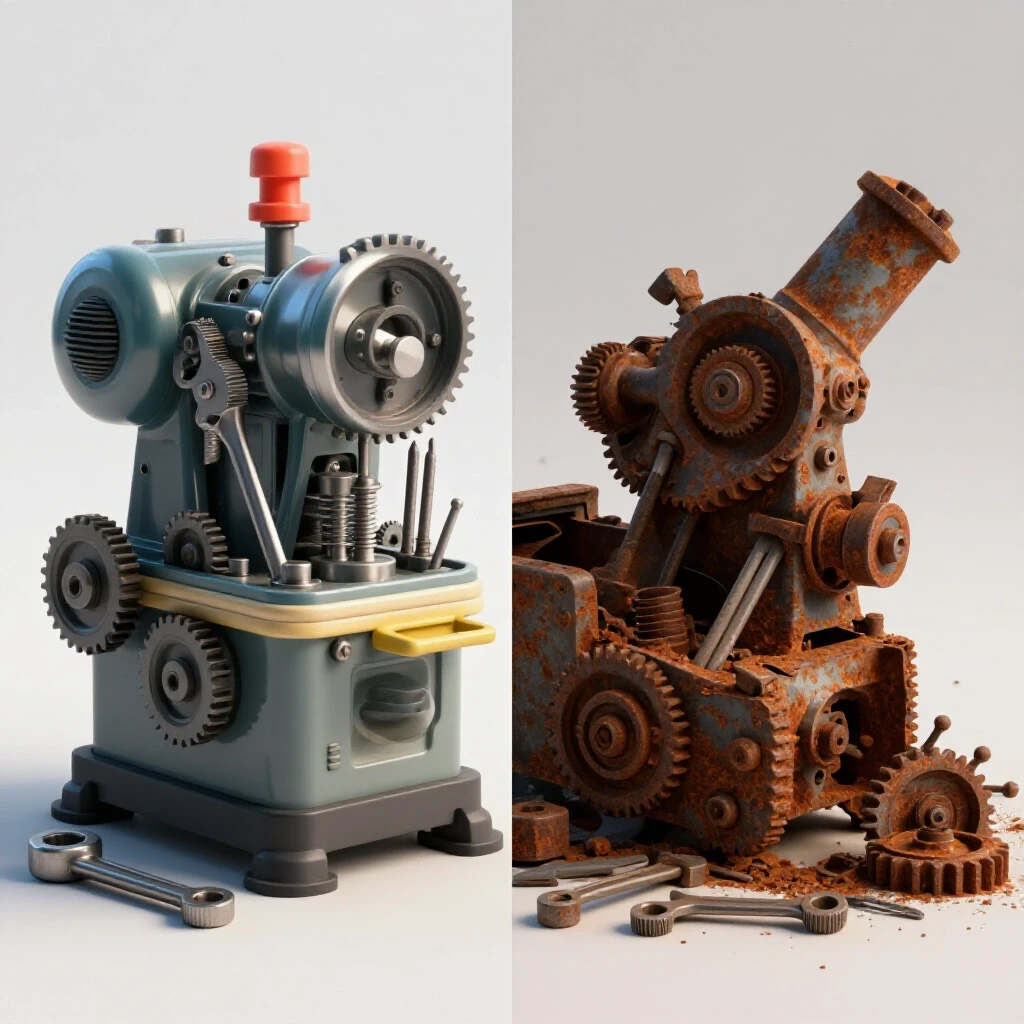
Many people think that high repair costs are just part of owning a shop. I disagree. Most of the catastrophic failures I have witnessed—melted transformer windings, seized bearings, and fried circuit boards—were entirely preventable. They didn’t happen because the machine was “bad.” They happened because the operator didn’t understand the physical limits of the tool or neglected the basic upkeep that keeps precision parts moving. By focusing on proactive routines and understanding the technical data behind your machinery, you can keep your shop running smoothly for decades without ever seeing a four-figure repair bill.
Decoding Duty Cycle Limits to Protect Internal Components
A duty cycle is a measurement of how long a machine can operate under a specific load within a ten-minute window before it needs to cool down. For example, a 60% duty cycle at 200 amps means you can weld for six minutes, but the machine must then idle its fan for four minutes to shed heat.
Ignoring these limits is the fastest way to cook the internal components of your equipment. When I first started logging my welder’s performance, I realized that heat doesn’t just dissipate the moment you stop the arc. Heat is cumulative. If you push a machine to its thermal limit repeatedly, the internal copper windings expand and contract, eventually cracking the protective varnish. This leads to a short circuit that usually results in a total machine loss. I now use a simple kitchen timer in the shop to ensure I never exceed the rated runtime of my high-output tools.
| Tool Type | Typical Load | Recommended Duty Cycle Management | Metric to Track |
|---|---|---|---|
| Inverter Welder | Max Amperage | 40% to 60% (Rest 4-6 mins) | Internal Fan Runtime |
| Plasma Cutter | Continuous Air | 50% (Rest 5 mins) | Air Pressure Stability |
| Magnetic Drill | Vertical Boring | 25% (Rest 7.5 mins) | Motor Housing Temp |
| Bench Grinder | Heavy Shaping | 30% (Rest 7 mins) | Vibration Levels |
Why Motor Insulation Classes Determine Operational Longevity
Motor insulation classes are standardized ratings that tell you the maximum temperature a motor’s internal wiring can handle. Class F insulation is rated for 155°C (311°F), while Class H is rated for 180°C (356°F). Knowing which class your machinery uses allows you to adjust your work pace to prevent the insulation from melting.
In my shop, I treat motor insulation like a “health bar” in a video game. Every time you overheat a motor, that health bar drops permanently. I have found that most mid-range shop tools use Class F insulation. If you are hogging out heavy material on a mill for three hours straight, you are likely pushing that motor to its thermal limit. I use a non-contact infrared thermometer to check my motor housings every hour. If I see a housing temperature creeping toward 60°C (140°F), I know the internal windings are much hotter, and it is time to give the machine a break. This simple habit has saved my 3-horsepower motors from premature burnout for over a decade.
The Role of Clean Power in Preventing Circuit Board Failure
Clean power refers to a stable electrical current that lacks voltage spikes, dips, or electrical noise. Modern shop machinery relies heavily on sensitive microprocessors and inverter boards that can be easily damaged by “dirty” power coming from a fluctuating grid or a poorly regulated generator.
I learned the importance of electrical stability after a neighboring shop lost three inverter welders during a summer brownout. When voltage drops, the amperage must increase to maintain the same power output, which generates excessive heat in the capacitors. To prevent this, I ensure all my high-value machinery is on dedicated circuits. I also look for tools with Power Factor Correction (PFC). This technology helps the machine handle wide voltage swings (from 110V to 240V) without stressing the internal electronics. If your lights flicker when your air compressor kicks on, your electrical system is telling you that your expensive tools are at risk.
Establishing a Rigorous Lubrication and Calibration Schedule
A lubrication schedule is a pre-planned calendar for applying oils, greases, and dry lubes to specific friction points on a machine. Consistent lubrication ensures that precision surfaces, like the ways on a lathe or the gears in a mill, do not experience metal-on-metal wear.
I follow a “Daily, Weekly, Monthly” checklist that I keep laminated and taped to the side of my major tools. For my metal lathe, a daily wipe-down and a fresh coat of way oil are non-negotiable. Way oil is specifically designed to stay “tacky” and prevent the carriage from squeezing the lubricant out. If you use a standard thin oil, the metal surfaces will eventually touch, leading to “galling”—a condition where the metal surfaces weld themselves together and tear. Once galling occurs, the precision of the machine is gone, and the repair requires a complete teardown and regrinding of the surfaces.
- Daily: Clean chips from lead screws and apply fresh way oil to all sliding surfaces.
- Weekly: Check gearbox oil levels and inspect drive belts for fraying or tension loss.
- Monthly: Use a precision machinist’s level to ensure the machine hasn’t shifted, which can cause frame twist.
- Quarterly: Drain and replace gearbox fluids to remove any microscopic metal shavings that act as sandpaper on your gears.
Managing Airflow and Dust for Cooling Efficiency
Cooling efficiency is the ability of a machine to move air over its internal heat sinks to dissipate thermal energy. In a metalworking environment, the air is often filled with fine metallic dust which is both abrasive and electrically conductive.
I make it a habit to blow out my welder and plasma cutter power supplies with dry compressed air every 30 days. It is incredible how much “grinding fur” accumulates inside a machine. This dust acts as a blanket, trapping heat and preventing the cooling fans from doing their job. More dangerously, if enough metallic dust builds up on a circuit board, it can create a bridge between components, causing a short circuit. By keeping the internals clean, I ensure the cooling system operates at 100% efficiency, which directly extends the life of the transistors and transformers.
Diagnostic Logging for Early Wear Identification
Diagnostic logging is the practice of recording the baseline performance of a machine so you can identify subtle changes over time. By tracking metrics like “spin-down time” or “operating noise,” you can catch a failing bearing months before it actually seizes.
One of my most valuable tools is a simple stopwatch. I record the “spin-down time” for my cold saw and surface grinder. When I turn the power off, I time how long it takes for the blade or wheel to come to a complete stop. If my cold saw usually takes 15 seconds to stop, but suddenly starts stopping in 8 seconds, I know a bearing is starting to bind or a brake is dragging. This early warning allows me to apply fresh grease or adjust a tensioner long before the part fails completely.
- Baseline Temperature: Record the motor temperature after one hour of standard use.
- Spin-Down Time: Measure how long it takes for moving parts to stop after power-off.
- Vibration Check: Place a glass of water on the machine table; note the ripple pattern to detect new imbalances.
- Amperage Draw: Use a clamp meter to check how many amps the motor pulls under no-load conditions. An increase indicates internal friction.
Maintaining Precision Through Calibration Checks
Calibration checks involve using known standards, such as 1-2-3 blocks or precision squares, to verify that a machine is still cutting or moving accurately. Over time, vibration and thermal cycles can cause bolts to loosen and castings to shift.
I perform a “squareness audit” on my vertical bandsaw and mill every month. If a bandsaw blade is even half a degree out of square, it puts lateral pressure on the guides and the drive wheels. This extra friction generates heat and wears out the rubber tires on the wheels. By taking five minutes to check the table alignment with a reliable square, I prevent the guide bearings from burning out. Precision is not just about the quality of the work; it is about ensuring the machine is not fighting itself during operation.
Practical Steps for Long-Term Tool Health
Keeping your shop equipment in peak condition doesn’t require an engineering degree, but it does require discipline. I have found that the most successful fabricators are the ones who treat their tools with a level of respect that matches the cost of the equipment.
Start by creating a dedicated folder, either physical or digital, for every major tool. Include the manual, the specific oil types required, and a log sheet for hours used. Whenever you use a tool for a heavy project, take a moment to feel the motor and listen to the gears. Developing an “ear” for your machinery is one of the best ways to avoid high repair costs. If a machine sounds different than it did yesterday, it is trying to tell you that something is wrong. Stop, clean, and lubricate before you continue.
- Keep a dedicated set of cleaning brushes and rags for each machine.
- Never use “all-purpose” grease if the manual calls for a specific EP (Extreme Pressure) lubricant.
- Release the tension on bandsaw blades if the machine will sit idle for more than 48 hours.
- Check your shop’s humidity levels; rust on a precision surface is the beginning of the end for accuracy.
FAQ: Proactive Shop Machinery Care
How can I tell if my motor is getting too hot without a thermometer? A good rule of thumb is the “five-second rule.” If you can safely touch the motor housing but cannot keep your hand there for five seconds because of the heat, the motor is likely exceeding 60°C (140°F). While some motors are rated for higher temps, this is a clear sign to stop and let it cool.
Does blowing out my tools with compressed air really make a difference? Yes, absolutely. In a metal shop, dust is often made of tiny steel particles. These are conductive. If they bridge two points on a circuit board, the board will fry. Additionally, dust insulates components, keeping them hot long after the fan has stopped.
What is the most common cause of bearing failure in shop tools? Over-tensioning belts and blades is the primary culprit. Many users tighten bandsaw blades or lathe belts as much as possible, thinking it improves performance. This puts massive radial loads on the bearings, leading to heat buildup and premature failure. Always follow the manufacturer’s tensioning specs.
Is it okay to use WD-40 as a lubricant for my lathe ways? No. WD-40 is a solvent and a rust preventative, not a long-term lubricant. It is too thin and will evaporate, leaving the metal surfaces unprotected. Use a dedicated ISO 68 way oil, which is designed to stick to vertical surfaces and provide a film that resists high pressure.
How often should I change the oil in my gearbox? For a new machine, I change the oil after the first 50 hours of use to remove “break-in” debris. After that, once a year or every 500 hours of runtime is a standard interval for most hobbyist and light-industrial shops.
Why does my welder’s fan stay on after I stop welding? The fan is designed to pull heat away from the internal transformers and heat sinks. Never turn the machine off immediately after a long weld. Let the fan run until it either shuts off automatically or for at least three minutes to ensure the internal components have stabilized.
What is “Power Factor Correction” and why should I care? PFC is an electronic system that ensures the machine uses the incoming power as efficiently as possible. It smooths out the electrical “noise” and allows the tool to run better on long extension cords or fluctuating power grids, which protects the sensitive internal electronics from voltage stress.
Can I use standard automotive grease for my shop machinery? Only if the manual specifies it. Many shop tools require “Lithium Complex” or “Molybdenum” greases which handle different pressures and temperatures than automotive wheel bearing grease. Using the wrong grease can lead to it “bleeding” out of the bearing, leaving it dry.
How do I know if my machine is out of level? Use a precision machinist’s level (accurate to 0.0005″ per foot) on the main bed or table. If a machine is not level, the weight of the castings can cause the frame to “tweak” or twist over time. This twist leads to uneven wear on the sliding ways and ruins accuracy.
What is the best way to track my maintenance? I recommend a simple hour meter. You can buy vibration-activated digital meters for under $20. Stick one to each motor. This takes the guesswork out of “when was the last time I oiled this?” and gives you hard data for your maintenance log.
(This article was written by one of our staff writers, David Reynolds. Visit our Meet the Team page to learn more about the author and their expertise.)