Common Workshop Upgrade Mistakes to Avoid Completely (Guide)
I have spent the last 15 years in a 1,200-square-foot shop, surrounded by the smell of ozone and cutting fluid. In that time, I have learned that the most expensive tool you can buy is the one that breaks in the middle of a deadline. My workshop journals are filled with notes on failed capacitors, shredded drive belts, and motor housings that ran too hot to touch. I have seen shiny, brand-new machines from major brands fail within months, while older, properly maintained equipment keeps humming.
The frustration most of us feel comes from the gap between marketing brochures and real-world shop floor performance. Salespeople talk about “peak horsepower,” but they rarely mention the duty cycle or the quality of the internal bearings. When you are looking to improve your fabrication capabilities, falling for these surface-level specs is a mistake that costs both time and money. I have made those mistakes so you do not have to. This guide is built on the data I have gathered from thousands of hours of actual tool use and maintenance.
Deciphering Technical Specifications for Equipment Longevity
Understanding the underlying engineering of a tool is the only way to bypass marketing fluff. By analyzing motor insulation, duty cycles, and thermal protection, you can predict how a machine will handle high-load fabrication tasks before you ever strike an arc or make a cut.
When I look at a new welder or a stationary grinder, I ignore the large font on the box. Instead, I look for the NEMA (National Electrical Manufacturers Association) ratings. For example, motor insulation classes tell you how much heat a motor can handle before the wire coatings melt. A Class F insulation rating is standard for decent shop tools, allowing for a 155°C (311°F) limit. If I see a tool with Class B insulation, I know it will likely fail if I push it during a long afternoon of heavy grinding.
Duty Cycle Explanations and Thermal Limits
A duty cycle represents the percentage of a ten-minute period a machine can operate at a specific output without overheating. It is a critical metric for welders and plasma cutters that determines whether a tool is suitable for continuous production or light hobby use.
If you buy a welder rated at 40% at 200A, that means you can weld for four minutes out of every ten. If you try to weld for six minutes, the thermal overload protection should kick in. In my experience, cheaper machines have “optimistic” duty cycles. I once logged a budget MIG welder that claimed a 30% duty cycle but hit its thermal limit after only two minutes of actual trigger time in a 75°F shop. Always look for third-party verified ratings or “60% duty cycle” machines if you plan on doing heavy structural work.
Motor Insulation Classes and Heat Management
Motor insulation classes define the maximum temperature a motor can withstand during operation without the internal insulation breaking down. This rating is a direct indicator of how hard you can push a tool under load before the motor windings short out.
I always check the data plate on any stationary tool for the “Ins. Cl.” mark. In a fabrication environment, heat is the primary enemy. A tool with Class H insulation is the gold standard, but Class F is usually sufficient for most active workshops. If a manufacturer does not list the insulation class in their technical manual, it is often a sign they are using lower-grade copper or thinner coatings to save on production costs.
Avoiding Structural Failures in Tool Mounting and Bench Setup
Improperly securing heavy machinery or using insufficient bench reinforcement leads to vibration, inaccuracy, and premature bearing wear. Ensuring that your fabrication surfaces can handle the static and dynamic loads of your equipment is vital for maintaining tool precision over hundreds of operational hours.
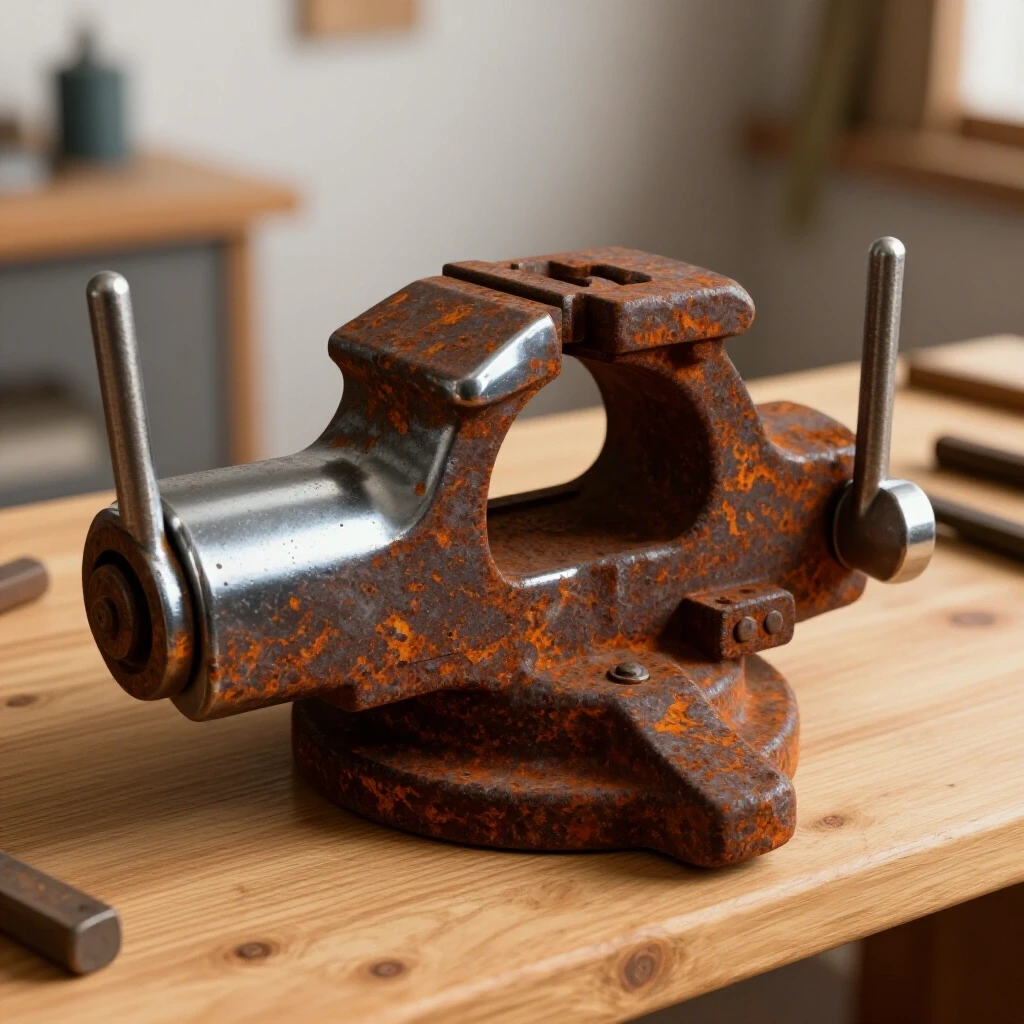
One of the most common errors I see in shop setups is mounting a high-torque vise or a heavy pedestal grinder to a thin-gauge steel table. I once mounted a 75-pound industrial vise to a 3/16-inch steel tabletop. Under heavy prying, the table surface flexed, which eventually led to a crack in the weld near the leg. Now, I use a minimum of 1/2-inch plate for mounting heavy tools, often reinforced with a 2×2-inch square tube skeleton underneath.
The Impact of Vibration on Bearing Life
Excessive vibration from poorly mounted tools causes microscopic pitting in ball bearings, a process known as false brinelling. Over time, this leads to increased heat, noise, and eventual motor failure, making rigid mounting a primary factor in equipment longevity.
When a tool vibrates, it is essentially “hammering” its own internal components. I use a simple vibration meter app on my phone to check my bench-mounted tools. If the vibration is excessive, I add rubber isolation pads or increase the mass of the mounting surface. A heavy, stable base acts as a heat sink and a vibration dampener, which can easily double the life of your motor bearings.
Tool Mounting Compatibility and Bench Reinforcement
Ensuring that your tools are mounted to surfaces that match their weight and torque output prevents structural fatigue and improves safety. Bench reinforcement involves adding gussets or thicker top plates to distribute the forces generated during heavy metalworking tasks.
- Vise Mounting: Use Grade 8 bolts and large backing washers to prevent “pull-through” on the table.
- Grinder Pedestals: Bolt these directly to the concrete floor if possible; if not, use a weighted base of at least 50 pounds.
- Drill Presses: Ensure the column is perfectly vertical and the base is shimmed to prevent “walking” during large-diameter hole drilling.
Comparing Metalworking Machinery for Long-Term Reliability
Choosing between brands requires more than comparing price tags; it involves evaluating casting quality, parts availability, and historical failure rates. By looking at specific components like gearboxes and guide systems, you can identify which tools are built for the long haul.
When I perform metal band saw comparisons, I don’t just look at the cutting capacity. I look at the blade guide system. Are the guides made of cheap plastic, or are they ball-bearing supported? I have a log entry from 2018 where a budget saw’s plastic guides melted during a long cut on 4-inch channel iron. A saw with cast iron wheels and ball-bearing guides might cost 30% more, but it will save you hundreds in ruined blades and downtime.
Welder Buying Guides for Longevity
A reliable welder is the heart of a fabrication shop, but choosing between transformer-based and inverter-based technology requires a clear understanding of your power needs and portability requirements. Modern inverter welders offer better arc stability but are often more difficult to repair than older transformer units.
| Feature | Transformer-Based | Inverter-Based |
|---|---|---|
| Durability | High (few electronic parts) | Moderate (sensitive to dust/moisture) |
| Power Efficiency | Lower (higher idle draw) | High (lower utility costs) |
| Weight | Heavy (100+ lbs) | Light (20-40 lbs) |
| Arc Control | Basic | Advanced (Pulse, Dig, Hot Start) |
| Repairability | Easy for DIY | Requires specialized tech |
In my shop, I prefer inverter machines for their 110V/220V dual-voltage flexibility, but I keep them covered when not in use to prevent metallic dust from shorting out the circuit boards.
Power Tool Reliability Ratings and Real-World Wear
Reliability ratings should be based on “hours of trigger time” rather than years of ownership. Tracking how many brushes you replace or how often a cord fails provides a more accurate picture of a tool’s true value than any marketing claim.
I track every tool in a simple spreadsheet. For example, I found that my “Brand A” 4.5-inch grinders lasted an average of 120 hours before the switch failed. My “Brand B” grinders lasted 300 hours. Even though Brand B cost $20 more, the cost-per-hour of operation was significantly lower. This is the kind of data that helps you avoid overpaying for names that no longer produce quality internals.
Implementing Effective Maintenance and Tracking Systems
A systematic approach to garage machinery maintenance involves logging runtime hours and scheduled inspections to catch wear before it leads to a breakdown. Using digital logs or physical journals allows you to track the lifetime cost of every tool in your inventory.
I use a simple numbered system for my tools. Every time I change the oil in my cold saw or replace the belt on my sander, it gets an entry. This habit has saved me thousands. Last year, my maintenance log showed that I was replacing the drive belt on my drill press every 50 hours. This led me to discover a misaligned pulley that I would have otherwise ignored until the motor burned out.
Developing a Preventative Maintenance Schedule
A preventative maintenance schedule is a pre-planned list of inspections, lubrications, and adjustments performed at specific intervals. This proactive strategy reduces unexpected downtime and extends the service life of expensive fabrication equipment by addressing minor wear issues early.
- Daily: Blow out dust from welder vents and check cord integrity.
- Weekly: Check tension on all drive belts and lubricate vise lead screws.
- Monthly: Inspect motor brushes on universal motors and check oil levels in gearboxes.
- Quarterly: Deep clean all cooling fans and check for loose electrical connections at the plug.
Tooling Investment Guides and Lifetime Cost Calculation
Calculating the lifetime cost of a tool involves adding the initial purchase price to the estimated costs of consumables, repairs, and electricity over its expected lifespan. This calculation reveals that the “cheapest” tool is often the most expensive over a five-year period.
I once compared two horizontal bandsaws. Saw A was $600 with a 1-year warranty. Saw B was $950 with a 3-year warranty and a better motor. After three years, Saw A had required two motor replacements ($150 each) and a new gearbox ($200), totaling $1,100. Saw B had required only blade changes. By spending more upfront, I would have saved $150 and dozens of hours of repair time.
Evaluating Warranty Terms and Parts Accessibility
A long warranty is useless if the manufacturer lacks a local service network or a reliable parts supply chain. Evaluating the “fine print” of warranty coverage and the availability of replacement consumables is essential for minimizing the total cost of ownership.
Before I buy a major piece of machinery, I do a “parts test.” I go to the manufacturer’s website and see if I can easily find a replacement trigger, a motor capacitor, or a drive gear. If the parts are “out of stock” or require a phone call to a distributor in another country, I walk away. A tool is only as good as the parts that keep it running.
Warranty Recovery and Documentation
Properly managing your tool warranties involves more than just keeping the receipt; it requires documenting the tool’s performance and any minor issues that occur during the coverage period. This documentation provides leverage if you need to request a replacement or a professional repair.
- Scan Receipts: Thermal paper fades; digital copies are permanent.
- Log Serial Numbers: Keep a master list in your shop office.
- Note Minor Faults: If a switch feels “crunchy” in month 11 of a 12-month warranty, get it replaced then, not in month 13.
Navigating Tooling Investment Risks
Every upgrade carries a risk of “over-tooling,” where you buy more machine than you actually need. Avoid the mistake of buying industrial-grade equipment for tasks that a high-quality mid-range tool can handle perfectly. Focus your budget on the tools you use for 80% of your projects.
For example, I spent a lot of money on a high-end TIG welder with features I only use once a year. I should have spent that extra $1,000 on a better-quality bandsaw, which I use every single day. Align your spending with your actual shop workflow, not your “dream” projects.
Actionable Benchmarks for Shop Upgrades
To ensure your shop improvements are successful, follow these data-driven benchmarks when evaluating new equipment:
- Input Power Check: Ensure your tool’s Amp draw at 240V does not exceed 80% of your circuit breaker’s rating for continuous loads.
- Weight-to-Power Ratio: For stationary tools like drill presses, more mass usually equals more stability and longer bearing life.
- Consumable Cost-per-Cut: Track how long your bandsaw blades or grinder discs last on different brands. A $30 blade that lasts 100 cuts is better than a $15 blade that lasts 20.
- Noise Levels: Use a decibel meter. Tools that run louder than 85dB require hearing protection and often indicate lower-quality gear tolerances.
By focusing on these metrics, you move away from being a “consumer” and become an “owner.” You stop looking at the paint color and start looking at the gear ratios and the copper windings.
Summary of Maintenance and Evaluation Steps
- Analyze the Data Plate: Verify the NEMA insulation class and duty cycle.
- Inspect the Casting: Look for thick, vibration-dampening cast iron rather than thin stamped steel.
- Check Parts Availability: Ensure you can buy a replacement motor or switch today.
- Reinforce Mounting Surfaces: Never mount heavy tools to thin, unreinforced tables.
- Start a Maintenance Log: Track every hour of use and every dollar spent on repairs.
Taking these steps will ensure that your workshop grows in capability without the constant headache of unexpected failures. Your tools should work for you, not the other way around.
Frequently Asked Questions
What is the most common mistake when buying a first welder?
The most common error is ignoring the duty cycle. Many beginners buy a machine based on the maximum amperage (e.g., 200 Amps) but don’t realize the machine can only sustain that power for 2 minutes out of 10. For fabrication, look for a machine with at least a 40% duty cycle at your intended working thickness.
How do I know if my workbench is strong enough for a heavy vise?
If you can see the tabletop flex when you pull on a piece of metal in the vise, the bench is too weak. For a standard 4-inch to 6-inch vise, use a minimum of 3/8-inch steel plate or reinforce a thinner plate with 2-inch steel angle iron directly underneath the mounting holes.
Is it better to buy a used industrial machine or a new hobbyist machine?
Usually, a used industrial machine is superior if the wear parts (bearings, belts, brushes) are still available. Industrial machines have much higher-quality castings and better motor insulation (Class F or H), which allows them to run all day without overheating, unlike many modern “budget” tools.
Why does my bandsaw blade keep breaking or jumping off the track?
This is often caused by poor blade guide alignment or a lack of tension. Check if your saw has ball-bearing guides. If the guides are worn or made of soft metal, they won’t support the blade correctly under load. Also, ensure the “tracking” adjustment on the drive wheel is correctly set.
What should I look for in a power tool warranty?
Look for a “repair or replace” clause that doesn’t require you to pay for shipping. Some companies offer a 3-year warranty but require you to ship a 50-pound tool at your own expense, which can cost more than the repair itself. Local authorized service centers are a huge plus.
How often should I blow out the dust from my inverter welder?
In a metalworking shop, you should blow out the vents with compressed air (at low pressure, around 30 PSI) at least once a month. Metallic dust is conductive; if it builds up on the internal circuit boards of an inverter, it can cause a catastrophic short circuit.
Does “Peak Horsepower” on a motor actually matter?
“Peak” or “Max Developed” horsepower is a marketing term that refers to the moment right before the motor stalls and burns out. It is not a sustainable working power. Always look for the “Continuous” or “Rated” horsepower, which is the power the motor can safely provide all day.
Why are brushless motors better for shop tools?
Brushless motors are more efficient and have no carbon brushes to wear out. More importantly for fabricators, they are sealed better against metallic dust. In my logs, brushless grinders last about twice as long as brushed models in high-dust environments like grinding or sanding.
How can I track tool maintenance without it taking too much time?
Keep a small notebook or a QR code taped to each machine. When you do a task (like oiling a gear), just jot down the date and the action. It takes 30 seconds but provides a history that is invaluable if you ever decide to sell the tool or need to troubleshoot a failure.
What is “Power Factor Correction” (PFC) in modern welders?
PFC is a technology in newer inverter welders that allows them to run more efficiently on a wide range of input voltages (like 110V to 240V). It reduces the “noisy” power feedback into your shop’s electrical system and allows you to run the welder on longer extension cords without a significant drop in performance.
(This article was written by one of our staff writers, David Reynolds. Visit our Meet the Team page to learn more about the author and their expertise.)