How to Restore and Replace Rusty Slides on Tool Chests (Fix)
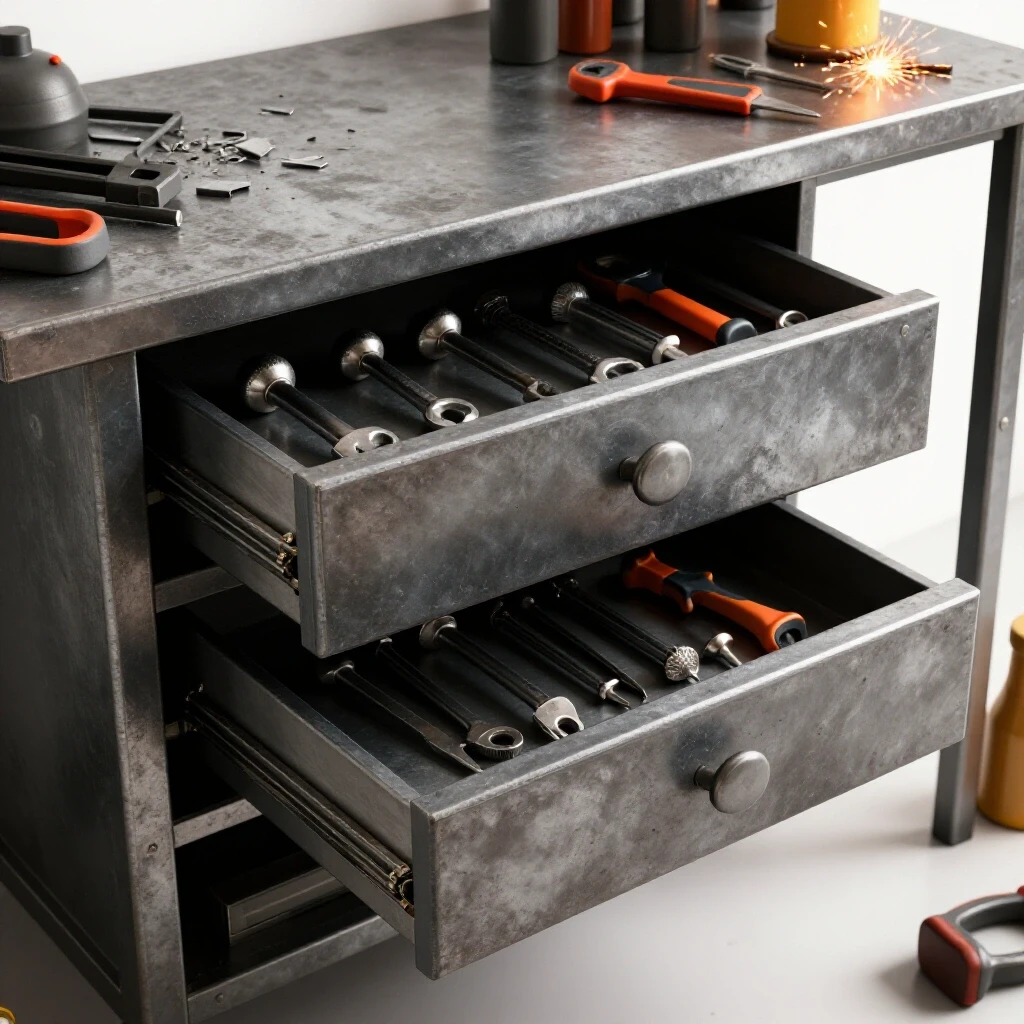
Walking into a workshop and finding a heavy, pre-war tool chest buried under decades of dust is a feeling many of us know well. I have spent the last 18 years pulling these relics out of scrap yards and damp basements. While the heavy cast-iron casing often survives, the internal sliding mechanisms are usually the first to fail. They seize, pit, and eventually refuse to budge. Restoring these components is not just about making a drawer move; it is about preserving a piece of mechanical history and regaining the precision that modern, flimsy storage lacks.
When I first started, I made the mistake of using a pry bar on a stuck drawer. I ended up with a cracked casting and a lesson I never forgot. Vintage machinery restoration requires a different mindset. You are not just fixing a tool; you are performing a mechanical rescue. This process demands patience, the right chemical approach, and a deep respect for the tolerances set by craftsmen long ago. Whether you are dealing with a simple friction slide or an early ball-bearing runner, the goal remains the same: smooth, reliable operation without compromising the structural integrity of the metal.
Evaluating the Structural Integrity of Vintage Sliding Mechanisms
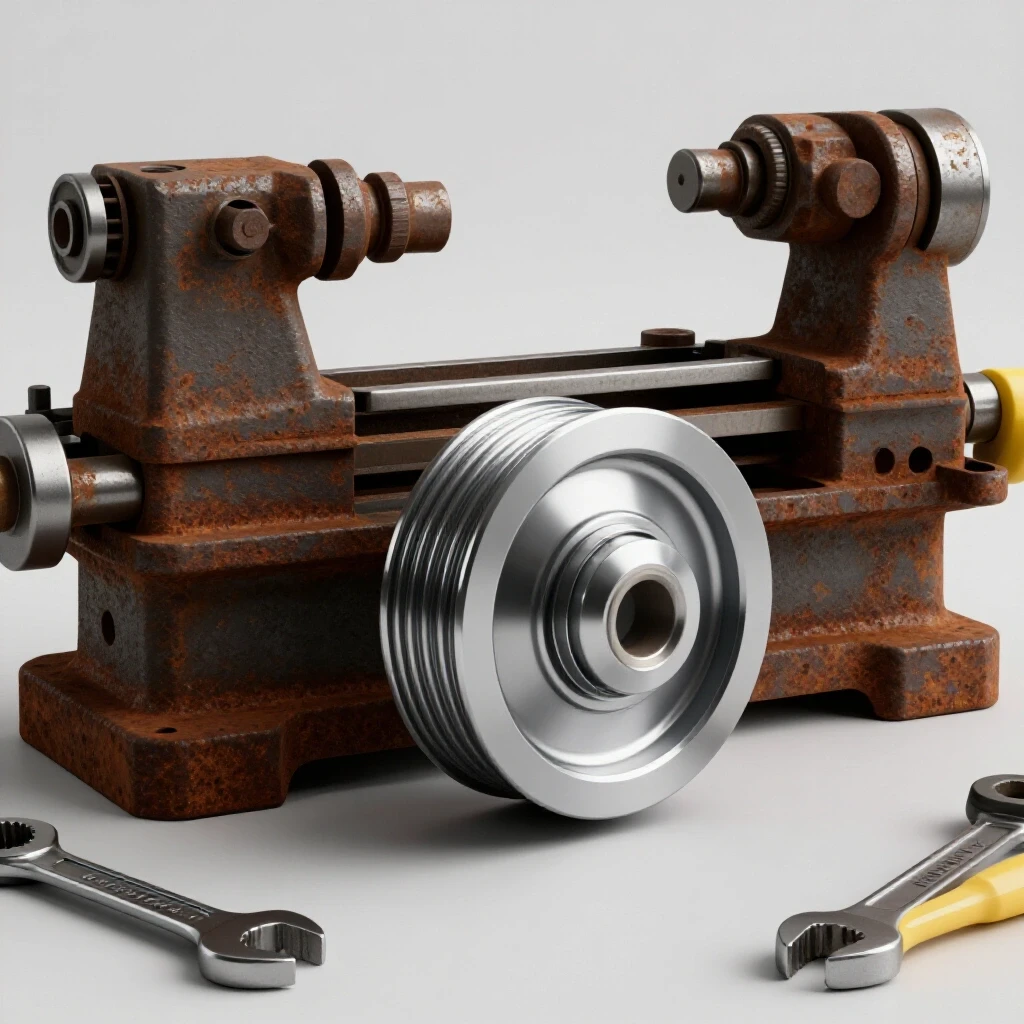
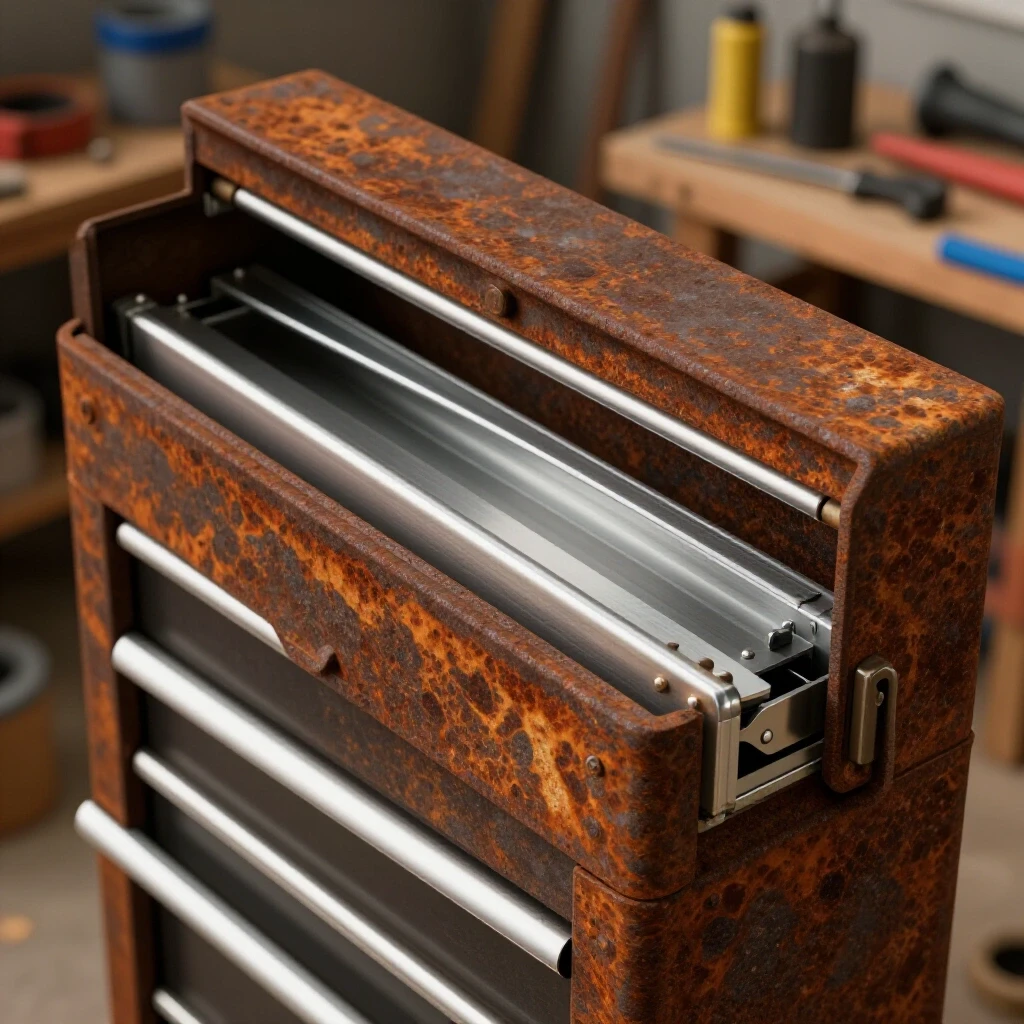
Before turning a single screw, you must determine if the metal can actually be saved or if the corrosion has compromised the structural safety of the chest. This assessment involves checking for “pitting,” which are small holes eaten into the metal, and “delamination,” where the steel begins to flake off in layers.
In my experience, a slide that looks like a solid block of rust can often be saved, provided the core thickness of the metal remains intact. I use a simple “tap test” with a small brass hammer. A healthy, though rusted, piece of steel will produce a clear ring. A piece that is rotted through will sound dull, like hitting cardboard. If the runner has lost more than 25% of its original thickness to deep pitting, it may no longer support the weight of heavy metalworking tools.
Key Metrics for Slide Evaluation
| Condition Feature | Assessment Method | Restoration Potential |
|---|---|---|
| Surface Rust | Visual/Wire Brush | High; usually requires only cleaning. |
| Deep Pitting | Caliper Measurement | Moderate; requires filling or heavy sanding. |
| Structural Thinning | Micrometer/Tap Test | Low; may require fabrication of new parts. |
| Seized Bearings | Manual Pressure | High; often solvable with heat and chemicals. |
| Frame Distortion | Precision Straight Edge | Moderate; requires “cold-setting” or heat. |
Building on this assessment, you should document the original layout. I always take photos of the fastener patterns. Many old chests use non-standard thread pitches or odd-sized rivets that you cannot find at a modern hardware store. Keeping these original fasteners is a priority for any serious restoration.
Why Seized Cast Iron Screws Crack Under Force
Seized fasteners are the most common hurdle when removing machinery rust and disassembling old chests. When iron and steel sit in a damp environment, they undergo galvanic corrosion, effectively welding the screw threads to the frame. Applying too much torque with a screwdriver will almost always result in a snapped head or a stripped slot.
I have learned that the secret to successful machine disassembly tips is a combination of chemistry and temperature. I start by applying a high-quality penetrating oil—not a general-purpose spray, but a dedicated mixture designed to break down iron oxide. I let this sit for at least 24 hours. If the screw still refuses to move, I move to “thermal release.” This involves heating the surrounding metal with a torch to expand the hole, while keeping the screw itself relatively cool. The slight difference in expansion is often enough to break the rust bond.
A Systematic Disassembly Sequence
- Clear the Debris: Use a vacuum and a stiff nylon brush to remove loose flakes and old grease.
- Chemical Soaking: Apply penetrant to every visible joint and fastener.
- Vibration: Gently tap the head of the fastener with a hammer to “shock” the rust.
- Controlled Heat: Apply heat to the frame, not the screw, to encourage expansion.
- Impact Driver: Use a manual impact driver that converts a hammer blow into a high-torque turn.
Interestingly, I once worked on a 1920s machinist chest where the slides were held in by custom-tapered pins rather than screws. If I had forced them, I would have ruined the frame. Always look for the “why” behind a part’s design before you try to remove it.
Chemical Rust Removal vs. Mechanical Stripping
Once the slides are removed, you face the challenge of removing machinery rust without damaging the base metal. There are two main paths: mechanical removal (sanding, grinding, wire brushing) and chemical removal (evaporative chelators or electrolysis).
For precision sliding surfaces, I avoid aggressive grinding. Grinding changes the dimensions of the metal, which can lead to “slop” or “backlash” in the drawer’s movement. Instead, I prefer a chemical bath. Water-based chelators are excellent because they are selective; they only react with iron oxide and leave the healthy steel untouched. This is vital for maintaining the factory tolerances of the slide.
Comparison of Rust Removal Methods
| Method | Pros | Cons | Best For |
|---|---|---|---|
| Electrolysis | Very cheap; reaches every crevice. | Requires 12V DC setup; messy. | Complex, heavy castings. |
| Chelating Agents | Safe; non-toxic; preserves metal. | Can be expensive for large parts. | Precision slides and rails. |
| Wire Brushing | Fast; immediate results. | Can “smear” rust into the metal. | Non-critical frame parts. |
| Sand Blasting | Extremely thorough. | Can warp thin sheet metal. | Heavy exterior housings. |
As a result of these choices, you can preserve the original machining marks on the slides. I find that keeping these marks is not just for looks; they actually help hold lubrication better than a mirror-polished surface would.
The Science of the Electrolysis Bath
Electrolysis is a process that uses a low-voltage electrical current to move rust from the tool to a “sacrificial” piece of scrap metal. It is one of the most effective ways to clean restoring classic cast iron parts because it requires almost no physical scrubbing.
To set this up, you need a plastic container, a manual battery charger (not a smart charger, as they often won’t turn on without sensing a battery), and washing soda (sodium carbonate). You submerge the rusty slide in the water, connect the negative lead to the slide, and the positive lead to a piece of scrap steel (the anode). When you turn on the power, the oxygen is pulled away from the rust, effectively “un-rusting” the part.
- Voltage: 12V DC is standard.
- Current: 2 to 10 Amps depending on the size of the part.
- Solution: 1 tablespoon of washing soda per gallon of water.
- Time: 4 to 24 hours depending on the thickness of the rust.
One safety note I must emphasize: this process produces small amounts of hydrogen gas. Always perform electrolysis in a well-ventilated area and never smoke near the bath. Also, never use stainless steel as an anode, as it can produce toxic hexavalent chromium in the water.
Fabricating Obsolete Slide Components
Sometimes, the original runners are simply too far gone to save. Because these vintage chests often use obsolete dimensions, you cannot simply buy a replacement at a hardware store. This is where the restorer becomes a fabricator.
In my shop, I often have to recreate friction slides using cold-rolled steel bar stock. The key is to match the original thickness within 0.005 inches. If the original part used a specific “V-groove” or a “dovetail” shape, you may need to use a file and a lot of patience to recreate that profile. I call this “manual machining.” It is slow, but it allows you to maintain the historical integrity of the piece.
Steps for Fabricating a Replacement Runner
- Template Creation: Trace the original part onto a piece of cardstock.
- Material Selection: Use a similar metal to avoid galvanic corrosion (usually mild steel).
- Rough Cutting: Use a hacksaw or bandsaw to get close to the final shape.
- Precision Filing: Use a sharp mill file to bring the piece to the final dimension.
- Hole Matching: Use the original frame as a drill guide to ensure the holes align perfectly.
Building on this, if the chest originally used ball bearings that are now seized or missing, you can often find modern equivalents by measuring the inner diameter, outer diameter, and width with a digital caliper. Even if the original brand is gone, bearing sizes have been somewhat standardized for nearly a century.
Precision Alignment and the 0.002-Inch Rule
Once the parts are clean or fabricated, the next step is reassembly and classic tool alignment. A tool chest drawer that binds or sits crooked is a failure of restoration. In the world of machinery, we aim for precision. For a sliding drawer, I look for a clearance of about 0.002 to 0.005 inches on either side.
If the drawer is tight, it will wear down the new finish and eventually seize again. If it is too loose, it will rattle and feel “cheap.” I use a machinist’s straight edge to ensure the internal rails are perfectly parallel. If the frame of the chest has been dropped and is slightly out of square, I use a technique called “cold-setting.” This involves using a heavy vise or clamps to gently bend the metal back into alignment without using heat, which could soften the steel.
Alignment Checklist for Reassembly
- Parallelism: Are the left and right rails the same distance apart at the front and back?
- Levelness: Do the slides sit perfectly horizontal when the chest is leveled?
- Fastener Torque: Are the screws tight enough to hold weight but not so tight they distort the rail?
- Travel Consistency: Does the slide move with the same amount of force throughout its entire range?
Interestingly, many old-timers used thin brass shims to adjust the height of the slides. If you find small bits of brass behind a rail during disassembly, do not throw them away. They were put there for a reason, likely to compensate for a slight casting error at the factory.
Lubrication and Long-Term Preservation
The final step in any restoration is ensuring the tool stays functional for the next 50 years. This comes down to lubrication. Many people reach for WD-40, but in a workshop environment, that is a mistake. WD-40 is a solvent, not a long-term lubricant; it will eventually evaporate and leave the metal unprotected.
For metal-on-metal friction slides, I prefer a heavy-duty “way oil” or a dry PTFE (Teflon) spray. Way oil is specifically designed for the sliding surfaces of lathes and mills. It contains “tackifiers” that help the oil stick to vertical surfaces and resist being squeezed out under heavy loads. If the chest will be used in a dusty environment, a dry lubricant is better because it won’t attract sawdust or metal shavings that can act like sandpaper.
- Way Oil (ISO 68): Best for heavy-duty friction slides.
- Lithium Grease: Good for enclosed ball bearings.
- Dry PTFE Spray: Best for light-duty drawers in dusty shops.
- Paste Wax: A classic choice for preserving the non-moving surfaces of the cast iron.
As a result of proper lubrication, the “feel” of the drawer changes. It should move with a hydraulic-like smoothness. This is the hallmark of a successful restoration.
Why Hand Scraping is Sometimes Necessary
In extreme cases, where the cast iron rails have been badly warped or worn unevenly, you might need to employ machinery hand scraping. This is the process of using a hand-held carbide scraper to remove tiny amounts of metal from the high spots of a surface.
You start by applying a thin layer of “Prussian Blue” dye to a known flat surface (like a surface plate). You then rub the slide against the plate. The dye will transfer only to the high spots. You scrape those spots off and repeat the process until you have an even distribution of “points” across the surface. For a tool chest, you don’t need the 40 points-per-inch (PPI) required for a lathe bed, but 10 to 15 PPI will ensure the slide never binds.
- Bluing: Apply the marking compound.
- Mapping: Rub the part to find high spots.
- Scraping: Remove metal at a 45-degree angle.
- Deburring: Use a fine stone to remove any burrs created by the scraper.
This technique is a dying art, but for those of us restoring classic cast iron, it is the only way to achieve true factory-level precision. It turns a “fixed” tool into a “restored” one.
Common Mistakes in Slide Restoration
Even after 18 years, I still have to remind myself to slow down. The most common mistake I see among hobbyists is “over-restoring.” This usually means grinding away too much metal in an attempt to remove every single pit mark. Remember, a pit is just a hole; it doesn’t affect the function of the slide as much as a hump or a warp does.
Another mistake is using the wrong fasteners. Replacing a vintage slotted-head screw with a modern Phillips-head or Hex-bolt might be easier, but it ruins the aesthetic and can sometimes cause clearance issues. Modern bolt heads are often taller than vintage ones, which can cause the drawer to catch.
- Don’t use a power sander on precision rails.
- Don’t force a seized screw without trying heat first.
- Don’t ignore the original shims.
- Don’t use grease on slides that will be exposed to lots of dust.
By avoiding these pitfalls, you ensure that your restoration is both functional and historically respectful.
Tracking Your Progress: The Restoration Log
I highly recommend keeping a “machine log” for every project. This is a simple notebook where you record the thread pitches you encountered, the measurements of the slides, and the specific chemicals you used.
When you are three months into a project and finally ready to put it back together, you will not remember which shim went on the left side or what the original clearance was. I use a numbered list for my parts inventory and take a photo of each sub-assembly before I take it apart.
- Part Number: Assign a number to every bracket and rail.
- Dimensions: Record the width, height, and length.
- Fastener Type: Note the thread count (e.g., 10-24 or the rarer 10-30).
- Condition Notes: Document where the heaviest wear was located.
This level of detail might seem like overkill for a tool chest, but it is the difference between a box of parts and a working piece of machinery.
Final Steps for a Reliable Fix
The final test of your work is the “weight test.” Load the drawers with your heaviest wrenches and sockets. If the slides still move smoothly without sagging or binding, you have succeeded.
Restoring these old mechanisms is a labor-intensive process, but it is incredibly rewarding. You are taking something that was destined for the scrap heap and turning it back into a high-precision tool. In a world of disposable plastic, there is a profound satisfaction in the heavy “thunk” of a well-aligned, cast-iron drawer closing perfectly.
FAQ: Restoring and Replacing Rusty Slides
How do I know if a slide is too rusty to save? If the rust has eaten through more than 25% of the metal’s thickness or if the part “flakes” when tapped with a hammer, it is likely structurally compromised. However, if the pitting is only on the surface, it can usually be filled or sanded smooth.
Can I use white vinegar for rust removal? Yes, vinegar is a mild acid that works well for removing machinery rust. However, it is not selective. It will continue to eat the healthy metal if left too long. Always neutralize the acid with a baking soda and water solution immediately after the bath.
What if I can’t find the original screws? Many vintage chests use “obsolete” threads. You may need to buy a thread gauge to identify the pitch. If replacements aren’t available, you can either “chase” the old threads with a die or drill and tap the hole to a modern standard size as a last resort.
Is it okay to paint the sliding surfaces? No. Paint will quickly wear off and gum up the mechanism. Sliding surfaces should be left as bare metal and protected with a thin layer of way oil or dry lubricant.
How do I stop the rust from coming back? The key is to seal the pores of the metal. After cleaning, I use a “metal prep” solution that leaves a thin phosphate coating, followed by a high-quality wax or oil. Maintaining a low-humidity workshop is also essential.
Why is my drawer still sticking after I removed all the rust? Check for “racking.” This happens when the frame is not square, causing the two rails to be non-parallel. Use a precision square to check the chest’s frame. You may need to shim one side of the slide to compensate.
What is the best way to remove old, hardened grease? Old grease can be as hard as plastic. I use a heat gun to soften it and then scrape it away with a wooden or plastic scraper to avoid scratching the metal. Mineral spirits or kerosene are also effective solvents for degreasing.
Can I replace friction slides with modern ball-bearing slides? While possible, it usually requires significant modification to the chest’s frame. It also changes the “feel” and historical value of the tool. Most restorers prefer to repair the original friction system.
How do I fix a bent steel runner? Use a “cold-setting” technique. Place the runner on a flat anvil or a heavy workbench and use a soft-faced mallet (brass or lead) to gently tap it back into shape. Avoid using a steel hammer, which will leave marks and harden the metal.
Is electrolysis safe for all metals? It is safe for iron and steel. Do not use it for aluminum, brass, or copper, as the chemical reaction can damage or dissolve these softer metals. Always identify your material before starting a bath.
How often should I lubricate the slides? In a standard workshop environment, a quick wipe with an oily rag or a fresh spray of PTFE every six months is usually enough to keep things moving smoothly and prevent new corrosion.
(This article was written by one of our staff writers, Richard Beaumont. Visit our Meet the Team page to learn more about the author and their expertise.)