How to Choose the Right Compressor Size for Shop Tools (Tips)
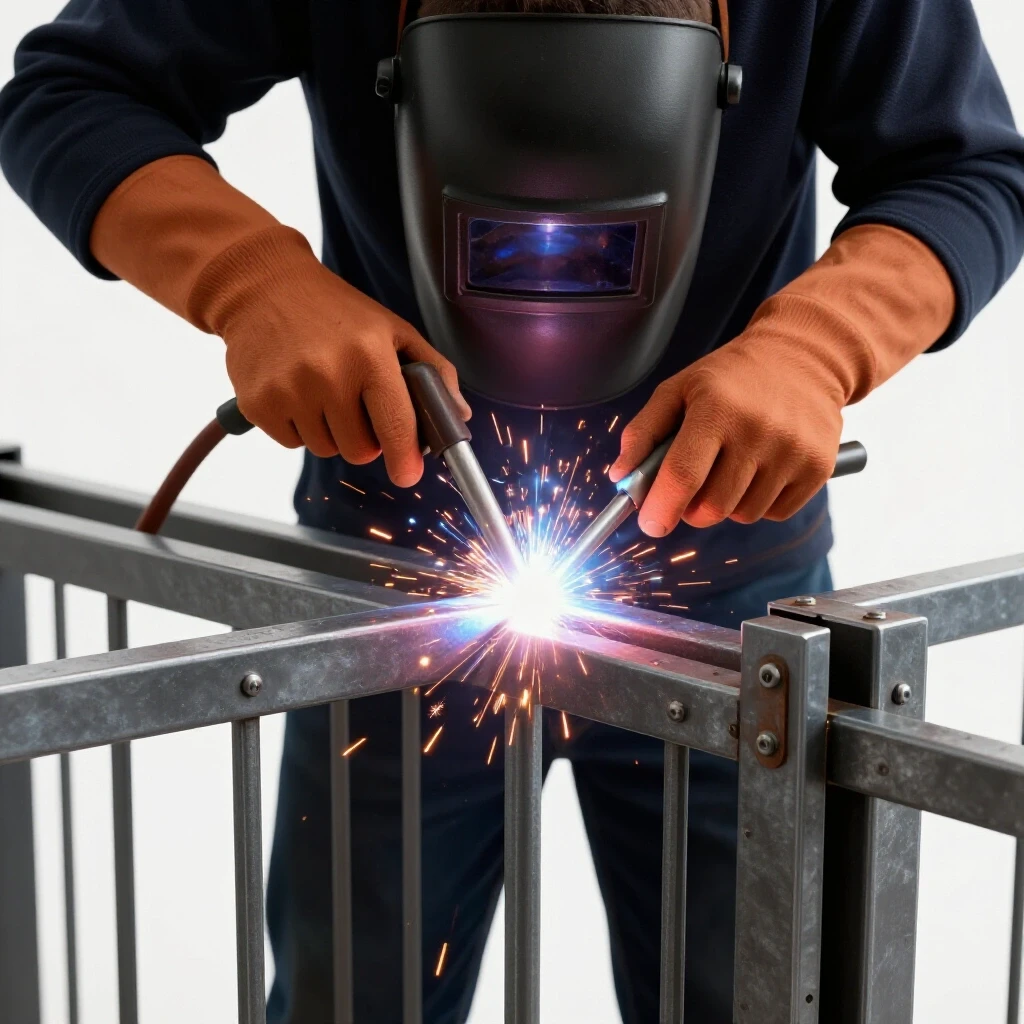
In the early days of my fabrication business, I made a mistake that nearly cost me a major contract for twenty custom gate frames. I had calculated my material costs and labor hours perfectly, or so I thought. However, two days into the project, my small compressor began to scream. It couldn’t keep up with the continuous demand of the pneumatic sander and the plasma cutter. I spent forty percent of my “billable” time waiting for the tank to refill. This wasn’t just a mechanical failure; it was a financial leak. My shop rate dropped from a healthy $85 an hour to a dismal $45 because my equipment wasn’t matched to my workload.
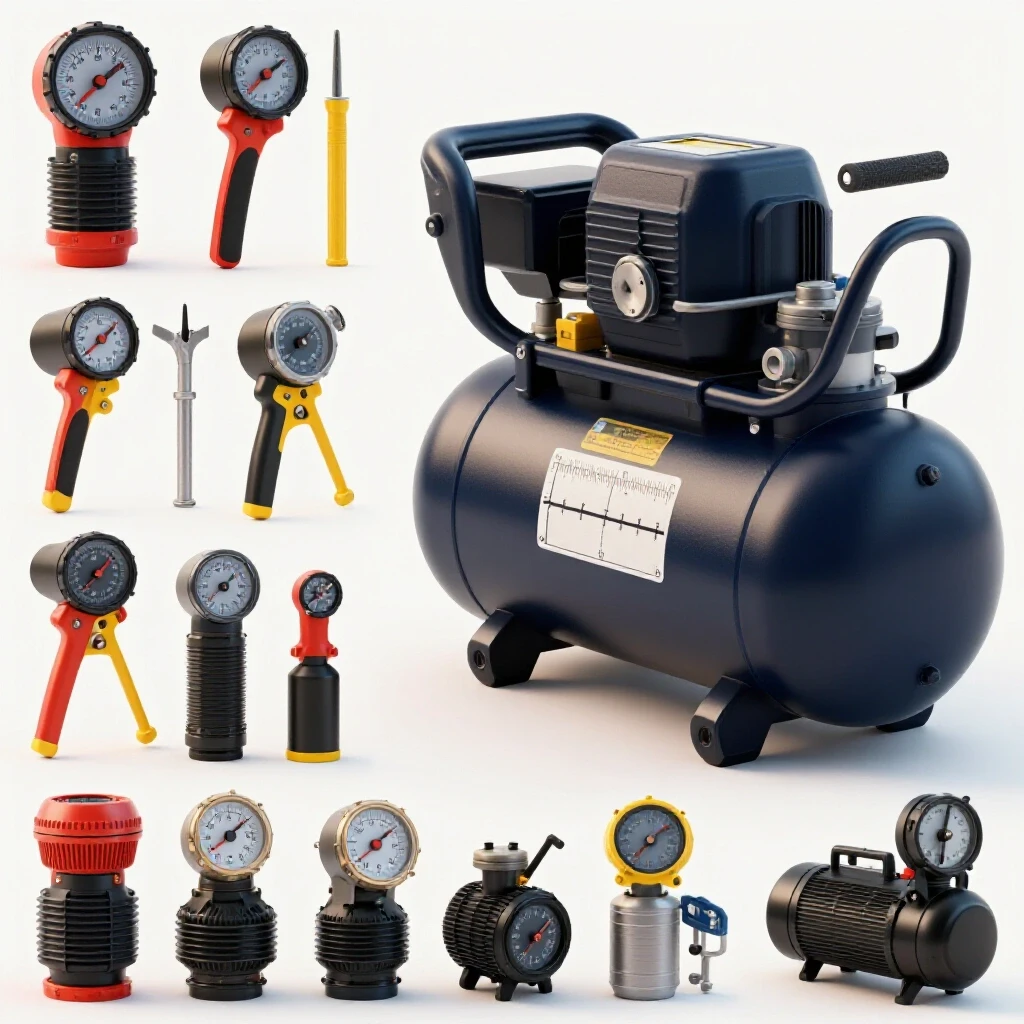
For many side-hustlers and small shop owners, the air system is an afterthought until it hinders production. We often focus on the welder or the mill, but the air supply is the utility that powers the efficiency of those tools. If you are transitioning from a hobby to a paid side-hustle, you must treat your compressor as a capital investment. This means understanding exactly how much air your tools need to stay profitable and how that equipment affects your bottom line.
The Financial Impact of Air Supply on Fabrication Job Costing
Determining how your air system influences the hourly cost of running a business and the speed at which you complete projects is vital for survival. Every minute you wait for a compressor to catch up is a minute you aren’t making money, yet you are still paying for lights, heat, and rent.
When I talk about fabrication job costing, I am looking at the total cost of ownership. A compressor that is too small for your tools will run constantly. This leads to higher energy bills and premature equipment failure. In my experience, a compressor running at a 100% duty cycle when it is rated for 50% will cut its lifespan by more than half. This forces you to replace the machine years earlier than planned, which wrecks your long-term ROI calculations.
To price your work accurately, you need to know your “burdened” shop rate. This includes your base hourly wage plus the cost of running the machinery. If your air system is inefficient, your consumable usage—like plasma electrodes and sanding discs—will actually increase because of moisture and low pressure. These hidden costs can easily shave 10% off your profit margins if you don’t account for them in your initial bid.
Mapping Cubic Feet per Minute (CFM) to Production Speed
Measuring the volume of air a tool uses dictates the pace of your fabrication work and determines if you can meet deadlines. CFM represents the actual amount of air moving through the system, and it is the most critical number for any metalworker to track.
Most people look at the horsepower of a motor, but that is a secondary metric. For a side-hustle, you need to list every pneumatic tool you own and its required CFM at a specific pressure. For example, a 1/2-inch impact wrench might only need 5 CFM because you use it in short bursts. However, a pneumatic die grinder or a sandblaster might require 15 to 20 CFM continuously.
Building a “tool air budget” is the first step in mastering shop math. If your most demanding tool requires 12 CFM, your compressor should ideally produce 15 CFM. This 25% “buffer” ensures the machine isn’t struggling at its absolute limit. When I ignored this buffer in my own shop, I found that my tools lost torque, leading to longer fabrication times and frustrated clients.
Pressure Ratings and Tool Efficiency (PSI)
Understanding the force of the air and how it impacts tool performance is essential for maintaining quality and reducing consumable waste. PSI, or pounds per square inch, is the “push” behind the volume, and most shop tools are designed to run at 90 PSI.
If your compressor cannot maintain the required PSI during a long cut with a plasma torch, the arc will stutter. This results in a poor cut quality that requires more grinding time to fix. In my cost tracking, I found that “low-pressure rework” added an average of 15 minutes to every hour of fabrication. At a shop rate of $90, that is $22.50 of lost profit every single hour.
| Tool Type | Average CFM @ 90 PSI | Usage Pattern | Impact on Job Speed |
|---|---|---|---|
| Impact Wrench | 4 – 6 | Intermittent | Low |
| Die Grinder | 8 – 14 | Continuous | High |
| Plasma Cutter | 5 – 8 | Continuous | Critical |
| Needle Scaler | 8 – 12 | Continuous | High |
| Orbital Sander | 10 – 15 | Continuous | Very High |
Calculating the True Cost of Compressed Air
Assigning a dollar value to the air your shop uses involves tracking electricity, maintenance, and the eventual replacement of the machine. This overhead allocation ensures that your customers are paying for the equipment they are wearing down.
Many small shop owners treat the compressor like a light bulb—they just turn it on and ignore it. But a 5-horsepower compressor can be one of the largest draws on your electric bill. When I was consulting for a small fab shop in Ohio, we discovered they were spending nearly $150 a month just on the electricity for their air system because of leaks and an undersized pump.
To calculate your overhead burden, you should take the total cost of the compressor and divide it by its expected lifespan in hours. If a $2,000 compressor lasts 5,000 hours, it costs you $0.40 per hour in depreciation. Add in the electricity cost and maintenance (oil changes and filters), and you might find that “air” costs you $2.00 to $3.00 for every hour the shop is active.
Factoring in Duty Cycles and Motor Longevity
The duty cycle is the amount of time a compressor can run within a ten-minute period without overheating. Understanding this limit is key to protecting your equipment investment and ensuring a positive return on investment (ROI).
A compressor with a 50% duty cycle should only run for five minutes out of every ten. If your side-hustle involves a lot of grinding or sandblasting, you will easily exceed this. I have seen hobbyist-grade compressors burn out in six months because the owner treated them like industrial machines. When a machine dies early, your ROI timeline is reset, and your “profit” from those previous jobs is retroactively erased by the cost of the replacement.
When I evaluate machinery for a shop, I look for a payback period of 18 to 24 months. If a more expensive, higher-duty-cycle compressor allows you to work 20% faster, the “expensive” tool actually pays for itself faster than the “cheap” one. This is the core of smart budgeting: spending more upfront to lower your cost-per-hour over the long term.
Tank Volume vs. Pump Output
Distinguishing between the air stored in the tank and the air produced by the pump helps you avoid mid-job interruptions. The tank is a battery for air; the pump is the charger.
A large tank (60 to 80 gallons) can mask an undersized pump for a few minutes. This is fine for a hobbyist, but for a side-hustle, it creates a “productivity trap.” You start a job, the tool works great for three minutes, and then the pressure drops. You are then forced to wait for the pump to catch up.
For professional fabrication, the pump’s CFM output must meet or exceed the tool’s requirements. The tank size simply determines how often the motor cycles. In my experience, a smaller tank with a high-output pump is often better for a small shop than a massive tank with a weak pump. It keeps the pressure consistent, which is what you need for high-quality welding prep and finishing.
Building a Profitable Pneumatic Budget
Creating a financial plan for your shop’s air needs involves tracking every penny spent on consumables and energy to ensure your quotes are accurate. A well-planned budget prevents “profit bleed” where small expenses eat your take-home pay.
When I bid on a project, I don’t just guess at the costs. I use a spreadsheet that tracks the “consumable burden factor.” This is a percentage added to the material cost to cover things like air, welding gas, and abrasives. For most metalwork, this factor is between 10% and 15%. If your air system is poorly sized, that factor might need to be 20% just to break even.
- Machine Amortization: Total cost / 5 years / 12 months = Monthly cost.
- Energy Cost: Average hourly draw x local KWh rate.
- Maintenance: Annual oil, filters, and belts / 12 months.
Tracking Air Usage as a Consumable Burden
Treating compressed air as a raw material allows you to include its cost in your fabrication job costing models. This ensures that you aren’t paying out of pocket for the “hidden” utilities required to finish a client’s part.
I once worked with a fabricator who was losing money on every plasma-cutting job. We tracked his costs and realized his air was so wet (due to a hot, overworked compressor) that he was burning through five times the amount of torch consumables than he should have. By upgrading to a properly sized system with an air dryer, his consumable cost dropped by $200 a month. That upgrade paid for itself in less than a year.
- Identify the primary tool: Note the CFM requirement.
- Monitor runtime: How many minutes per hour is the tool active?
- Calculate the load: (Tool CFM x Runtime) / Compressor CFM.
- Adjust the markup: If the load is over 70%, increase your shop rate by 5% to cover wear.
Strategic Sourcing and Scaling Your Air System
Deciding when to upgrade your equipment requires a clear look at your project history and future growth goals. Scaling too early wastes capital; scaling too late loses customers.
As your side-hustle grows, you will reach a point where your current air supply limits your ability to take on larger jobs. I call this the “capacity ceiling.” If you have to turn down a $2,000 project because you can’t run a larger sandblaster, it is time to reinvest your profits.
When sourcing a new system, look beyond the big-box stores. Industrial supply houses often have used or refurbished units that offer much better CFM-per-dollar than consumer models. I always advise my clients to look for “cast iron pumps” and “low-RPM motors.” These are built for the long haul and will support a business as it moves from a garage to a dedicated commercial space.
Why Hidden Consumables Bleed Small Shop Profits
Small expenses like air filters, moisture traps, and hose fittings can add up to hundreds of dollars a year, yet they are rarely included in a standard quote. Mastering these details is what separates a profitable business from a struggling hobby.
I recommend keeping a simple logbook next to your compressor. Note every time you change the oil or replace a fitting. At the end of the year, total these costs. You might be surprised to find that your “small” air system costs $500 a year to maintain. If you didn’t include that in your pricing, you effectively worked for free for an entire week.
- Leaking fittings: A single 1/16″ leak can cost $15 a month in wasted power.
- Old hoses: Pressure drops in long, thin hoses force the compressor to work harder.
- Clogged filters: These reduce pump efficiency and increase heat.
Actionable Framework for Tool ROI and Pricing
To help you make an informed decision, I have developed a simple checklist for evaluating a potential equipment upgrade. This framework focuses on the financial return rather than just the technical specs.
- Current Loss Calculation: How many minutes per day do I spend waiting for air? (Minutes x Shop Rate).
- Quality Cost: How much do I spend on rework or extra grinding due to low air pressure?
- Upgrade Cost: Total price of the new compressor + installation.
- Payback Period: Upgrade Cost / (Daily Loss + Quality Cost).
If the payback period is under 18 months, the upgrade is a “green light.” If it takes three years, you might be better off optimizing your current workflow or choosing different tools that require less air.
In my sixteen years of metalworking, I have never regretted buying a slightly larger compressor than I thought I needed. I have, however, deeply regretted buying one that was too small. The peace of mind that comes with knowing your tools will perform at 100% capacity allows you to focus on what really matters: producing high-quality work and growing your business.
FAQ: Common Questions on Workshop Air Systems
How do I know if my current compressor is too small for my side-hustle? If the motor runs for more than 10 minutes without stopping while you are working, or if the pressure gauge on the tank drops steadily while you use a tool, your system is undersized. This leads to heat buildup, which creates moisture and ruins your tools.
What is the difference between “Standard CFM” and “Actual CFM”? Standard CFM (SCFM) is a theoretical measurement at sea level and 68 degrees. Actual CFM (ACFM) is what the machine delivers in your specific shop environment. Always look for the CFM rating at 90 PSI, as this is the most realistic measurement for fabrication tools.
Can I just add a second tank to increase my air capacity? Adding a tank increases your “buffer,” which helps with short bursts of tool use. However, it does not change the pump’s output. If your pump can only produce 5 CFM and your tool needs 10 CFM, you will still eventually run out of air, and the pump will have to work even longer to fill both tanks.
Is a 220V compressor always better than a 110V model for a shop? Generally, yes. 220V motors are more efficient and can power larger pumps that produce higher CFM. If you are serious about a metalworking side-hustle, a 220V, 60-gallon system is often considered the “entry-level” for professional work.
How does moisture in the air lines affect my profit margins? Moisture causes internal rusting of pneumatic tools and ruins plasma cutting tips. It also interferes with paint and powder coating. Replacing a $50 plasma nozzle because of “wet air” is a direct hit to your job’s profitability.
What maintenance tasks are most important for compressor ROI? Draining the tank daily to prevent rust and changing the pump oil every 500 hours are the two most important tasks. A rusted tank is a safety hazard and a pump with dirty oil will eventually seize, costing you a full day of production.
How much should I mark up my material to cover the cost of air? A standard “shop supplies” markup of 10% to 15% is usually sufficient to cover air, electricity, and small consumables. If you do high-volume sandblasting or plasma cutting, you may need to increase this to 20%.
Should I buy a rotary screw or a reciprocating compressor? For most side-hustles and small shops, a reciprocating (piston) compressor is more cost-effective. Rotary screw compressors are designed for 100% duty cycles in large factories. They are expensive to buy and maintain, making the ROI difficult for a small shop to justify.
How do I calculate the electricity cost of running my compressor? Find the motor’s amperage and multiply it by your voltage to get watts. Divide by 1,000 for kilowatts. Multiply that by your local “cents per kilowatt-hour” rate and the number of hours the motor runs per month.
Does the length of the air hose matter for tool performance? Yes. You lose pressure for every foot of hose, especially with 1/4-inch diameter lines. For high-draw tools, use 3/8-inch or 1/2-inch hoses and keep the length under 50 feet to ensure the tool receives the full PSI required for the job.
(This article was written by one of our staff writers, Michael Hargrove. Visit our Meet the Team page to learn more about the author and their expertise.)