How to Choose a Safe Welding Exhaust Extraction Fan (DIY Fix)
When I first transitioned from a hobbyist to taking paid fabrication work, I made a classic mistake. I focused entirely on the visible costs, like the price of steel and the gas in my tanks. I ignored the invisible overhead that keeps a shop running. One afternoon, after four hours of TIG welding in a poorly ventilated corner, I realized I couldn’t see the other side of my shop through the haze. My eyes burned, my clothes smelled like a burnt circuit board, and I realized my “profitable” Saturday had cost me more in physical fatigue and shop cleanup than I had earned in labor.
Managing a side-hustle metalworking business requires a shift in mindset. You are no longer just a maker; you are a shop manager. Every piece of equipment, including your air management system, must be viewed through the lens of return on investment (ROI). If you cannot breathe, you cannot work. If you cannot work, your expensive welder is just a heavy paperweight. Building a smart, cost-effective smoke management system is not just about safety. It is a calculated business move that protects your most valuable asset: your time.
Establishing a Baseline for Workshop Financial Health
Shop overhead represents the total of all non-labor and non-material costs required to keep your business operational. This includes your rent, utilities, insurance, and the maintenance of safety equipment like air filtration. Understanding these numbers is the only way to move from “guessing” to “knowing” if your fabrication job costing is accurate.
Defining Your True Shop Hourly Rate
A shop hourly rate is the amount you must charge per hour to cover all expenses and still take home a profit. Many beginners pick a number like $50 an hour because it sounds high, but they fail to account for the “hidden” hours spent cleaning, quoting, or maintaining equipment.
To find your real rate, you must add up every monthly expense. Do not forget the small things. If you spend $30 a month on electricity for your fans and lights, that goes into the bucket. If you want to earn a profit, your rate should typically land between $65 and $120 per hour, depending on your local market and the complexity of your tools.
Mapping Machinery Amortization for Air Systems
Amortization is the process of spreading the cost of an expensive tool over its expected lifespan. If you build a custom air extraction setup for $500 and expect it to last five years, it costs your business $100 per year. This is a fixed cost that must be recovered through your customer invoices.
When we look at side-hustle metalworking, we often forget that tools wear out. Filters need replacing, and motors eventually burn out. By tracking these costs upfront, you can set aside a small percentage of every job to pay for the next upgrade. This prevents a “financial shock” when a piece of gear finally quits.
Evaluating Ventilation Hardware as a Capital Investment
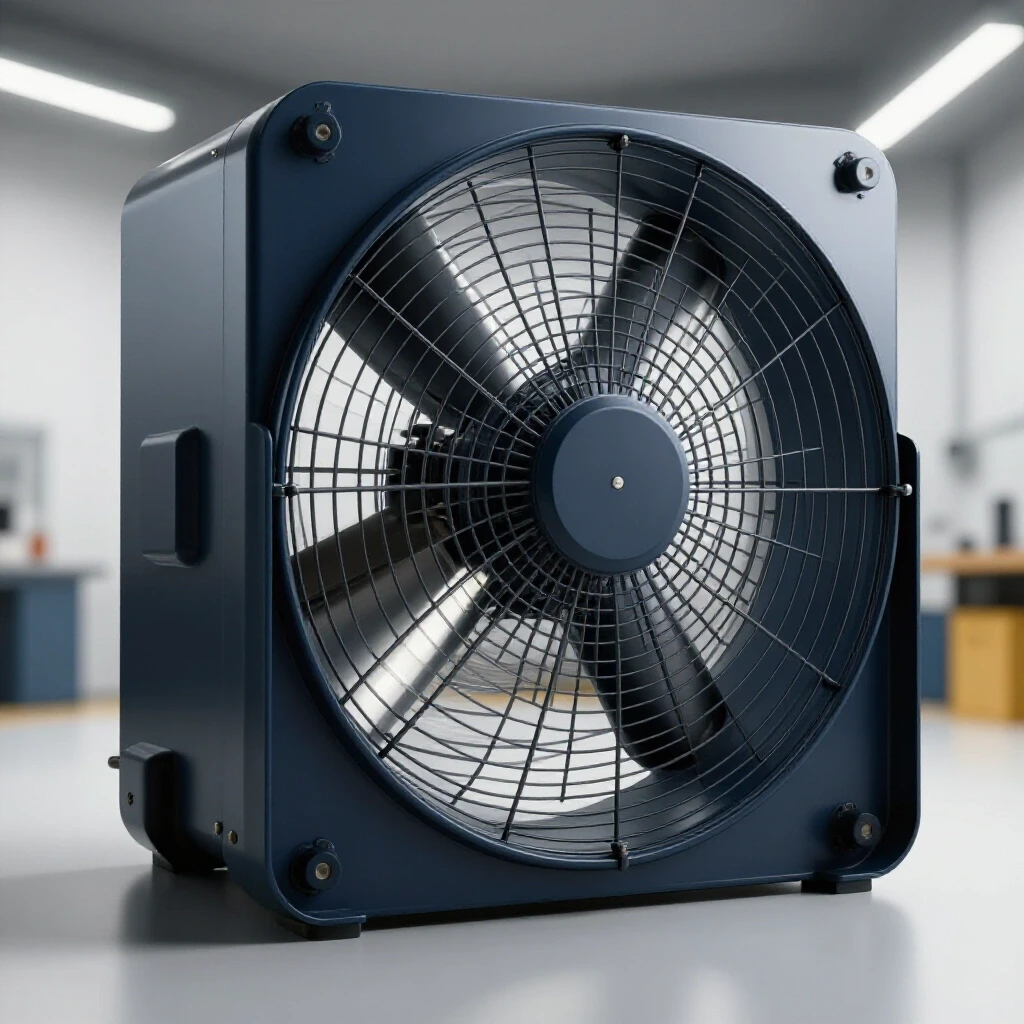
Selecting the right hardware for moving air is a balance between performance and budget. In a small shop, you do not need an industrial-grade plant system, but you do need enough power to move smoke away from your face before it disperses. This decision impacts your daily efficiency and long-term shop cleanliness.
Understanding Airflow Capacity and CFM Requirements
Cubic Feet per Minute (CFM) measures the volume of air a fan can move in sixty seconds. For a small welding bench, you generally want a system that can move between 500 and 900 CFM. This ensures that the smoke is captured at the source rather than being pushed around the room.
If your fan is too weak, the smoke lingers, forcing you to stop and wait for the air to clear. This “dead time” is a direct hit to your profitability. If you are charging $80 an hour and spend ten minutes every hour waiting for smoke to clear, you are losing over $13 every single hour you weld.
Noise Levels and Operator Productivity
Noise is a hidden drain on your energy. A fan that screams at 90 decibels (dB) will wear you down faster than the actual welding. Aim for a system that operates under 70 dB. This allows you to work longer without the mental fatigue that comes from constant loud humming.
Productivity measurements show that a comfortable worker is a faster worker. If your DIY fix is so loud you hate turning it on, you will eventually stop using it. That leads to a dusty shop and ruined projects. Investing in a quieter motor or better mounting might cost more today, but it pays back in longer, more focused work sessions.
| Component | Estimated Cost | Lifespan (Years) | Annual Burden |
|---|---|---|---|
| High-Static Pressure Fan | $150 | 5 | $30 |
| Flexible Ducting (10ft) | $40 | 3 | $13.33 |
| Filter Media (Annual) | $120 | 1 | $120 |
| Mounting Hardware | $30 | 10 | $3 |
| Total Annual Cost | $340 | – | $166.33 |
Technical Specs for Air Management Systems
Building a functional smoke puller requires more than just a box fan in a window. You need to understand how air moves through a system and how to keep it from coming back. A successful DIY setup focuses on capture velocity and filtration efficiency to keep the air clean.
Filter Media Types and Replacement Cycles
Filter media is the material that traps fine particles before they exit the system. For welding, you need something that can handle fine metallic dust without clogging instantly. Using a multi-stage approach—a cheap pre-filter followed by a higher-efficiency main filter—can save you significant money over time.
Tracking your welding consumable usage should include your filters. If you notice you are replacing filters every twenty hours of arc time, you need to factor that $15 or $20 into your material markup. Ignoring this “consumable” is a common way small shops lose their profit margins.
Secure Mounting and Positioning Strategies
The most powerful fan in the world is useless if it is positioned incorrectly. You want the intake as close to the weld pool as possible without interfering with your torch movement. Wall-mounted articulated arms or simple bench-top hoods are the most effective ways to ensure the smoke goes into the duct and not into your lungs.
A secure mount also reduces vibration. Vibration leads to noise and mechanical wear. By using simple rubber grommets or wooden frames to dampen the motor’s movement, you extend the life of the fan and make your shop a more professional environment for visiting clients.
Pricing Fabrication Jobs to Cover Environmental Costs
Every spark you throw and every puff of smoke you create has a price tag. To stay profitable, you must move beyond simple material-plus-labor pricing. You need to include a “consumable burden” that covers everything from your shielding gas to the electricity running your exhaust fan.
Calculating the Consumable Burden Factor
The consumable burden is a percentage added to your labor or material cost to cover items that are hard to track individually. This includes welding wire, grinding disks, and air filters. In my experience, a factor of 10% to 15% of your material cost is a safe starting point for most small shops.
If you are doing a lot of heavy flux-core welding, your smoke volume is higher, which means your filters will clog faster. In these cases, you might bump that burden up to 20%. Being disciplined about this tracking ensures that your shop remains self-sustaining and that you aren’t paying for your customers’ projects out of your own pocket.
Why Hidden Costs Bleed Small Shop Profits
Small shops often fail because the owner thinks they are making money when they are actually just “liquidating” their equipment. If you charge for labor but don’t account for the wear on your tools or the cost of shop supplies, you are slowly losing the value of your initial investment.
- Electricity: High-CFM fans can pull significant power over an eight-hour shift.
- Cleaning Time: A poor ventilation system leaves fine dust on every surface, increasing your non-billable cleanup time.
- Climate Control: Exhausting air also exhausts your heat or air conditioning, which spikes your utility bills.
- Filter Replacement: These are often forgotten until the fan stops pulling air effectively.
Practical DIY Tweaks for Efficiency
You don’t need a degree in fluid dynamics to improve your shop’s air quality. Simple physical changes to your setup can double the effectiveness of a standard fan. These tweaks focus on directing the air and reducing the resistance the motor has to fight.
Using Baffles and Hoods to Direct Airflow
A baffle is a flat surface that helps direct air into the intake. By placing a simple plywood or sheet metal shroud around your fan intake, you prevent it from pulling “clean” air from the sides. This forces the fan to pull more “dirty” air from the weld area, increasing your capture efficiency.
Building a small, portable hood that sits on your welding table is one of the best ROI moves you can make. It costs almost nothing in materials but drastically reduces the CFM required to clear the smoke. This allows you to use a smaller, cheaper, and quieter fan while getting better results.
Optimizing Ducting for Maximum Velocity
Every bend in a duct creates friction, which slows down the air. If you use flexible ducting, keep it as straight as possible. If you must make a turn, use a wide, sweeping curve rather than a sharp 90-degree corner. This keeps the air moving fast and prevents dust from settling in the pipe.
- Keep duct runs under 10 feet if possible.
- Use smooth-walled pipe for permanent runs.
- Seal all joints with foil tape to prevent pressure loss.
- Ensure the exhaust exit is shielded from the wind to prevent back-drafting.
Tracking Frameworks and Pricing Tools
To run a professional side-hustle, you need to stop using scrap paper for your quotes. Using digital tools allows you to look back at previous jobs and see where you underestimated your costs. This historical data is the foundation of a profitable business.
Digital Estimation and Invoicing Platforms
Modern software can help you track your time and expenses in real-time. Many of these platforms allow you to create “templates” for common jobs, which include your pre-calculated shop rate and consumable burden.
- QuickBooks or FreshBooks: Great for overall bookkeeping and tax prep.
- Excel or Google Sheets: Perfect for building custom ROI calculators and material trackers.
- Wave Invoicing: A solid free option for sending professional quotes and getting paid.
- Toggl: A simple time-tracking app to see exactly how long a job takes from start to finish.
Benchmarks for Small Shop Success
How do you know if you are winning? You need benchmarks. These are standard numbers that help you gauge your performance against the rest of the industry. While every shop is different, staying within these ranges usually indicates a healthy operation.
- Average Shop Rate: $75 per hour (Side-hustle range).
- Material Markup: 20% to 50% depending on sourcing difficulty.
- Consumable Burden: 10% of total job cost.
- Tool ROI Goal: Pay for the tool within 12 months of purchase through specific job revenue.
- Profit Margin: 15% to 25% after all expenses and your own wages are paid.
Analyzing Post-Job Profits
After you finish a project, take ten minutes to do a “post-mortem.” Compare your initial quote to what you actually spent. Did you use more sanding disks than expected? Did the smoke extraction system need a new filter halfway through?
This habit is what separates the hobbyist from the business owner. If you consistently find that your “shop supplies” cost more than you quoted, you need to raise your rates. Data doesn’t lie, and it doesn’t care about your feelings. Use it to make your next quote more accurate.
My transition to a professional shop succeeded only when I stopped treating my ventilation and safety gear as “extra” costs. They are essential components of your production line. By choosing the right fan, maintaining it properly, and pricing its cost into every weld, you ensure your shop stays clean, your body stays healthy, and your bank account stays full.
Frequently Asked Questions
How do I calculate the CFM I need for my specific welding table?
A good rule of thumb is the “100 FPM” rule. You want a face velocity of 100 feet per minute at the point of the weld. For a small hood, you can calculate the required CFM by multiplying the square footage of the hood opening by 100. For example, a 1-square-foot hood needs at least 100 CFM to be effective at the opening.
Is it cheaper to build a DIY fan or buy a pre-made extraction unit?
A DIY fix is almost always cheaper upfront, often costing 25% of a commercial unit. However, you must factor in your time to build it. If it takes you five hours to build and your shop rate is $80, that is $400 in “lost” labor. Always calculate the total cost of your time before deciding to DIY.
How often should I realistically change my filters?
This depends entirely on your “arc time” and the material you weld. If you are welding clean aluminum, filters last a long time. If you are welding oily steel or galvanized pipe, they can clog in a single day. Monitor the airflow; when you feel the suction drop, it is time for a change.
Can I just use a high-powered shop vac for smoke extraction?
Generally, no. Shop vacs are designed for high pressure but low volume. They move a small amount of air very quickly. For welding smoke, you need high volume (CFM) to capture the plume as it rises. A shop vac will likely overheat if run for long periods and won’t capture enough air to be effective.
How do I factor the cost of a new fan into my customer quotes?
Add the annual cost of the fan (price divided by years of life) to your annual overhead. Then, divide your total annual overhead by the number of billable hours you work in a year. This gives you an “overhead hourly rate” that you add to your base labor rate.
What is the best way to reduce noise in a DIY ventilation setup?
Mount the fan motor outside the shop if possible, or use insulated ducting. You can also build a “muffle box” around the fan lined with fire-resistant acoustic foam. Ensure the fan is mounted on rubber vibration isolators to prevent the wall or bench from acting like a speaker.
Does exhausting air out of the shop affect my heating bill?
Yes, significantly. If you pull 500 CFM of air out, 500 CFM of outside air must come in to replace it. In winter, that air is cold. To minimize this, use a “source capture” system that pulls only the smoke, rather than a large wall fan that exhausts the entire room’s air.
What is a “static pressure” rating and why does it matter?
Static pressure is the fan’s ability to “push” against resistance, like filters and ductwork. A standard house fan has almost zero static pressure and will stop moving air as soon as you add a filter. Look for “centrifugal” or “mixed-flow” fans, which are designed to handle the resistance of filtration systems.
Should I vent my exhaust back into the shop or outside?
Whenever possible, vent outside. It is the most cost-effective way to ensure the smoke is gone. If you must vent back into the shop, you will need expensive HEPA-grade filtration to make the air safe to breathe again, which significantly increases your consumable costs and maintenance time.
How do I track my electricity usage for my shop fans?
You can use a simple plug-in power meter to see how many watts your fan pulls. Multiply that by your local electricity rate and the number of hours you run it. For most small shops, it’s a few cents an hour, but it’s a good number to have when calculating your true overhead.
(This article was written by one of our staff writers, Michael Hargrove. Visit our Meet the Team page to learn more about the author and their expertise.)