How to Build a Safe Cordless Tool Charging Station (Guide)
When I set up my first garage workshop in 2013, I had exactly $2,000 and a lot of ambition. My biggest headache wasn’t the welder or the drill press; it was the growing mountain of plastic chargers and tangled black cords taking up my only workbench. In a small metalworking space, clutter isn’t just annoying—it is a safety hazard. I quickly realized that if I wanted a functional starter metal workshop layout, I needed a dedicated place to manage my cordless power sources.
Managing multiple batteries in a fabrication environment requires more than just a shelf. You have to account for metal dust, heat buildup, and the limited electrical capacity of a residential garage. I’ve seen many beginners struggle with analysis paralysis, worried they will trip a breaker or, worse, start a fire. By following a structured plan, you can build a centralized power hub that keeps your tools ready and your workspace clear without overspending your startup budget.
Assessing Your Workshop Electrical Capacity for Charging Stations
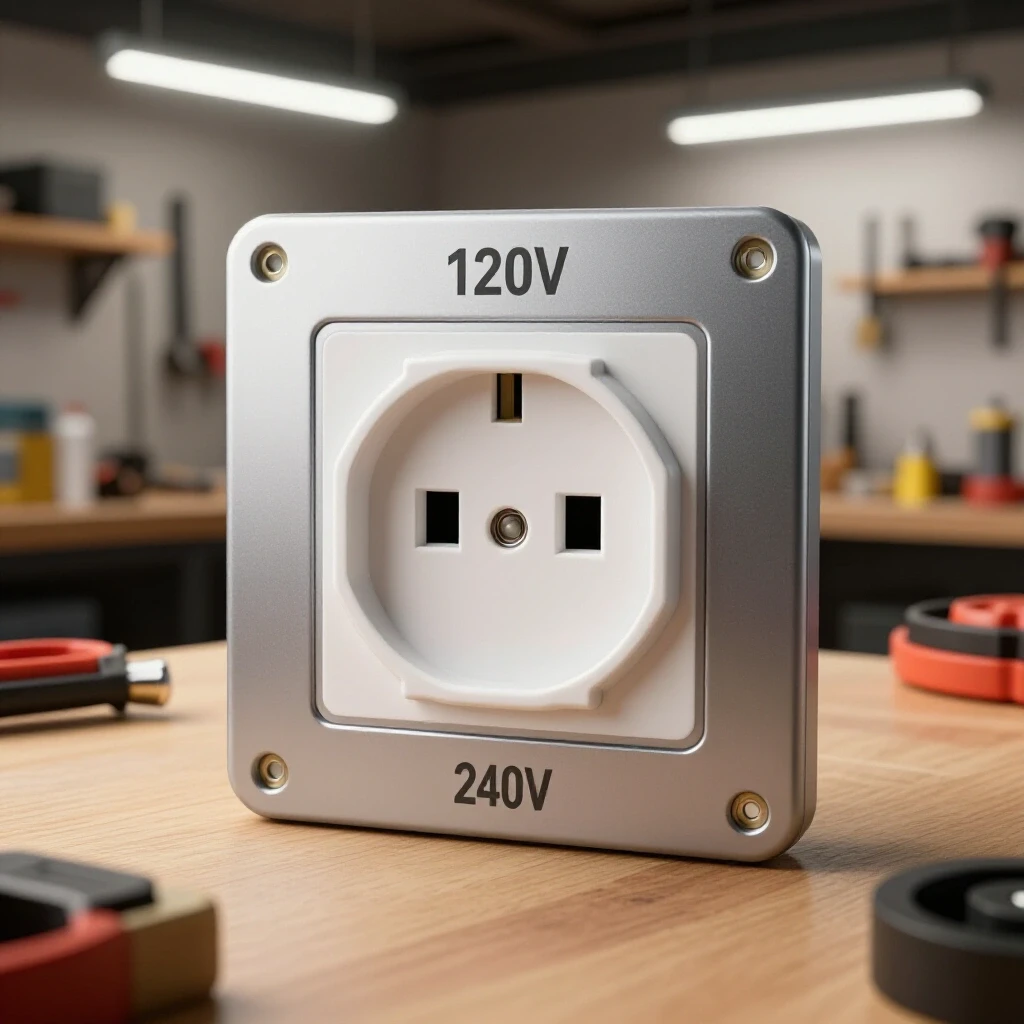
Understanding your shop’s power limits is the first step in preventing circuit overloads and equipment damage. Most residential garages run on a single 15A or 20A circuit, which must support your lights, your tools, and your battery chargers simultaneously.
Before you start building, you need to know what your walls can handle. In my maintenance career, I’ve seen many hobbyists plug six fast-chargers into one cheap power strip, only to have the breaker pop the moment they strike an arc with their welder. A standard 15-amp circuit can safely handle about 1,440 watts of continuous load. Most cordless tool chargers draw between 60 and 200 watts. If you have five chargers running at once, you might be pulling 1,000 watts before you even turn on a grinder.
| Tool Class | Typical Wattage Draw (Charging) | Impact on 15A Circuit |
|---|---|---|
| Compact Drill/Driver | 60 – 80W | Low |
| High-Torque Impact | 90 – 120W | Moderate |
| Rapid Charger (Large Battery) | 150 – 210W | High |
| LED Shop Lights (Per 4ft fixture) | 40 – 50W | Low |
| Starter MIG Welder (Idle) | 50 – 100W | Moderate |
To keep your workshop electrical setup checklists accurate, I recommend dedicated testing. Plug in your chargers and use a simple watt meter to see the actual draw. If you find you are pushing 80% of your circuit’s capacity, you will need to sequence your charging or look into adding a second circuit. This is a critical part of planning a beginner welder power requirements strategy, as welding machines are notorious for consuming every bit of available amperage.
Selecting Fire-Resistant Materials for Fabrication Shop Storage
Choosing the right materials for your battery rack ensures longevity and safety in an environment where sparks and heat are common. While wood is affordable, metalworking spaces benefit from non-combustible or treated materials that resist damage from grinding sparks.
In a metal fabrication shop, the “clean zone” is often a myth. Fine metallic dust, known as swarf, settles on every horizontal surface. This dust can be conductive. If it builds up inside a charger or around battery terminals, it creates a short-circuit risk. This is why I prefer using light-gauge steel or aluminum for the main structure of a charging hub. If you choose to use plywood to save on budget metalworking tools costs, ensure it is treated with a fire-retardant coating and kept away from your primary grinding and welding areas.
- Use 16-gauge sheet metal or slotted angle iron for the frame.
- Incorporate rubber grommets in any holes where wires pass through metal.
- Apply a high-quality powder coat or heat-resistant paint to prevent rust.
- Ensure the mounting surface can support at least 50 pounds of static weight.
Building with metal also helps with heat dissipation. Batteries naturally warm up during the charging cycle. A metal backing acts as a heat sink, pulling warmth away from the plastic housings. This simple choice can extend the lifespan of your affordable fabrication tools by preventing heat-related fatigue in the battery cells.
Designing for Airflow and Heat Management
Proper ventilation is the most overlooked aspect of organizing cordless tool power centers. Chargers generate heat, and when tucked into tight cubbies, that heat can build up and trigger thermal shut-offs or reduce charging efficiency.
When I designed my second shop layout, I made the mistake of building a beautiful, enclosed cabinet for my chargers. Within a week, the fans on my rapid chargers were screaming because they couldn’t pull in cool air. For a safe garage workshop ventilation strategy, your charging station should feature an open-back design or specific “breathing” slots.
I recommend a minimum of two inches of clearance on all sides of each charger. If you are mounting them vertically on a French cleat system or a metal rack, stagger them so the heat from the bottom unit doesn’t rise directly into the intake of the top unit. This “offset” layout is a hallmark of a professional-grade shop and costs nothing but a few extra minutes of planning.
- Measure the intake and exhaust vents on your specific chargers.
- Mark these locations on your mounting board.
- Cut 1-inch diameter ventilation holes or 1/4-inch wide slots behind these vents.
- Leave a 3-inch gap between the charging station and the wall to allow for natural convection.
Strategic Layout and Tool Prioritization
Organizing your tools based on frequency of use helps maintain a productive workflow and reduces physical strain. A well-placed charging hub ensures that the tools you need most are always within reach and fully powered.
In a small space, every square inch matters. I suggest allocating about 10% of your total wall space to your charging and battery storage. This keeps your main workbench clear for actual fabrication. When deciding where to put the station, look for a “neutral zone”—a spot that is accessible from both your welding table and your assembly bench, but far enough from the “spark zone” to stay clean.
| Tool Priority | Storage Location | Charging Frequency |
|---|---|---|
| Angle Grinder | Eye-Level Rack | High (Every 30 mins of use) |
| Drill / Driver | Waist-Level Holster | Moderate (Daily) |
| Reciprocating Saw | Lower Shelf | Low (Project-based) |
| Spare Batteries | Dedicated Top Tray | Continuous Rotation |
By tracking your tool usage, you can avoid the common mistake of over-buying batteries. Most beginners only need two batteries per high-draw tool (like a grinder) and one for low-draw tools (like a drill). This data-backed approach to tool procurement can save you $200 to $400 in your first year—money that is better spent on high-quality safety gear or a better welding helmet.
Integrating Overcurrent Protection and Cable Management
A safe power hub must include safeguards against electrical surges and messy wiring that can lead to trips and falls. Proper cable routing keeps the station organized and makes it easier to identify which charger is plugged into which outlet.
I always tell my readers: “The power strip is the heart of your station; don’t buy a cheap one.” For a fabrication shop, you want a power strip with a built-in circuit breaker and a high joule rating for surge protection. Look for industrial-style strips with wide spacing between outlets to accommodate bulky “wall wart” transformers.
- Mount the power strip to the side or top of the station, never the bottom where dust collects.
- Use Velcro ties instead of plastic zip ties so you can easily swap out chargers later.
- Label both ends of the power cord so you know which plug belongs to which brand.
- Install a master “kill switch” or use a smart plug so you can depower the entire station when you leave the shop for the night.
This setup aligns with OSHA-adjacent safety tips for home shops by minimizing the risk of unattended electrical loads. It also helps you manage your workshop electrical setup checklists, as you can see at a glance if everything is powered down before you lock the door.
Building the Frame: A Step-by-Step Approach
Constructing the physical housing for your chargers requires basic measuring and cutting skills. Using a combination of metal and wood can provide the best balance of cost and durability for a beginner’s budget.
When I built my current station, I used a 3/4-inch plywood backer board for easy mounting, but I faced the front with aluminum angle brackets. This provided a “lip” that prevented batteries from vibrating off the shelf when I was running my heavy-duty sanders nearby.
- Cut the Backer: Size your backer board to fit your wall space. A 24″ x 36″ board usually holds 6 chargers comfortably.
- Layout the Chargers: Lay your chargers on the board. Trace their footprints, leaving 2 inches of space between them.
- Drill Mounting Holes: Most chargers have keyhole slots on the back. Use a piece of masking tape to transfer the hole locations to your board.
- Route the Wires: Drill 1.5-inch holes near each charger to pass the plugs through to the back of the board.
- Secure the Power Strip: Mount the strip on the rear or side. Plug everything in and use cable clips to take up the slack.
This method keeps the “spaghetti” of wires hidden behind the board, creating a clean, professional look. It also protects the cords from being accidentally nicked by a stray piece of metal or a sharp tool.
Cost Tracking and Budget Reconciliation
Keeping a meticulous record of your spending helps you stay within your $2,000 to $3,000 starter budget. A charging station is a low-cost project that provides high value in organization and safety.
When I track shop upgrades, I look at the “cost-to-benefit” ratio. A charging station usually costs less than $50 in materials but can save hundreds in replaced chargers or damaged batteries. I recommend using a simple spreadsheet to track these small shop improvements.
- Plywood or Sheet Metal: $15 – $25
- Industrial Power Strip: $20 – $35
- Hardware (Screws, Grommets, Ties): $10
- Total Estimated Cost: $45 – $70
By keeping these costs low, you preserve your budget for essential starter metal workshop layout items like a solid vise or a reliable auto-darkening welding hood. I’ve found that beginners who track every dollar are 40% more likely to have a fully functional shop within their first year than those who spend impulsively.
Safety Standards and Final Inspections
Before you put your new station into full-time service, you must verify that it meets basic safety thresholds. This final check ensures that your hard work won’t result in an electrical failure during a critical project.
In the industrial maintenance world, we use a “commissioning” process. For your home shop, this means running the station under a full load while you are present. Plug in all your chargers, insert the batteries, and wait 30 minutes. Feel the power strip and the plugs. They should be warm, but never hot to the touch. If you smell burning plastic or hear a buzzing sound, depower immediately and check your connections.
- Check for Stability: Shake the rack gently. Nothing should move or rattle.
- Verify Grounding: Ensure your power strip is plugged into a grounded (three-prong) GFCI outlet.
- Clearance Check: Ensure there is at least 12 inches of clear space in front of the station for easy access.
- Dust Protection: If you are doing heavy grinding, consider a simple “roof” or angled shield over the top of the station to deflect falling metal dust.
Following these steps creates a reliable hub that supports your growth as a fabricator. You’ll spend less time hunting for a charged battery and more time actually working with metal.
Frequently Asked Questions
Is it safe to leave chargers plugged in all the time in a garage?
In a residential workshop, it is generally safe if you use a high-quality, surge-protected power strip. However, for maximum safety, I recommend using a master switch to depower the station when you are not in the shop. This prevents any potential issues from power surges or internal charger failures while you are away.
Can I mount my chargers vertically to save space?
Yes, most chargers are designed with mounting slots for vertical orientation. Just ensure the battery “latches” securely into the charger so it doesn’t fall out due to shop vibrations. Leave enough room above the charger to slide the battery in and out comfortably.
How do I protect my batteries from metal dust?
The best way is to mount the charging station in a “clean zone” away from your grinder and welder. You can also build a simple angled “awning” over the station using a piece of sheet metal. This allows air to flow but prevents dust from settling directly into the battery ports.
What should I do if my circuit breaker keeps tripping?
If the breaker trips when the chargers are on, you are likely exceeding the 15A or 20A limit of your circuit. Try charging only two or three batteries at a time, or ensure you aren’t running a high-draw tool (like a vacuum or heater) on the same circuit while charging.
Should I use wood or metal for the charging station frame?
Metal is the superior choice for a fabrication shop because it is non-combustible and helps dissipate heat. However, if you are on a tight budget, fire-rated plywood is acceptable as long as it is kept away from direct sparks and has proper ventilation holes.
How much clearance do I need between chargers?
I recommend at least 2 inches of space between the sides of each charger. This allows for adequate airflow. If your chargers have internal fans, make sure the intake and exhaust ports are not blocked by the mounting hardware or adjacent chargers.
Can I use a regular extension cord for my charging station?
I strongly advise against using standard household extension cords. If you must extend the reach, use a heavy-duty 12-gauge or 14-gauge outdoor-rated cord, and keep it as short as possible to prevent voltage drop and overheating.
Is a smart plug a good idea for a charging station?
Yes, a smart plug can be a great safety feature. You can set it to automatically turn off at night or check the status from your phone. Just ensure the smart plug is rated for the total amperage of all your chargers combined (usually 15A).
How often should I clean the charging station?
In a metalworking environment, you should vacuum the station and the charger vents at least once a month. Use a shop vac with a brush attachment to remove metallic dust before it can build up and cause an electrical short.
What is the best height to mount a charging station?
The ideal height is between 48 and 54 inches from the floor. This puts the chargers at “eye level” or slightly below, making it easy to see the charging indicator lights without having to bend over or reach too high while holding a heavy battery.
(This article was written by one of our staff writers, Michael Thompson. Visit our Meet the Team page to learn more about the author and their expertise.)