What to Look for When Buying Multi-Process Welders (Guide)
When I first transitioned from a hobbyist to a professional fabricator, I made the mistake of focusing only on the price tag of my equipment. I didn’t think about how that machine would actually pay for itself or how its specific features would dictate my hourly rate. After sixteen years in the manufacturing sector, I’ve learned that a tool is not just a piece of hardware; it is a financial engine for your shop. If you are a side-hustler or a small shop owner, your goal is to find a versatile machine that balances initial cost with the ability to handle a wide range of paid projects.
Choosing the right equipment requires a deep dive into the numbers. You have to look at how power input, output range, and duty cycles impact your ability to finish jobs on time and under budget. In this guide, I will walk you through the financial and technical metrics you need to evaluate. We will move past the marketing hype and focus on the math of fabrication, ensuring your next investment is a profitable one.
Establishing a Foundation with a True Shop Rate
A shop rate is the total amount you must charge per hour to cover your labor, overhead, and desired profit. It is the most critical number in your business because it determines if a project is worth your time. For most small fabrication shops, this rate typically falls between $65 and $120 per hour depending on your local market and specialization.
To calculate this, you need to add up your monthly fixed costs—rent, utilities, insurance, and software—and divide them by your billable hours. If your overhead is $1,000 a month and you work 40 billable hours on your side-hustle, your overhead burden is $25 per hour. If you want to pay yourself $40 an hour and keep $15 for future shop growth, your shop rate is $80. When evaluating a new machine, you must ask if its capabilities allow you to maintain or increase this rate by taking on more complex or faster-moving work.
Allocating Overhead for Versatile Equipment
Overhead allocation is the process of spreading your indirect costs across the specific jobs you perform. For a small shop, this includes the physical space a machine occupies and the electricity it pulls from the wall. A versatile machine that handles multiple processes helps minimize this burden by reducing the total footprint of your equipment.
When you use a single unit for various tasks, you are effectively lowering your “cost per square foot” for that capability. Instead of having three different machines taking up thirty square feet of bench space, you have one. In a small garage or rented bay, space is money. By consolidating your tools, you keep your overhead lean, which allows you to be more competitive on your bids without sacrificing your take-home pay.
Understanding Machine Amortization and ROI
Amortization is the practice of spreading the cost of an expensive tool over its useful life to understand its daily impact on your budget. Return on Investment (ROI) measures how quickly the machine generates enough profit to cover its own purchase price. For a side-hustle, a healthy payback period is usually twelve to eighteen months.
If you spend $2,500 on a new unit, and you plan to use it for 2,000 hours over three years, the amortization cost is $1.25 per hour. If that machine allows you to take on TIG jobs that pay $20 more per hour than your standard MIG work, the ROI happens quickly. I always suggest looking for a machine that can handle at least 80% of the inquiries you receive. If you turn away work because your equipment can’t handle the metal thickness or type, your ROI timeline stretches out indefinitely.
Analyzing Power Input and Amperage Range
The power input refers to the voltage the machine requires (120V or 240V), while the amperage range dictates the thickness of the metal you can effectively join. For a professional side-hustle, having a dual-voltage machine is a major financial advantage because it increases your mobility for on-site repairs.
I recommend looking for a unit that offers a 120–240 V input range. This allows you to plug into a standard household outlet for light work or a heavy-duty shop outlet for thicker materials. On the output side, an amperage range of 150–250 A is the “sweet spot” for most small shops. This range allows you to work on everything from thin sheet metal up to 1/2 inch plate. If you buy a machine with too little power, you’ll find yourself turning down lucrative trailer repair or heavy equipment jobs.
The Financial Impact of Duty Cycles
A duty cycle is the percentage of a ten-minute period that a machine can operate at a specific amperage without overheating. For example, a 20% duty cycle at 200A means you can weld for two minutes but must let the machine cool for eight. In a production environment, a low duty cycle is a silent profit killer.
- 20% Duty Cycle: Best for short bursts, tacking, or very light repairs.
- 40% Duty Cycle: The standard for most general fabrication and side-hustle work.
- 60% Duty Cycle: Ideal for heavy-duty projects where long, continuous beads are required.
If you are bidding on a job that requires ten feet of continuous welding, a machine with a 20% duty cycle will force you to sit idle for 80% of your time. If your shop rate is $80 per hour, that “forced break” is costing you $64 in lost productivity every hour. For most small shop owners, aiming for a 30–40% duty cycle at your most common working amperage provides the best balance of cost and efficiency.
Evaluating Wire-Feed Speed and Control Precision
Wire-feed speed control determines how smoothly and consistently the machine delivers filler metal to the weld pool. Precise control is essential for accurate job costing because it reduces spatter and rework, which are two of the biggest hidden costs in any metal shop.
When you are quoting a job, you are essentially selling your time. If a machine has a jumpy or inconsistent wire-feed system, you will spend extra time grinding away spatter or fixing cold starts. I’ve seen projects where poor wire-feed added two hours of post-weld cleanup to a ten-hour job. At an $80 shop rate, that’s $160 of profit gone. Look for a machine with a robust, metallic drive roll system rather than plastic components to ensure long-term consistency.
Tracking Consumable Usage for Accurate Bidding
Consumables include everything that gets “used up” during a job, such as shielding gas, welding wire, electrodes, and contact tips. Many side-hustlers fail to track these, leading to “margin creep” where the profit they expected slowly disappears into the scrap bin.
I use a “Consumable Burden Factor” to simplify this. For most general steel fabrication, consumables will cost between 5% and 10% of your total material cost. However, if you are doing TIG work on stainless steel or aluminum, that cost can jump to 20% due to the price of argon gas and specialized filler rods. Tracking your gas cylinder refills and wire spool purchases against your total billable hours will give you a clear picture of your actual costs.
| Consumable Item | Estimated Cost Impact | Tracking Metric |
|---|---|---|
| Shielding Gas (Argon/CO2) | $5.00 – $10.00 per hour | Cubic feet per project |
| Welding Wire (ER70S-6) | $2.50 – $4.00 per lb | Pounds used per job |
| Contact Tips / Nozzles | $0.50 – $1.50 per job | Replacement frequency |
| Tungsten Electrodes | $2.00 – $5.00 per project | Grinds per electrode |
Why Component Quality Affects Your Bottom Line
The quality of the torch, ground clamp, and leads often gets overlooked, but these are the primary touchpoints of your business. A flimsy ground clamp causes electrical resistance, which leads to poor weld quality and wasted time troubleshooting “gremlins” in your arc.
When evaluating a potential purchase, look at the length and gauge of the included leads. Short leads (10 feet or less) mean you’ll be constantly moving the machine around the shop, which adds “non-value-added” time to your day. Upgrading to 15-foot or 20-foot leads might cost more upfront, but the time saved over hundreds of jobs will pay for that upgrade in the first few months. High-quality components are an investment in your physical stamina and your shop’s throughput.
Building a Custom Job Quote with Multi-Process Versatility
A custom job quote should be a transparent breakdown of labor, materials, consumables, and a “complexity markup.” Because a multi-process unit allows you to switch between MIG, TIG, and stick, you can offer tiered pricing to your customers based on the finish quality they require.
For example, a basic steel gate might be quoted as a MIG job at your standard rate. However, a custom aluminum fuel tank requires TIG, which demands more skill and more expensive consumables. I recommend a 15–25% “process markup” for TIG work to account for the slower travel speeds and higher gas usage. Being able to pivot between these processes with one machine means you can capture both the high-volume, lower-margin MIG work and the low-volume, high-margin TIG work.
Analyzing Post-Job Profits and Cost Variance
Post-job analysis is the practice of comparing your original estimate to the actual time and money spent on a project. Cost variance is the difference between those two numbers. If you estimated five hours and it took seven, you have a negative variance that needs to be investigated.
Common causes of variance in a small shop include: * Machine setup time: Swapping gas bottles and wire spools. * Material prep: Cleaning mill scale or rust. * Equipment limitations: Waiting for a machine to cool down (duty cycle).
By logging these variances in a simple spreadsheet, you can adjust your future bids. If you find that swapping from MIG to TIG always takes 30 minutes, you must build that “changeover fee” into your quotes. This level of detail is what separates a hobbyist from a profitable business owner.
Sourcing Materials and Bulk Savings Strategies
Material markup is the percentage you add to the cost of raw metal to cover the time spent sourcing, transporting, and storing it. A standard markup is 20% to 50%. If you spend two hours driving to a steel yard to pick up $200 worth of tubing, and you don’t charge a markup, you just lost $160 in billable time.
To maximize your margins, try to coordinate your material buys. If you have three jobs lined up, buy all the steel at once to save on fuel and potentially trigger a bulk discount from your supplier. I also keep a “drop rack” for offcuts. Small pieces of plate or tubing are essentially free inventory. When a client needs a small bracket, you can charge them the full material price for a piece of steel you’ve already paid for on a previous job.
Digital Tools for Managing Shop Economics
In the modern shop, paper and pencil are often too slow. Using digital tools can help you track every penny and ensure you aren’t leaving money on the table. Here are five resources I recommend for any side-hustle:
- QuickBooks or FreshBooks: For professional invoicing and tracking deductible expenses like gas and wire.
- Evernote or Google Keep: For snapping photos of material receipts the moment you get them.
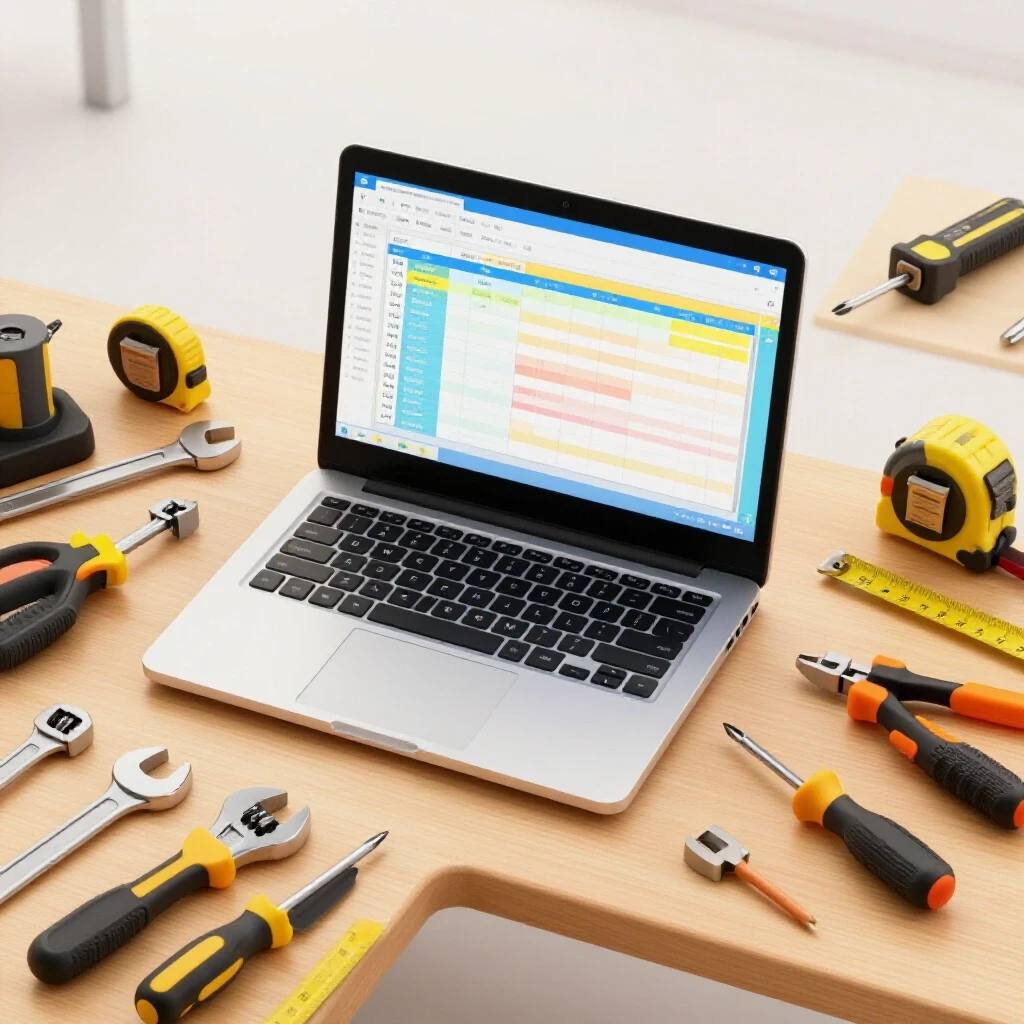
- Custom Excel/Google Sheets: For building a “Job Costing Calculator” that factors in your specific shop rate and consumable burden.
- Toggl Track: A simple app to track exactly how many hours you spend under the hood versus grinding or prepping.
- Inventory Apps: To keep track of how many spools of wire or bottles of gas you have in stock so you never run out mid-job.
Final Steps Toward Workshop Efficiency
Optimizing your shop’s financial health is a continuous process. Your first step should be to sit down and calculate your true shop rate. Don’t guess. Look at your bank statements and be honest about how much it costs to keep the lights on. Once you have that number, you can evaluate any equipment purchase through the lens of how it helps you meet or exceed that rate.
When you are ready to buy, focus on the specs that drive revenue: dual-voltage capability, a respectable duty cycle for your common tasks, and the ability to handle the metal thicknesses your clients demand. Remember, the best machine isn’t the one with the most features; it’s the one that consistently puts more money in your pocket at the end of the month.
Frequently Asked Questions
How do I determine if I need a 120V or 240V input for my side-hustle? If you only plan to work on thin materials like sheet metal or small furniture in your own garage, 120V may be sufficient. However, for a professional side-hustle, a dual-voltage (120/240V) machine is highly recommended. It allows you to take on heavier fabrication (up to 1/2 inch) in your shop using 240V while remaining portable enough to do light repairs at a client’s location using a standard 120V outlet.
What is a realistic duty cycle for a part-time fabrication shop? For most side-hustlers, a duty cycle of 30% to 40% at your primary working amperage is the best value. This allows you to perform most general fabrication tasks without constant interruptions. If you find yourself doing long production runs or heavy structural work, you may need to look for a machine rated at 60% to avoid losing billable time to machine cooling periods.
Should I charge the customer for welding gas and wire separately? Usually, it is better to include these in your “Consumable Burden” or a “Shop Supplies” fee rather than line-iteming every inch of wire. A common practice is to add a 5–10% surcharge to the total labor and material cost to cover these hidden expenses. This keeps your quotes clean while ensuring your overhead is covered.
How do I calculate the ROI on a multi-process welder? Divide the total cost of the machine (including any initial accessories) by the additional profit you expect it to generate each month. For example, if the machine costs $2,000 and it allows you to take on $500 worth of TIG work that you previously had to turn down, your ROI period is four months. Always aim for a machine that pays for itself within its first year of service.
What is the “hidden cost” of buying a machine with low-quality leads? Low-quality or short leads (under 10 feet) force you to move the machine frequently, which wastes time. Furthermore, thin-gauge leads can overheat and cause a drop in voltage, leading to inconsistent welds. Replacing these leads later can cost $150–$300, so it is often more cost-effective to buy a machine that includes high-quality, longer leads from the start.
Can I really weld 1/2 inch steel with a multi-process machine? Yes, provided the machine has an amperage output of at least 200–250A and you are using a 240V power source. For 1/2 inch material, you will likely need to use multiple passes or a stick welding process to ensure proper penetration. Always check the manufacturer’s thickness chart for the specific process (MIG, TIG, or Stick) you intend to use.
How much should I mark up the cost of metal for my clients? A standard markup is 20% to 50% above your cost. This covers the time you spend ordering, picking up, and unloading the material. If a project requires a significant amount of specialized sourcing, you may also want to charge a flat “Sourcing Fee” to ensure your time is compensated.
Why is wire-feed speed control so important for profitability? Inconsistent wire-feed leads to weld defects and excessive spatter. Every minute you spend grinding off spatter or re-welding a joint is a minute you aren’t getting paid for. A machine with a high-quality, consistent drive system reduces post-weld cleanup, which directly increases your effective hourly rate.
Is it worth it to track my time for every single job? Absolutely. Without time tracking, you are just guessing at your profitability. Using a simple app or a shop log allows you to see if you are consistently underestimating certain types of work. This data is the only way to accurately raise your prices and grow your business sustainably.
What is the most common financial mistake new shop owners make? The most common mistake is underestimating overhead and “non-welding” time. Many people only charge for the time the arc is on. In reality, you need to charge for the time spent cleaning the shop, talking to customers, and maintaining your equipment. If you don’t account for these hours, your actual take-home pay will be much lower than your “shop rate” suggests.
(This article was written by one of our staff writers, Michael Hargrove. Visit our Meet the Team page to learn more about the author and their expertise.)