Important Steps to Inspect Rental Heavy Machinery (DIY Guide)
When I first moved my fabrication business from a two-car garage into a 3,000-square-foot commercial space, the transition felt like a financial tightrope walk. I was finally landing larger structural jobs, but my overhead was skyrocketing. To save money on site preparation for a heavy welding table foundation, I rented a mini-excavator. I didn’t bother to look it over closely; I just wanted to get to work. Two hours later, a blown hydraulic hose soaked the ground in oil, and I spent the next six hours cleaning up the mess and waiting for a replacement. That mistake didn’t just cost me the rental fee; it cost me $480 in lost fabrication time based on my $80 hourly shop rate.
For those of us running a side-hustle metalworking business, time is our most expensive consumable. Whether you are prepping a pad for a shop expansion or moving heavy raw materials for a large-scale project, the equipment you bring onto your site must be ready to perform. If you are struggling with inaccurate job costing or underestimating your overhead, you cannot afford the “hidden tax” of a malfunctioning machine. A rigorous mechanical assessment is not just about safety; it is a vital part of your financial strategy to ensure consistent profitability.
The Financial Impact of Pre-Operation Machine Verification
The financial impact of pre-operation machine verification refers to the process of identifying mechanical flaws before work begins to protect your shop’s hourly earning potential and project margins. By catching issues early, you prevent unbilled downtime and ensure that your estimated labor hours remain accurate for the specific fabrication task at hand.
When you are balancing a regular job with a side-hustle, your shop rate is the foundation of your business. If your shop rate is $75 per hour, every hour you spend troubleshooting a rented loader is $75 out of your pocket. In my 16 years of consulting, I have seen many small shop owners fail to account for “machine friction”—the time lost due to inefficient or failing equipment. To maintain a healthy fabrication job costing model, you must treat the inspection process as a billable-level activity that protects your bottom line.
- Hourly Shop Loss: $65–$120 per hour depending on your local market and specialization.
- Project Delay Penalty: Potential loss of future contracts if a breakdown causes you to miss a deadline.
- Consumable Waste: Unexpected costs for floor dry, rags, and cleaning supplies if a leak occurs on your shop floor.
Systematic Fluid and Leak Detection Protocols
Systematic fluid and leak detection protocols involve a methodical walk-around of the equipment to check all vital lubricant levels and identify signs of external weeping or dripping. This step ensures the machine can handle the thermal load of continuous operation without risking a catastrophic engine or hydraulic failure during a critical project phase.
Before you even climb into the operator’s seat, you need to act like a forensic investigator. I always start with the “big four”: engine oil, hydraulic fluid, coolant, and fuel. Low hydraulic fluid is a red flag for a small metal shop pricing model because it often indicates a slow leak that will degrade your precision when positioning heavy steel components. Use a clean rag to wipe down any suspicious damp spots on hoses or fittings, then cycle the machine and check them again.
- Engine Oil: Check for a milky color (indicates coolant contamination) or a burnt smell (indicates overheating).
- Hydraulic Reservoir: Ensure the fluid is clear; cloudy fluid suggests water contamination which reduces lifting power.
- Coolant Levels: Look for debris in the radiator fins that could cause the machine to overheat during heavy lifting.
- Fuel Quality: Check for sediment in the water separator, as clogged filters will cause the engine to bog down under load.
Analyzing Hydraulic Cylinder Health for Precision Work
Analyzing hydraulic cylinder health involves inspecting the chrome rods for pitting, scratches, or “weeping” seals that can cause the machine to lose its grip or position. In fabrication, where you might be using a machine to hold a beam in place for tack welding, any “drift” in the hydraulics can ruin your alignment and waste expensive materials.
In my experience, “hydraulic drift”—where an arm slowly sinks under its own weight—is a silent profit killer. If you are trying to level a heavy welding platen and the machine can’t hold a steady position, you will spend twice as long on the task. Check the seals at the end of each cylinder. A small amount of “wetness” might seem minor, but under the high pressures required for heavy lifting, that small leak can become a fountain that halts your production entirely.
| Component | What to Look For | Financial Risk Level |
|---|---|---|
| Cylinder Rods | Deep scratches or rust pitting | High (Causes seal failure) |
| Hose Fittings | “Sweating” or wetness around threads | Medium (Leads to pressure loss) |
| Pivot Pins | Lack of grease or excessive play | Medium (Reduces precision) |
| Control Valves | Sticking or sluggish response | High (Increases labor time) |
Testing Mechanical Responsiveness and Safety Systems
Testing mechanical responsiveness and safety systems is the phase where you operate the machine through its full range of motion to ensure the controls are intuitive and the safety interlocks are functional. This ensures that the operator can work efficiently without fighting the machine, which is critical for maintaining a steady “consumable burden factor” in your project estimates.
Once the fluids are checked, start the engine and let it reach operating temperature. Listen for any unusual knocks or high-pitched squeals from the hydraulic pump. I recommend cycling every function—boom up, boom down, bucket curl, and travel—to its mechanical limit. If the controls feel “spongy,” it often means there is air in the lines or the pump is wearing out. For a side-hustle metalworker, a machine that responds slowly adds minutes to every cycle, which can add hours to a multi-day project.
- Check the Seatbelt and Bar: Ensure the machine will not operate unless the safety restraints are engaged.
- Test the Emergency Shut-off: Verify that you can kill power instantly if a dangerous situation arises.
- Monitor the Gauges: Watch for any warning lights or temperature spikes during the initial five-minute warm-up.
- Evaluate Travel Tracking: Drive the machine in a straight line; if it veers to one side, it indicates an undercarriage or motor issue.
Verifying the Integrity of Ground Engagement Tools
Verifying the integrity of ground engagement tools means examining the buckets, blades, or forks for excessive wear, cracks, or broken “teeth.” For shop owners, the condition of these tools determines how much energy and fuel the machine consumes to move a specific volume of material, directly impacting the material markup percentages in your bids.
If you are using a loader to move pallets of plate steel, the forks must be level and free of structural cracks. A bent fork or a bucket with a “rounded” cutting edge requires more force to penetrate the ground or lift a load. This increased resistance burns more fuel—a hidden shop operational cost that many owners forget to track. I have found that using a machine with a dull edge can increase fuel consumption by as much as 15%, which eats directly into your project’s profit margin.
- Bucket Teeth: Ensure they are tight; a lost tooth can become a projectile or damage your shop floor.
- Cutting Edges: Look for “scalloping” or uneven wear that will make leveling a shop pad difficult.
- Tire/Track Condition: Check for deep gouges or exposed cords. In a metal shop environment, a blown tire on a heavy machine is a logistical nightmare.
Documenting Machine Condition for Project Cost Accuracy
Documenting machine condition involves recording any existing damage or performance quirks to ensure you are not held liable for previous wear and to refine your future equipment ROI calculations. This documentation serves as a baseline for your “post-job cost reconciliation,” allowing you to see exactly how the machine’s performance affected your estimated versus actual labor hours.
I always take high-resolution photos of the machine from all four corners, including the hour meter and any existing scratches. This is a standard practice in industrial accounting to protect capital. In your side business, this data helps you understand your “machine amortization”—even if you don’t own the tool. If you find that a certain class of machine consistently takes 20% longer than your estimate, you must adjust your future fabrication job costing to reflect that reality.
- Hour Meter Reading: Record this at the start and end to track your actual “wrench time” versus “machine time.”
- Photo Evidence: Capture the condition of the undercarriage and all glass panels.
- Performance Notes: Write down if the machine felt underpowered; use this to decide if you need a larger unit for the next job.
Integrating Machine Performance into Your Job Costing
Integrating machine performance into your job costing is the final step where you use the data gathered during your inspection and operation to sharpen your pricing for future clients. This bridges the gap between “hobbyist guessing” and “professional estimating” by accounting for the true speed and cost of heavy equipment usage within your shop’s ecosystem.
After the project is done, look at your fuel receipts and your time logs. Did the machine perform as expected based on your initial inspection? If you noticed the tracks were loose during your check, did that slow down your site prep? By tracking these variables, you can develop a “burdened equipment rate” that includes the rental fee, fuel, and the “inspection labor” you performed. This level of detail is what separates profitable shops from those that just “break even.”
- Standard Material Markup: Usually 15–30% to cover handling and equipment use.
- Consumable Tracking: Include the cost of fuel and any specialized grease used during the project.
- Labor Variance: If the job took 10 hours instead of 8 due to machine speed, analyze if the inspection could have predicted that delay.
Practical Tools for Professional Equipment Tracking
To manage these metrics effectively, you don’t need expensive software. A simple spreadsheet or a dedicated mobile app can help you maintain your shop math and ensure your side-hustle metalworking remains profitable. Here are some resources I recommend for tracking your equipment and job costs:
- Digital Inspection Checklists: Apps like SafetyCulture or simple Google Forms to standardize your walk-around.
- Fuel Tracking Apps: Tools like Fuelly to monitor exactly how much a specific machine costs to run per hour.
- Job Costing Spreadsheets: A custom Excel or Google Sheets template that factors in your $65–$120 hourly shop rate.
- Time Tracking Software: Apps like TSheets or Harvest to separate “fabrication time” from “equipment operation time.”
- Cloud Storage: A dedicated folder (e.g., Dropbox or OneDrive) for all machine photos and rental receipts for tax purposes.
By treating every piece of equipment that enters your shop with the same scrutiny as your welding power source or your CNC table, you build a culture of financial discipline. This methodical approach to verifying machine health ensures that your transitions from hobbyist to professional are backed by data, not just hope.
Frequently Asked Questions
How much time should I realistically spend on a pre-use inspection? For a standard piece of heavy equipment like a skid steer or mini-excavator, plan for 15 to 20 minutes. This might seem like a lot when you are on a tight schedule, but at an $80/hour shop rate, that 20-minute investment is only $26 worth of time. Compared to a $500 breakdown or a day of lost production, it is one of the highest ROI activities you can perform in your shop.
What is the most common mechanical failure I should look for? Hydraulic leaks are the most frequent issue. Because these machines operate under extreme pressure, a “pinhole” leak can quickly become a major failure. Always check the hoses that flex the most, such as those near the pivot points of the boom or the bucket.
How do I factor the fuel cost into my fabrication job costing? I recommend using a “consumable burden factor.” For most mid-sized rental equipment, you can estimate 2 to 5 gallons of diesel per hour of hard use. Multiply that by your local fuel price and add a 10% buffer to cover the time spent refueling.
What if the machine has high hours but looks clean? Hours are like miles on a car, but “work hours” are harder. A machine with 3,000 hours that was used for light landscaping is often in better shape than one with 1,000 hours used in a rock quarry. This is why the functional test—checking for “drift” and control responsiveness—is more important than the hour meter alone.
Should I check the air filter on a rental? Yes. In a metal fabrication environment, grinding dust and welding fumes are everywhere. If the machine’s air filter is clogged, the engine will run “rich,” wasting fuel and losing power. A quick look at the filter indicator or the primary element can save you 10% in fuel costs over a long weekend.
How do I handle it if I find a problem during the inspection? Document it immediately with photos and contact the provider. If the issue is a safety hazard (like a broken seatbelt) or a performance killer (like a major leak), do not accept the machine. Accepting a sub-par machine is a guaranteed way to blow your project budget and lower your hourly earning rate.
Does a “slow” machine really affect my profitability that much? Absolutely. If a machine’s hydraulic cycle is 20% slower than factory specs, every task takes 20% longer. On a job you bid for 10 hours, you just lost 2 hours of billable fabrication time. At a $100/hour shop rate, that “slow” machine just cost you $200 in pure profit.
What are the “safety interlocks” I should be most concerned about? The most critical are the “operator present” sensors. These prevent the machine from moving or the hydraulics from engaging unless someone is in the seat with the safety bar down. In a busy shop where other people or equipment might be nearby, a bypassed or broken safety sensor is a massive liability.
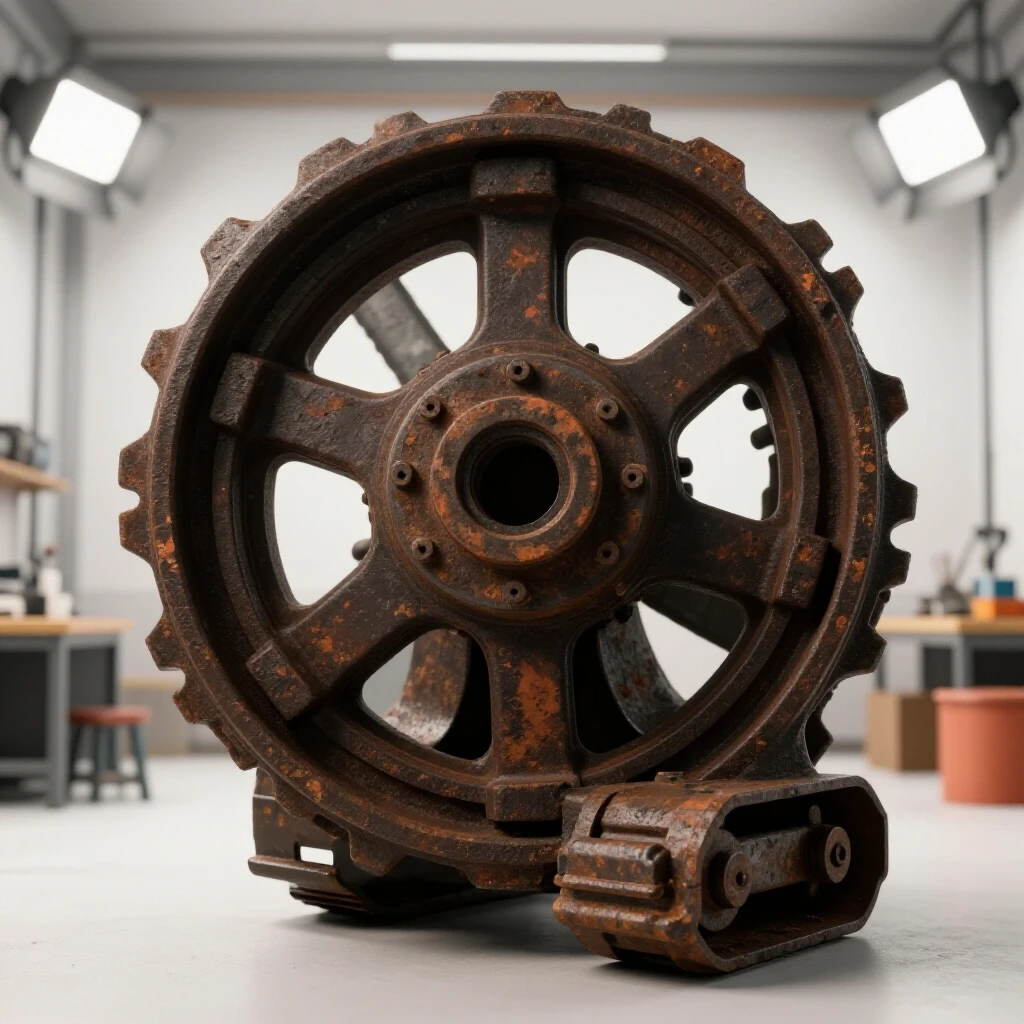
How do I check for “undercarriage wear” on a tracked machine? Look at the “sprockets” (the geared wheels that drive the tracks). If the teeth are pointed like shark fins, they are heavily worn. Also, check the tension of the tracks; there should be a slight sag, but they shouldn’t be floppy. Loose tracks can pop off during a turn, which can take hours of heavy labor to fix.
Can I use my shop’s regular grease for a rental machine? Generally, yes, as long as it is a high-quality lithium or molybdenum grease. Keeping the pivot points greased during a long project reduces friction and ensures the machine responds smoothly to your inputs, which helps you maintain your precision and speed.
(This article was written by one of our staff writers, Michael Hargrove. Visit our Meet the Team page to learn more about the author and their expertise.)