How to Set Up a Home Metal Fabrication Workshop (Blueprint)
Walking into a bare garage with the goal of turning it into a functional metal shop can feel overwhelming. I remember standing in my own driveway back in 2013, looking at a $2,000 budget and a pile of conflicting advice from the internet. As a former industrial maintenance technician, I knew how to fix massive machines, but scaling that down to a residential space required a different mindset. You are not just buying tools; you are building a system that needs to be safe, efficient, and affordable.
The biggest hurdle for most beginners is analysis paralysis. You worry about buying a tool that breaks in a week or setting up a layout that causes a fire. I have spent the last decade documenting these exact challenges. My first shop taught me that a high-priced welder is useless if your home’s electrical panel can’t feed it. By focusing on measurable outcomes and structured record-keeping, you can avoid the “buy it twice” trap and create a space that actually works for your projects.
Assessing Your Available Space and Electrical Capacity
This phase involves measuring your physical footprint and checking your home’s power supply to ensure your equipment can run safely without overheating wires or tripping breakers.
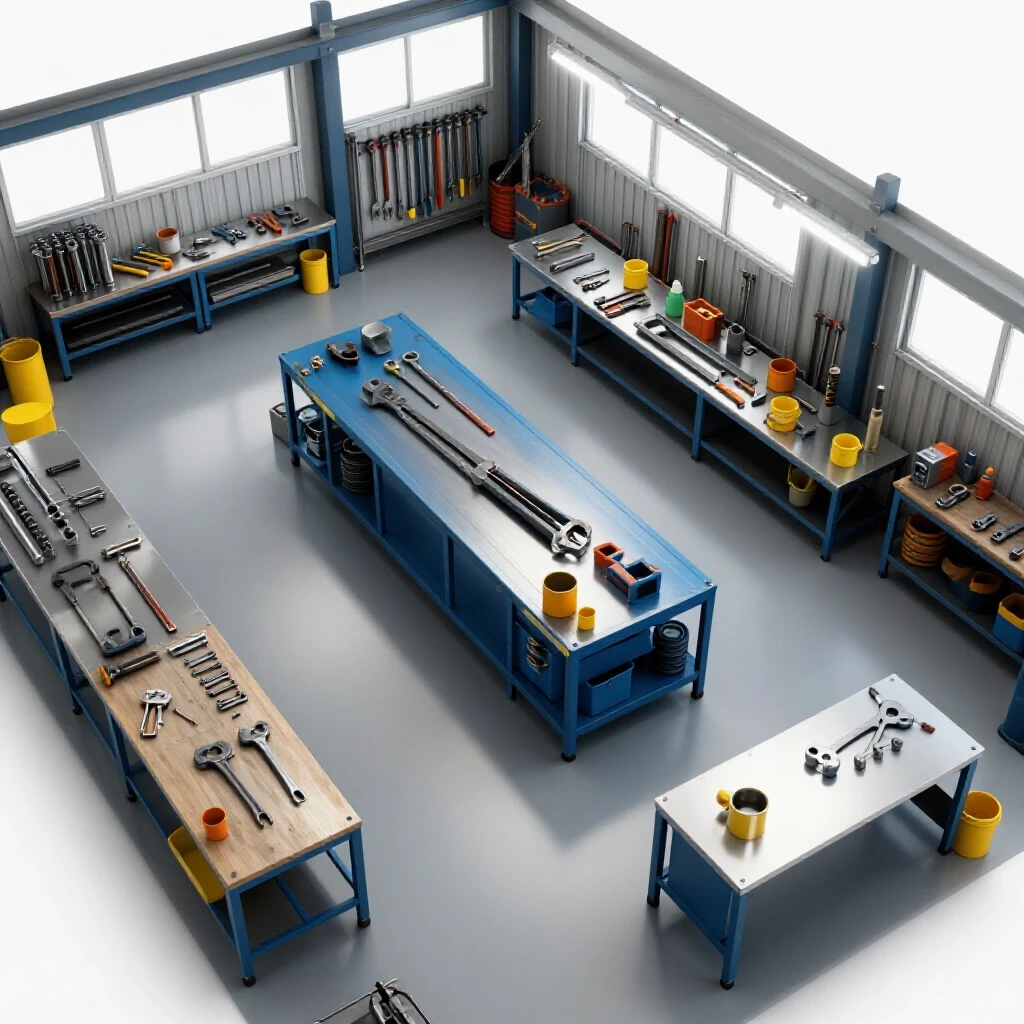
Before you buy a single wrench, you must understand the limits of your room. Most home garages are designed for cars and storage, not high-heat fabrication. I recommend mapping your floor plan on grid paper or a digital app. Mark every outlet, window, and door. You need to know where the “hot zone” (welding and grinding) will live versus the “clean zone” (measuring and assembly).
Electrical capacity is the most common “invisible” wall for beginners. A standard household outlet provides 15 Amps (15A). However, a small MIG welder or a high-torque chop saw can easily pull 20A or more under load. If you run a welder on a 15A circuit shared with a garage freezer, you will trip the breaker every time you strike an arc. I track my power draw in a simple spreadsheet to ensure I never exceed 80% of a circuit’s rated capacity, which is a standard safety margin.
Understanding Circuit Loads and Tool Requirements
Circuit load refers to the total amount of electricity all active tools are drawing at once, measured against the maximum capacity of your breaker.
When planning your power layout, look at the “Nameplate Rating” on your tools. This sticker tells you the Amps required. For a starter shop, I highly suggest having at least one dedicated 20A circuit for your primary fabrication tools. This prevents the lights from flickering or the circuit from cutting out mid-weld, which can ruin a workpiece.
- 15A Circuit: Suitable for hand drills, small LED lights, and light-duty grinders.
- 20A Circuit: Recommended for 110V welders, chop saws, and larger compressors.
- 220V/240V Outlet: Necessary for heavy-duty welders or plasma cutters if you plan to work with metal thicker than 3/16 of an inch.
| Tool Class | Typical Amp Draw (110V) | Recommended Circuit |
|---|---|---|
| Angle Grinder (4.5″) | 6A – 10A | 15A or 20A |
| Flux-Core Welder | 15A – 20A | Dedicated 20A |
| Metal Chop Saw | 15A | Dedicated 20A |
| Bench Grinder | 3A – 5A | 15A |
| LED Shop Lighting | < 1A | Any |
Strategic Tool Prioritization for the Budget Fabricator
This is the process of selecting the most versatile equipment first to maximize your building capability while keeping initial costs low.
It is tempting to buy every tool in the catalog, but a functional shop only needs four core capabilities: cutting, joining, grinding, and measuring. I follow a “30/40/30” budget rule. Allocate 30% of your funds to high-quality safety gear and measuring tools, 40% to your core machines (welder and saw), and 30% to consumables and work surfaces.
A common mistake is buying a professional-grade welder but using a cheap, inaccurate tape measure and a flimsy plastic square. In metalwork, if your measurements are off by 1/16 of an inch, your joints won’t fit, and your welds will fail. I prioritize a solid steel framing square and a set of quality calipers over a fancy paint job on a welder.
The Essential Starter Machine List
These are the primary mechanical tools required to take a raw piece of steel and turn it into a finished, joined product.
You don’t need a lathe or a milling machine to start. For most DIY projects, a basic toolkit will handle 90% of the work. I recommend starting with a versatile 110V welder. Flux-core welding is a great entry point because it doesn’t require expensive gas tanks initially, though it creates more “spatter” (small blobs of molten metal) that you’ll need to grind off later.
- Angle Grinder: The most used tool in the shop. It cuts, cleans, and finishes metal. Buy a corded one first; they are cheaper and never run out of battery.
- Welder: Look for a “multi-process” unit if the budget allows, but a dedicated MIG/Flux-core machine is the standard starting point.
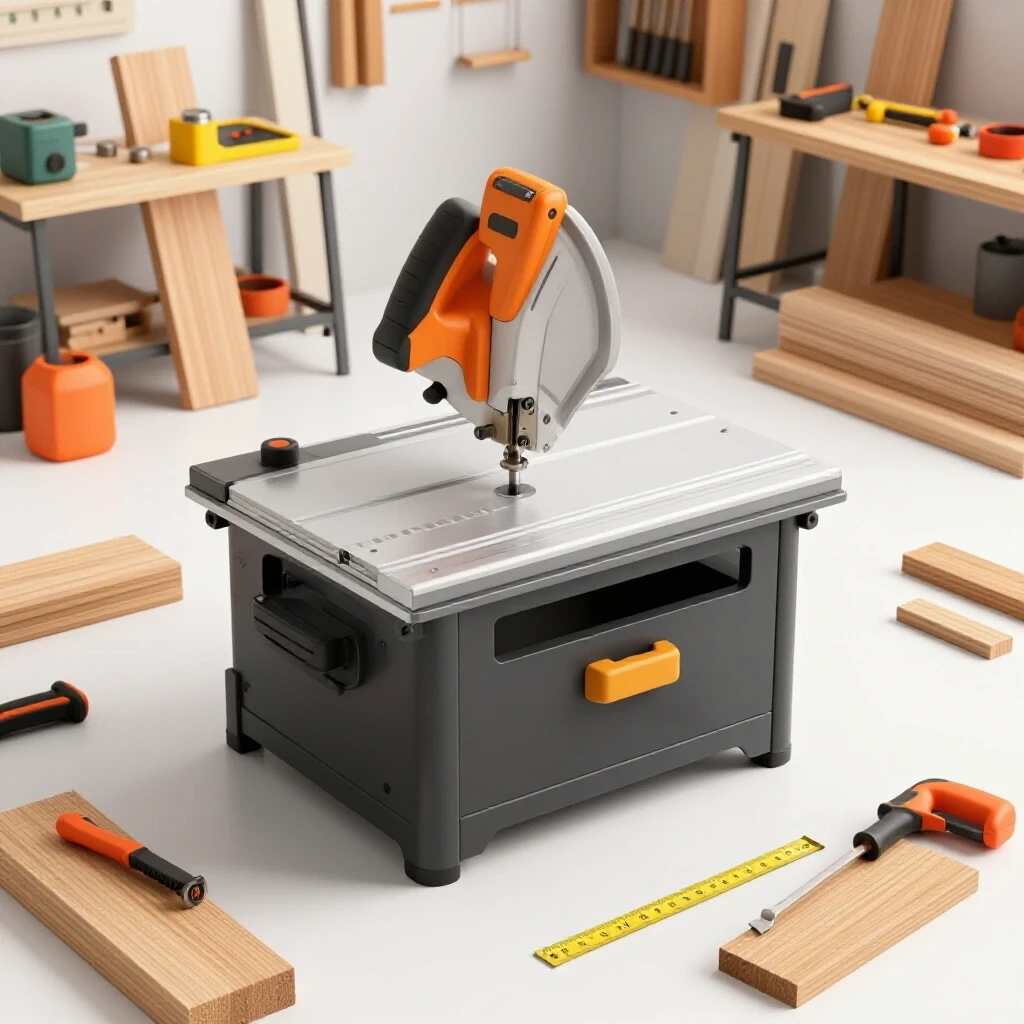
- Abrasive Chop Saw: This allows for straight, repeatable cuts on square tubing and angle iron.
- Drill Press: While a hand drill works, a small benchtop drill press ensures your holes are perfectly vertical, which is vital for bolt-together projects.
Establishing a Safe and Efficient Workshop Layout
Layout planning involves arranging your equipment to create a logical flow of materials while maintaining safety distances between sparks and flammable items.
In a small garage, every square foot counts. You want to follow the “Triangle of Fabrication.” This means placing your cutting station, your welding table, and your grinding area in a way that minimizes movement while keeping “hot” activities away from “clean” ones. I keep my metal storage near the door so I don’t have to carry 20-foot sticks of steel through the whole shop.
Safety zones are non-negotiable. According to American Welding Society (AWS) suggestions, you should maintain a 35-foot radius clear of flammable materials when welding or cutting. Since most garages aren’t 35 feet wide, this means using welding blankets or fire-resistant screens to contain sparks. I also keep a 5-pound ABC-rated fire extinguisher within arm’s reach of my welding table at all times.
Ventilation and Air Quality Requirements
Ventilation is the system used to remove toxic fumes and dust from your breathing zone, measured in Cubic Feet per Minute (CFM).
Metalworking creates fine dust and hazardous fumes, especially when welding galvanized steel or using certain grinding wheels. A standard garage door being open is often not enough. I calculate my ventilation needs based on “air exchanges.” For a small shop, you want to replace the air in the room at least 5 times per hour.
To calculate the CFM (Cubic Feet per Minute) needed for a fan, use this formula: (Length x Width x Height of shop) / 12. For a 20x20x8 garage, that is 3,200 cubic feet. Dividing by 12 gives you a requirement of about 266 CFM. A high-velocity floor fan or a dedicated wall-mounted exhaust fan is a mandatory investment for your lungs.
- Source Extraction: Use a fan to pull fumes directly away from your face.
- Respirator Use: Always wear a P100-rated respirator when grinding or welding in confined spaces.
- Dust Management: Use a shop vacuum with a HEPA filter to clean up metal shavings. Never use a leaf blower, as it sends fine dust into the air where you will breathe it later.
Vetting Personal Protective Equipment (PPE)
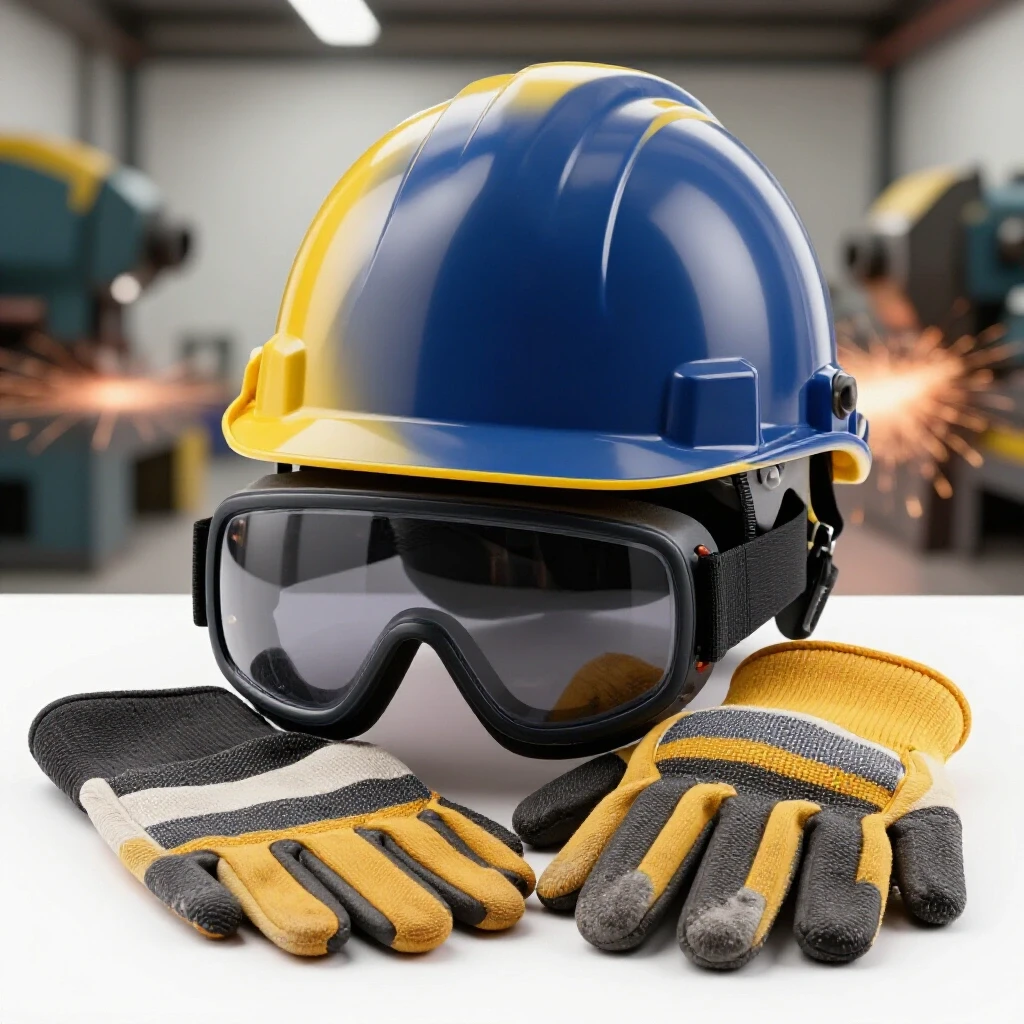
Personal Protective Equipment refers to the gear you wear to protect your eyes, skin, and lungs from the heat, light, and debris generated during fabrication.
I have seen many beginners spend $500 on a saw but only $10 on a pair of safety glasses. This is a dangerous trade-off. Your PPE is your most important “tool.” When shopping for gear, look for the ANSI Z87.1 rating on eye protection. This ensures the lenses can withstand high-velocity impacts from broken grinding discs or metal chips.
For welding, the “auto-darkening” helmet is a game-changer for beginners. It allows you to see your workpiece clearly until the moment you start welding, at which point the lens instantly darkens. This prevents “arc flash,” which is essentially a painful sunburn on your eyeballs. I recommend a helmet with at least two sensors and a large viewing area to help you see your weld puddle clearly.
Mandatory Safety Gear Checklist
This list details the specific items required to meet basic safety standards for residential metal fabrication.
- Welding Helmet: Must be auto-darkening with a shade range of 9-13.
- Safety Glasses: Must be worn under the welding helmet for double protection.
- Leather Gloves: Heavy gauntlet-style for welding; thinner “driver” style for handling material.
- Flame-Resistant Apron or Jacket: Synthetic fabrics like polyester will melt to your skin; use treated cotton or leather.
- Steel-Toed Boots: Dropping a piece of angle iron on your foot can end your hobby quickly.
- Ear Protection: Chop saws and grinders often exceed 100 decibels, which causes permanent hearing loss over time.
Building a Functional Fabrication Workbench
A fabrication workbench is a heavy, flat, fireproof surface used for clamping, aligning, and welding metal components together.
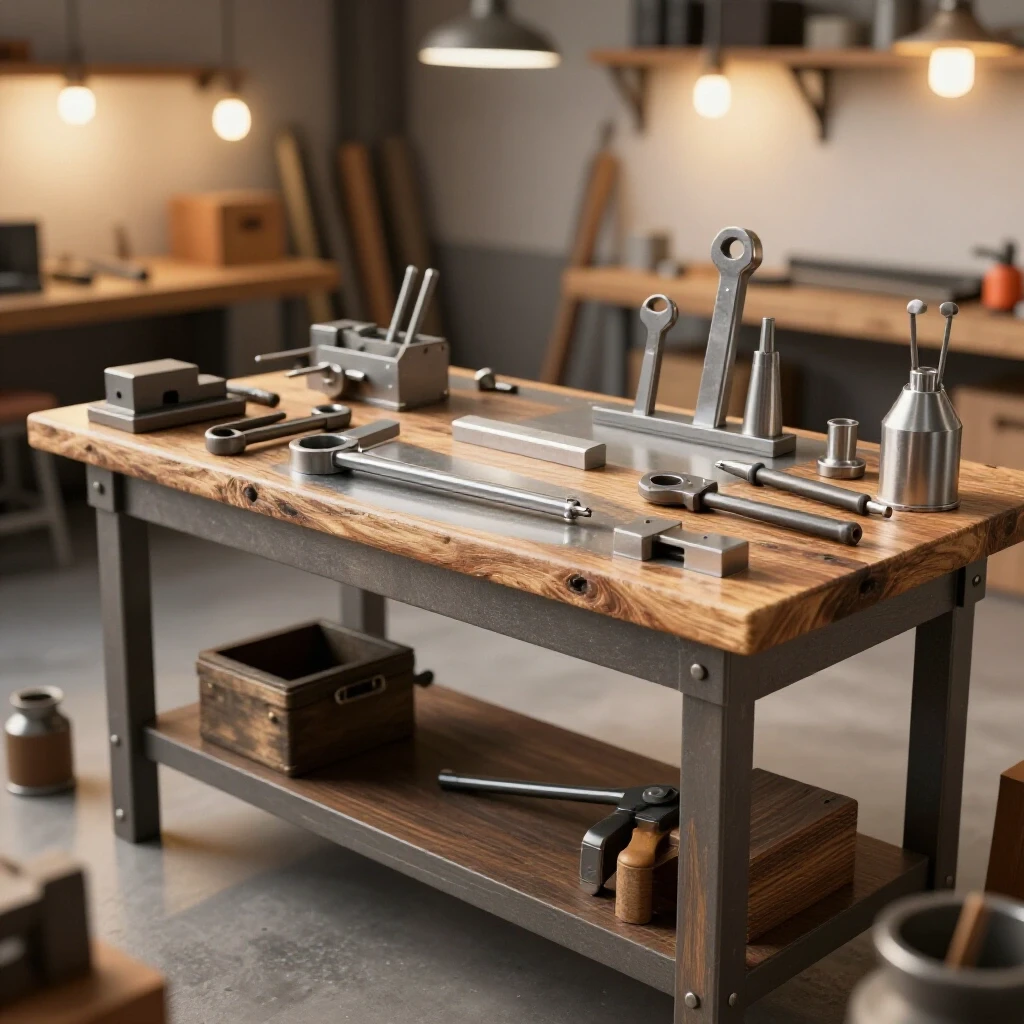
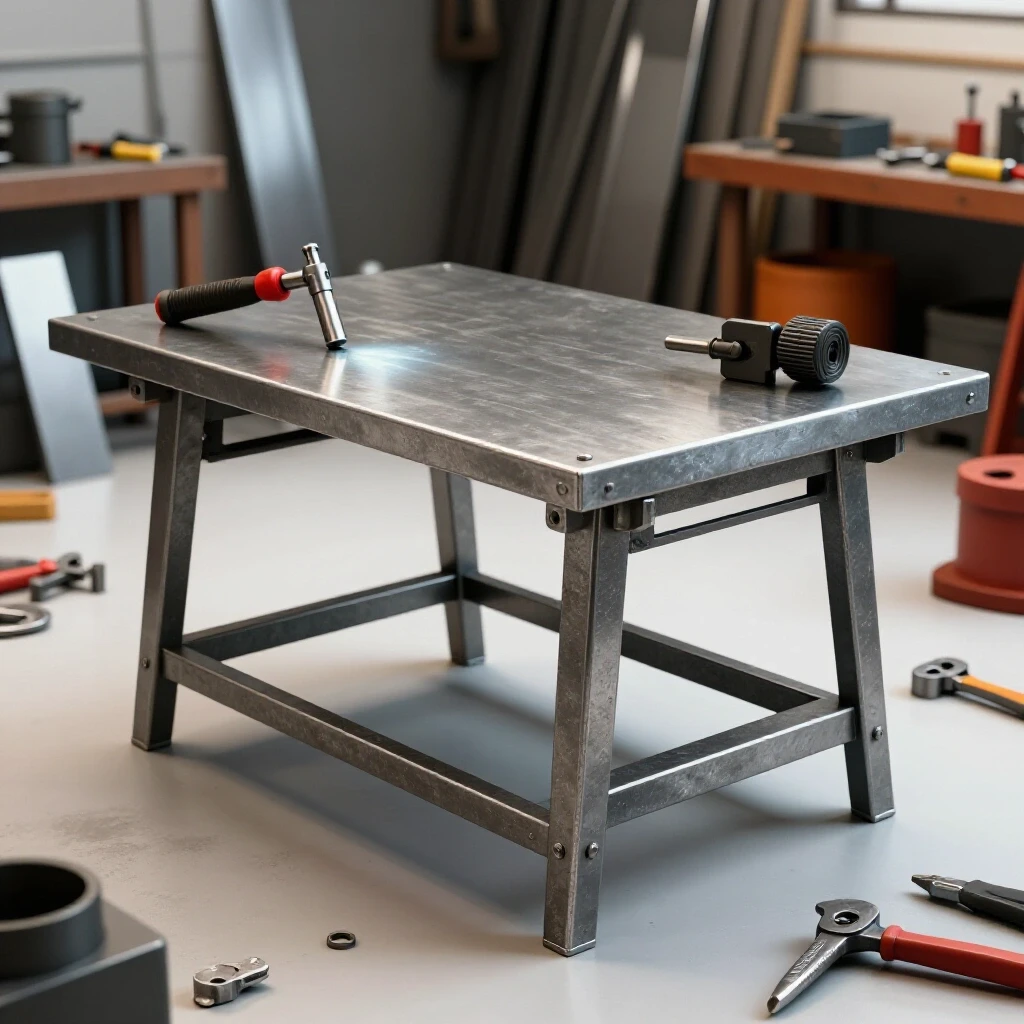
Your workbench is the heart of your shop. Unlike woodworking benches, a metalworking table must be made of steel. Wood is a fire hazard and will warp from the heat of welding. I built my first table using a 1/4-inch thick steel plate on a frame made of square tubing. It doesn’t have to be pretty, but it must be flat.
I track the cost of my bench builds carefully. A common mistake is making the table too large. In a small shop, a 2-foot by 4-foot table on heavy-duty locking casters is usually better than a massive stationary bench. This allows you to roll the table to the center of the room for large projects and tuck it against the wall when you need to park a car.
- Grounding Point: Weld a small bolt to the leg of your table so you can easily attach your welder’s ground clamp.
- Clamping Lip: Ensure the steel top overhangs the frame by at least 2 inches so you can attach C-clamps and F-clamps.
- Leveling Feet: Most garage floors are sloped for drainage. Use adjustable feet to ensure your work surface is perfectly level.
Why Quality Abrasives Save Money Over Time
Abrasives are the replaceable discs and wheels used for cutting and smoothing metal; their quality determines how fast you work and how often you must buy replacements.
When you are on a budget, the $1 grinding discs at the big-box store look attractive. However, my records show that these cheap discs wear down three times faster than a $4 professional-grade disc. Even worse, cheap discs are more prone to “shattering,” which sends dangerous shards flying across the shop.
I suggest buying “Flap Discs” for smoothing welds. They are made of overlapping sandpaper strips and are much more forgiving for beginners than hard grinding rocks. They leave a better finish and run cooler, which prevents the metal from warping.
| Abrasive Type | Best Use Case | Lifespan Expectancy |
|---|---|---|
| Cut-off Wheel (Thin) | Slicing sheet metal or tubing | Low (Replace often) |
| Hard Grinding Wheel | Removing heavy weld beads | High |
| Flap Disc (60 Grit) | Smoothing and blending joints | Medium |
| Wire Cup Brush | Removing rust and paint | High |
Organizing Tools and Consumables for Efficiency
Organization involves creating a specific home for every tool and tracking your supplies to prevent project delays.
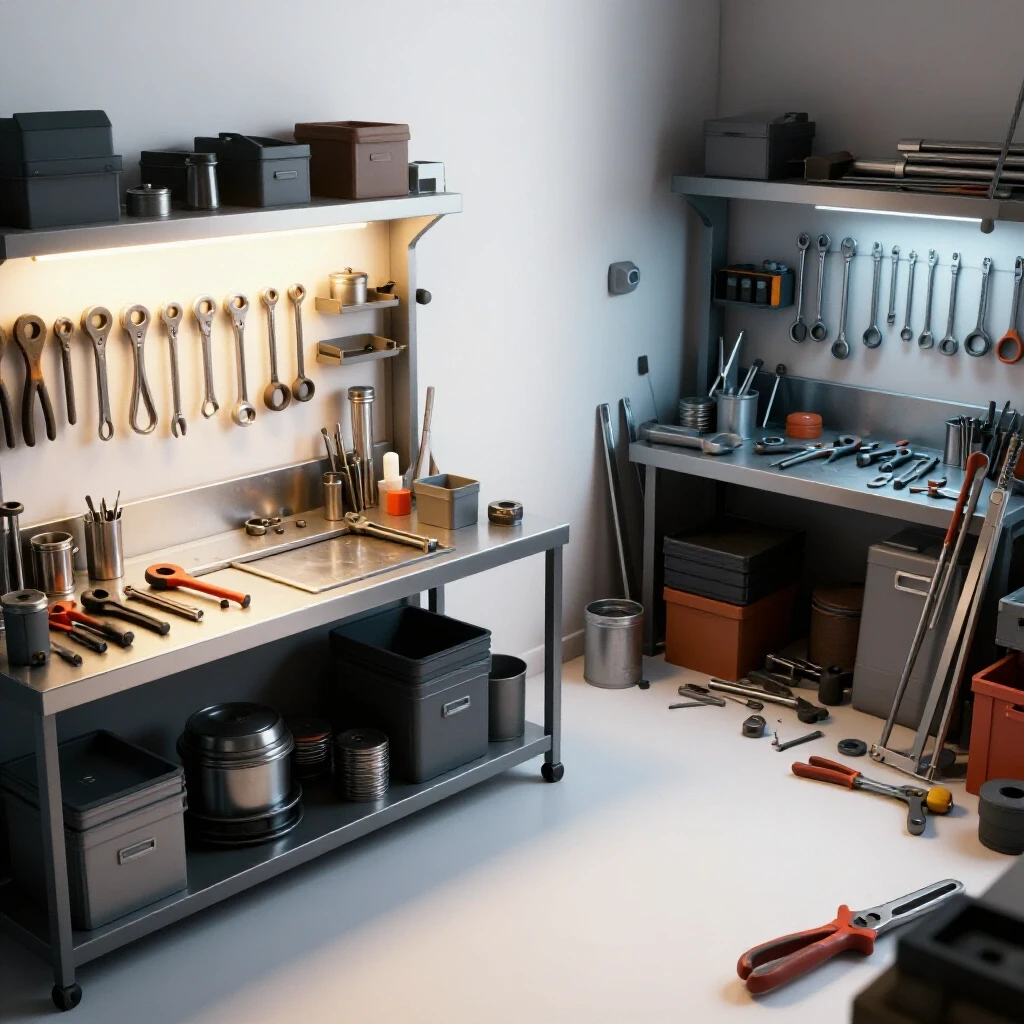
A disorganized shop is a dangerous shop. Tripping over a welding lead while holding a hot torch is a recipe for disaster. I use a “shadow board” or magnetic strips for my most-used tools like hammers, squares, and pliers. This allows me to see instantly if a tool is missing before I clean up for the night.
Consumables—like welding wire, drill bits, and various grits of sandpaper—should be kept in labeled bins. I maintain a simple inventory log. When I open my last spool of welding wire, I put it on the “buy list” immediately. There is nothing more frustrating than being 90% done with a project on a Sunday afternoon and running out of wire.
- Mobile Tool Carts: Keep your welder and its accessories on a dedicated cart.
- Vertical Metal Storage: Store long sticks of steel vertically in a corner to save floor space.
- Magnetic Trays: Use these to hold small nuts, bolts, and off-cuts so they don’t end up on the floor.
- Clear Labeling: Use a label maker for every drawer; it saves minutes of searching every time you work.
Initial Testing and Your First Fabrication Workflow
The initial workflow is the sequence of steps you take to test your equipment and layout by completing a simple, low-risk project.
Once your shop is set up, don’t jump straight into building a trailer or a roll cage. Start with a simple “Shop Project” like a tool rack or a small stand for your grinder. This allows you to test your electrical circuits and your ventilation without the pressure of a complex build.
During this first project, pay attention to your “Material Flow.” Do you have to walk across the room to get your square after every cut? Is the light hitting your welding helmet at an angle that causes glare? I call this the “shakedown” period. Expect to move your tools and tables at least three times in the first month until you find the rhythm that fits your specific style of working.
- Step 1: The Cut. Test your saw’s accuracy by cutting four pieces of tubing at 45-degree angles to make a square frame.
- Step 2: The Prep. Use your angle grinder to clean the mill scale (the dark grey coating) off the steel where you will weld.
- Step 3: The Fit-up. Use magnets or clamps to hold the pieces together. Check for squareness with your measuring tools.
- Step 4: The Tack. Make small, temporary welds at the corners to hold the shape.
- Step 5: The Final Weld. Complete the joints and observe how the heat affects the metal.
Budget Tracking and Long-Term Shop Evolution
Budget tracking is the habit of recording every shop-related expense to understand the true cost of the hobby and plan for future upgrades.
Setting up a shop is a marathon, not a sprint. My current workshop looks nothing like the one I had in 2013. By keeping a ledger of what I spent, I realized that I was spending more on “cheap” drill bits than it would have cost to buy one high-quality set that could be sharpened.
As you grow, your needs will change. You might find that you enjoy sheet metal work more than heavy structural welding. Because you started with a solid foundation of versatile tools and a safe layout, you can pivot without wasting the money you’ve already invested. The goal is a space that grows with your skills, remaining a safe and productive environment for years to come.
Frequently Asked Questions
Can I safely weld in a garage with a wooden floor? No, welding on a wooden floor is a significant fire hazard. Sparks and “slag” can smolder in cracks for hours before igniting. If your garage has a wooden floor, you must cover the welding area with a fire-resistant material like a heavy-duty welding mat or a sheet of cement board.
Is a 110V welder enough for a starter shop? For most hobbyists, yes. A quality 110V welder can handle steel up to 1/8 or 3/16 of an inch in a single pass. This is sufficient for furniture, brackets, and light repairs. If you plan to build heavy trailers or structural frames, you will eventually need a 220V machine.
What is a “Duty Cycle” and why does it matter? Duty cycle is the percentage of a 10-minute period a welder can operate at a specific amperage without overheating. For example, a 20% duty cycle means you can weld for 2 minutes but must let the machine cool for 8 minutes. Budget machines usually have lower duty cycles.
How do I prevent my garage from smelling like burnt metal? Proper ventilation is key. Use a high-CFM exhaust fan and try to position your work so the wind carries fumes away from you. Using “cleaner” processes like MIG with shielding gas instead of Flux-core can also reduce the amount of smoke produced.
Do I really need a respirator if I’m just grinding for a few minutes? Yes. Metal dust and abrasive particles are tiny and can stay suspended in the air long after you stop grinding. These particles can cause long-term respiratory issues. A basic N95 or P100 mask is a cheap way to protect your health.
What are the most important measuring tools for a beginner? Start with a high-quality 16-foot tape measure, a 12-inch combination square, and a set of 6-inch dial or digital calipers. These three tools allow you to check lengths, angles, and material thicknesses accurately.
How can I keep my shop organized on a zero budget? Use recycled materials. Old jars can hold fasteners, and scrap wood can be turned into tool racks. The key is consistency—always put the tool back in its designated spot as soon as you are done with it.
Should I buy a brand-name welder or a cheap “no-name” one? For beginners, a mid-range brand-name welder is often better because parts like “contact tips” and “shrouds” are easier to find at local stores. No-name machines can be difficult to repair if a specific internal component fails.
How do I protect my eyes from “Arc Flash”? Always wear a welding helmet with a shade level appropriate for your welding process (usually shade 10-12 for MIG). Ensure your skin is also covered, as the UV light from the arc can cause “welder’s tan,” which is a skin burn.
What is the best way to store scrap metal? Sort your scrap by shape (flat bar, tubing, angle iron) and material type. Using a rolling bin with dividers keeps the small pieces off the floor and makes it easier to find a “gusset” or a small plate when you need one for a quick fix.
(This article was written by one of our staff writers, Michael Thompson. Visit our Meet the Team page to learn more about the author and their expertise.)