How to Design a Shop Layout for Efficient Material Flow (Plan)
Setting up a metalworking shop in a garage or small outbuilding often feels like a puzzle where the pieces keep changing shape. When I built my first shop in 2013, I had less than $2,000 and a very clear fear of wasting that money on the wrong equipment. I spent weeks measuring my floor space, only to realize later that I hadn’t accounted for how a twenty-foot stick of square tubing actually moves through a room.
The physical path metal takes from the moment it leans against your wall to the moment it leaves as a finished project dictates how much you will enjoy your time in the shop. If you have to move a heavy welding table every time you need to use a saw, you have a bottleneck. My goal is to help you bypass the “zigzag” phase where you spend more time moving obstacles than you do melting steel.
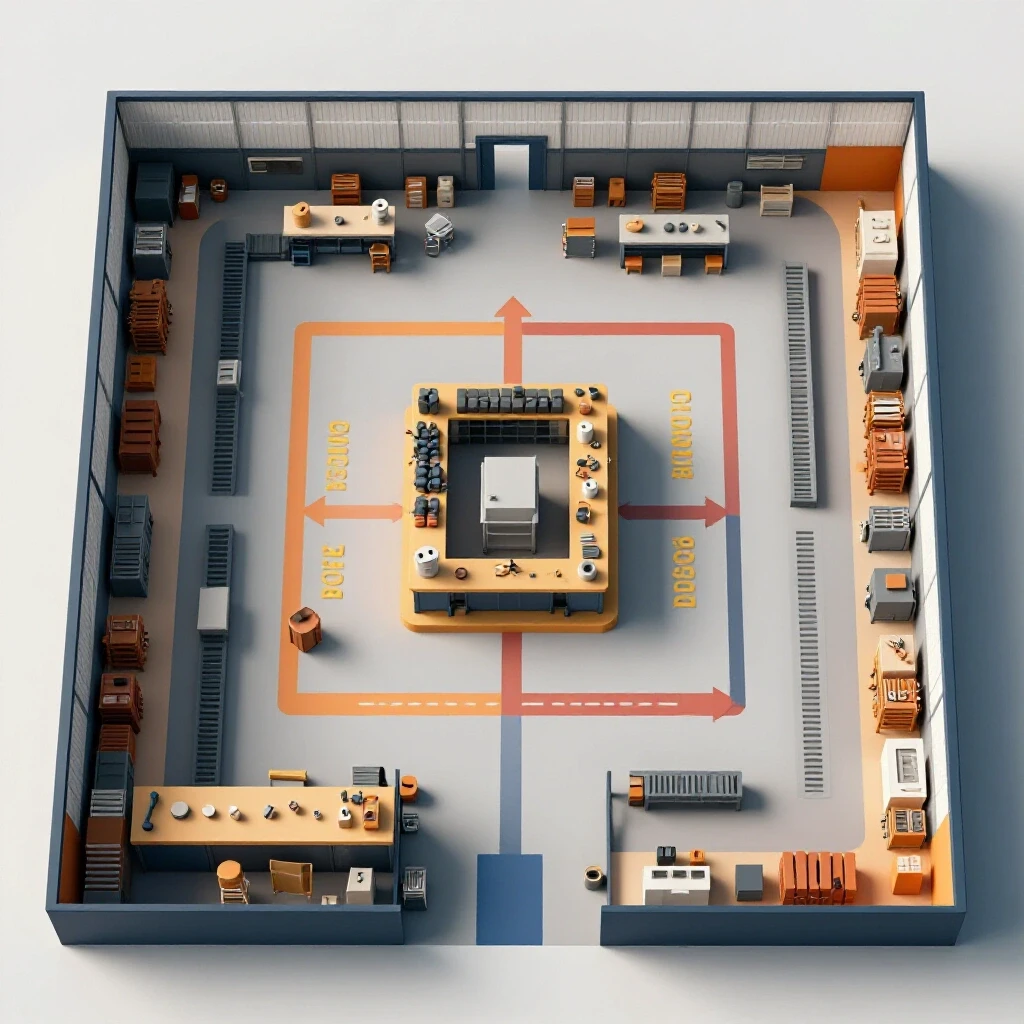
Organizing the Fabrication Sequence for Maximum Utility
The logical progression of metalwork involves moving heavy, often dirty raw materials through a series of transformative stages without backtracking. By arranging your workspace to follow this natural order, you reduce physical strain and minimize the risk of tripping over offcuts.
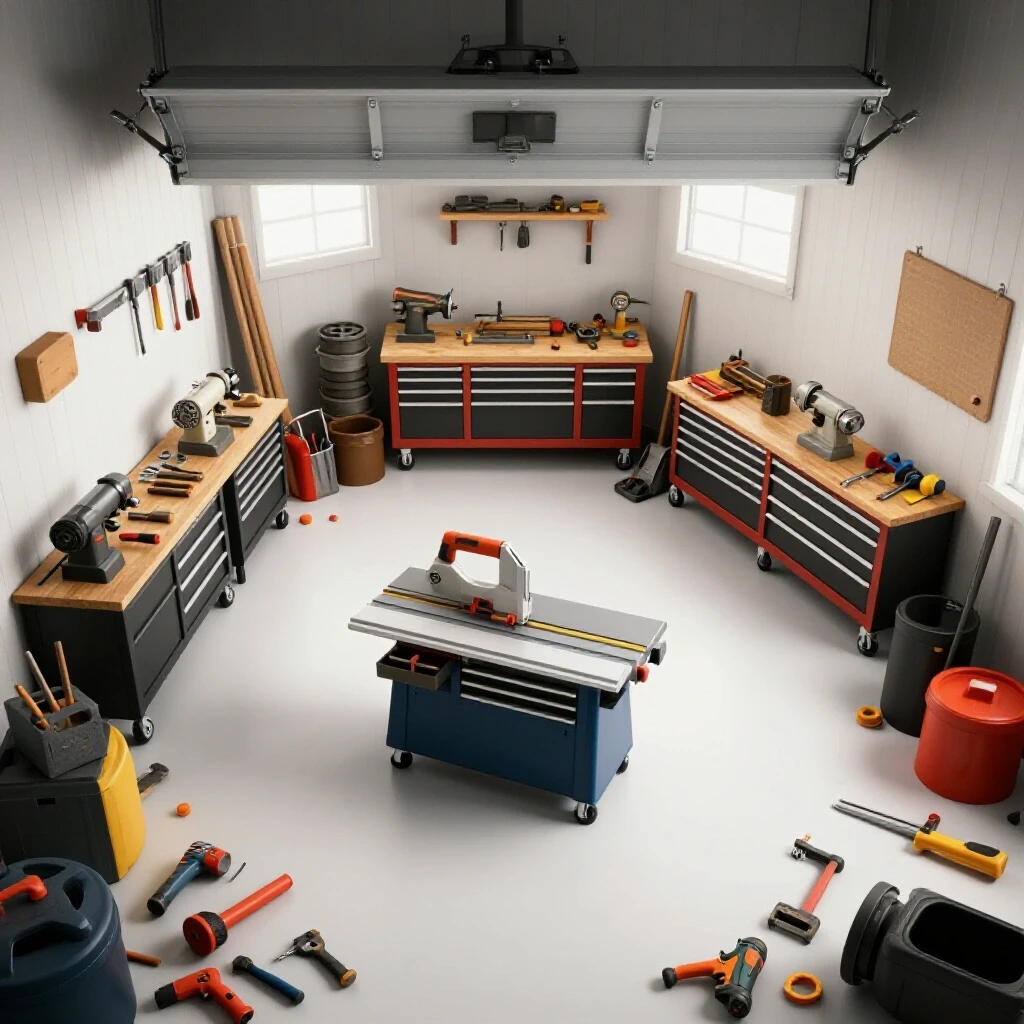
When I first started, I made the mistake of putting my chop saw in the far corner because that’s where the only outlet was. I quickly learned that dragging a full length of steel across the entire shop just to make one cut was exhausting and dangerous. Now, I advocate for a “linear or U-shaped” flow. This means your raw material enters near your cutting station, moves to your fabrication table, and ends at a finishing area near the door.
A well-organized shop is divided into specific zones. These zones keep “hot work” like welding away from “clean work” like precision measuring or painting. In a small space, these zones might only be a few feet apart, but their clear definition prevents grinding dust from ruining a fresh coat of enamel or a sensitive piece of electronics.
Assessing Power Requirements and Electrical Capacity
Understanding how much electricity your tools draw is the foundation of a safe workshop, as metalworking equipment often pushes residential circuits to their absolute limits. You must calculate your total load to avoid the frustration of constant breaker trips during a critical weld.
In my early days, I tried running a small welder and a grinder on the same 15-amp circuit. The result was a dark garage and a half-finished bead. Most standard household outlets are 15 amps, which is sufficient for a drill or a small grinder, but woefully inadequate for a real welder or a large air compressor.
You need to understand two key terms: Amperage (Amps), which is the volume of electricity flowing, and Duty Cycle, which is how long a tool can run in a ten-minute period before it needs to cool down. For a starter shop, I recommend having at least one dedicated 20-amp circuit for your power tools and, if possible, a 240-volt outlet for a more capable welder.
| Tool Class | Typical Amp Draw (120V) | Recommended Circuit | Priority Level |
|---|---|---|---|
| Handheld Grinders | 5A – 10A | 15A Shared | Essential |
| Entry-Level Welder | 15A – 20A | 20A Dedicated | Essential |
| Bench Grinder | 3A – 5A | 15A Shared | Secondary |
| Small Air Compressor | 12A – 15A | 20A Dedicated | Secondary |
| Industrial Vacuum | 10A – 12A | 15A Shared | Essential |
Establishing Functional Zones for Material Handling
Creating a designated spot for every stage of the process ensures that raw stock, work-in-progress, and scrap metal do not overlap and create a chaotic environment. This spatial discipline is what separates a productive fabrication space from a cluttered storage unit.
In a compact shop, the “Intake Zone” should be as close to the main door as possible. Steel often comes in lengths of 10 to 20 feet. If your saw is buried at the back of the garage, you’ll find yourself performing a dangerous dance with a heavy bar of metal. I keep my material rack vertical to save floor space, ensuring it is positioned right next to my horizontal bandsaw.
The “Processing Zone” is where the heavy lifting happens. This area houses your saw and your primary workbench. It needs the most clearance—ideally, enough room to support the “outfeed” of a long cut. If you are cutting a 10-foot pipe in half, you need at least five feet of clear space on both sides of the blade.
Strategic Tool Sequencing for Budget Builders
Prioritizing which tools to buy first allows you to start working immediately while ensuring that each new purchase integrates seamlessly into your existing workflow. A common pitfall is buying a high-end machine before you have the basic safety and measuring tools to use it effectively.
I suggest allocating your budget using a “Rule of Thirds.” One-third goes to your primary machine (like a welder), one-third goes to support tools (grinders, saws, clamps), and the final third is strictly for safety gear and precision measuring instruments. It is tempting to spend your whole $2,000 on a fancy TIG welder, but a welder without a mask, gloves, and a way to cut the metal is just an expensive paperweight.
Essential Starter Tool Sequencing:
- Safety and Measurement: Auto-darkening helmet, leather gloves, safety glasses, and a high-quality steel square.
- Material Reduction: An angle grinder with a variety of wheels (cutting, grinding, and flap discs) and a basic portaband or chop saw.
- Joining: A versatile MIG or Flux-core welder capable of handling 1/8-inch to 3/16-inch steel.
- Work Surface: A heavy, level steel table. This is the heart of your shop.
Optimizing the Fabrication Table and Assembly Area
The fabrication table is the most important piece of furniture in your shop, serving as the central hub where all your components are aligned, clamped, and joined. Its placement determines how easily you can move around a project to access different angles.
I built my first table out of scrap structural steel and a 3/8-inch thick plate top. I made sure it was on heavy-duty locking casters. In a small shop, mobility is your best friend. Being able to roll the table to the center of the room for a large project and then tuck it against the wall when you’re done is a game-changer.
You should aim for at least 36 inches of “walk-around” space on at least three sides of your table. This ensures you aren’t trapped between a hot weldment and a wall. If space is tight, consider a “flip-top” table design or a folding welding table that can be stowed away, though these often sacrifice the flatness required for precision work.
Integrating Ventilation and Spark Management
Metalworking produces fine dust, hazardous fumes, and a constant stream of sparks that can travel up to 20 feet. Designing your shop with these byproducts in mind is not just about comfort; it is about preventing long-term health issues and fire hazards.
Airflow is measured in Cubic Feet per Minute (CFM). In a standard two-car garage, you want an exhaust fan capable of exchanging the entire volume of air every few minutes when welding or grinding. I use a high-velocity fan positioned in a window, pulling air across my work area and pushing it outside. Always ensure there is an “intake” source, like a cracked door, so the fan isn’t fighting a vacuum.
Spark management is equally critical. I learned this the hard way when a stray spark from a grinder smoldered in a pile of sawdust for two hours before catching fire. Now, I use flame-resistant welding blankets to cordone off my grinding area. I also keep a “Clean Zone” for wood or flammable materials at least 15 feet away from any metalwork.
Workshop Safety and Ventilation Benchmarks:
- Spark Zone: Maintain a 10-foot radius clear of flammable materials around any grinding or welding.
- Air Exchange: Aim for a minimum of 200-300 CFM for localized fume extraction.
- Fire Safety: Keep a Class ABC fire extinguisher within arm’s reach of the welding station.
- Abrasive Safety: Always check the RPM rating on grinding wheels to ensure they match your tool’s speed.
Managing Waste and Scrap Flow
Metalwork generates a surprising amount of waste, from tiny steel slivers to large offcuts. An efficient layout includes a system for sorting and storing these materials so they don’t migrate into your walking paths.
I use a three-tier bin system. The first bin is for “usable drops”—pieces of metal longer than six inches that might be useful for small brackets. The second bin is for pure scrap that will eventually go to the recycler. The third is a dedicated metal bucket for “hot” waste, like cut-off ends or spent welding rods.
By keeping these bins near your cutting station, you prevent the floor from becoming a minefield of sharp edges. This also makes the end-of-day cleanup much faster. A magnetic floor sweeper is a low-cost tool that I highly recommend for picking up the thousands of tiny metal shards that a broom always seems to miss.
Actionable Framework for Shop Layout Planning
Before you move a single piece of equipment, you should have a plan on paper. This prevents the physical exhaustion of moving heavy tools multiple times and helps you visualize the flow of material through the space.
- Measure the Perimeter: Map out your walls, doors, and windows. Note the location of every electrical outlet.
- Define the “Long Path”: Identify the longest straight line in your shop. This is where your raw stock will move.
- Place the Anchor Tools: Position your largest, least mobile tools first (usually the welding table and the main saw).
- Map the Spark Path: Look at where sparks will fly from your grinder. Ensure they aren’t aimed at your car, your lawnmower, or your electrical panel.
- Simulate a Project: Take a piece of PVC pipe (representing steel) and walk through the steps of a project. Do you hit a wall when you try to turn around? If so, adjust the layout.
Why Quality Consumables Outperform Cheap Alternatives
It is tempting to save money by buying the cheapest grinding wheels and drill bits available. However, my records over the last decade show that high-quality abrasives actually cost less per cut because they last significantly longer and work faster.
A cheap grinding wheel might cost two dollars but wear down to the hub in ten minutes of heavy use. A premium ceramic wheel might cost eight dollars but last for an hour and remove twice as much material. This isn’t just about money; it’s about reducing the time you spend changing discs and the amount of dust you release into your shop air.
When you are starting out, buy a small pack of high-quality “flap discs” for finishing. They are more forgiving than hard grinding wheels and leave a much better surface for painting or welding. This is part of that “one-third” budget allocation for support tools—don’t skimp on the things that actually touch the metal.
Transitioning from Planning to the First Test Cuts
Once your layout is set and your power is verified, the final step is a series of test cuts and welds to “verify the flow.” This is where you find the small annoyances that didn’t show up on your paper plan.
I always start a new shop setup with a simple project, like a set of jack stands or a small tool cart. This forces me to use every zone in the shop. I pay attention to where I naturally want to set down my tools. If I find myself constantly reaching across my body or walking five steps to grab a hammer, I move the tool storage closer to the fabrication table.
Your shop layout is a living thing. As your skills grow and you acquire more specialized tools, you will need to tweak your arrangement. The key is to maintain the core principle: raw material in one end, finished product out the other, with a clear, safe path in between.
Frequently Asked Questions
How much space do I really need for a starter metal shop? You can do a significant amount of work in a single-car garage (roughly 12′ x 22′). The key is mobility. If your heavy tools are on wheels, you can reconfigure the space for each project. The most important metric is having enough linear space to cut your longest expected piece of stock.
Do I need a specialized floor for welding? A standard concrete garage floor is ideal. However, you must ensure it is clean of oils or sawdust. If you are working in a space with wood floors, you must cover the work area with fire-resistant materials like cement board or heavy steel plating, though I generally advise against welding over wood due to the high fire risk.
What is the most common layout mistake beginners make? The most common error is placing the welding table against a wall. This limits your access to only one or two sides of your project. Even in a small shop, try to position the table so you can walk all the way around it, or at least have it on casters so you can pull it out when needed.
How do I manage the noise of a metal shop in a residential area? Metalwork is loud. To stay on good terms with neighbors, use “quiet” tools where possible, like a dry-cut saw instead of an abrasive chop saw. Insulating your garage door and using rubber vibration pads under stationary tools like air compressors can also significantly reduce the noise that travels outside.
Can I run a welder on a standard extension cord? Generally, no. Most household extension cords are 14 or 16 gauge, which will overheat and cause a significant voltage drop, potentially damaging your welder. If you must use an extension, it needs to be a heavy-duty 10-gauge or 12-gauge cord, and it should be as short as possible.
How do I keep my shop from rusting everything inside? Metalworking involves raw steel, which rusts quickly in humid environments. Keep your material off the concrete floor (which holds moisture). I use a light coat of WD-40 or a dedicated rust preventative on my table top and raw stock if I’m not going to be working on it for a few days.
What is the best way to store long pieces of steel? Vertical storage is best for small shops because it uses “dead space” near the ceiling. However, ensure the rack is bolted to the wall studs. Horizontal racks under a workbench are also effective but can be difficult to access if the bench is cluttered.
Should I buy a MIG or a TIG welder first? For a budget-conscious beginner, a MIG (Metal Inert Gas) or Flux-core welder is almost always the better choice. It is much easier to learn, the equipment is generally cheaper, and it is more than capable of handling common home fabrication projects like furniture or automotive repair.
How often should I clean my shop? In a metal shop, you should do a “surface clean” after every work session. Metal dust is conductive and can get into your power tools, causing them to short out. A deep clean, including moving tools to sweep underneath them, should happen once a month to prevent the buildup of flammable debris.
Is a 120V welder enough for home use? Modern 120V inverter welders are surprisingly capable and can often weld up to 3/16-inch or even 1/4-inch steel in a single pass. For most hobbyists and DIYers, this is plenty. If you plan on building heavy trailers or structural frames, you will eventually need to upgrade to a 240V machine.
(This article was written by one of our staff writers, Michael Thompson. Visit our Meet the Team page to learn more about the author and their expertise.)