How to Buy and Restore a Vintage Bench Grinder (DIY Guide)
When I built my first shop in a cramped single-car garage back in 2013, I had exactly $2,000 to my name for tools, lighting, and a workbench. I quickly realized that if I bought everything new from a big-box store, I would end up with a collection of plastic-housed tools that lacked the rigidity needed for serious metalwork. My solution was to look backward. I started hunting for mid-century machinery that was built with heavy cast iron and oversized copper windings.
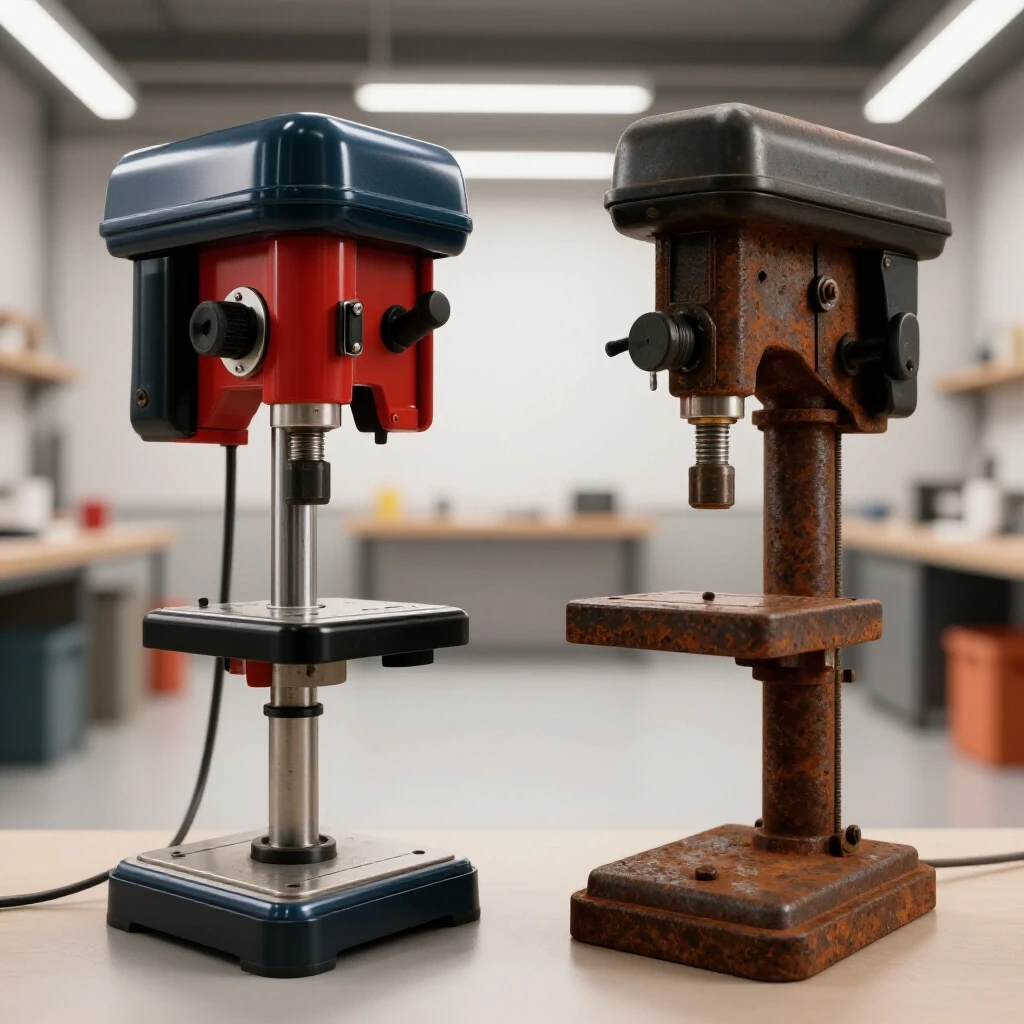
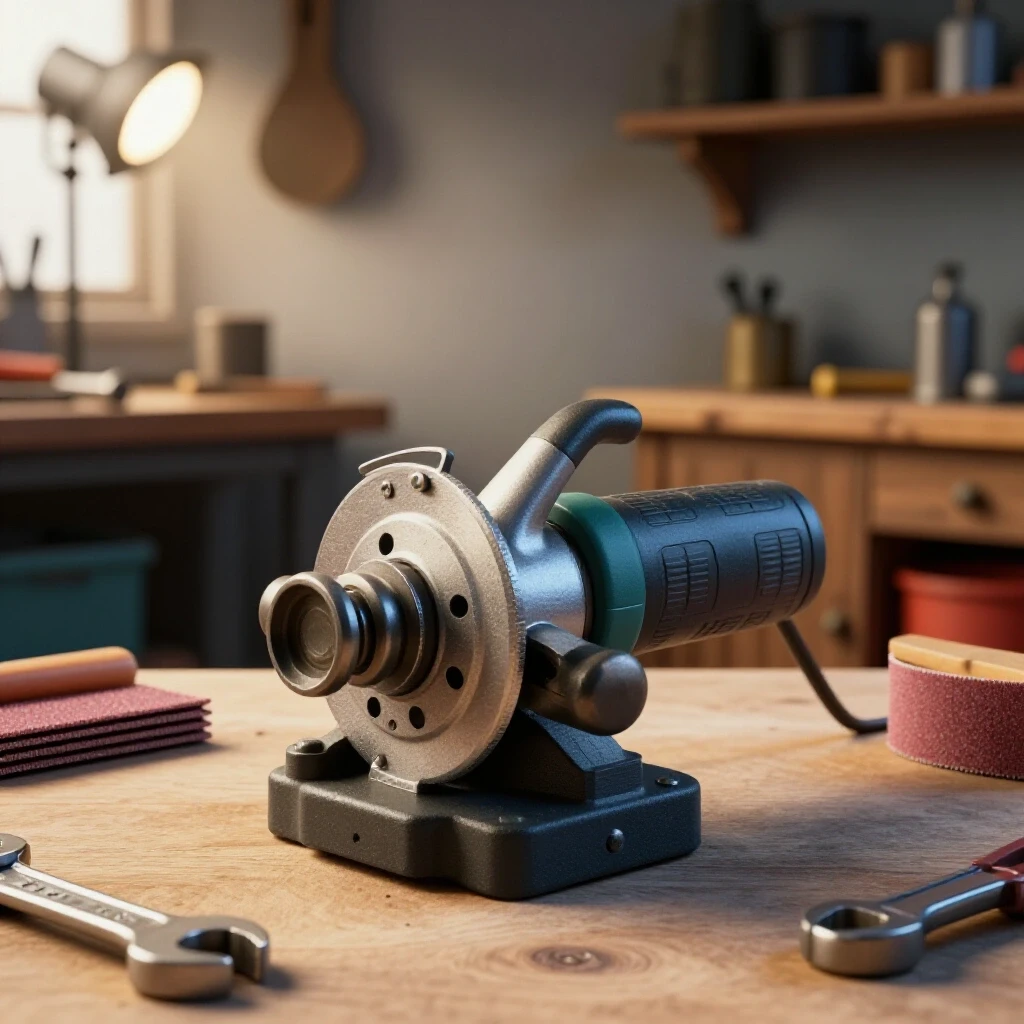
One of my most successful early acquisitions was a 1950s-era grinding machine I found at a local estate sale for $30. It was covered in layers of grime and old paint, but underneath that neglect was a motor that could run for hours without overheating. Reclaiming these older tools isn’t just about saving money; it is about building a shop foundation that is more stable and durable than what most modern entry-level budgets allow. This guide will walk you through the process of selecting, evaluating, and reviving these mechanical workhorses to serve as the centerpiece of your fabrication space.
Evaluating Mid-Century Machinery for Your Starter Workshop
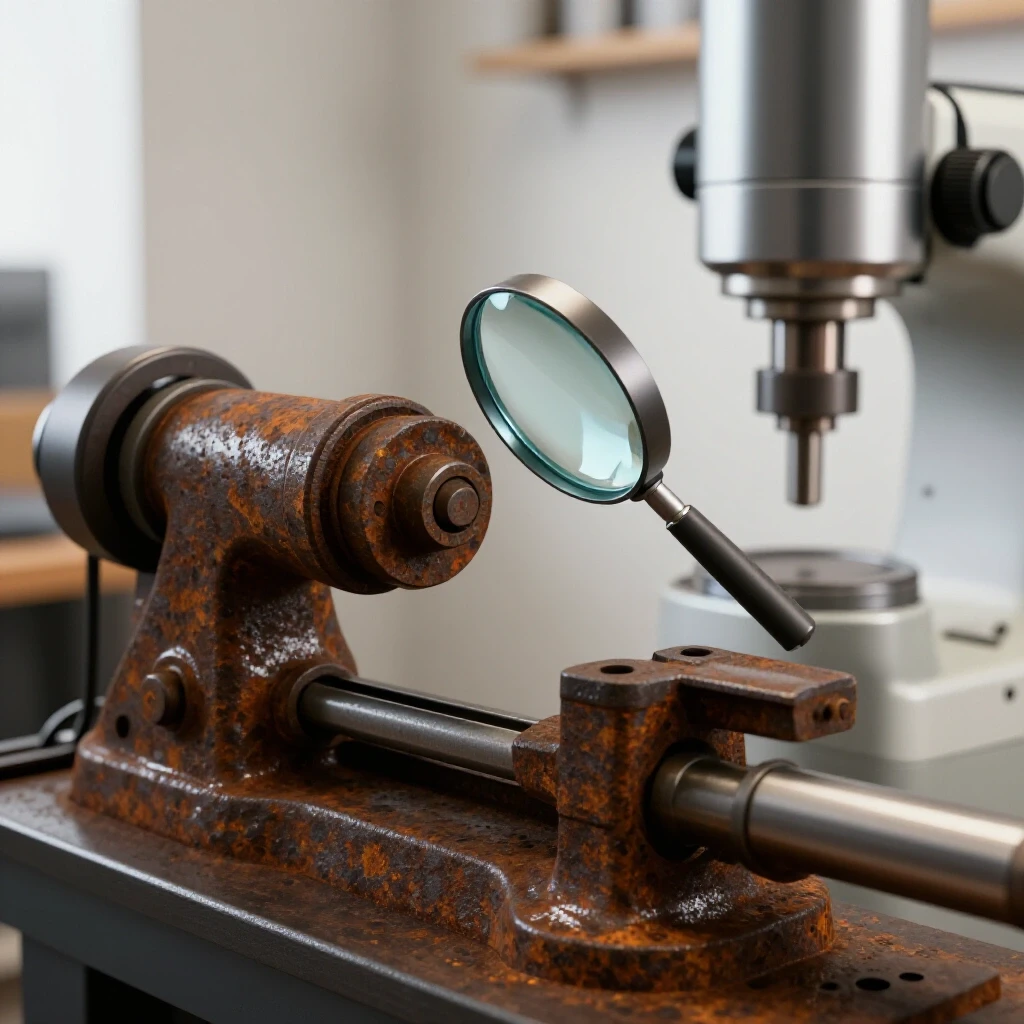
This section covers the essential physical traits and electrical indicators to look for when scouting for pre-owned workshop equipment at estate sales or online marketplaces. Identifying a solid candidate requires looking past surface rust to evaluate the core mechanical integrity of the motor and the stability of the frame.
When you are standing in a stranger’s garage looking at a piece of equipment that hasn’t moved in twenty years, you need a systematic way to vet its potential. I always start with the “heave test.” If I can pick up a 6-inch grinder with one finger, it probably doesn’t have the mass I need. A quality vintage unit should feel dense. This mass is vital because it absorbs vibrations, which leads to cleaner grinds and a safer working environment.
Identifying Quality Cast Iron vs. Modern Stamped Steel
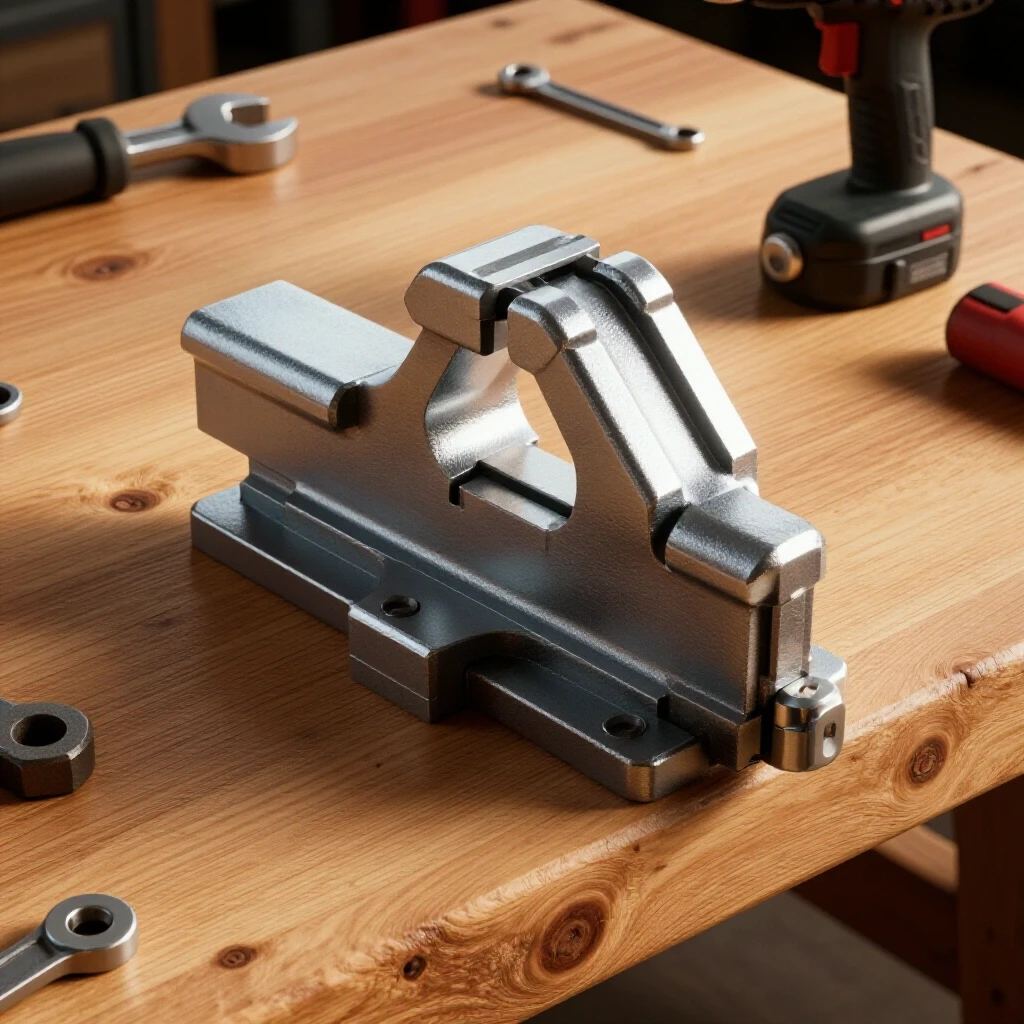
Cast iron is the gold standard for older shop tools because it is rigid and dampens the resonant frequencies of a spinning motor. You can identify it by looking at the thickness of the motor housing and the base. Older units often have integrated tool rests made of thick iron rather than thin, bent sheet metal. Check the cooling fins on the motor; if they are part of a heavy casting, you are likely looking at a high-quality industrial-grade tool from decades ago.
The Listen and Feel Test: Motor and Bearing Health
Before you plug anything in, spin the shaft by hand. It should move smoothly without any gritty sensation or clicking sounds. If the shaft has a “wiggle” (axial or radial play), the bearings are shot. While bearings are replaceable, a bent shaft is a dealbreaker. If the owner lets you power it up, listen for a hum. A healthy motor should reach full speed quickly and stay quiet. A loud, screaming noise usually indicates dry or damaged ball bearings, while a heavy vibration suggests the wheels are out of balance or the motor mounts have failed.
Planning Your Workspace for Grinding and Fabrication
This phase involves assessing your garage’s physical layout and electrical capacity to ensure your new tool operates safely without tripping breakers or creating fire hazards. Proper planning prevents the common mistake of placing high-heat equipment too close to flammable storage or sensitive electronics.
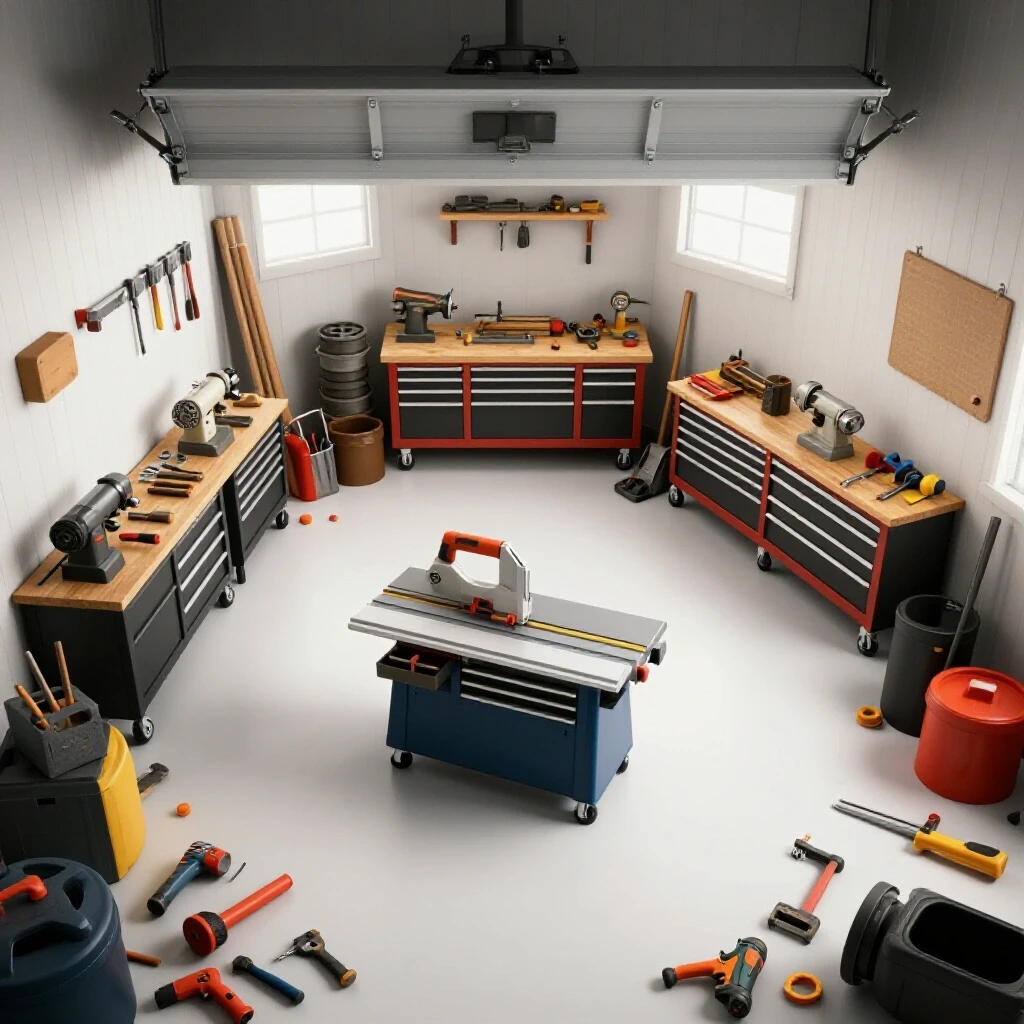
In my early days, I made the mistake of putting my grinding station right next to my wooden assembly table. Within a week, I had small burn marks on my projects. Now, I follow a strict “clean zone” and “dirty zone” layout. Your grinding machine belongs in the dirty zone, ideally near a door for ventilation and away from where you do your painting or precision measuring.
Managing Electrical Draw on a Standard Garage Circuit
Most residential garages run on a 15-amp circuit, which is often shared with the garage door opener and overhead lights. A vintage 3/4 horsepower motor can pull a significant “startup surge”—the initial burst of electricity needed to get the heavy wheels spinning. If your lights flicker when you flip the switch, you are pushing your circuit to its limit. I recommend a dedicated 20-amp circuit for your metalworking tools to avoid nuisance trips during heavy grinding sessions.
| Tool Class | Typical HP | Startup Amps (Est.) | Running Amps (Est.) |
|---|---|---|---|
| Small Bench Grinder | 1/4 HP | 8A | 3A |
| Standard Vintage Grinder | 1/2 HP | 12A | 5A |
| Heavy Duty Grinder | 3/4 HP | 18A | 7A |
| Entry-Level Welder | N/A | 25A+ | 15-20A |
Establishing Spark Zones and Fire Safety Boundaries
A grinding machine is essentially a spark projector. When you are sharpening a chisel or cleaning up a weld, sparks can fly six to ten feet. Your workshop layout must account for this “spark zone.” I keep a minimum 3-foot radius of clear floor space around the grinder and ensure there are no piles of sawdust or oily rags nearby. A fire extinguisher should be mounted within arm’s reach, but not directly behind the tool where you’d have to reach through sparks to get it.
The Step-by-Step Refurbishment Process
This section provides a hands-on roadmap for taking a tool apart, cleaning its internal mechanisms, and performing the necessary repairs to return it to service. Refurbishing an old tool is a lesson in mechanical engineering that helps you understand exactly how your equipment functions.
Once you bring your tool home, resist the urge to immediately start grinding. You have no idea what is living inside that motor housing. I have found everything from mud dauber nests to decades of metallic dust inside old motor casings. A full teardown is the only way to ensure the tool is safe for your new shop.
Deep Cleaning and Degreasing Internal Components
Start by removing the outer guards and the grinding wheels. Use a dedicated wrench for the arbor nuts—remember that the left side of the machine often uses left-handed threads so the nut doesn’t loosen while the tool is spinning. Once the guards are off, use compressed air to blow out the motor windings. Be careful not to use too much pressure, as you don’t want to damage the delicate copper wires. For the exterior, a simple degreaser and a stiff brush will remove years of shop grime without damaging the original finish.
Replacing Bearings and Wiring for Long-Term Reliability
The most common failure point in a 50-year-old motor is the wiring. The rubber insulation on old power cords often becomes brittle and cracks, which can lead to a short circuit or a shock. I always replace the entire power cord with a new, grounded 14-gauge three-wire cord. If the motor uses a start capacitor (the cylindrical bump on the top or back), consider replacing it as well. These components dry out over time, and a new $10 capacitor can make an old motor start like new.
- Disconnect Power: Always verify the tool is unplugged before removing the motor end-bells.
- Label Wires: Use masking tape to label where every wire goes before disconnecting them.
- Inspect Brushes: If it is a universal motor, check the carbon brushes for wear; if it is an induction motor, check the centrifugal switch for sticking.
- Press New Bearings: If the bearings are noisy, use a simple puller to remove them and press on new, shielded ball bearings.
- Reassemble and Test: Put the motor back together and spin it by hand before applying power to ensure nothing is binding.
Selecting and Mounting Modern Abrasives on Old Shafts
This part of the process focuses on choosing the correct grinding wheels for your specific tasks and ensuring they are mounted with the proper hardware. Modern abrasives are much more efficient than the wheels found on older machines, but they require specific mounting techniques to remain safe.
The wheels that come on a used grinder are almost always garbage. They are often glazed, cracked, or “out of round.” I factor the cost of new wheels into every purchase. A good 36-grit wheel for heavy stock removal and a 60 or 80-grit wheel for general sharpening are the standard starting points for a budget metal shop.
Understanding Wheel Ratings and Bushing Adapters
Every grinding wheel has a maximum RPM rating printed on the label. You must ensure this rating is higher than the speed of your motor. Most vintage grinders run at 3,450 RPM. If you put a wheel rated for 2,000 RPM on that motor, it can explode due to centrifugal force. Additionally, older grinders often have 1/2-inch or 5/8-inch arbors. If your new wheel has a 1-inch hole, you must use high-quality nested bushings to ensure the wheel is perfectly centered on the shaft.
The Ring Test and Final Mounting
Before mounting a new wheel, perform a “ring test.” Hold the wheel through the center hole with a finger and tap the side with a plastic screwdriver handle. A solid wheel will produce a clear metallic ring. A dull “thud” indicates an internal crack, and that wheel should be discarded immediately. When mounting, ensure you have clean blotters (the paper discs) on both sides of the wheel. These act as gaskets to distribute the pressure of the steel flanges evenly across the abrasive surface.
Budget Tracking and Tooling Lifecycle Costs
This section breaks down the financial reality of tool restoration, comparing the initial purchase price and repair costs against the price of buying a modern equivalent. Tracking these costs helps you maintain your shop budget and prioritize future equipment needs.
When I track my shop expenses, I use a simple spreadsheet to see if my “bargain” was actually a good deal. It is easy to overspend on paint and fancy accessories, which can quickly push the cost of a restored tool past the price of a new one. The goal is to get industrial-grade performance for a hobbyist price.
| Item | Estimated Cost (Used/DIY) | Estimated Cost (New Lower-End) |
|---|---|---|
| Base Machine | $30 – $60 | $100 – $150 |
| New Power Cord | $12 | Included |
| Replacement Bearings | $15 | Included |
| Quality Abrasive Wheels | $45 | $20 (Low Quality) |
| Hardware/Bushings | $10 | Included |
| Total Investment | $112 – $142 | $120 – $170 |
While the totals look similar, the difference is in the quality. For $140, the restored machine will likely have a higher duty cycle (the amount of time it can run before needing to cool down) and much better bearings than a cheap modern unit. In my experience, a restored mid-century tool will last another 30 years, whereas a budget modern tool might struggle after five years of consistent use.
Essential Starter Tool Sequencing
Building a shop is a marathon, not a sprint. If you buy everything at once, you’ll likely end up with tools you don’t need or space you can’t use. I recommend a specific order of operations for setting up a metalworking area. This sequence ensures you have the means to maintain your tools as you acquire them.
- Work Surface and Lighting: You cannot work safely in the dark or on the floor. Build a sturdy bench first.
- Safety Gear: Buy a high-quality face shield and hearing protection before the first tool arrives.
- The Grinding Station: This tool allows you to sharpen other tools, clean up metal for welding, and shape parts.
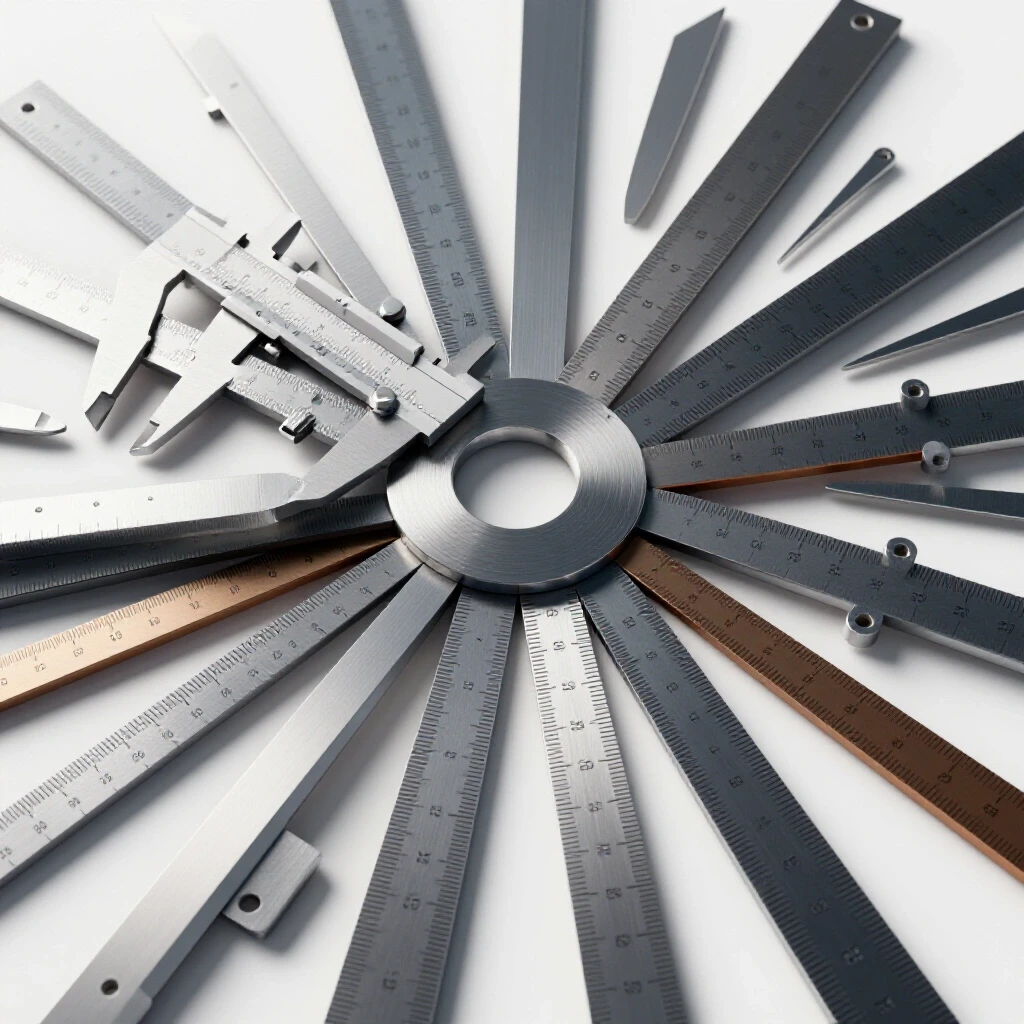
- Measurement Tools: A good set of calipers and a machinist square are essential for accuracy.
- Cutting and Joining: Once you can shape and measure, add a bandsaw or a welder to your inventory.
By prioritizing the grinding station early, you gain the ability to refurbish other tools you find later. It becomes the “repair hub” of your shop. When you find a rusty set of wrenches or a dull drill bit, you have the means to bring them back to life.
Conclusion: Taking the First Step Toward a Functional Space
Setting up a shop on a budget requires a shift in mindset. You are no longer just a consumer; you are a technician. By choosing to reclaim older machinery, you are learning the mechanical foundations that will make you a better fabricator. You’ll understand how motors work, how to align shafts, and how to maintain equipment for the long haul.
Your next step is to clear a small corner of your garage and look for that first piece of “old iron.” Don’t worry about it being perfect. The goal is to get a safe, functional tool spinning so you can start making sparks. Once you have that first machine restored and bolted to your bench, the intimidation factor of shop planning disappears, replaced by the confidence that you can build a professional-grade space with your own two hands.
Frequently Asked Questions
Is it safe to use a motor that has been sitting for decades?
It can be safe, but only after a thorough inspection. You must check the internal wiring for cracks and ensure the motor isn’t seized. Always use a grounded power cord and plug it into a GFCI-protected outlet for the first test run. If you smell ozone or see smoke, shut it off immediately.
How do I know if the grinding wheel is the right size for my motor?
Check the nameplate on the motor for the arbor size and the maximum RPM. Most home grinders use 6-inch or 8-inch wheels. Never use a wheel that is larger than what the guards allow, as this can lead to the motor overheating and creates a major safety risk if the wheel breaks.
Do I really need to replace the bearings if they spin?
If you hear any high-pitched whining or feel vibration through the base, yes. Bearings are cheap insurance. Old grease dries out and turns into a waxy substance that doesn’t lubricate. New, sealed bearings will make the tool run cooler and quieter.
What is the best way to remove heavy rust from an old tool base?
For a budget-conscious beginner, a wire wheel on the grinder itself (once it’s running) or a wire brush attachment for a power drill is the most effective method. For smaller parts, soaking them in white vinegar for 24 hours will dissolve most surface rust.
Can I run a vintage grinder on a 15-amp circuit?
Yes, but you should avoid having other high-draw appliances running at the same time. If your garage has a refrigerator or a space heater on the same circuit, you will likely trip the breaker when the grinder starts up.
Why are older tools considered better than new ones for beginners?
Older tools were built for repairability. They use standard bearing sizes, heavy-duty switches, and cast-iron housings. Modern budget tools often use proprietary parts and thin plastics that are difficult to fix if they break.
What safety gear is mandatory for grinding?
At a minimum, you need an ANSI Z87.1+ rated face shield and safety glasses underneath. Grinding produces fine metallic dust and high-speed sparks. Hearing protection is also essential, as the high-frequency noise of grinding can cause permanent damage over time.
How do I balance a grinding wheel that vibrates?
You can use a “dressing tool” (either a diamond-tipped tool or a star-wheel dresser) to true up the face of the wheel while it is spinning. This removes the “high spots” and ensures the wheel is perfectly concentric to the shaft, which eliminates most vibrations.
Where is the best place to find these older tools?
Estate sales, flea markets, and online local classifieds are your best bet. Look for “industrial” or “heavy duty” in the descriptions. Avoid tools that have been left outdoors, as internal motor rust can be difficult to remediate.
What should I do if the tool rest is missing?
You can fabricate a new one out of thick steel plate or purchase a universal aftermarket tool rest. Never operate a grinder without a tool rest, as the workpiece can get pulled down into the wheel, causing it to shatter or injuring your hands.
(This article was written by one of our staff writers, Michael Thompson. Visit our Meet the Team page to learn more about the author and their expertise.)