How to Keep Your Garage Workshop Warm in Winter (Easy Fix)
When I moved into my first 400-square-foot garage workshop in 2013, I had a strict $2,000 budget and a very cold problem. The concrete floor felt like a block of ice, and my metal stock was so chilled that it caused condensation to form the moment I touched it. As a former industrial maintenance technician, I knew that a cold workspace isn’t just uncomfortable; it’s a threat to tool longevity and project quality. If you are just starting your metalworking journey, you are likely already feeling the financial squeeze of buying your first welder or angle grinder. The last thing you want is to spend your entire tooling budget on a high-end heating system.
Managing the temperature in a hobbyist fabrication space requires a methodical approach that prioritizes sealing and insulation over raw heating power. In a metal shop, we face unique challenges: we need ventilation for welding fumes, yet we want to keep the warmth inside. We also deal with “thermal bridging,” where the metal garage door or steel workbenches act as giant heat sinks, sucking the warmth right out of the air. By applying basic maintenance principles and tracking every dollar spent, you can create a functional, temperate environment without calling a contractor or upgrading your electrical panel.
Assessing the Thermal Envelope of Your Fabrication Space
The thermal envelope refers to the physical barrier between your conditioned workspace and the outside elements. In a garage, this is usually composed of the overhead door, the walls, the ceiling, and the slab.
Before you buy a single heater, you must identify where your precious warmth is escaping. Most beginners make the mistake of buying a high-wattage heater to “overpower” a drafty room. This is a losing battle that will spike your utility bill and potentially trip your 15A or 20A breakers. Instead, I recommend a “bottom-up” assessment. Check the bottom seal of your garage door and the weatherstripping around the side door. If you can see daylight through the cracks, you are effectively trying to heat the entire neighborhood.
| Thermal Priority | Cost Estimate | Impact Level | Tooling Trade-off |
|---|---|---|---|
| Weatherstripping & Caulking | $20 – $50 | High | Cost of 2-3 grinding wheels |
| Garage Door Insulation Kit | $70 – $120 | Very High | Cost of a decent auto-darkening helmet |
| Floor Anti-Fatigue Mats | $40 – $100 | Medium | Cost of a basic set of clamps |
| Reflective Attic Foil | $50 – $150 | High | Cost of a budget-entry angle grinder |
Identifying and Sealing Air Leaks on a Budget
Air infiltration is the uncontrolled movement of air through cracks and gaps in the workshop structure. This is the primary cause of heat loss in small residential garages.
Interestingly, a gap as small as 1/8th of an inch under a 16-foot garage door can be equivalent to leaving a window wide open all winter. To find these leaks, I use a simple incense stick or a thin piece of tissue paper near door frames on a windy day. When the smoke or paper flickers, you’ve found a leak. Use high-quality silicone caulk for stationary gaps and heavy-duty rubber gaskets for the bottom of the garage door. These small fixes ensure that when you finally turn on a heat source, the air stays put.
Strategic Insulation for Metalworking Environments
Insulation is any material that slows the transfer of heat from one area to another, measured by its R-value. A higher R-value means better resistance to heat flow.
In a metal shop, your biggest enemy is the uninsulated metal garage door. Because steel is an excellent conductor, it pulls heat from your shop and radiates it outside. I’ve found that using expanded polystyrene (EPS) or radiant barrier kits can raise the surface temperature of the door by 10 to 15 degrees. This prevents the “refrigerator effect” where you feel a chill just by standing near the door.
DIY Garage Door Insulation Techniques
Insulating a garage door involves adding lightweight material to the panels to increase the R-value without exceeding the door’s spring tension capacity.
If you add too much weight, the door won’t stay open, which is a significant safety hazard when moving heavy steel stock. I prefer using pre-cut foam panels that friction-fit into the door’s rails. This doesn’t require adhesives and allows you to remove them in the summer if needed. Building on this, ensure you use a “radiant barrier” (the shiny foil-faced stuff) facing into the shop. This reflects the heat waves back toward you rather than letting them soak into the door panels.
Managing the Concrete Cold Sink
Concrete is a massive thermal battery that stays cold long after the air has warmed up. This is particularly hard on your feet and legs during long fabrication sessions.
I learned early on that standing on cold concrete leads to rapid fatigue and joint pain. Instead of trying to heat the slab—which is nearly impossible on a budget—I use thick, closed-cell rubber anti-fatigue mats in “work zones.” Place these in front of your workbench, your welding station, and your drill press. This creates a thermal break between your boots and the floor. This simple addition makes a 50-degree room feel like a 60-degree room.
Safe Spot-Heating Solutions for the Hobbyist Welder
Spot heating focuses on warming the person and the immediate work area rather than the entire volume of air in the garage.
When you are on a budget and limited to standard 120V household outlets, you cannot run a massive industrial heater. Most household circuits are rated for 15 or 20 amps. A standard 1500-watt electric heater pulls about 12.5 amps. If you plug that into the same circuit as your LED shop lights and a small bench grinder, you will likely trip the breaker. I always recommend dedicated circuit planning to avoid the frustration of the lights going out mid-weld.
The Benefits of Infrared Radiant Heaters
Infrared heaters emit electromagnetic waves that warm objects directly rather than heating the air. This is a game-changer for drafty garages.
Because infrared heat doesn’t rely on air movement, it isn’t “blown away” if you have to crack a window for ventilation. I mount a 1500-watt infrared unit directly above my main workbench. It feels like standing in the sun. This allows me to keep the overall shop temperature lower, saving money on the electric bill, while my hands stay warm enough for precise layout work and TIG welding.
- Infrared heaters do not stir up dust, which is vital for clean paint or finish work.
- They reach full operating temperature in seconds.
- They are silent, allowing you to hear the “sizzle” of a proper weld bead.
- Mounting them on the ceiling keeps them away from flammable metal-prep chemicals.
Calculating Power Loads for Winter Shop Safety
Understanding your electrical capacity is vital to prevent fire hazards and equipment damage. Most garage circuits are shared with other rooms in the house.
Before you plug in a heater, check your breaker panel. A 15-amp breaker can safely handle a continuous load of 1440 watts (80% of its total capacity). A 20-amp breaker can handle 1920 watts. If you are using a 1500-watt heater, you have almost no “headroom” left for power tools on that same circuit. I use a simple spreadsheet to track my tool draw, ensuring I never exceed the safety threshold.
| Tool/Device | Watts (Approx) | Amps (at 120V) | Circuit Status |
|---|---|---|---|
| Portable Space Heater | 1500 | 12.5 | High Load |
| Small MIG Welder (Idle) | 100 – 200 | 1 – 2 | Low Load |
| LED Shop Lighting (10 units) | 400 | 3.3 | Medium Load |
| 4.5″ Angle Grinder | 700 – 900 | 6 – 7.5 | Medium Load |
Protecting Tools and Materials from Winter Moisture
Condensation occurs when warm, moist air hits a cold metal surface, reaching the “dew point” and turning into liquid water.
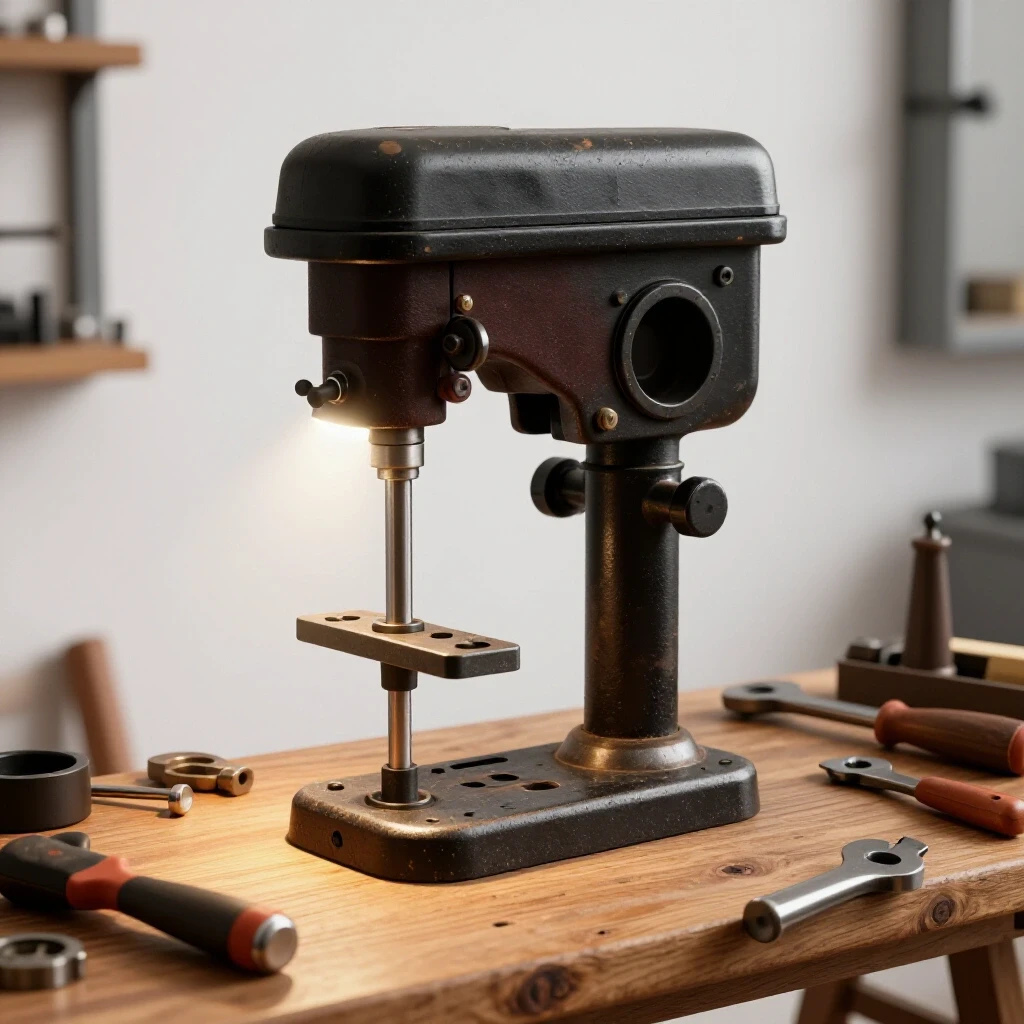
In a winter workshop, this is a recipe for surface rust on your expensive drill press table or your new steel tubing. I’ve seen beginners lose hundreds of dollars in material to “flash rust” because they turned on a heater without managing the humidity. When you warm the air, it can hold more moisture. When that air touches a cold cast-iron tool, the water drops out of the air and onto your tool.
Preventing Rust on Precision Surfaces
A precision surface is any part of a tool that must remain flat and smooth, such as a bandsaw table or a lathe bed.
To protect these, I use a two-step process. First, I apply a high-quality paste wax or a dedicated tool protectant to all bare metal. This creates a physical barrier. Second, I try to keep my metal stock stored off the floor. Even a simple wooden pallet keeps the steel from soaking up the cold from the concrete, which reduces the temperature differential and minimizes condensation.
Managing Welding Gas in Cold Temperatures
Temperature changes can affect the pressure readings on your shielding gas regulators, specifically with CO2 or C25 mixes.
While the gas itself doesn’t “freeze,” the drop in pressure can make it look like your tank is empty when it isn’t. Furthermore, cold regulators can sometimes “freeze up” or frost over during long periods of high flow. I keep my gas cylinders secured and slightly off the floor. If you notice your weld quality dropping as the shop gets colder, check your flow meter; you may need to slightly increase the CFH (cubic feet per hour) to compensate for the denser, colder gas.
Balancing Warmth with Essential Shop Ventilation
Ventilation is the process of replacing “stale” or contaminated shop air with fresh outdoor air. This is non-negotiable for safety.
According to AWS (American Welding Society) standards, you must have adequate ventilation to keep fumes out of your breathing zone. This creates a conflict: you want to seal the shop to stay warm, but you must move air to stay safe. I solve this by using “source extraction.” Instead of exhausting all the warm air in the room, I use a small, targeted fan or fume extractor right at the weld bench.
- Cracked Window Method: Open a window 2 inches near your weld station and another 2 inches on the opposite side of the shop.
- Cross-Breeze Control: Use a small desk fan to push fumes away from your face toward the exit.
- Timed Ventilation: Run your main exhaust fan only during the actual welding and for 5 minutes after, then shut it to retain heat.
- Air Filtration: Use a DIY box fan filter (MERV 13) to scrub dust without exhausting heated air.
The Dangers of Sealing a Shop Too Tight
While we want to prevent drafts, a perfectly sealed garage can trap carbon monoxide or hazardous welding fumes like hexavalent chromium.
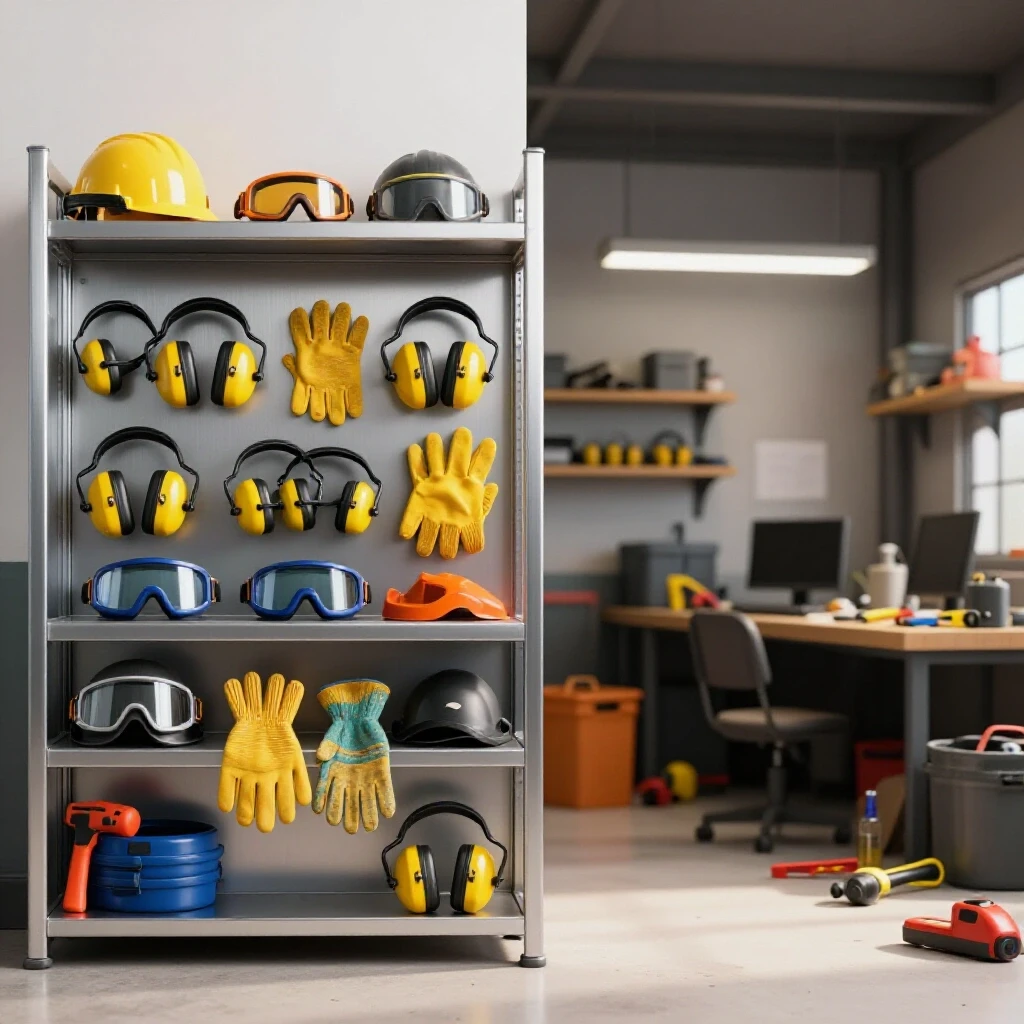
I never work in a completely sealed environment. I always ensure there is at least one “makeup air” source. If you feel lightheaded or notice a metallic taste in your mouth, your ventilation has failed. Safety gear, like a P100 respirator, is a mandatory 30% of my startup budget because it protects you when the thermal management needs of the shop limit your airflow options.
Organizing for Maximum Thermal Efficiency
Shop layout involves the strategic placement of tools and workbenches to optimize workflow and environment.
In the winter, I move my most-used tools toward the interior wall of the garage (the one shared with the house). This wall is naturally warmer. I move my “cold storage,” like scrap steel and heavy machinery I rarely use, toward the exterior walls and the garage door. This creates a “buffer zone” of mass that helps stabilize the temperature in the center of the shop where I am actually working.
Creating a “Warm Zone” Workflow
A warm zone is a specific area of the shop where you concentrate your heating efforts and most of your active labor.
Interestingly, you don’t need to heat the whole garage to 70 degrees. I find that 55 degrees is the “sweet spot” for active metalworking. You are moving around, wearing a welding jacket, and generating heat through grinding and welding. By concentrating your infrared heater and anti-fatigue mats in a 10×10 area, you can stay comfortable while the rest of the shop remains at 45 degrees. This saves significantly on energy costs.
Tracking Costs and Outcomes for Future Upgrades
Record-keeping is the habit of documenting your expenses and the effectiveness of your shop improvements.
I keep a simple logbook on my workbench. Every month, I note the average outdoor temperature and my electricity bill. I also note if I saw any rust on my tools. Building on this data, I can see if my $100 investment in garage door insulation actually paid for itself in lower heating costs. This data-driven approach is what separates a successful long-term shop from one that gets sold off in a garage sale after two years.
- Week 1: Seal all visible air gaps ($30).
- Week 2: Install garage door foam panels ($90).
- Week 3: Place anti-fatigue mats at the workbench ($50).
- Week 4: Install ceiling-mounted infrared heater ($120).
- Total Investment: $290 (roughly the price of a mid-range bench grinder).
Frequently Asked Questions
Can I use a propane “torpedo” heater in my garage for metalworking?
I strongly advise against unvented propane or kerosene heaters in a metal shop. They introduce a massive amount of moisture into the air, which causes rapid rusting of your tools and steel stock. More importantly, they pose a significant fire risk near welding sparks and can lead to carbon monoxide buildup in a small, enclosed garage. Stick to electric radiant heat for a safer, drier environment.
Will my welding machine perform differently in a cold garage?
Most modern inverter-based welders are rated for operation down to about 14°F (-10°C), but their internal components prefer more moderate temperatures. The biggest issue is usually the operator; it is hard to maintain a steady hand when you are shivering. Additionally, thick metal stock acts as a “heat sink” in winter, meaning you may need to increase your amperage or pre-heat the metal with a propane torch to ensure proper weld penetration.
How do I prevent my anvil or heavy vise from “sweating”?
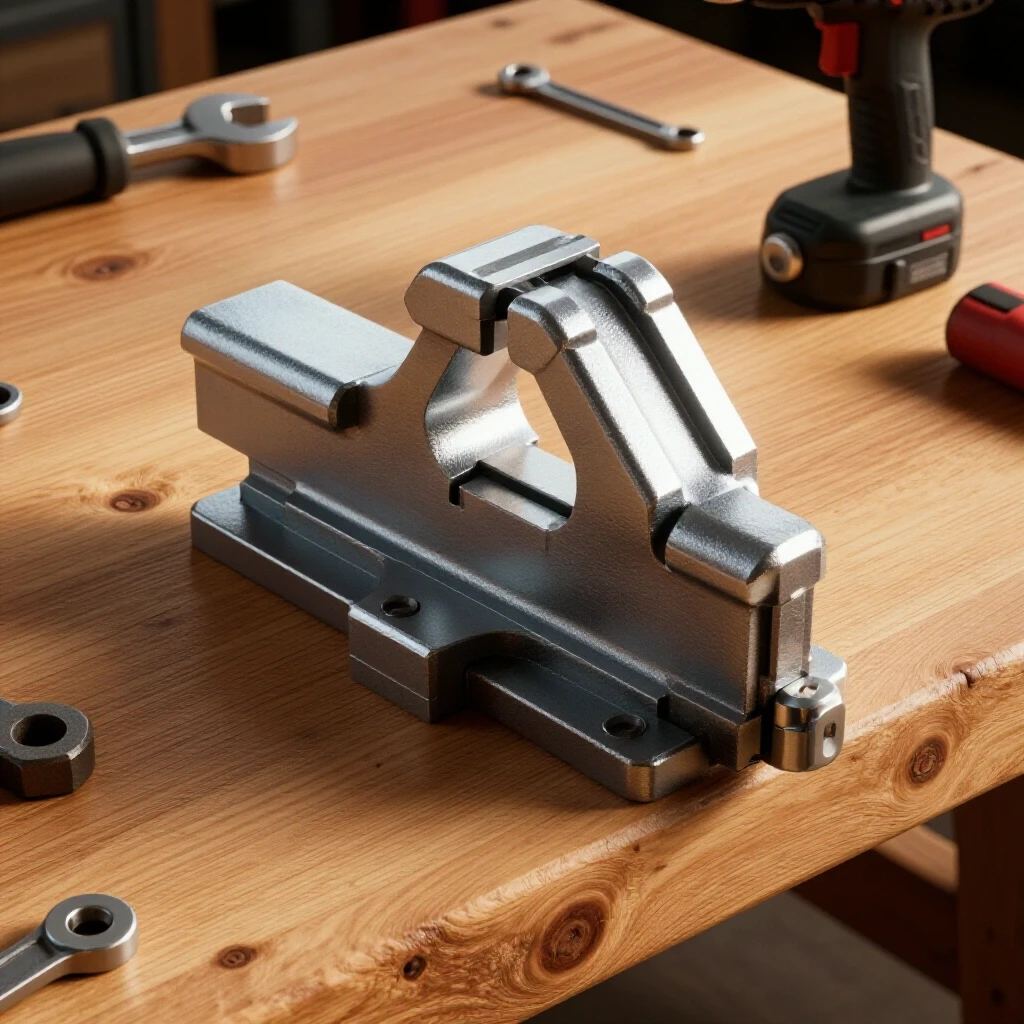
“Sweating” is just condensation. The best budget fix is to keep these heavy items covered with a moving blanket or a heavy canvas tarp when not in use. This provides a bit of insulation and prevents the warm, moist air from hitting the cold metal surface directly. If they do get wet, wipe them down immediately and apply a light coat of machine oil or WD-40.
Is it worth insulating the garage ceiling if I have a room above it?
If there is a finished room above your garage, the ceiling is likely already insulated. However, if it is just an open attic space, the ceiling is your biggest source of heat loss. Heat rises, and without a barrier, it will go straight through the roof. Adding simple fiberglass batts or reflective foil to the joists is one of the most cost-effective ways to keep your shop warm long-term.
What is the safest way to run a heater and a welder at the same time?
The only safe way to do this on a budget is to ensure they are on separate circuits. I often run a heavy-duty, 12-gauge extension cord from a kitchen or laundry room circuit (which are usually 20-amp) out to the garage just for the heater. This leaves my garage’s built-in outlets free for my welder and grinders. Never use a thin, “household” orange extension cord for a heater; they can overheat and melt.
How can I tell if my garage door springs need adjustment after adding insulation?
After you install your insulation kit, pull the emergency release cord and try to lift the door manually. It should stay in place when you let go of it at waist height. If it slams down, the added weight has made the door “heavy,” and it will wear out your garage door opener prematurely. You may need to call a professional to add a half-turn of tension to the springs, as garage door springs are under extreme tension and can be dangerous to adjust yourself.
Does cold weather affect the shelf life of shop chemicals?
Yes. Many paints, adhesives, and specialized metal-prep chemicals can be ruined if they freeze. I keep a small “warm box”—an insulated cooler or a wooden cabinet with a very low-wattage light bulb inside—to store my spray cans and glues. This keeps them above freezing without needing to heat the entire garage 24/7.
Why does my auto-darkening welding helmet lens seem slow in the winter?
The liquid crystals in auto-darkening filters (ADF) react more slowly in cold temperatures. If your shop is near freezing, you might experience a split-second “flash” before the lens darkens. I recommend keeping your helmet inside the house and only bringing it out when you are ready to weld, or wearing it for a few minutes before starting so your body heat warms the lens.
(This article was written by one of our staff writers, Michael Thompson. Visit our Meet the Team page to learn more about the author and their expertise.)