Manual vs Power Metalworking Tools for a Home Shop (Guide)
Setting up a metalworking space in a residential garage often feels like a high-stakes balancing act. When I first cleared out my workspace in 2013, I had exactly $2,000 and a single 15-amp circuit to my name. I remember the paralyzing fear that I would spend my limited funds on a machine that would trip my breakers or, worse, sit unused while I lacked basic hand tools.
Over twelve years as an industrial maintenance technician, I have learned that a functional shop is built on logic, not just gear. The struggle for most beginners is deciding between the raw speed of motor-driven equipment and the tactile precision of hand-operated implements. It is easy to get distracted by shiny catalogs, but your budget and your floor plan require a more disciplined approach.
I have tracked every dollar spent and every circuit blown in my own journey. This guide is designed to help you navigate those same choices. We will look at how to prioritize your spending, how to respect the electrical limits of a home, and how to arrange your space so you can actually get work done safely.
Assessing the Physical and Electrical Limits of a Home Shop
Before buying a single piece of equipment, you must evaluate the infrastructure of your workspace. This involves measuring the available square footage, checking the amperage of your circuit breakers, and identifying where “hot work” can safely occur. Understanding these constraints prevents you from purchasing tools your home cannot support.
Evaluating Your Electrical Capacity for Fabrication
Every motorized tool has specific power requirements that can easily overwhelm a standard household circuit. Most garage outlets are on a 15-amp or 20-amp breaker, which limits the size of the motors you can run simultaneously. If you try to run a high-draw welder and a ventilation fan on the same line, you will likely face frequent interruptions.
I learned this the hard way during my first year. I tried to run a small compressor and a grinder at the same time. The resulting pop of the breaker was a wake-up call. Now, I recommend a workshop electrical setup checklist before you plug anything in.
- Identify your breaker panel and label the garage circuits.
- Calculate the total amperage of your intended tools.
- Ensure your lighting is on a separate circuit from your power outlets.
- Check for GFI (Ground Fault Interrupter) outlets, which are essential for safety in damp environments.
Defining Your Workshop Footprint and Clearance Zones
A safe starter metal workshop layout requires more than just floor space for the machines. You must also account for “swing room”—the space needed to move long bars of steel or sheets of aluminum. A tool might only take up four square feet, but it may require ten feet of clearance to operate correctly.
In my current shop, I use a 3-foot rule. I maintain at least 36 inches of clear floor space around every stationary tool. This allows me to move freely and ensures that if something goes wrong, I have an unobstructed path to the exit.
| Tool Category | Typical Footprint | Required Operational Clearance |
|---|---|---|
| Bench Vice/Manual Station | 2′ x 2′ | 4′ Frontal |
| Benchtop Drill Press | 1.5′ x 2′ | 3′ Sides |
| Portable Welding Cart | 2′ x 3′ | 6′ Radius (Heat Zone) |
| Abrasive Chop Saw | 2′ x 2′ | 8′ Linear (for long stock) |
The Financial Logic of Tool Selection
Choosing between hand-powered and motor-driven options is often a matter of balancing your time against your wallet. Hand tools are generally more affordable and take up less space, but they require significant physical effort. Motorized equipment increases your productivity but comes with higher maintenance costs and specialized power needs.
Allocating Your Initial Fabrication Budget
When you have a strict spending limit, it is tempting to buy the cheapest version of every tool. However, I have found that allocating 30% of your total budget to high-quality safety gear and measuring instruments is a non-negotiable rule. A cheap saw might cut a crooked line, but a cheap pair of safety glasses could fail when you need them most.
I track my costs using a simple ratio. For every major machine I buy, I expect to spend about 20% of its purchase price on “consumables”—things like drill bits, grinding wheels, and sanding discs. If you don’t account for these, your new machine will sit idle the moment a blade dulls.
Why Manual Tools Often Outperform Budget Power Options
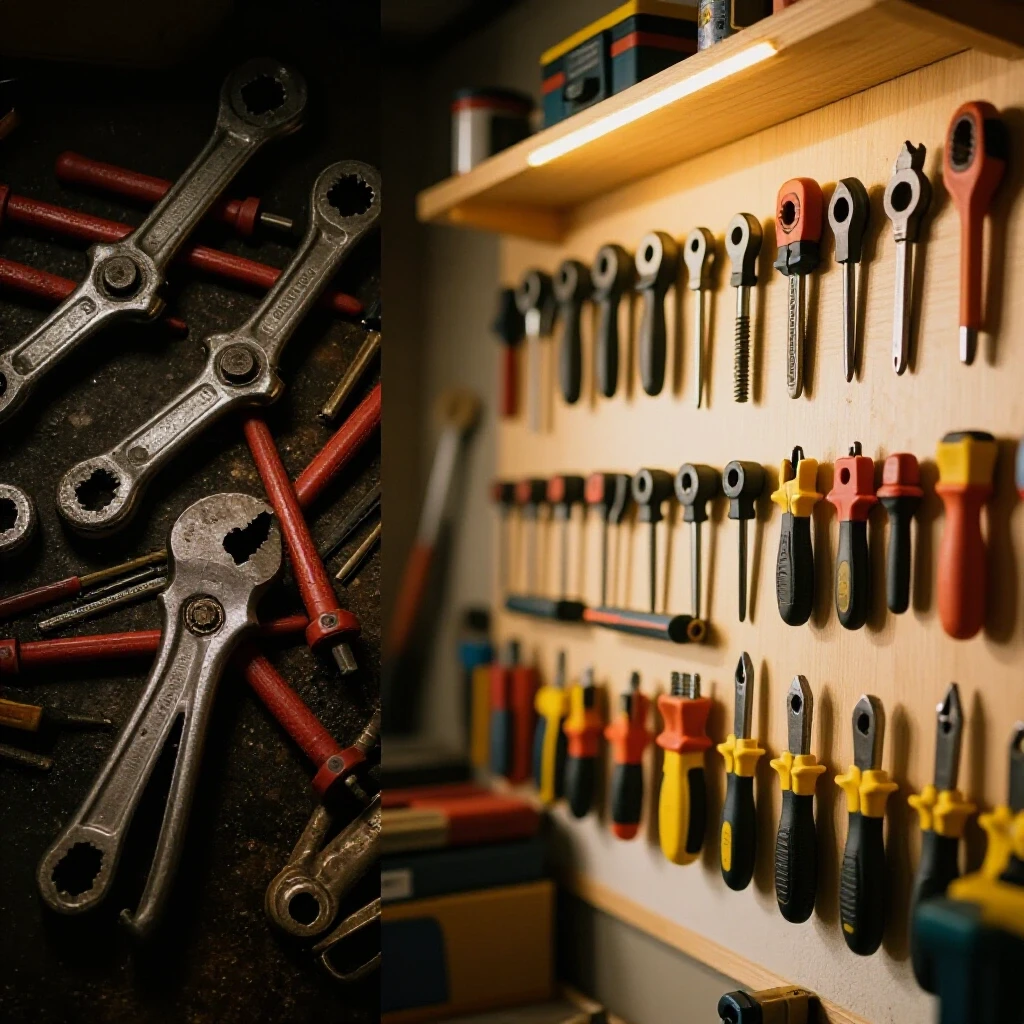
For a beginner, hand-operated tools like hacksaws, files, and cold chisels offer a level of control that inexpensive power tools often lack. A budget-grade power saw might vibrate or deflect, leading to inaccurate cuts. In contrast, a high-quality hand saw allows you to feel the metal and make micro-adjustments as you work.
Interestingly, manual tools also help you learn the physics of metal. You begin to understand how different alloys respond to heat and pressure. This foundational knowledge makes you a much better operator when you eventually upgrade to motorized versions.
Essential Tooling Categories for the First-Year Shop
Building a shop is a marathon, not a sprint. You do not need every tool on day one. Instead, focus on the “Big Three” tasks of metalworking: cutting, joining, and finishing. By selecting one reliable tool for each task, you can complete a wide variety of projects without overextending your finances.
Cutting and Shaping: From Hacksaws to Grinders
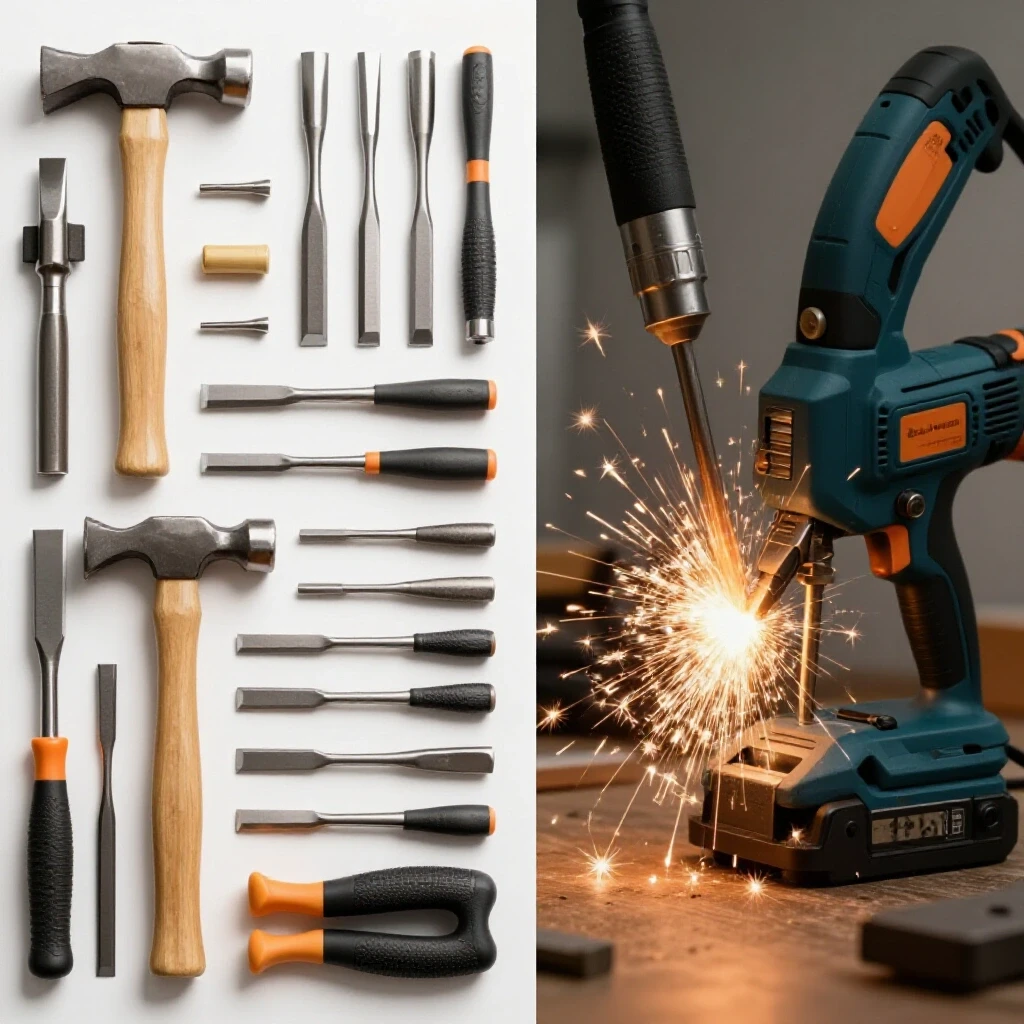
Cutting is the most frequent task in any shop. While a motorized abrasive saw is fast, it creates a massive amount of dust and sparks. A manual hacksaw is slow but clean and silent. For most beginners, a 4.5-inch angle grinder is the most versatile affordable fabrication tool because it can cut, grind, and polish depending on the disc you attach.
- Manual Hacksaw: High precision, zero dust, low cost.
- Angle Grinder: High speed, versatile, requires significant safety gear.
- Cold Chisel: Essential for removing welds or marking metal.
- Files: Crucial for deburring edges and fine-tuning fits.
Joining Metal: Understanding Beginner Welder Power Requirements
Welding is often the centerpiece of a home shop. However, the power draw of a welder is the most common cause of electrical issues in residential spaces. Most entry-level flux-core welders can run on a standard 120V outlet, but they have a limited “duty cycle.”
The duty cycle is the amount of time a welder can operate within a ten-minute period without overheating. A 20% duty cycle means you can weld for two minutes but must let the machine cool for eight. Understanding this prevents you from damaging your equipment on longer projects.
| Welder Type | Input Voltage | Typical Circuit Load | Best Use Case |
|---|---|---|---|
| Flux-Core (FCAW) | 120V | 15A – 20A | Outdoor, thin-to-medium steel |
| MIG (GMAW) | 120V/240V | 20A+ | Clean, indoor shop work |
| TIG (GTAW) | 120V/240V | 20A+ | Precision, thin materials, aluminum |
Safety Systems and Environmental Management
Metalworking is inherently messy and potentially hazardous. In a confined garage, you must manage three primary threats: eye injuries, respiratory irritants, and fire hazards. Setting up your shop correctly from the start is much cheaper than fixing a disaster later.
Implementing Effective Garage Workshop Ventilation
When you cut or weld metal, you release fine particulates and gases into the air. In an industrial setting, massive fans handle this. In a home shop, you need a strategy to achieve adequate air exchanges. I recommend a minimum ventilation rate of 200 to 300 Cubic Feet per Minute (CFM) for a single-person welding station.
A simple box fan in a window is rarely enough. I use a dedicated exhaust system placed as close to the source of the smoke as possible. This prevents the “haze” from settling on your tools, which can lead to premature rusting due to the corrosive nature of some welding fumes.
Organizing Clean Zones and Hot Zones
One of the most effective ways to stay safe is to divide your shop into functional zones. A “Hot Zone” is where you weld and grind; it should be clear of flammable materials like sawdust or gasoline cans. A “Clean Zone” is for layout, measuring, and assembly.
I maintain a 5-foot buffer between my welding table and any wood or chemical storage. I also keep a fire extinguisher (rated Class ABC) within arm’s reach of the welding area. These simple layout choices are part of the workshop safety guidelines that I follow to keep my home and family safe.
- Hot Zone: Welding table, grinder station, fire extinguisher.
- Clean Zone: Workbench, precision measuring tools, hardware storage.
- Material Storage: Vertical racks for long bars to save floor space.
- Waste Zone: Metal scrap bin and dedicated bin for oily rags.
Vetting and Maintaining Your Equipment
Your tools are an investment. Whether they are manual or power-driven, they require regular inspection to ensure they remain safe and accurate. Developing a maintenance routine is the best way to extend the lifespan of your gear and avoid the “hidden costs” of early tool failure.
Why Cheap Abrasives Cost More in the Long Run
It is tempting to buy the bulk pack of generic grinding discs at the hardware store. However, I have tracked the wear rates of various abrasives over the years. Low-quality discs wear down faster, create more dust, and are more prone to shattering.
In my experience, a high-quality ceramic abrasive disc might cost three times as much as a budget version, but it often lasts five times longer. This results in a lower cost-per-cut and less time spent changing discs. Always check the RPM rating on your discs to ensure they match the speed of your grinder.
Establishing a Tooling Acquisition Roadmap
I always tell beginners to buy tools as they need them for a specific project, rather than buying a “starter kit.” Kits often include items you will never use. By following a phased approach, you can buy higher-quality tools one at a time.
- Phase 1 (The Basics): Bench vice, hacksaw, 4.5″ grinder, auto-darkening welding helmet, and basic square.
- Phase 2 (Joining): Entry-level welder, welding magnets, and leather gloves.
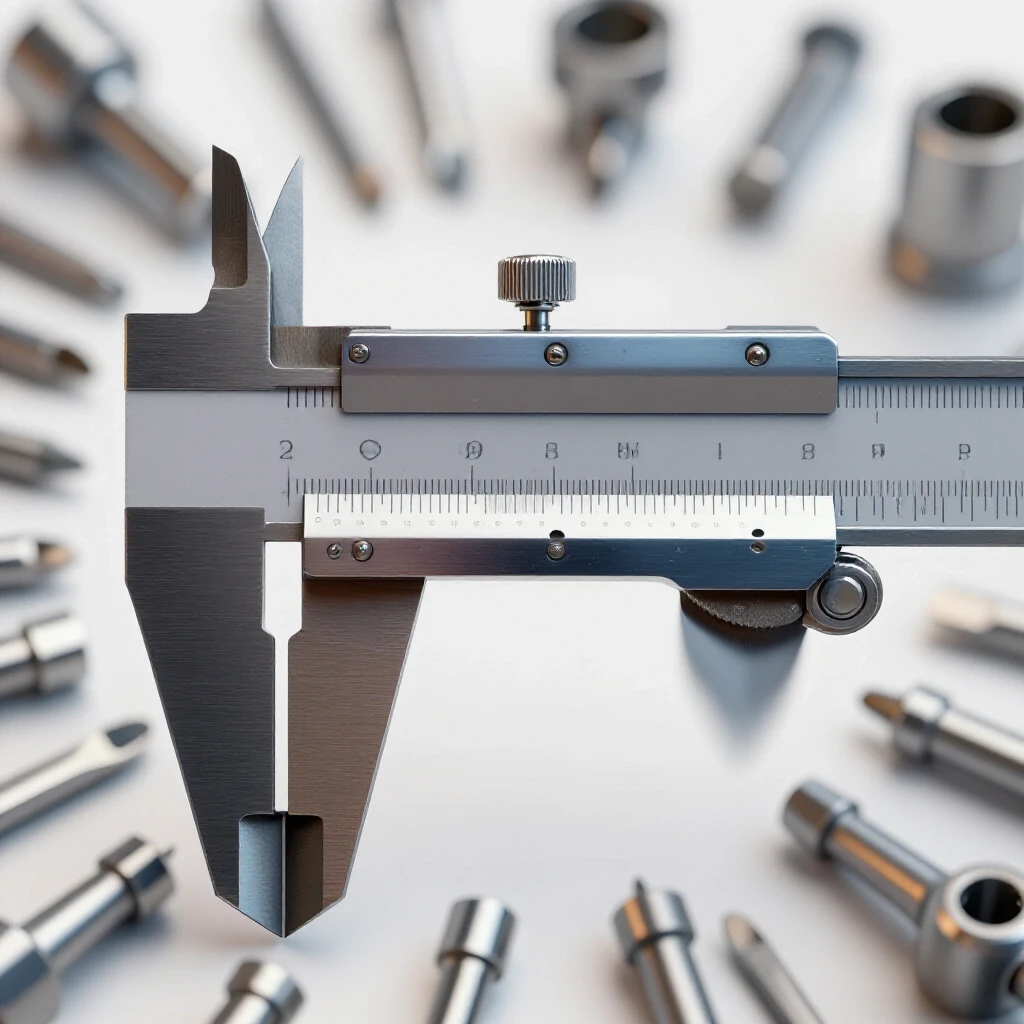
- Phase 3 (Precision): Drill press, set of high-speed steel (HSS) bits, and calipers.
- Phase 4 (Refinement): Metal brake, stationary band saw, and advanced layout tools.
Practical Steps for Your First Test Cuts
Once your shop is set up, the first few cuts are about calibration and safety checks. Don’t start with a complex project. Instead, perform a series of test cuts on scrap material to understand how your tools behave and how your electrical system handles the load.
Listen to your tools. A motor that bogs down or changes pitch significantly is a sign that you are pushing it too hard or that your extension cord is too long. Use a heavy-duty, 12-gauge extension cord if you must use one at all, as thin cords cause voltage drops that can damage motors.
Finally, keep a log of your successes and failures. I still look back at my notes from 2014 to see which brands of drill bits snapped and which ones held an edge. This data-driven approach is what eventually turns a hobbyist into a skilled fabricator.
Frequently Asked Questions
Can I run a welder on a standard 15-amp household circuit? Yes, many entry-level flux-core welders are designed for 110V/120V circuits. However, you will likely trip the breaker if you weld at the highest heat settings for long periods. It is best to use a dedicated 20-amp circuit if possible and avoid using other appliances on that same line while welding.
Is it better to start with a hacksaw or a power chop saw? For a budget-conscious beginner, a high-quality manual hacksaw and a 4.5-inch angle grinder are better investments. A cheap chop saw often lacks the rigidity for precise cuts and creates an immense amount of mess. The grinder is more versatile for the same price point.
How much should I spend on my first welding helmet? Do not skimp here. An auto-darkening helmet with a fast “switch speed” (the time it takes to go from light to dark) is essential for protecting your eyes. Expect to spend between $80 and $150 for a reliable entry-level helmet that meets ANSI Z87.1 safety standards.
What is the most important manual tool for a metal shop? A heavy-duty bench vice is arguably the most important tool. It acts as a “third hand,” holding your work securely for cutting, filing, and welding. Without a solid vice, manual work becomes difficult and potentially dangerous.
How do I prevent my metal tools from rusting in a garage? Garages are prone to humidity. Keep your tools lightly coated with a thin layer of machine oil or a specialized corrosion inhibitor. Using a dehumidifier in your workspace can also significantly extend the life of your equipment and prevent your raw steel stock from rusting.
What is a “duty cycle” and why does it matter? The duty cycle is a percentage based on a 10-minute period. If a tool has a 30% duty cycle, it can run for 3 minutes before it needs 7 minutes of cooling time. Exceeding this can burn out the motor or internal components, which is a common mistake for beginners.
Do I really need a dedicated ventilation system? Yes. Metal dust and welding fumes are hazardous to your lungs. Even if you cannot afford a professional fume extractor, you must at least have a high-velocity fan positioned to pull air away from your face and out of the garage. Never weld in a completely sealed space.
What size angle grinder is best for a home shop? The 4.5-inch angle grinder is the industry standard for small shops. It is light enough for one-handed use (though two hands are safer) and the discs are widely available and affordable. Larger grinders are often too heavy and powerful for basic home fabrication tasks.
How can I tell if a tool is “industrial grade” or “hobby grade”? Look at the housing and the cord. Industrial tools often have reinforced rubber cords and metal gear housings. Hobby-grade tools use more plastic and thinner cords. Also, check the warranty; professional tools usually offer longer coverage for heavy use.
Is it safe to weld near my car in the garage? It is generally not recommended. Grinding sparks and welding spatter can damage paint, melt plastic, and even ignite fuel vapors. If you must work near a vehicle, use welding blankets to cover it and ensure there are no fuel leaks in the area.
(This article was written by one of our staff writers, Michael Thompson. Visit our Meet the Team page to learn more about the author and their expertise.)