How to Replace Worn Jaws on a Vintage Bench Vise (DIY Fix)
I have spent nearly two decades pulling heavy, rusted iron out of scrap heaps and damp basements. There is a specific weight to a pre-war bench vise that modern imports simply cannot replicate. However, the most common issue I encounter during vintage machinery restoration is a pair of gripping surfaces that have been abused beyond recognition. Years of over-tightening, accidental saw cuts, and exposure to the elements leave these essential components smooth, chipped, or completely seized. Restoring these surfaces is not just about aesthetics; it is about returning the tool to its original mechanical precision.
The process of reviving a classic vise requires patience and a respect for the metallurgy of the past. Most of these tools were cast from high-quality grey iron, which is excellent for vibration dampening but can be brittle under the wrong kind of stress. When I approach a new rescue project, I treat it as a forensic investigation. I look for the story the tool tells—where it was stressed, how it was neglected, and what it will take to make it grip like new again. This guide focuses on the methodical steps required to fabricate and fit new gripping plates using manual shop techniques.
Evaluating the Structural Integrity of a Vintage Vise
Before you spend hours fabricating new parts, you must determine if the main casting is worth the effort. A vise with a cracked “dynamic jaw” (the sliding part) or a fractured nut housing is often a safety hazard rather than a restoration candidate. I always begin by stripping the grease and grime to look for “spiderweb” cracks that might be hidden under layers of old paint.
Vintage machinery restoration starts with a clean slate. I use a stiff wire brush and a degreaser to expose the bare metal. If I find a crack in the main body, I generally consider the tool a “parts donor” rather than a candidate for a full rebuild. However, if the casting is solid and the only issue is the worn-down gripping surfaces, you have a project that is well worth the time.
Why Seized Fasteners Crack Cast Iron—And How to Release Them Safely
The screws holding the gripping plates in place are often the most stubborn parts of the entire assembly. These fasteners have usually undergone “galvanic corrosion,” a process where two different metals—steel screws and a cast iron body—bond together over decades of moisture exposure. If you apply too much torque with a screwdriver, you will either strip the head or, worse, snap the screw off inside the casting.
To avoid this, I use a “thermal release plan.” This involves heating the area around the screw with a propane torch. The goal is not to get the metal red-hot, which could ruin the heat treatment of the casting, but to expand the iron slightly so the bond of the rust breaks. I then apply a high-quality penetrating oil while the metal is cooling. The cooling action actually “sucks” the oil into the threads through capillary action.
- Always use a screwdriver bit that fits the slot perfectly. Most vintage screws have wider slots than modern equivalents.
- If the screw won’t budge, try “shocking” it. Place the screwdriver in the slot and give the handle a sharp rap with a hammer.
- For truly stuck fasteners, a manual impact driver is your best friend. It provides downward pressure and rotational torque simultaneously.
Systematic Disassembly and Removing Machinery Rust
Once the fasteners are out, the old plates may still be stuck to the jaw seats due to rust. I never pry against the casting with a hardened screwdriver, as this can chip the iron. Instead, I use a brass drift and a hammer to tap the plates from the side. This lateral vibration is usually enough to break the rust seal without damaging the precision-machined seats.
After disassembly, the focus shifts to removing machinery rust from the jaw seats. These seats must be perfectly flat and clean for the new inserts to sit correctly. Any high spots or remaining rust scale will cause the new jaws to be misaligned, leading to a “springy” feel when you tighten the vise.
| Method | Best For | Pros | Cons |
|---|---|---|---|
| Electrolysis | Heavy, deep-seated rust | Reaches into crevices; preserves base metal | Requires 12V DC power and setup time |
| Evapo-Rust (Chelation) | Precision surfaces | Non-toxic; very safe for tolerances | Can be expensive for large parts |
| Wire Wheel | Rapid bulk removal | Fast and accessible | Can “smear” metal; doesn’t reach deep pits |
| Vinegar Soak | Budget restoration | Very cheap; easy to do at home | Can darken the metal; slow process |
Setting Up a 12V Electrolysis Bath for Cast Iron
Electrolysis is my preferred method for restoring classic cast iron because it is a “line of sight” process that gently lifts rust without removing any of the original metal. You will need a plastic tub, a manual battery charger (or a 12V DC power supply), and some washing soda (sodium carbonate).
- Fill the tub with water and add about one tablespoon of washing soda per gallon.
- Connect the negative (black) lead to the vise part.
- Connect the positive (red) lead to a “sacrificial” piece of scrap steel (the anode).
- Ensure the two pieces are submerged but not touching.
- Turn on the power. You should see small bubbles forming on the vise part.
This process usually takes 12 to 24 hours depending on the severity of the corrosion. Once finished, the rust will have turned into a black sludge that can be easily scrubbed away with a nylon brush.
Sourcing and Selecting Material for New Gripping Plates
When the original manufacturer no longer exists, you must become the manufacturer. For replacement plates, I typically choose between O1 tool steel or 1018 cold-rolled steel. O1 is excellent because it can be hardened and tempered at home using a torch and a bucket of oil, providing a very durable surface. 1018 is easier to work with but is much softer and will wear down faster.
The thickness of the material is critical. I measure the depth of the jaw seat using a depth micrometer or a set of calipers. You want the new plate to sit slightly proud of the casting—usually about 1/16 to 1/8 of an inch—to ensure the workpiece is held by the steel plates and not the iron body.
- O1 Tool Steel: Best for heavy-duty use; requires heat treating for maximum life.
- 1018 Steel: Good for general purpose; easy to drill and tap; less likely to mar delicate workpieces.
- Brass or Copper: Excellent for “soft jaws” that won’t scratch finished parts.
Precision Layout and Transferring Hole Patterns
The biggest challenge in this DIY fix is ensuring the holes in your new plates line up perfectly with the existing holes in the vise. Even a 0.005-inch error will make the screws bind. I do not recommend measuring with a ruler; instead, use the “transfer method.”
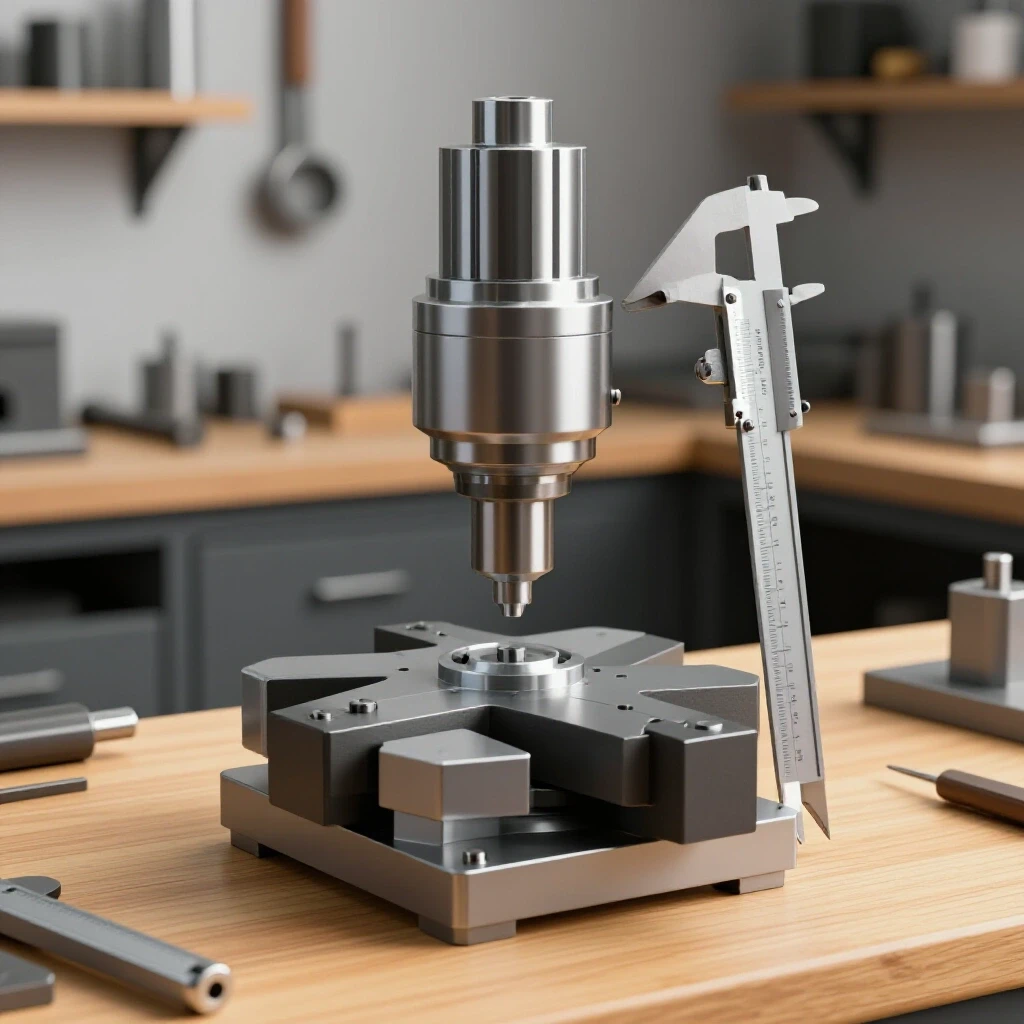
I place the new steel blank into the jaw seat and secure it with a small C-clamp. Then, I use a transfer punch that matches the diameter of the holes in the vise body. A transfer punch is a tool with a diameter that fits snugly in a hole, ending in a centered point. One sharp tap with a hammer leaves a perfectly centered dimple on your new plate.
Drilling and Countersinking for Flush Fitment
Once you have your marks, use a center drill to start the holes. This prevents the larger drill bit from “walking” off the mark. I use a drill press for this stage to ensure the holes are perfectly perpendicular. If you are using tool steel, use plenty of cutting oil and a slow RPM to avoid work-hardening the material.
Most vintage vises use countersunk screws so the heads sit flush with or below the surface of the jaw. You will need a countersink bit that matches the angle of your screws—usually 82 degrees for standard US fasteners or 90 degrees for metric. I test the depth frequently; you want the screw head to sit about 0.010 inches below the surface to prevent it from snagging on your work.
Navigating Obsolete Thread Patterns and Legacy Fasteners
Many pre-war tools used thread pitches that are no longer standard. For example, you might find a 5/16-18 screw where a modern one would be 5/16-24, or even strange “shop standards” used by companies like Prentiss or Athol. If the original threads in the casting are stripped, you have two choices: use a thread repair insert (like a Helicoil) or drill and tap the hole to the next larger standard size.
If the threads are just dirty, I use a “thread chaser” rather than a standard tap. A tap is designed to cut new metal and can inadvertently remove original material from a worn hole. A thread chaser is designed to push the metal back into place and clean out debris, preserving the maximum amount of thread engagement.
- Identify the thread using a pitch gauge.
- Clean the hole with compressed air and a small brush.
- Apply a light machine oil.
- Run the chaser in by hand first to ensure you aren’t cross-threading the old iron.
Final Fitting and Restoring Classic Tool Alignment
With the plates drilled and the holes cleaned, it is time for the final fit. This is where machine disassembly tips transition into precision alignment. I bolt the new plates into place and close the vise. Ideally, the two jaws should meet perfectly across their entire surface.
If there is a gap on one side, I use a technique called “hand scraping” or “draw filing.” By using a fine-cut mill file, I can remove high spots from the back of the plate or the face of the jaw. I often use “engineers’ blue” (a marking dye) to see where the plates are making contact. I apply a thin layer of dye to one jaw, close the vise, and then look for where the dye transferred to the other jaw. These “high spots” are what I file down until the contact is even.
Adding Grip: Hand-Cutting Serrations
A smooth jaw is great for finished work, but for heavy-duty gripping, you may want a textured surface. While professional shops use milling machines, you can achieve a functional “diamond” pattern using a triangular file.
- Mark a grid on the face of the plates using a square and a scribe.
- Use the edge of the triangular file to follow the lines.
- Work slowly and maintain a consistent depth for each groove.
- This “cross-hatching” provides significant mechanical grip for round stock or rough castings.
Heat Treating and Final Assembly
If you chose O1 tool steel, you should harden the plates before final installation. I heat the plates with a torch until they reach a “cherry red” color (approximately 1,450°F-1,500°F). I then quench them in a bucket of clean motor oil or specialized quenching oil. This makes the steel extremely hard but also brittle.
To prevent the plates from shattering, you must “temper” them. I clean the scale off the plates until the metal is shiny and then place them in a kitchen oven at 400°F for about an hour. This reduces the hardness slightly but adds the toughness needed to withstand hammer blows and high clamping forces.
Finally, I apply a thin coat of paste wax to the back of the plates and the jaw seats. This acts as a moisture barrier to prevent future rust from forming between the two surfaces. I tighten the screws firmly, but I don’t use an extension on the screwdriver; the goal is a secure fit that won’t vibrate loose.
Tracking the Restoration Process
I find it helpful to keep a “machinery log” for every tool I restore. This helps if I ever need to replace the parts again or if I decide to sell the tool to another collector. My logs usually include:
- Date of Acquisition: Where the tool was found and its initial condition.
- Material Used: Specific steel grade and thickness for the jaws.
- Thread Specs: The exact size and pitch of the mounting screws.
- Alignment Notes: Any filing or shimming required to get the jaws parallel.
- Lubrication: What type of grease was used on the main screw and nut.
Maintaining Your Restored Vise for the Next Generation
A restored vintage vise is a tool that should last another hundred years if properly maintained. I avoid the common mistake of “over-oiling.” Excess oil attracts metal shavings and grinding dust, which turns into an abrasive paste that wears out the lead screw. Instead, I use a dry-film lubricant or a very light coating of high-quality machine grease on the internal threads only.
For the newly fabricated gripping surfaces, I simply wipe them down with a rag dampened with a bit of light oil after each use. This prevents “flash rust” from finger oils or humidity. If the jaws ever become dull, a quick pass with a file or a re-grinding of the serrations will bring them back to life.
- Check the mounting screws once a year to ensure they haven’t vibrated loose.
- Keep the sliding “ram” clean of debris.
- Never use a “cheater bar” on the handle; if the vise won’t hold the work, the jaws likely need cleaning or the serrations need sharpening.
Restoring the gripping power of an old vise is one of the most rewarding projects in the shop. It takes a tool that was destined for the scrap yard and turns it back into the centerpiece of the workbench. By following these methodical steps—from careful disassembly to precision layout—you preserve a piece of mechanical history while gaining a high-quality tool that outperforms almost anything you can buy at a modern big-box store.
Frequently Asked Questions
What is the best steel to use for making new vise jaws? For most restorers, O1 tool steel is the gold standard because it is easy to machine and can be hardened with a simple torch. However, if you don’t want to deal with heat treating, 1018 cold-rolled steel is a functional and budget-friendly alternative that works well for general hobbyist use.
How do I remove a jaw screw that has a completely stripped head? If the slot is gone, you can use a Dremel with a cutoff wheel to cut a new, deeper slot for a large flat-head screwdriver. If that fails, you will need to drill out the center of the screw using a left-handed drill bit, which often catches and backs the screw out as you drill.
Can I use stainless steel for the replacement plates? I generally advise against it. While stainless is rust-resistant, many grades are prone to “galling” (where the metal smears and bonds to the workpiece) and can be significantly more difficult to drill and tap than standard carbon steels.
My vise jaws aren’t parallel when they close. How do I fix this? This is common in older tools. First, ensure the jaw seats are perfectly clean. If they are, you can “shim” the back of one plate with thin brass or steel shim stock (0.001 to 0.003 inches) to tilt the plate until it meets the other side squarely.
Is it necessary to harden the new steel plates? It isn’t strictly necessary for light-duty work, but unhardened steel will eventually “mushroom” or deform if you do a lot of heavy hammering on the vise. Hardening and tempering will keep the serrations sharp for decades.
What should I do if the original screw holes in the cast iron are stripped? The most reliable DIY fix is to drill the hole slightly larger and tap it for the next standard size up (for example, moving from 1/4-20 to 5/16-18). This ensures you have fresh, strong threads in the cast iron body.
How do I get a perfectly centered mark for drilling the new plates? Use a transfer punch that is the exact same diameter as the hole in the vise. If the hole is 1/4 inch, use a 1/4 inch transfer punch. This ensures the point of the punch is exactly in the center of the hole, leaving an accurate mark on your steel blank.
Should I paint the new jaw plates? No. Paint will quickly chip off and can interfere with the grip. The best finish for the plates is a light coat of oil or a “cold blue” chemical finish, which provides some rust protection without adding thickness or slipperiness.
What is the “12V DC” setting for electrolysis? You want a low-voltage, high-amperage current. An old-fashioned manual car battery charger is perfect. Modern “smart” chargers often won’t work because they don’t detect a battery and won’t turn on. A 12V power supply from an old computer can also be repurposed for this.
Can I use a bench grinder to shape the new plates? Yes, for the rough outer dimensions, a bench grinder or an angle grinder is fine. However, for the final fit and the mounting surfaces, you should use a file or a flat sanding block to ensure the surfaces stay true and square. High-speed grinding can easily remove too much metal or overheat the steel.
(This article was written by one of our staff writers, Richard Beaumont. Visit our Meet the Team page to learn more about the author and their expertise.)