How to Build a Custom Scroll Bender Flat Bar Jig (DIY Plan)
I still remember the first time I stood over a 1920s South Bend lathe that had spent three decades in a damp basement. It wasn’t just a machine; it was a solid block of orange oxidation and seized pulleys. Over the last 18 years, I have learned that vintage machinery restoration is less about brute force and more about technical patience. We don’t just “fix” these tools; we rescue them from the brink of being melted down for scrap.
Restoring classic metalworking equipment requires a shift in mindset. You are part detective, part archaeologist, and part engineer. Often, the tools you need to finish a restoration don’t exist anymore, or the original parts are long gone. This is where the ability to fabricate your own shop fixtures becomes essential. Whether you are recreating a decorative bracket for a period-accurate machine stand or building a manual scroll-shaping fixture for flat stock, the principles of precision and mechanical integrity remain the same.
Assessing the Structural Integrity of Found Machinery
Evaluating a piece of neglected equipment is the most critical step in determining if a project is a worthy investment or a “parts donor.” I look for structural cracks in the cast iron and evidence of previous “farm repairs” that might have compromised the base metal.
Cast iron is a wonderful material for dampening vibration, but it is brittle. Unlike steel, it does not bend; it snaps. Before you spend a dime on a rescue, you must clean the main castings to look for hairline fractures. I use a simple “ring test” by tapping the casting with a small brass hammer. A clear, bell-like ring usually indicates a solid casting, while a dull thud often points to a hidden crack or a severe internal void.
Comparing Common Surface Restoration Techniques
| Method | Best For | Risk Level | Time Investment |
|---|---|---|---|
| Electrolysis | Intricate parts with heavy internal rust | Low; does not remove base metal | 12–24 hours |
| Evapo-Rust | Precision surfaces and small components | Very Low; pH neutral | 4–12 hours |
| Wire Wheel | Heavy external scaling on non-precision areas | High; can round over sharp edges | Minutes |
| Sand Blasting | Large, non-machined structural castings | High; grit can ruin bearing surfaces | Fast (if outsourced) |
Strategies for Safely Disassembling Seized Iron Components
Seized shafts and stuck fasteners are the primary hurdles in any machine rescue. When a steel bolt sits in a cast iron hole for fifty years, galvanic corrosion creates a bond that is often stronger than the bolt itself. Galvanic corrosion occurs when two different metals are in contact in the presence of an electrolyte, like moisture, causing the more active metal to corrode.
I never reach for the biggest breaker bar first. Instead, I use a mixture of 50% acetone and 50% automatic transmission fluid (ATF). In my experience, this homemade concoction outperforms almost every commercial penetrating oil on the market. I apply it daily for a week, tapping the fastener lightly with a hammer to “shock” the threads and help the oil migrate. If that fails, I use a localized induction heater or a propane torch. The goal is to expand the female threads slightly without getting the cast iron so hot that it changes its crystalline structure.
Critical Steps for Part Mapping
- Document Everything: Take high-resolution photos of every sub-assembly from three different angles before removing a single screw.
- Use a Punch: For gears and pulleys on a shaft, I use a center punch to mark the orientation (e.g., one dot on the shaft, one dot on the hub).
- Thread Identification: Many older machines use obsolete thread patterns. I keep a thread pitch gauge and a micrometer handy to identify if I am dealing with National Coarse (NC), National Fine (NF), or something like a 12-24 or 14-20 thread that is rare today.
- Organized Storage: I use heavy-duty plastic bins and label every bag with the specific sub-assembly name, such as “Apron Gearbox” or “Tailstock Assembly.”
Creating a Manual Scroll-Shaping Fixture for Flat Stock
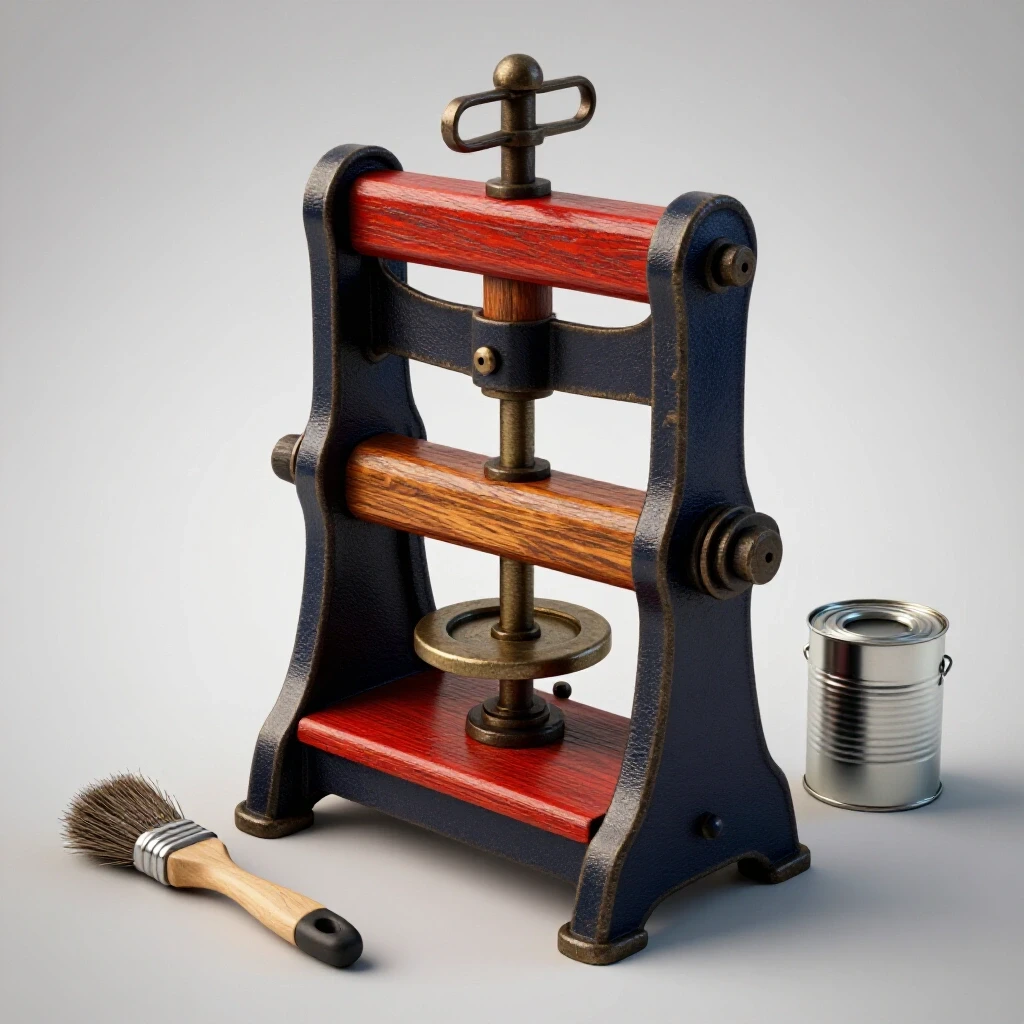
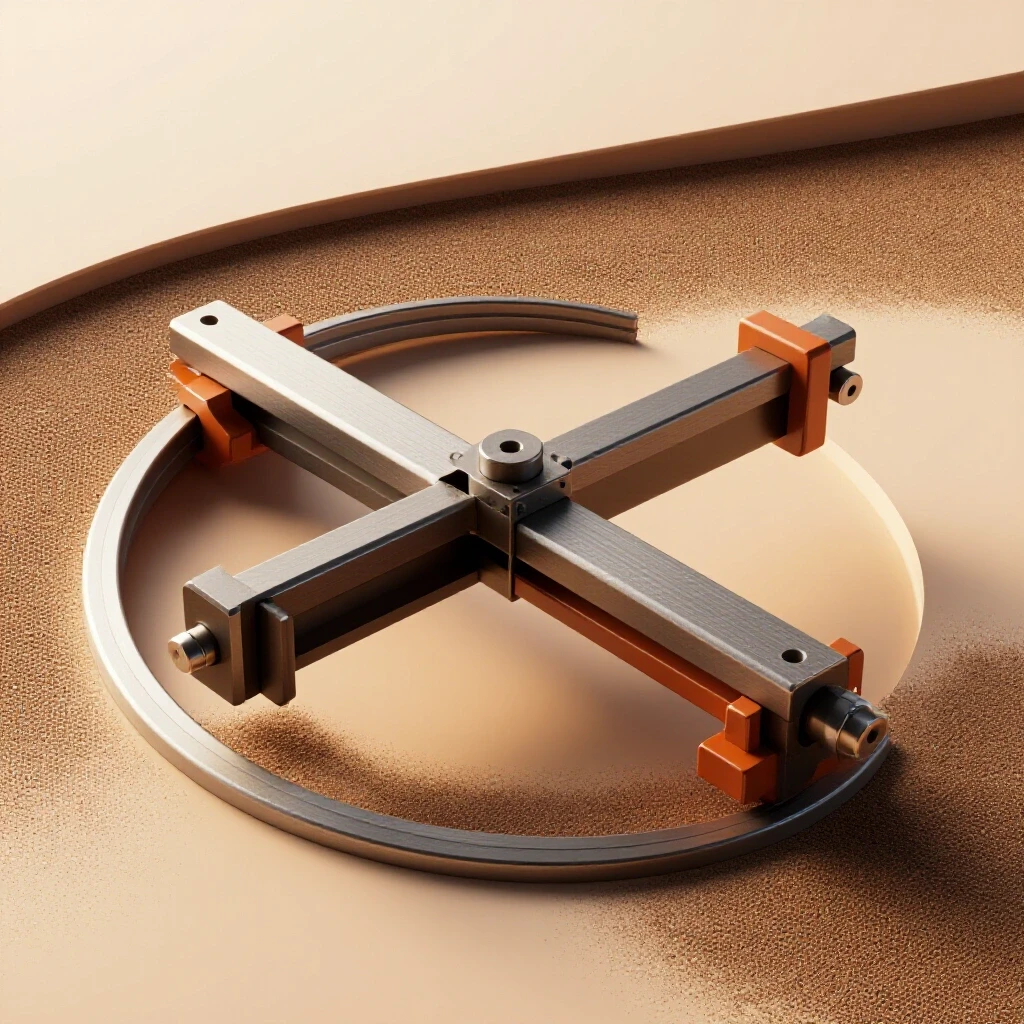
Sometimes, a restoration requires you to build your own shop equipment to handle specific tasks, such as bending flat bar for machine guards or decorative handles. Fabricating a hand-operated tool for forming scrolls is a great way to practice the precision required in machine building. This project focuses on creating a reliable pivot system and a sturdy base that can withstand significant leverage.
Building a tool like this requires a heavy steel base plate, ideally 1/2-inch thick, to prevent flexing. The heart of the tool is the center “button” or the starting point of the scroll. I usually turn this on a lathe from a piece of 1018 cold-rolled steel. The pivot pin must be a tight fit—no more than 0.002 inches of clearance—to ensure the bends remain consistent and the handle doesn’t wobble under load.
Essential Components for a Bending Fixture
- Base Plate: Provides the mounting surface and stability.
- Pivot Pin: The axis of rotation for the leverage arm.
- Bending Mandrel: The form around which the flat bar is wrapped.
- Leverage Arm: A long handle (usually 24 to 36 inches) that provides the mechanical advantage.
- Follower Roller: A hardened steel roller that presses the flat bar against the mandrel.
Engineering the Leverage and Pivot Mechanics
When you are bending flat bar stock by hand, the physics of leverage are your best friend. A manual scroll former relies on a “class 1 lever” system. The distance from the pivot point to the handle determines how much force you have to exert. For bending 1/8-inch or 3/16-inch flat bar, a three-foot handle is usually sufficient.
The pivot pin is the most stressed part of the assembly. I prefer using a 3/4-inch or 1-inch diameter pin made from hardened steel. If you use a soft bolt, it will eventually shear or bend, ruining the accuracy of your scrolls. Interestingly, I’ve found that using a simple bronze bushing in the leverage arm significantly increases the tool’s lifespan. Lubrication is key here; a few drops of 30-weight non-detergent oil will keep the pivot moving smoothly.
Leverage Ratios for Manual Bending
| Handle Length | Force Applied | Resulting Torque (at 50 lbs force) |
|---|---|---|
| 12 inches | 50 lbs | 50 ft-lbs |
| 24 inches | 50 lbs | 100 ft-lbs |
| 36 inches | 50 lbs | 150 ft-lbs |
| 48 inches | 50 lbs | 200 ft-lbs |
Restoring Precision Through Hand Scraping and Alignment
Once the rust is gone and the machine is apart, the real work of restoration begins: returning the surfaces to factory tolerances. Over decades of use, the “ways” (the sliding surfaces) of a machine wear down, usually in the middle where the most work is done. This creates a “swayback” effect that makes it impossible to turn a straight shaft or mill a flat surface.
Hand scraping is the traditional method for restoring these surfaces. It involves using a carbide-tipped tool to remove microscopic amounts of metal from the high spots. I use a precision straightedge and a blue pigment called “Prussian Blue” to identify these high spots. You smear a thin layer of blue on the straightedge, rub it across the machine way, and the high points are revealed as blue marks.
Achieving Proper Bearing Density
In my shop, I aim for a specific “points per inch” (PPI) count. For a high-precision lathe bed, I look for 20 to 25 points of contact per square inch. This ensures that the oil can sit in the low spots (the “valleys”) while the high spots (the “peaks”) support the weight of the carriage. This prevents “stiction,” which is that jerky movement you feel when a slide is too tight or lacks proper lubrication.
- Roughing: Removing the bulk of the wear to get the surface flat.
- Finishing: Increasing the number of contact points.
- Frosting/Flaking: Adding a decorative and functional pattern that helps hold oil.
Servicing Legacy Bearings and Lubrication Systems
Many pre-war machines do not use modern ball bearings. Instead, they rely on babbitt bearings or bronze sleeve bearings. Babbitt is a soft white-metal alloy that is poured into the bearing housing around the shaft. It is designed to be the “sacrificial” part of the machine; it wears down so the expensive steel shaft doesn’t have to.
If the babbitt is badly scored or has too much clearance, it must be repoured. This involves melting the alloy and pouring it into a pre-heated housing. For bronze sleeve bearings, you can often compensate for wear by removing “shims”—thin strips of metal—from the bearing cap. I always aim for a clearance of 0.001 to 0.0015 inches for every inch of shaft diameter. If the clearance is too tight, the bearing will overheat and seize; if it’s too loose, the machine will vibrate and produce a poor surface finish.
Bearing Lubricant Classifications
| Bearing Type | Recommended Lubricant | Reason |
|---|---|---|
| Babbitt | ISO 32 or 46 Spindle Oil | Low viscosity for tight clearances |
| Bronze Sleeve | ISO 68 Way Oil | Tacky additives prevent oil squeeze-out |
| Open Gears | Heavy Gear Shield / Grease | Stays on the teeth under load |
| Ball Bearings | High-Quality Lithium Grease | General purpose protection |
Sourcing and Fabricating Obsolete Fasteners
One of the biggest frustrations in restoring a 100-year-old machine is finding a missing screw. Before the standardization of threads, manufacturers often used their own proprietary pitches. If you lose a 1/2-12 bolt (which was common before 1/2-13 became the standard), you can’t just go to the local hardware store.
In these cases, I have two choices: find a “new old stock” part from a collector or cut the thread myself on a lathe. For those without a working lathe, you can sometimes find taps and dies for these “legacy” threads through specialized industrial suppliers. It is worth noting that many vintage machines used “square head” bolts instead of hex heads. To maintain the historical integrity of a restoration, I often take modern hex bolts and mill the heads down to a square profile.
Final Alignment and Operational Testing
Once the machine is reassembled, you must verify that everything is square and level. I use a precision machinist’s level, which is sensitive enough to show a deviation of 0.0005 inches over 10 inches. A machine that isn’t level will eventually twist its own bed under its weight, leading to inaccuracy.
I start by leveling the bed in both directions. Then, I perform a “two-collar test” on a lathe or a “tramming” procedure on a mill. This involves taking light cuts on a test piece and measuring the diameters at both ends with a micrometer. If the diameters are different, the machine is “cutting a taper,” and I need to adjust the tailstock or the headstock alignment.
Restoration Checklist for Final Assembly
- Check Oil Flow: Ensure all oil cups are clear and delivering lubricant to the bearings.
- Verify Spindle Play: Use a dial indicator to check for axial and radial movement.
- Test Safety Guards: Ensure all belts are covered and emergency stops are functional.
- Initial Run-In: Run the machine at its lowest speed for 30 minutes, checking bearing temperatures frequently.
- Document the Build: Keep a log of all clearances and adjustments for future maintenance.
Restoring these machines is a labor of love that preserves our mechanical history. It teaches us that “old” does not mean “obsolete.” With a bit of chemistry, some precision hand-tool work, and the willingness to fabricate your own fixtures, you can bring a piece of cast iron back to life, ensuring it works for another century.
Frequently Asked Questions
How do I know if a rusted machine is worth the effort to restore?
Check the “ways” and the main castings first. Surface rust is cosmetic, but deep pitting on sliding surfaces or cracks in the main frame can be deal-breakers. If the machine is rare or high-quality (like a Hendey lathe or a Bridgeport mill), it is usually worth the effort. If it’s a common, light-duty hobby machine with a cracked base, it might be better as a parts donor.
Is electrolysis safe for all types of metal?
Electrolysis is excellent for cast iron and steel. However, you should never use it for stainless steel (it releases toxic hexavalent chromium) or aluminum (the lye/washing soda solution will eat the metal). Always use a sacrificial anode made of plain steel, not stainless.
What is the best way to remove old, lead-based paint from a machine?
Never sand or grind old machinery paint dry, as it almost certainly contains lead. Use a chemical stripper that stays wet, or use a “scuff and coat” method if the original paint is still well-adhered. If you must remove it, use a HEPA-filtered vacuum and a respirator.
How do I find the original color of a vintage machine?
Look in protected areas, such as the inside of a gear cover or under the nameplate. Most machines were “Machine Tool Gray,” but brands like Monarch or South Bend had specific shades. Many online communities have color-matching codes for modern paints.
Can I use modern automotive grease on vintage sleeve bearings?
Generally, no. Most vintage sleeve bearings are designed for “total loss” oiling systems. Grease can clog the small oil passages and trap contaminants. Stick to the ISO-rated oils recommended in the original service manuals or their modern equivalents.
What should I do if a shaft is bent?
Small bends can sometimes be corrected using a hydraulic press and V-blocks, but it requires extreme care and a dial indicator. If the bend is significant, it is often safer to turn a new shaft from stress-proof steel (1144) to ensure the machine runs true.
How can I make my own replacement handles or knobs?
This is a perfect project for a lathe. You can copy the profile of an existing handle. If you need a specific shape, like a ball handle, you can use a “ball turning attachment.” For decorative scrolls on guards, a manual bending fixture is the best tool for the job.
Why is hand scraping better than grinding for machine ways?
While grinding creates a very flat surface, it can be “too” smooth. Hand scraping creates tiny pockets that hold oil, which prevents the two metal surfaces from touching directly. This “oil film” reduces wear and makes the machine much easier to operate.
How do I identify an unknown thread on an old machine?
Use a thread pitch gauge to count the threads per inch (TPI). Then, measure the outside diameter with a micrometer. Compare these numbers to a “Screw Thread Database” or an old machinist’s handbook. If the TPI doesn’t match any standard, it might be a proprietary manufacturer’s thread.
Is it dangerous to pour my own babbitt bearings?
It requires caution but is manageable. You must wear full face protection, heavy gloves, and an apron. The biggest danger is moisture; if a single drop of water is in the bearing housing when you pour the molten metal, it will flash to steam and cause a “babbitt explosion.” Always pre-heat your castings to drive off moisture.
(This article was written by one of our staff writers, Richard Beaumont. Visit our Meet the Team page to learn more about the author and their expertise.)