How to Upgrade Vintage Metal Lathe Motor Pulleys (DIY Fix)
Walking into a cold workshop to face a machine that has been silent for fifty years requires a specific kind of patience. I have spent the last 18 years breathing life back into more than 40 pieces of industrial history, and if there is one thing I have learned, it is that the soul of a vintage lathe often hides in its drive system. When you find an old South Bend, Logan, or Atlas sitting in a scrap yard, the heavy cast iron usually survives the decades, but the mechanical interface between the motor and the spindle is almost always compromised.
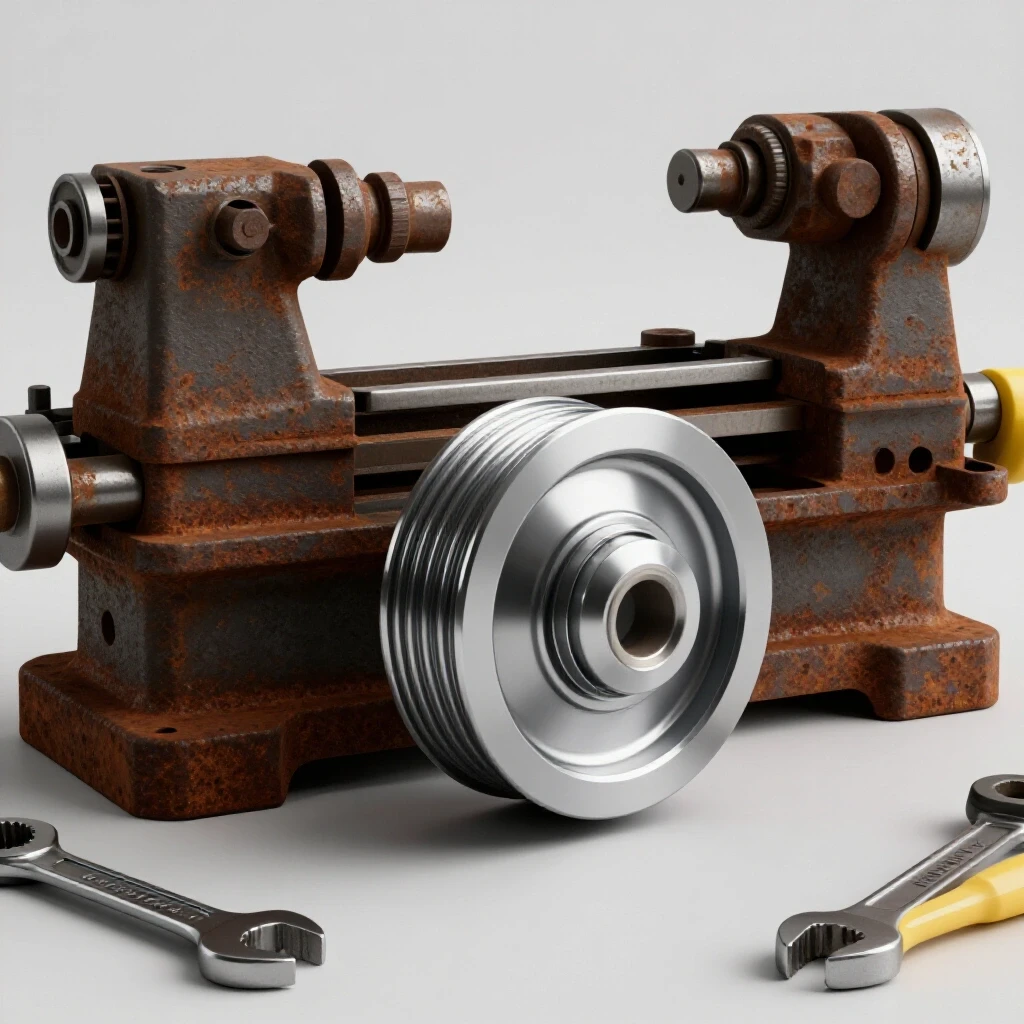
Restoring these machines is not just about making them look pretty with a fresh coat of battleship gray paint. It is about the tactile feedback of a smooth-running belt and the absence of vibration. A common bottleneck in these rescues is the motor’s drive sheave. Over time, these pulleys become chipped, warped, or simply obsolete for the speeds we need today. Successfully modifying this part of the machine is a foundational step in bringing an old tool back to factory-level precision.
Assessing the Condition of Legacy Drive Components
Evaluating the health of a drive system involves a systematic inspection of the motor shaft, the pulley itself, and the mounting hardware. Before any disassembly begins, I look for signs of “wobble” or eccentricity that suggest a bent shaft or a poorly cast replacement pulley from a previous owner’s quick fix.
Vintage pulleys, especially those made from “pot metal” or early zinc alloys, are prone to fatigue. They can develop hairline fractures that are invisible under layers of grease but become catastrophic under load. I start by checking the bore for “wallowing,” which happens when a loose pulley vibrates against the motor shaft, slowly enlarging the hole and ruining the fit. If you can rock the pulley by hand while the setscrew is loose, you have a clearance issue that needs more than just a tighter screw.
Why Seized Cast Iron Screws Crack Under Force
Removing a pulley that has been married to a motor shaft since the Eisenhower administration is rarely a straightforward task. The primary obstacle is usually a seized setscrew or a rusted keyway that refuses to budge.
The technical reason behind this stubbornness is often galvanic corrosion. This occurs when two different metals, like a steel setscrew and a cast iron pulley, remain in contact in a humid environment for decades. They essentially weld themselves together at a molecular level. If you apply a long breaker bar and brute force, you will likely snap the head of the screw or, worse, crack the hub of a rare vintage pulley.
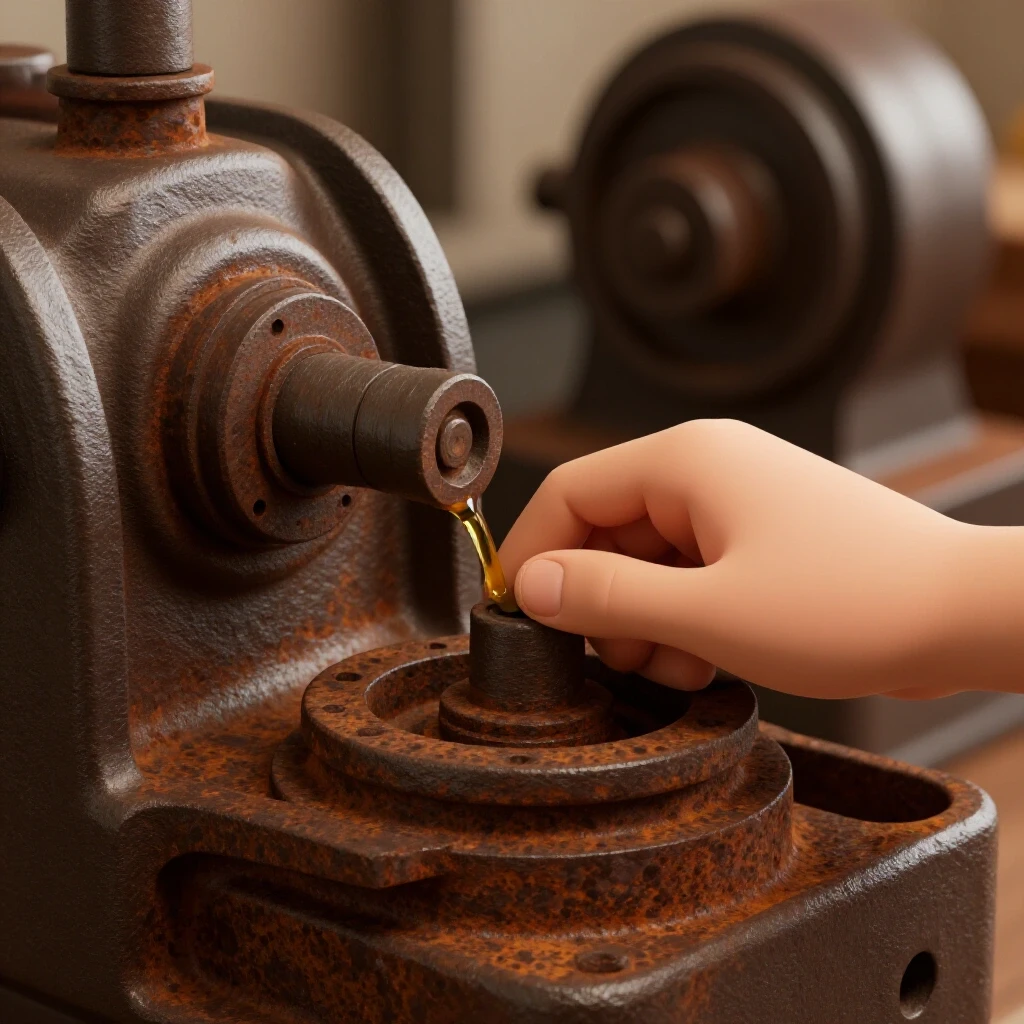
To release these parts safely, I follow a strict thermal release plan. First, I apply a high-quality penetrating oil—not a standard lubricant, but a specialized solvent designed to “creep” into tight tolerances. After letting it sit for 24 hours, I use a MAPP gas torch to apply localized heat to the pulley hub, not the shaft. The goal is to expand the pulley slightly more than the shaft, breaking the corrosive bond. I always keep a fire extinguisher nearby and ensure all old grease is wiped away to prevent flare-ups.
Removing Machinery Rust Without Damaging Base Metal
Once the pulley is off, you are often left with a motor shaft covered in “crust” and a pulley bore filled with oxidized scale. The challenge here is removing the rust without changing the critical dimensions of the shaft.
If you take a piece of coarse sandpaper to a motor shaft, you risk removing enough metal to create a loose fit for your new pulley. A loose fit leads to vibration, which eventually destroys the motor bearings. I prefer using a chemical approach or a very fine-grained abrasive process. For heavy structural corrosion on the pulley itself, an electrolysis bath is my preferred method. It uses a 12V DC power supply to pull the oxygen atoms away from the iron, leaving the base metal intact.
| Method | Best Use Case | Risk Level | Precision Retained |
|---|---|---|---|
| Electrolysis Bath | Heavy rust on cast iron pulleys | Low | High (No metal loss) |
| Evapo-Rust | Soaking small parts like keys | Very Low | High |
| Wire Wheel | Fast cleaning of non-critical areas | Moderate | Low (Can round edges) |
| Fine Emery Cloth | Polishing motor shafts | Moderate | Moderate (Use sparingly) |
Sourcing and Adapting Modern Sheaves for Vintage Shafts
When the original pulley is beyond repair, you have to find a replacement that fits the era’s aesthetic but provides modern performance. Most vintage motors use standard shaft diameters like 1/2 inch, 5/8 inch, or 3/4 inch, but the keyway widths can vary.
Modern pulleys are readily available from industrial supply houses, but they often lack the mass of the original cast iron pieces. I look for “machined from solid” steel or high-quality cast iron sheaves. If you find a pulley with the correct outside diameter but the wrong bore size, you can use a reducer bushing or, if you have access to another working lathe, bore out the center to match your motor.
A critical metric I aim for is a “slip fit” with no more than 0.001 to 0.002 inches of clearance. Anything more than that will cause the pulley to “hammer” against the key during every start-up, eventually shearing the key or damaging the shaft.
Precision Alignment and Vibration Management
A new pulley is only as good as its alignment with the lathe’s headstock. If the belt is even slightly crooked, it will create a “whirring” noise and cause premature wear on the belt and the bearings.
To align the drive train, I use a precision straightedge held against the faces of both the motor pulley and the spindle pulley. I adjust the motor’s position on its mount until the straightedge touches all four points of the two pulleys simultaneously. This ensures the belt runs in a perfectly straight line.
Interestingly, the type of belt you choose can be just as important as the pulley itself. Standard V-belts often develop a “set” or a curve if they sit in one position for too long, which translates into a rhythmic vibration when the machine runs. I often recommend “Link Belts” (the segmented red belts) for vintage restorations. Because they are made of interlocking pieces, they do not hold a shape and can significantly dampen the vibration coming from an older motor.
Servicing Motor Mounts and Leveling the Assembly
Even with a perfect pulley, a shaky motor mount will ruin your surface finish on the workpiece. Many vintage lathes use a “tensioning” mount where the weight of the motor provides the belt tension.
Building on this, I always inspect the pivot points of the motor mount. These are often simple steel pins through cast iron holes. If these holes have become oval-shaped from years of use, the motor will “dance” while it runs. I often have to ream these holes and install oversized pins to restore a solid, vibration-free pivot.
When mounting the motor back to the bench or the lathe stand, I use a machinist’s level to ensure the motor shaft is parallel to the lathe bed. While it doesn’t have to be perfect to the thousandth for a belt drive, being within 0.005 inches per foot helps ensure the belt doesn’t try to climb the sides of the pulley grooves.
A Lesson from a 1936 Workshop Rescue
A few years ago, I restored a 1936 heavy-duty lathe that had been sitting in a barn in Vermont. The motor pulley was a three-step cone design made of cast iron, and it was rusted solid to the shaft. The owner had tried to beat it off with a hammer, resulting in a large chip in the largest step.
Instead of scrapping the pulley, I used a technique called “metal stitching” for the crack and then turned the pulley down on another lathe to clean up the chipped area. This changed the ratios slightly, but it preserved the original part. I had to fabricate a custom key from 1018 steel to fit the slightly worn keyway. The result was a drive system that ran quieter than the modern imports. It taught me that in restoration, you often have to choose between “originality” and “functionality,” and the best path is usually a careful blend of both.
Standard Benchmarks for Drive System Restoration
To ensure a successful rebuild, I follow a checklist of measurements and settings. These are the “hard numbers” that separate a hobbyist cleanup from a professional restoration.
- Shaft Runout: Use a dial indicator on the motor shaft. It should show less than 0.001 inch of movement.
- Bore Tolerance: The pulley should slide on with light finger pressure but have zero “clunk” when moved side-to-side.
- Setscrew Torque: For a 5/16-inch setscrew, I tighten to approximately 125 inch-pounds, using a drop of medium-strength thread locker.
- Belt Tension: I aim for about 1/2 inch of deflection in the center of the belt span under moderate thumb pressure.
- Operating Temperature: After 30 minutes of running, the pulley hub should be warm to the touch but not hot enough to burn. If it’s hot, the belt is slipping or the alignment is off.
Essential Tools for Drive Train Modification
- Gear Puller: A three-jaw puller is essential, but always use a “protector” on the end of the motor shaft to avoid mushrooming the steel.
- Thread Pitch Gauge: Used to identify those obscure 1940s fastener patterns before you try to force a modern bolt into an old hole.
- Calipers and Micrometers: For measuring shaft diameters to the thousandth of an inch.
- MAPP Gas Torch: Provides higher heat than propane, which is necessary for breaking the bond of decades-old rust.
- Digital Tachometer: A low-cost tool to verify your actual spindle speeds once the new pulley is installed.
Closing the Loop on Your Restoration
Successfully updating the drive components of a classic lathe is a milestone in any restoration project. It marks the transition from a “project” that takes up space to a “tool” that creates value. By taking the time to properly remove rust, align the sheaves, and select the right belt, you are not just fixing a machine; you are preserving a piece of mechanical history.
The next time you pull the lever and hear that low, rhythmic hum of a well-tuned belt drive, you will know that the effort spent on those stubborn setscrews was worth every minute. Your lathe is now ready for the precision work it was designed to do nearly a century ago.
Frequently Asked Questions
How do I know if my old pulley is made of pot metal or cast iron? Cast iron is significantly heavier and usually has a grainy texture. Pot metal (zinc die-cast) is often lighter, may have a duller gray color, and is prone to “blooming” or expanding and cracking as it ages. A magnet will stick to cast iron but not to most pot metal alloys.
Can I use a modern aluminum pulley on my vintage lathe? Yes, aluminum pulleys are functional and reduce the “centrifugal load” on the motor. However, they wear faster than cast iron when used with traditional rubber V-belts. For a high-use machine, I recommend sticking with steel or iron if possible.
What should I do if the motor shaft is pitted from rust? If the pitting is minor, you can polish it with 400-grit emery cloth. If the pits are deep, they can create “high spots” that prevent the pulley from sitting true. In extreme cases, the shaft may need to be turned down and a custom-bored pulley or a sleeve installed.
Why does my new belt keep “jumping” or vibrating? This is usually caused by “belt set.” If the belt was stored coiled up, it has “memory” of those curves. Switching to a link-style belt almost always solves this. Also, double-check that your pulleys are perfectly co-planar using a straightedge.
How do I remove a broken setscrew from a pulley hub? This is a delicate operation. You must center-punch the screw and drill it out using a bit slightly smaller than the thread diameter. Then, use a screw extractor. If the screw is hardened, you may need a solid carbide drill bit and a steady hand.
Is it okay to use WD-40 to release a seized pulley? While WD-40 is a great water displacer, it is not a top-tier penetrating oil for 50-year-old rust. I recommend products like Kroil or PB Blaster, which have a much lower surface tension and can actually penetrate the microscopic gaps between the threads.
Should I grease the motor shaft before installing the new pulley? I prefer a very light film of anti-seize lubricant. This prevents future galvanic corrosion and makes it much easier for the next restorer (perhaps 50 years from now) to remove the pulley. Do not use heavy grease, as it can attract dust and grit.
What is the best way to clean the keyway? Use a small “needle file” or a stiff wire brush. It is vital that the keyway is clear of all debris so the key can sit flat. If the key is forced into a dirty slot, it will tilt and cause the pulley to run out of true.
How do I calculate the new spindle speed if I change the motor pulley size? The formula is: (Motor RPM x Motor Pulley Diameter) / Spindle Pulley Diameter = Spindle RPM. For example, a 1725 RPM motor with a 2-inch pulley driving a 4-inch spindle pulley will result in 862.5 RPM.
Can I use a pulley with a different “V” angle? No. Most vintage machinery uses “A” or “B” section belts with a specific 40-degree angle. If the pulley angle doesn’t match the belt, the belt will only contact the pulley at the corners, leading to rapid wear and slipping. Always match the belt profile to the sheave.
(This article was written by one of our staff writers, Richard Beaumont. Visit our Meet the Team page to learn more about the author and their expertise.)