How to Build a Vibration Dampening Lathe Stand (DIY Plan)
Finding a vintage lathe sitting in the corner of a damp garage is a bit like discovering a buried treasure. You see past the layers of “shop-floor gray” paint and the orange crust of surface oxidation. You see the heavy cast iron, the hand-fitted ways, and the potential for a machine that will outlast anything bought at a big-box store. However, once you have hauled that 400-pound beast home and spent weeks on vintage machinery restoration, you face a critical problem. If you bolt that precision tool to a flimsy wooden bench or a thin sheet-metal table, all your hard work on restoring classic cast iron will be wasted. A machine is only as accurate as the foundation it sits upon.
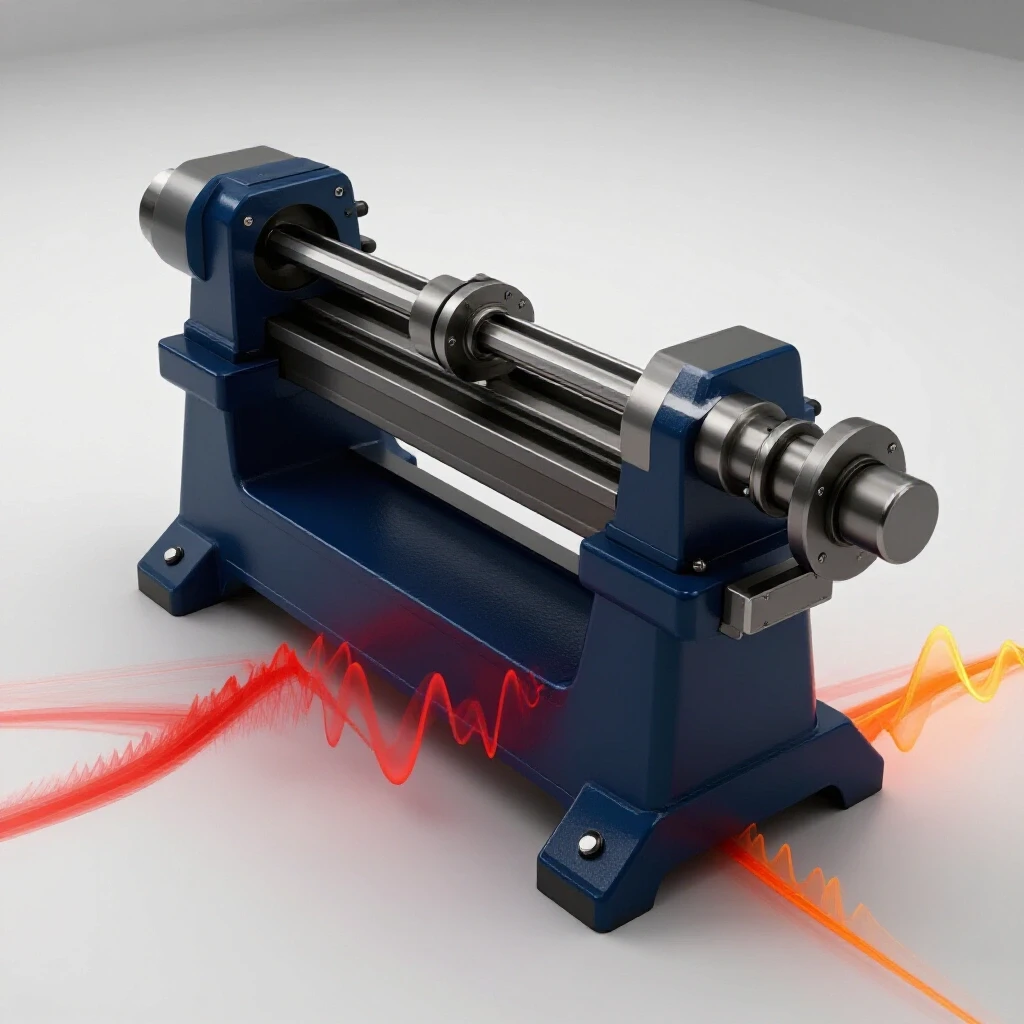
Over the last 18 years, I have restored dozens of pre-war machines, from South Bend lathes to heavy Buffalo drill presses. I have learned that the stand is not just a table; it is a functional part of the machine’s dampening system. When I first started, I made the mistake of mounting a beautiful 1940s Logan lathe on a standard workbench. The vibration from the motor caused the bed to resonate, leaving a “chatter” finish on every part I turned. I realized then that I needed to build a support structure that could absorb energy and maintain a dead-level surface. Building a high-mass, energy-absorbing base is the final, essential step in any machine rescue.
The Engineering Logic of Heavy-Duty Machine Supports
A machine support system must provide two things: extreme rigidity and energy dissipation. Rigidity ensures that the lathe bed does not twist under its own weight, which would ruin the alignment of the headstock and tailstock. Energy dissipation, or dampening, involves using materials that stop vibrations from bouncing back into the cutting tool.
In my experience, the best way to achieve this is through a combination of heavy-wall steel and high-density fillers. When we talk about vintage machinery restoration, we are often dealing with tools designed for high-torque, low-speed operations. These machines generate low-frequency harmonics that can travel through a house or shop floor if the stand is not properly decoupled. By building a base with high internal mass, we effectively “soak up” these vibrations before they can affect the finish of your workpiece.
Why Mass and Rigidity Matter for Precision Turning
Rigidity is the ability of a structure to resist deformation when a load is applied. In the context of a lathe, the “load” is the weight of the machine and the force of the cutting tool against the metal. If your stand flexes even a few thousandths of an inch, your lathe bed will twist, and you will find it impossible to turn a true cylinder.
Dampening is different; it is the ability of the material to absorb kinetic energy. While steel is very rigid, it is also very “springy.” If you hit a steel pipe with a hammer, it rings. If you hit a cast-iron leg with a hammer, it thuds. Our goal is to make a steel stand behave more like cast iron by adding mass and using isolation techniques.
Material Selection for a High-Mass Support Base
Choosing the right materials is the first step in ensuring your restored machine performs to its original factory specifications. I prefer using square or rectangular structural steel tubing with a wall thickness of at least 3/16 of an inch, though 1/4 inch is even better for larger bench lathes.
Thin-walled tubing is easier to cut and weld, but it acts like a bell. It vibrates easily and can actually amplify the noise of your motor. When you are removing machinery rust and preparing your machine for its new home, take the time to source heavy-duty steel from a local scrap yard or metal supplier. It is cheaper than buying new and fits the spirit of a restoration project.
Steel Specifications and Their Impact on Stability
| Material Type | Wall Thickness | Weight per Foot | Vibration Damping Quality |
|---|---|---|---|
| Square Tubing | 1/8 inch (11 ga) | 3.0 lbs | Poor (High resonance) |
| Square Tubing | 3/16 inch | 4.3 lbs | Moderate |
| Square Tubing | 1/4 inch | 5.4 lbs | Good |
| Heavy Angle Iron | 3/8 inch | 7.0 lbs | Excellent (Low resonance) |
When I restored an old 9-inch South Bend, I used 3-inch square tubing with a 1/4-inch wall. The sheer mass of the frame alone made a noticeable difference in how quiet the machine ran. If you are working on a budget, look for “drops” at your local steel yard. These are leftover pieces from larger jobs that are often sold by the pound.
Structural Design for Torsional Resistance
Torsional resistance is the capacity of the stand to resist twisting forces. Because a lathe is long and narrow, it is prone to “bed twist” if the feet of the stand are not perfectly on the same plane. A well-designed base uses cross-bracing and gussets to ensure the frame stays square under load.
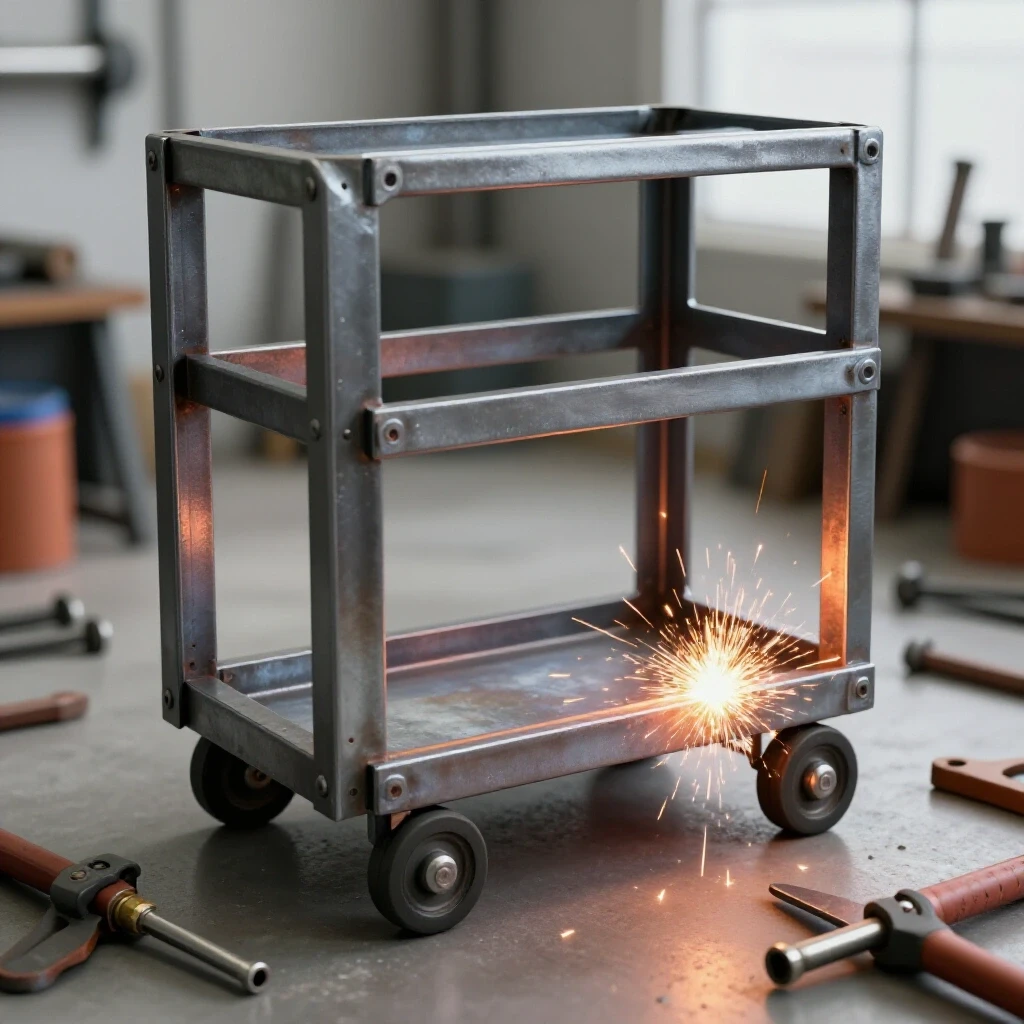
I always recommend a “ladder frame” design for the top of the stand. This involves two long runners connected by several short cross-members. This design provides multiple mounting points for the lathe’s feet, allowing you to distribute the weight evenly. For the legs, a slight splay of 5 to 10 degrees can increase the footprint and provide better lateral stability, though straight legs are often easier to fabricate for beginners.
Using Gussets and Bracing to Prevent Flex
A gusset is a triangular piece of plate steel welded into the corners of a frame. Even a small 3-inch gusset can significantly increase the rigidity of a joint. When you are dealing with machine disassembly tips and reassembling your shop, remember that every welded joint is a potential point of flex.
- Add gussets to all four upper corners where the legs meet the top frame.
- Install a lower shelf made of heavy-gauge expanded metal or plate steel to tie the legs together.
- Use 1/2-inch thick steel plate for the mounting feet to allow for heavy-duty leveling bolts.
Increasing Mass with Internal Damping Fillers
One of the most effective ways to stop a steel stand from ringing is to fill the hollow cavities of the tubing with a dense, non-resonant material. This is a trick I learned from old-timers who used to fill their hollow cast-iron machine bases with dry sand or lead shot to improve surface finishes.
Filling the legs of your stand with dry masonry sand is the most cost-effective method. The sand grains rub against each other when vibrated, converting kinetic energy into tiny amounts of heat. This effectively kills the “ring” of the steel. Alternatively, you can use a non-shrink construction grout, which turns the hollow tube into a solid composite pillar.
Comparison of Internal Filling Materials
- Dry Masonry Sand: Very cheap, easy to install, and provides excellent dampening. It must be completely dry to prevent internal corrosion of the steel tubing.
- Non-Shrink Grout: Increases rigidity significantly and adds the most mass. However, it is permanent and makes the stand extremely heavy to move.
- Oil-Dri or Kitty Litter: Lightweight and decent at dampening, but lacks the mass of sand or grout.
- Lead Shot: The ultimate for mass and dampening, but very expensive and difficult to source in large quantities.
In my workshop, I once filled a stand with play sand that wasn’t fully dry. Two years later, I noticed rust weeping from a small pinhole in a weld. Now, I always bake my sand in the sun or under a heat lamp before pouring it into the frame. Once filled, weld a cap on the top of the tube to seal it forever.
Implementing Vibration Isolation Strategies
Isolation is the process of separating the machine from the stand, and the stand from the floor. This is vital if you are restoring classic cast iron in a home garage with a concrete floor. Without isolation, the vibrations from your lathe can travel through the slab and shake the windows in your house.
I use a two-stage isolation approach. First, I place elastomeric pads between the lathe feet and the stand. Second, I use heavy-duty leveling mounts with rubber bases for the feet of the stand. This “sandwich” of vibration-absorbing material ensures that very little energy escapes the machine.
DIY Isolation Solutions for the Budget Restorer
You don’t need to buy expensive industrial isolators to get good results. One of my favorite “restorer’s secrets” is using regulation hockey pucks. They are made of a dense, vulcanized rubber that is perfect for machinery.
- Drill a hole through the center of the hockey puck.
- Place the puck between the lathe foot and the steel stand.
- Use a grade 5 or grade 8 bolt to secure the machine, but do not over-tighten. You want the rubber to be compressed slightly, not crushed flat.
- For the floor mounts, use 5/8-inch threaded rod welded to a thick steel base plate, with a layer of 1/2-inch neoprene glued to the bottom.
Precision Leveling and Eliminating Bed Twist
Once your stand is built and your machine is mounted, the final step is classic tool alignment. Even the heaviest stand will not be perfectly flat. You must use the leveling feet to “dial in” the lathe bed. This is where a precision machinist’s level becomes your most important tool.
A standard carpenter’s level is not accurate enough for this task. You need a level graduated to at least 0.0005 inches per foot. By adjusting the leveling feet on the stand, you can actually take a “twist” out of a cast-iron bed. This is a slow, methodical process that requires patience, much like babbitt bearing pouring or machinery hand scraping.
The Process of Leveling a Restored Lathe
- Clean the Ways: Ensure the lathe bed is free of any debris or oil. If you have recently finished removing machinery rust, the metal should be pristine.
- Initial Leveling: Place the level across the bed ways near the headstock. Adjust the stand feet until it is level.
- Check for Twist: Move the level to the tailstock end of the bed. If the bubble moves, the bed is twisted.
- Compensate: Adjust the “low” corner of the stand to lift that section of the bed. Repeat this process, moving back and forth, until the bubble stays centered at both ends.
- Re-Check after 24 hours: Heavy machines will often “settle” into the rubber pads or the floor. Always re-check your level the next day.
Case Study: Rescuing a 1942 Heavy 10 Lathe
A few years ago, I acquired a 1942 South Bend Heavy 10 that had been sitting in a leaky shed for two decades. The machine was a solid mass of rust, and the original cast-iron “pedestal” feet were cracked. After a full disassembly and an electrolysis bath to remove the corrosion, I knew the original base was beyond saving.
I built a custom stand using 3x3x1/4-inch square tubing. I filled the legs with 80 pounds of kiln-dried sand and used 1-inch thick steel plates for the top mounting surface. To handle the obsolete fastener patterns of the 1940s casting, I had to drill and tap custom holes into the top plates. After mounting the lathe on hockey-puck isolators and spending three hours leveling it, the machine produced a surface finish that was indistinguishable from a modern precision lathe. The total cost of the stand was under $150, but it performed better than a $1,000 commercial cabinet.
Maintenance and Long-Term Stability
A machine stand is not a “set it and forget it” project. Over time, the vibrations of the machine and the changes in shop temperature can cause bolts to loosen or the stand to settle. I make it a habit to check the level of my primary lathes every six months.
If you live in a climate with high humidity, keep an eye on the steel frame for signs of rust. Since you have already mastered removing machinery rust during the machine restoration, you know that a good coat of industrial enamel or epoxy primer is worth the effort. I prefer a dark “machine tool gray” or “vista green” to match the aesthetic of vintage equipment.
Checklist for Stand Inspection
- Check Bolt Torque: Ensure the mounting bolts haven’t vibrated loose.
- Inspect Isolation Pads: Look for cracks or excessive compression in the rubber.
- Verify Level: Place your machinist’s level on the bed to ensure no settling has occurred.
- Wipe Down: Keep the stand free of oil and chips, which can trap moisture against the steel and cause corrosion.
Final Steps in Your Restoration Journey
Building a dedicated, high-mass support base is the bridge between a “restored object” and a “working tool.” It respects the engineering that went into these vintage machines and ensures that your hard work in the shop is rewarded with precision and safety.
As you move forward with your vintage machinery restoration, remember that the goal is not just to make the machine look new, but to make it work as well as—or better than—the day it left the factory. A solid, dampened foundation is the best way to achieve that goal. Take your time, use the heaviest materials you can manage, and don’t skip the leveling process. Your lathe, and your future projects, will thank you.
Frequently Asked Questions
Why shouldn’t I just bolt my lathe directly to a concrete floor?
Bolting a lathe directly to concrete can actually transmit vibrations back into the machine, leading to poor surface finishes. Additionally, concrete floors are rarely perfectly flat. Using a stand with isolation mounts allows you to level the machine precisely and decouple it from the building’s harmonics.
Can I use wood to build a vibration-dampening stand?
While heavy timber (like 4×4 or 6×6 posts) can be used, wood is susceptible to changes in humidity, which causes it to swell and shrink. This movement will constantly throw your lathe out of level. For a precision machine, steel is a much more stable and reliable choice.
How do I know if my lathe bed is twisted?
If you turn a long piece of metal and it tapers (getting wider or narrower as the tool moves away from the headstock), and you have already ruled out tailstock misalignment, your bed is likely twisted. A machinist’s level is the only way to verify and correct this accurately.
What is the best way to attach a vintage lathe to a new steel stand?
Most vintage lathes have mounting holes in their cast-iron feet. Use high-strength (Grade 5 or 8) bolts. If the hole patterns are unusual or obsolete, you may need to weld a thick steel plate to your stand and then drill and tap new holes to match the machine.
Is sand better than concrete for filling the legs?
Sand is generally better for dampening because the individual grains can move and dissipate energy. Concrete or grout is better for adding pure mass and rigidity. For most home shops, dry sand is the easier and more effective option for stopping resonance.
How thick should the top plate of the stand be?
I recommend at least 1/2-inch plate steel for the mounting surface. This thickness prevents the plate from flexing when you tighten the mounting bolts and provides enough “meat” for tapping threads if you aren’t using through-bolts.
Do I really need a machinist’s level?
Yes. A standard level is accurate to maybe 1/16 of an inch over several feet. A machinist’s level is accurate to 0.0005 inches. In the world of machine tool alignment, that difference is the gap between a tool that works and a tool that frustrates you.
How do I prevent the inside of the steel tubes from rusting if I fill them with sand?
The key is to use “kiln-dried” sand, which has zero moisture content. You can also spray a bit of thin rust-inhibitor oil inside the tubes before filling them. Once the sand is in, weld the end caps on completely to create an airtight seal.
What if my shop floor is very uneven?
This is where heavy-duty leveling feet are essential. Use 5/8-inch or 3/4-inch threaded rod for the feet. This gives you several inches of adjustment range to compensate for even the most sloped garage floors while still providing a rock-solid base.
Can I use rubber floor mats as isolation pads?
Standard gym mats are usually too soft and will compress unevenly under the weight of a cast-iron lathe. Use high-density neoprene or specialized “anti-vibration” pads designed for machinery, which have a specific “durometer” (hardness) rated for heavy loads.
(This article was written by one of our staff writers, Richard Beaumont. Visit our Meet the Team page to learn more about the author and their expertise.)