How to Choose a Safe Auto Darkening Welding Hood (Review)
When I first started metalworking twelve years ago, I thought my shaky hands were the reason my welds looked like a string of burnt popcorn. I spent hours in my garage, frustrated that I couldn’t keep a straight line or maintain a consistent arc gap. It took me nearly a year to realize that the problem wasn’t just my hands; it was my vision. I was using a low-quality lens that made the weld puddle look like a blurry green blob. Once I upgraded to a professional-grade lens with clear optics, I could finally see the leading edge of the puddle. That visual clarity changed everything, allowing me to build the muscle memory I needed to progress.
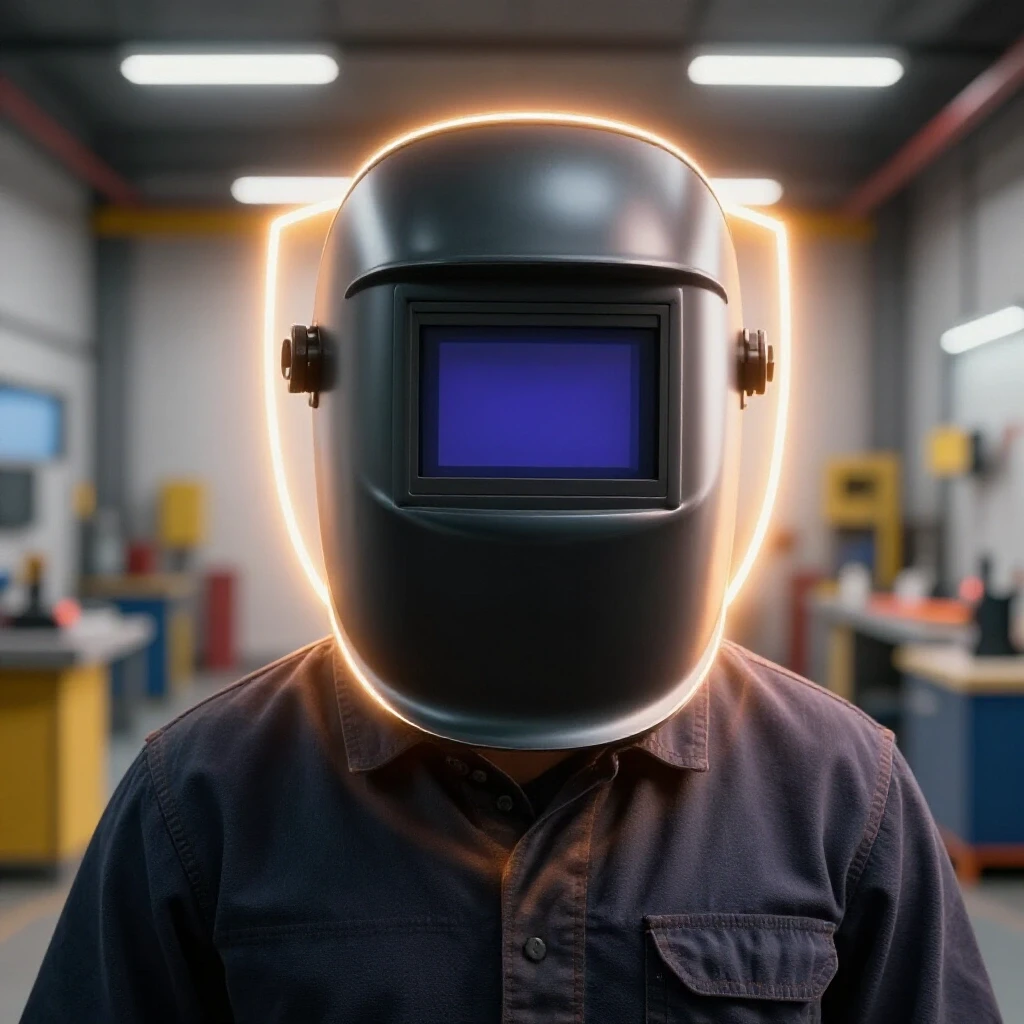
Learning to weld is a physical challenge that requires intense hand-eye coordination. You are trying to manage heat, travel speed, and torch angle all at once. If you cannot see exactly what the molten metal is doing, you are essentially flying blind. Choosing the right eye protection is not just about safety; it is about providing your brain with the data it needs to tell your hands what to do. This guide will help you understand how to select a lens that supports your growth as a fabricator.
The Role of Optical Safety in Mastering Torch Control
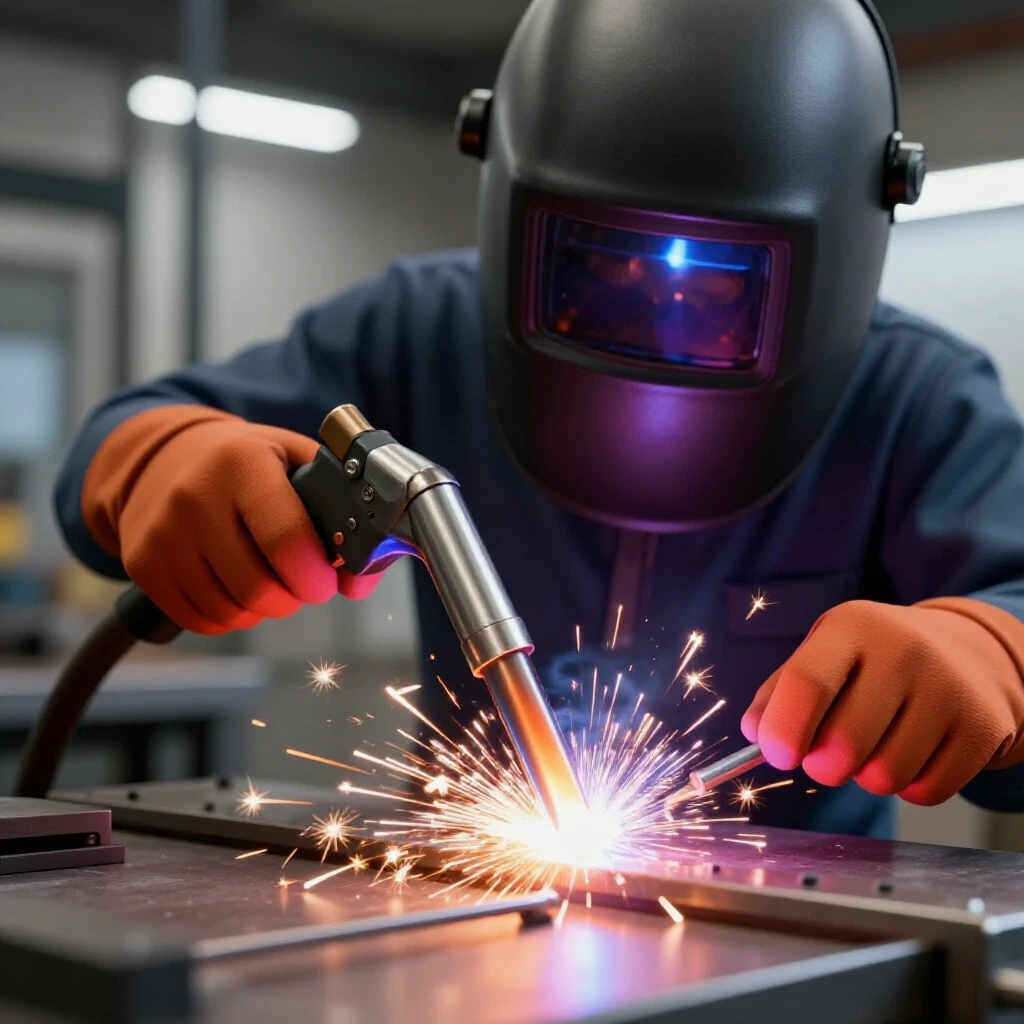
Optical safety refers to the protective barrier between your eyes and the intense ultraviolet (UV) and infrared (IR) radiation produced by the welding arc. A high-quality lens ensures you can see the weld puddle clearly while preventing long-term eye damage or immediate “arc flash” burns. Without a reliable filter, your eyes will fatigue quickly, leading to headaches and a loss of focus during long practice sessions.
When you are deep into a metal welding practice guide, you need to trust that your equipment is meeting the ANSI/ISEA Z87.1 standard. This is the American national standard for eye and face protection. It ensures that the lens can withstand impacts and effectively filter out harmful light. When I was a beginner, I didn’t pay attention to these ratings, and I often ended the day with “sand in the eyes” feeling, which is a sign of mild arc flash.
A safe lens allows you to stay under the hood for longer periods. This is vital for building the stamina required for consistent bead patterns. If you are constantly lifting your hood because you can’t see or because your eyes hurt, you are breaking your physical flow. Consistency comes from repetition, and you can’t repeat a motion you can’t see.
Understanding Lens Switching Speeds for Consistent Practice
Switching speed is the time it takes for a lens to transition from a light state to a dark state once the arc is struck. For effective skill building, this speed should be 1/20,000 of a second or faster to prevent eye strain and flash. If the lens is too slow, your eyes are hit with a micro-burst of intense light every time you start a weld.
This tiny delay might not seem like much, but over a three-hour practice session, it adds up. Your pupils will constantly dilate and contract, leading to significant eye fatigue. In my experience teaching vocational students, those with slower lenses often develop a “flinch” habit. They subconsciously pull the torch back right as the arc starts because they are anticipating the bright flash. This ruins the start of the weld and leads to poor penetration.
A fast switching speed helps you maintain a steady hand from the very first second. It allows you to focus on your “arc strike” accuracy. When the lens darkens instantly, you can see the arc establish itself and immediately begin managing the puddle. This is a key part of mastering torch control and ensuring your beads start exactly where you want them to.
| Lens Specification | Recommended Metric | Impact on Skill Development |
|---|---|---|
| Switching Speed | 1/20,000 sec or faster | Reduces flinching and eye fatigue |
| Optical Clarity | 1/1/1/1 Rating | Improves puddle definition and detail |
| Number of Sensors | 4 Sensors | Ensures darkening even at odd angles |
| Light State | Shade 3.0 or 3.5 | Easier to see the workpiece before striking |
Variable Shade Ranges and Their Impact on Metal Welding Practice
Variable shade ranges, typically between 9 and 13, allow you to adjust the darkness of the lens based on the welding process and amperage. Selecting the correct shade is vital for seeing the distinction between the molten puddle and the surrounding slag or base metal. If the shade is too dark, you won’t see where you are going; if it’s too light, the glare will hide the puddle’s edges.
When I am practicing T-joints or fillet welds, I often adjust my shade based on the thickness of the metal. Thicker metal requires more amperage, which creates a brighter arc. If I stay at shade 9 for a high-amp project, the arc is so bright that I lose sight of the “solidification line” behind the puddle. This line is my primary indicator of travel speed.
Learning to match your shade to your amperage is a fundamental part of trade school practice drills. It teaches you to tune your environment to your physical needs. Most modern lenses have an external or internal dial that lets you fine-tune this on the fly. Being able to see the difference between the liquid metal and the solid plate is what allows you to maintain a consistent 10-15 degree drag angle.
| Amperage Range | Recommended Shade | Common Application |
|---|---|---|
| 40 – 80 Amps | Shade 9 | Thin sheet metal, small TIG work |
| 80 – 150 Amps | Shade 10 | General purpose MIG and Stick |
| 150 – 250 Amps | Shade 11 | Structural steel, heavy plate |
| 250 – 400 Amps | Shade 12-13 | High-heat industrial fabrication |
Evaluating Battery and Solar Assist for Long Shop Sessions
Power sources for auto-darkening lenses usually involve a combination of replaceable batteries and solar panels. Reliability in these components ensures the lens darkens consistently during repetitive practice drills, preventing unexpected flashes during a long day of bead-on-plate exercises. Solar assist helps extend battery life by using the light from the arc to power the lens.
In my own shop, I have had batteries die in the middle of a critical pass. It is frustrating and can be dangerous if the lens fails to darken. I always recommend choosing a hood that has a “low battery” indicator. This simple feature prevents you from starting a practice session that will be interrupted by equipment failure.
Consistency in your equipment leads to consistency in your hands. If your lens is flickering because the battery is low, you will lose your place in the weld. You might over-correct your travel speed or lose your arc gap. Keeping your sensors clean and your batteries fresh is a basic part of learning metal fabrication maintenance.
- Always check the battery indicator before starting a long practice run.
- Clean the solar panels with a soft cloth to ensure they are receiving maximum light.
- Keep a spare set of CR2032 or similar batteries in your toolbox.
- Store your hood in a bag to prevent dust from blocking the optical sensors.
Ergonomics and Respirator Compatibility in Learning Metal Fabrication
Ergonomics involves the fit and weight distribution of the welding hood on your head. A well-designed hood should offer enough internal clearance for a half-mask respirator, protecting your lungs while ensuring the weight doesn’t cause neck fatigue during precision work. If a hood is front-heavy, it will pull your head down, straining your neck muscles.
Neck strain is a silent killer of welding technique. When your neck muscles are tight, that tension travels down your shoulder and into your arm. This leads to “robotic” movements rather than the fluid, rhythmic motion needed for a perfect weave or stringer bead. I spent years fighting a heavy, poorly balanced hood before I realized it was the cause of my shaky torch hand at the end of the day.
A good hood should have multiple points of adjustment. You want to be able to set the distance from your face and the angle of the tilt. This is especially important if you wear a respirator. You need enough “room to breathe” inside the shell so that your breath doesn’t fog up the lens. Fogging is a major hurdle in welding technique progression because it forces you to stop mid-weld.
Using Grind Mode to Streamline Your Welding Technique Progression
Grind mode is a setting that locks the lens in a light state, usually shade 3 or 4, allowing you to use the hood as a face shield for cleaning metal. This feature prevents you from constantly removing the hood, helping you maintain your physical “zone” and focus. It is a massive time-saver during the preparation phase of fabrication.
In my practice cycles, I follow a strict “prep-weld-inspect” routine. I spend a lot of time grinding the mill scale off my steel to create a “clean zone.” If I have to switch from a grinding shield to a welding hood every five minutes, I lose my mental focus. Having a dedicated grind mode button on the outside of the hood allows me to transition seamlessly.
Proper material preparation is 90% of a good weld. If you skip the grinding because it is a hassle to change gear, your welds will suffer from porosity and lack of fusion. Using the grind mode ensures that you are always looking through a protected lens, whether you are throwing sparks or striking an arc. It keeps your eyes safe and your workflow steady.
Setting Baseline Machine Power and Vision
Aligning your machine’s voltage and wire speed with your lens’s clarity is the first step in creating a repeatable welding environment. If you cannot see the arc’s effect on the metal, you cannot make the necessary micro-adjustments to your travel speed. You need to be able to see if the wire is “stubbing” into the plate or if the arc is too long.
When I set up a new machine, I do a series of “bead-on-plate” runs. I start with the manufacturer’s recommended settings and then tweak them while watching the puddle. If the puddle looks too “cold” (tall and narrow), I increase the voltage. If I can’t see the puddle clearly enough to make that call, my lens is the bottleneck.
A clear lens helps you understand the relationship between heat and fluid tension. You can see how the metal flows toward the heat. This visual feedback is what teaches you to slow down or speed up. Without it, you are just guessing, and guessing does not lead to professional-grade results.
- Set your machine to the recommended parameters for your metal thickness.
- Adjust your lens shade until the puddle is clearly visible but not blinding.
- Perform a 6-inch bead-on-plate run.
- Observe the puddle width; it should be roughly 2 to 3 times the diameter of your electrode.
- Adjust your travel speed based on the puddle shape you see through the lens.
Reading the Weld Puddle Through High-Quality Optics
Reading the puddle is the ability to see the fluid motion of the molten metal and the solidification line behind the arc. High-quality optics allow you to distinguish the leading edge of the puddle, which is essential for maintaining a consistent 10-15 degree drag angle. This is where the “art” of welding meets the science of vision.
The puddle tells you everything. It tells you if you are going too fast (it will look pointed) or too slow (it will look wide and flat). It tells you if your torch angle is wrong (the puddle will push to one side). When I finally got a hood with high optical clarity, I realized I had been ignoring the “back” of the puddle for years.
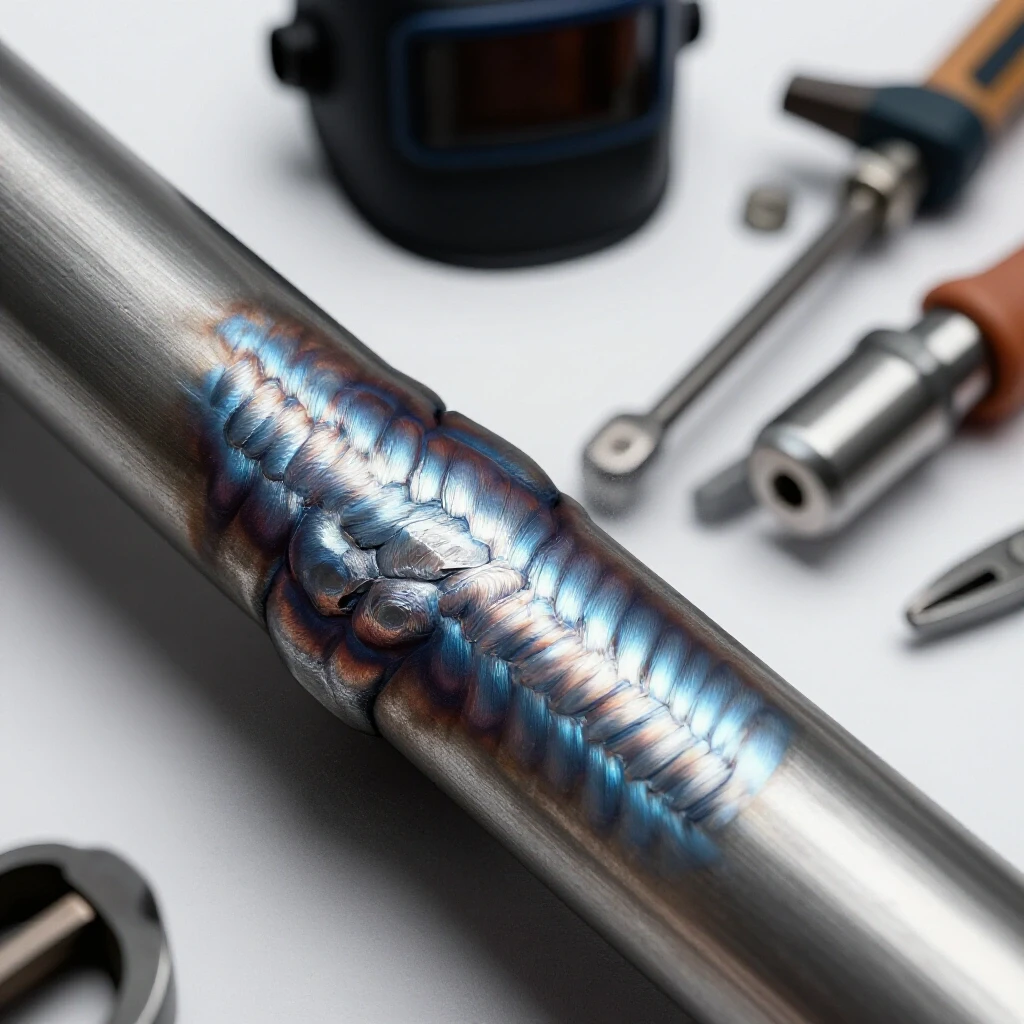
By watching the back of the puddle, you can see how the ripples are forming. Consistent ripples mean a consistent travel speed. If you see the ripples becoming erratic, you know your hand movement has become unsteady. This level of detail is only possible if your lens has a high clarity rating, often referred to as the 1/1/1/1 rating, which measures accuracy, diffusion, and angle dependency.
Physical Practice Progression and Visual Feedback
Skill progression relies on a feedback loop where your eyes observe a mistake and your hands correct it in real-time. A safe, clear lens provides the high-definition visual data needed to identify erratic bead shapes or inconsistent penetration during practice runs. This is the core of how you move from a beginner to an intermediate fabricator.
I recommend that all my students use a practice log. After every few runs, lift the hood and look at the metal. Then, compare what you see on the plate to what you saw through the lens while welding. Did the puddle look the way the finished bead looks? If the bead is too thin, did you see the puddle narrowing during the run?
This mental mapping is how you build muscle memory. You are connecting the visual image of the molten metal to the physical feeling of your arm moving across the table. Over time, you won’t need to think about it; your brain will see the puddle change and your hand will automatically adjust the travel speed or arc gap to compensate.
Practice Log Template for Visual Assessment
| Date | Joint Type | Amps/Volts | Shade Setting | Visual Observation (Through Lens) | Resulting Bead Quality |
|---|---|---|---|---|---|
| 10/12 | Flat Bead | 18.5V / 210 IPM | 10 | Puddle felt “lazy” and wide | Bead is too flat, over-penetrated |
| 10/12 | Flat Bead | 19.0V / 210 IPM | 10 | Leading edge was crisp | Good ripple pattern, consistent height |
| 10/13 | Fillet (T) | 20.0V / 230 IPM | 11 | Hard to see the root of the joint | Lack of fusion at the start |
| 10/13 | Fillet (T) | 20.0V / 230 IPM | 10 | Could see the wire hitting the corner | Perfect root penetration |
Overcoming Technique Plateaus with Video Analysis
One of the most effective ways to use your welding hood for skill building is to record your practice sessions. Many modern smartphones can record through the lens of a welding hood if positioned correctly. This allows you to watch your technique in slow motion and see exactly where your torch angle or travel speed is faltering.
When I hit a plateau a few years ago, I started filming my TIG welding. I realized that as I moved across the plate, my torch angle was slowly tilting forward. I couldn’t feel it happening, but I could see it clearly on the video. By watching the puddle’s reaction to that angle change, I was able to consciously correct my wrist position.
Video analysis removes the “fog of war” that happens when you are focused on the heat and the light. It gives you an objective view of your physical mechanics. If you are struggling with inconsistent beads, try recording a 30-second run. You might be surprised at what your hands are doing when you aren’t looking.
Why Travel Speed Rules the Puddle
Travel speed is the rate at which you move the torch along the joint. It is measured in inches per minute (IPM). If you go too fast, the metal doesn’t have time to melt properly, leading to a thin, weak bead. If you go too slow, you put too much heat into the metal, which can cause warping or “burn-through.”
A safe auto-darkening hood is essential for mastering travel speed because it allows you to see the “fill” of the puddle. You are looking for the puddle to reach a certain width before you move forward. I often tell students to count in their heads: “one-thousand-one, move, one-thousand-two, move.” This rhythmic approach helps build the initial muscle memory.
As you progress, you will stop counting and start “feeling” the speed. You will see the puddle touch the edges of your intended bead width and naturally slide the torch along. This fluid motion is the hallmark of a skilled fabricator. It requires a lens that doesn’t flicker or distort, giving you a true view of the metal’s behavior.
- Target Travel Speed (MIG): 8 to 12 inches per minute for general fabrication.
- Target Travel Speed (Stick): 3 to 6 inches per minute depending on electrode diameter.
- Visual Cue: Watch the “C” shape at the back of the puddle to gauge your speed.
- Physical Cue: Keep your forearm tucked against your body or a steady rest to prevent “travel wobble.”
Mastering the Arc Gap and Torch Angle
The arc gap is the distance between the tip of your electrode and the workpiece. In most processes, this should be between 3/32″ and 1/8″. If the gap is too large, the arc becomes unstable and creates a lot of spatter. If it’s too small, you risk sticking the electrode to the work.
Your torch angle also plays a massive role. For most flat-position welding, a 10 to 15-degree drag angle is standard. This pushes the heat into the puddle and helps with penetration. If your hood doesn’t have good optical clarity, it is very difficult to judge a 1/8″ gap or a 15-degree angle. You will find yourself “hunting” for the right position, which leads to an erratic bead.
I spent a lot of time doing “dry runs” where I moved the torch across the plate without striking an arc. I would watch my gap and angle through the hood (in light state or grind mode). This helped me train my arm to stay level and steady. Once I could do a dry run perfectly, I would strike the arc and try to maintain that same physical feeling.
Final Steps for Your Skill Progression
Building professional-grade fabrication skills is a marathon, not a sprint. It requires a systematic approach to your equipment and your practice. By choosing a safe, high-quality auto-darkening hood, you are removing the biggest obstacle to your success: poor vision. When you can see the puddle, you can master the puddle.
Start by ensuring your gear meets the ANSI Z87.1 standards. Set your shade correctly for your amperage and use your grind mode to keep your prep work clean. Use a practice log to track your progress and don’t be afraid to record your sessions for review. The hundreds of hours you spend under the hood will eventually translate into the steady hand and consistent beads you are looking for.
Focus on your body mechanics. Keep your neck relaxed, your breathing steady, and your eyes locked on the leading edge of the puddle. Every bead you run is a data point. Learn from the bad ones, replicate the good ones, and keep your equipment in top shape to support your growth.
FAQ: Choosing and Using Your Welding Hood for Skill Building
What is the most important feature for a beginner’s welding hood? The most important feature is a fast switching speed (1/20,000 sec or faster) and ANSI Z87.1 compliance. This protects your eyes from fatigue and “arc flash,” which allows you to practice for longer periods without discomfort.
How do I know if my lens shade is set correctly? If the arc is so bright that you can’t see the edges of the molten puddle, your shade is too light. If you can’t see the joint or the surrounding metal at all, it is too dark. Start at shade 10 for most DIY projects and adjust from there.
Why does my auto-darkening lens flicker while I am welding? Flickering usually happens because the sensors are blocked or the battery is low. Ensure your sensors have a clear “line of sight” to the arc and that your lens is clean. If it still flickers, replace the batteries immediately.
Can I use a welding hood for grinding? Only if it has a dedicated “grind mode.” This locks the lens in a light state (usually shade 3 or 4) so it won’t darken when sparks fly. Never grind in a standard dark mode, as you won’t be able to see your work safely.
How often should I change the clear protective cover plates? Change them as soon as they become pitted or cloudy. A scratched cover plate distorts your view of the puddle, making it harder to maintain a consistent travel speed and arc gap.
What is the 1/1/1/1 optical clarity rating? This is a European standard (EN 379) that measures four areas: Accuracy of vision, Diffusion of light, Consistent shade across the lens, and Angle dependency. A 1/1/1/1 rating is the highest possible clarity, providing the most realistic view of the weld.
Does a heavier hood affect my welding technique? Yes. A heavy or poorly balanced hood causes neck strain. This tension can lead to shaky hands and inconsistent torch movement. Look for a hood with a high-quality, adjustable headgear that distributes weight evenly.
How do I clean my auto-darkening lens? Use a soft, lint-free microfiber cloth. Avoid using harsh chemicals or abrasive paper towels, as these can scratch the lens or the sensors. If necessary, use a small amount of specialized lens cleaner.
Is solar assist enough to power my hood? Solar assist helps extend battery life, but most hoods still require a battery to start the switching process. Always keep fresh batteries on hand, especially if you haven’t used your hood in a while.
Why is respirator compatibility important? Welding fumes can be hazardous. A hood that is compatible with a half-mask respirator allows you to protect your lungs while you work. If the hood is too small, the respirator will push the hood against your face, making it uncomfortable and prone to fogging.
What should I do if I get “arc flash”? If your eyes feel scratchy or like they have sand in them, stop welding immediately. This is a sign of UV damage. Consult a medical professional if the pain persists. To prevent this, always test your hood’s auto-darkening function before you strike your first arc of the day.
How can I test if my hood is working before I strike an arc? You can often test a hood by looking at a bright light source or using a TV remote’s infrared signal pointed at the sensors. Many modern hoods also have a “test” button that will darken the lens momentarily to confirm the circuitry is active.
(This article was written by one of our staff writers, Thomas Langley. Visit our Meet the Team page to learn more about the author and their expertise.)